Setup SQL Server Schema
After you’ve installed Microsoft SQL Server 2012 and created a database schema, you still need to setup or configure the database schema. This is the recommended Microsoft SQL Server Best Practice.That means you must grant permissions to a user to work in the database schema, otherwise you get the following type of error message.
Msg 2760, Level 16, State 1, Line 1 The specified schema name "studentdb" either does not exist or you do not have permission to use it. |
You receive the foregoing error message when trying to create a table in a database schema that hasn’t been assigned a user or role. This typically occurs after you create a new database schema, which has a <default> owner.
For those new to the idea of schemas (or scheme), they were introduced by Microsoft in SQL Server 2005. Here are some rules of thumb on schemas:
- Database schema names are distinct from user names.
- Multiple users may share a schema, which means it can hold objects owned by multiple users.
- Permissions to act inside the schema may be granted to individual users, and you have a varied set of privileges that you can assign to users.
- Ownership of objects in a schema can be transferred using the
ALTER SCHEMAcommand. - Ownership of a schema can be changed by using the
ALTER AUTHORIZATIONcommand. - Database users can be dropped without changing objects in schemas, which is a big difference between Oracle and SQL Server.
The following example occurs when you try to create a table in a studentdb database schema. It doesn’t expose you to the SQL syntax but demonstrates how to manage the changes within the SQL Server Management Studio (SSMS).
By the way, you start the new schema creation process by right clicking on the Databases folder in the SQL Server Management Studio. Then, you give the new database schema a name in the New Database dialog; and click the OK button to complete the process.
The balance of the instructions show you how to create a user account that will map to your new database schema. It assumes you’ve installed it on your local machine and have privileges through local Windows Authentication to the System Administrator (sa) account. You create a student user account, assign the studentdb database schema, log off as the System Administrator, log in as the new user, conditionally drop a table from the studentdb schema, create a table in the studentdb schema, and query the results. It’s also possible to create the user first, database second, and assign the database as the default database for the user account.
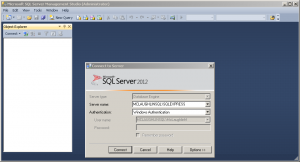
- The first screen asks you to authenticate as the System Administrator using Windows Authentication. Click the Connect button to connect to the SQL Server Management System (SMSS).
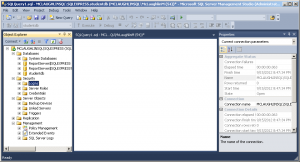
- Click the Security folder and expand the subordinate list of folders. Right click on the Logins folder and click on the New Login option in the context menu. It launches a new dialog where you enter a user account.
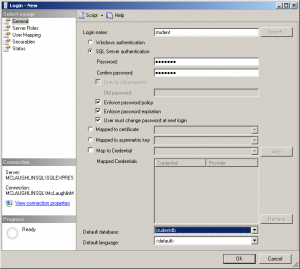
- On the General page of the Login – New dialog, enter a Login name and click the SQL Server authentication radio button. Clicking the radio button enables the Password and Confirm password fields where you enter the same password twice. Click the Default database drop down and choose the studentdb created earlier. Click the Server Roles page to continue.
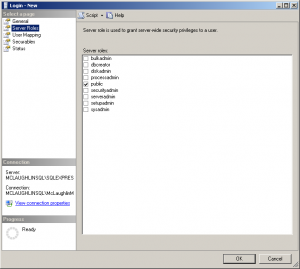
- On the Server Roles page, ensure that only the public server role is checked. Click on the User Mapping page to continue.
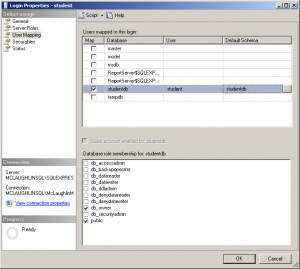
- On the User Mapping page, click the Map check box for the
studentdbdatabase, enterstudentin the User field, and enterstudentdbin the Default Schema field. Click the db_owner and public database role membership forstudentdb. Click on the Securables page to continue.
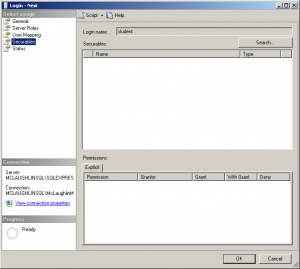
- There are no required changes on the Securables page. Check that screen matches the illustration at the left, and click on the Status page to continue.
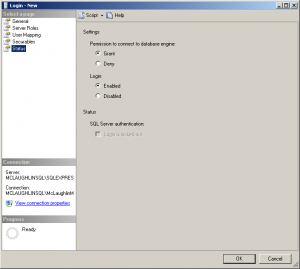
- There are no required changes on the Status page. Check that screen matches the illustration at the left, and click on the OK button to complete creating the user. Then, exit the SQL Server Management Studio as the System Administrator.
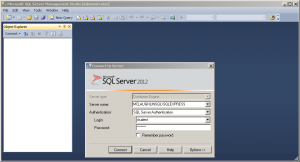
- Launch the SQL Server Management Studio, choose SQL Server Authentication as the authentication method, and enter the
studentLogin (user name) and Password before clicking the Connect button to continue.
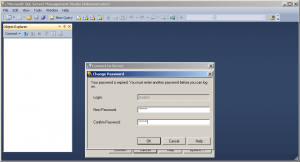
- The first time a user logs in, they must re-enter a valid password. After entering the password twice, click the OK button to continue.
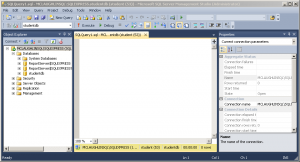
- The initial display shows only the Object Explorer. Click the New Query option in the menu toolbar.
- Click on the Databases folder to expand the list and you will see the
studentdbdatabase schema displayed, as shown in the illustration on the left.
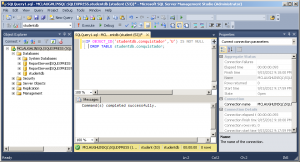
- Enter a conditional drop of a
conquistadortable from thestudentdbdatabase schema. Click the Execute button from the toolbar menu to run the statement.
IF OBJECT_ID('studentdb.conquistador','U') IS NOT NULL DROP TABLE studentdb.conquistador; |
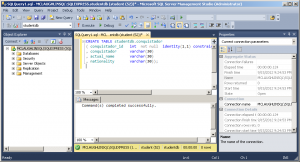
- Enter a
CREATEstatement for aconquistadortable in thestudentdbdatabase schema. Click the Execute button from the toolbar menu to run the statement.
CREATE TABLE studentdb.conquistador ( conquistador_id INT NOT NULL IDENTITY(1,1) CONSTRAINT pk_conquistador PRIMARY KEY , conquistador VARCHAR(30) , actual_name VARCHAR(30) , nationality VARCHAR(30)); |
- Enter an
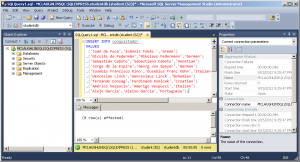
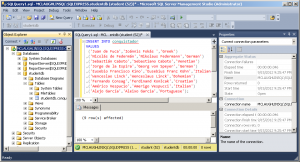
INSERTstatement to theconquistadortable in thestudentdbdatabase schema. Click the Execute button from the toolbar menu to run the statement and see that it inserted 9 rows.
INSERT INTO conquistador VALUES ('Juan de Fuca','Ioánnis Fokás','Greek') ,('Nicolás de Federmán','Nikolaus Federmann','German') ,('Sebastián Caboto','Sebastiano Caboto','Venetian') ,('Jorge de la Espira','Georg von Speyer','German') ,('Eusebio Francisco Kino','Eusebius Franz Kühn','Italian') ,('Wenceslao Linck','Wenceslaus Linck','Bohemian') ,('Fernando Consag','Ferdinand Konšcak','Croatian') ,('Américo Vespucio','Amerigo Vespucci','Italian') ,('Alejo García','Aleixo Garcia','Portuguese'); |
- Click the
studentdbfolder to expand content, and you should see theconquistadortable.
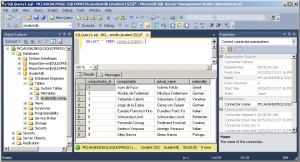
SELECT * FROM conquistador; |
- Click in the SQL Query frame and enter a query against the
conquistadortable. Click the Execute button to run the query and you should see the following output from theconquistadortable.
As always, I hope this helps those trying to sort out how to solve a similar problem.
