Archive for February, 2022
PostgreSQL Tables
The most straightforward way to view the description of a PostgreSQL table is the \d command. For example, this lets you display an account_list table:
\d account_list |
Unfortunately, this shows you the table, indexes, and foreign key constraints. Often, you only want to see the list of columns in positional order. So, I wrote a little function to let me display only the table and columns.
There are a few techniques in the script that might seem new to some developers. For example, the data types of the return parameter values of a function that returns values from the data dictionary are specific to types used by the data dictionary. These specialized types are required because the SQL cursor gathers the information from the data dictionary in the information_schema, and most of these types can’t be cast as variable length strings.
A simple assumption that the data dictionary strings would implicitly cast to variable length strings is incorrect. That’s because while you can query them like VARCHAR variables they don’t cast to variable length string. If you wrote a wrapper function that returned VARCHAR variables, you would probably get a result like this when you call your function:
ERROR: structure of query does not match function result type DETAIL: Returned type information_schema.sql_identifier does not match expected type character varying in column 1. |
The “character varying” is another name for a VARCHAR data type. Some notes will advise you to fix this type of error by using the column name and a %TYPE. The %TYPE anchors the data type in the function’s parameter list to the actual data type of the data dictionary’s table. You would implement that suggestion with code like:
RETURNS TABLE ( table_schema      information_schema.columns.table_schema%TYPE
              , table_name        information_schema.columns.table_name%TYPE
              , ordinal_position  information_schema.columns.ordinal_position%TYPE
              , column_name       information_schema.columns.column_name%TYPE
              , data_type         information_schema.columns.data_type%TYPE
, is_nullable information_schema.columns.is_nullable%TYPE ) AS |
Unfortunately, your function would raise a NOTICE for every dynamically anchored column at runtime. The NOTICE messages would appear as follows for the describe_table function with anchored parameter values:
psql:describe_table.sql:34: NOTICE: type reference information_schema.columns.table_schema%TYPE converted to information_schema.sql_identifier psql:describe_table.sql:35: NOTICE: type reference information_schema.columns.table_name%TYPE converted to information_schema.sql_identifier psql:describe_table.sql:36: NOTICE: type reference information_schema.columns.ordinal_position%TYPE converted to information_schema.cardinal_number psql:describe_table.sql:37: NOTICE: type reference information_schema.columns.column_name%TYPE converted to information_schema.sql_identifier psql:describe_table.sql:38: NOTICE: type reference information_schema.columns.data_type%TYPE converted to information_schema.character_data psql:describe_table.sql:39: NOTICE: type reference information_schema.columns.is_nullable%TYPE converted to information_schema.yes_or_no |
As a rule, there’s a better solution when you know how to discover the underlying data types. You can discover the required data types with the following query of the pg_attribute table in the information_schema:
SELECT attname
,      atttypid::regtype
FROM   pg_attribute
WHERE  attrelid = 'information_schema.columns'::regclass
AND    attname IN ('table_schema','table_name','ordinal_position','column_name','data_type','is_nullable')
ORDER BY attnum; |
It returns:
attname | atttypid ------------------+------------------------------------ table_schema | information_schema.sql_identifier table_name | information_schema.sql_identifier ordinal_position | information_schema.cardinal_number column_name | information_schema.sql_identifier is_nullable | information_schema.yes_or_no data_type | information_schema.character_data (6 rows) |
Only the character_data type can be replaced with a VARCHAR data type, the others should be typed as shown above. Here’s the modified describe_table function.
CREATE OR REPLACE FUNCTION describe_table (table_name_in VARCHAR) RETURNS TABLE ( table_schema information_schema.sql_identifier , table_name information_schema.sql_identifier , ordinal_position information_schema.cardinal_number , column_name information_schema.sql_identifier , data_type VARCHAR , is_nullable information_schema.yes_or_no ) AS $$ BEGIN RETURN QUERY SELECT c.table_schema , c.table_name , c.ordinal_position , c.column_name , CASE WHEN c.character_maximum_length IS NOT NULL THEN CONCAT(c.data_type, '(', c.character_maximum_length, ')') ELSE CASE WHEN c.data_type NOT IN ('date','timestamp','timestamp with time zone') THEN CONCAT(c.data_type, '(', numeric_precision::text, ')') ELSE c.data_type END END AS modified_type , c.is_nullable FROM information_schema.columns c WHERE c.table_schema NOT IN ('information_schema', 'pg_catalog') AND c.table_name = table_name_in ORDER BY c.table_schema , c.table_name , c.ordinal_position; END; $$ LANGUAGE plpgsql; |
If you’re new to PL/pgSQL table functions, you can check my basic tutorial on table functions. You call the describe_table table function with the following syntax:
SELECT * FROM describe_table('account_list'); |
It returns:
table_schema | table_name | ordinal_position | column_name | data_type | is_nullable --------------+--------------+------------------+------------------+--------------------------+------------- public | account_list | 1 | account_list_id | integer(32) | NO public | account_list | 2 | account_number | character varying(10) | NO public | account_list | 3 | consumed_date | date | YES public | account_list | 4 | consumed_by | integer(32) | YES public | account_list | 5 | created_by | integer(32) | NO public | account_list | 6 | creation_date | timestamp with time zone | NO public | account_list | 7 | last_updated_by | integer(32) | NO public | account_list | 8 | last_update_date | timestamp with time zone | NO (8 rows) |
As always, I hope this helps those looking for a solution to functions that wrap the data dictionary and display table data from the PostgreSQL data dictionary.
PL/pgSQL Function
How to write an overloaded set of hello_world functions in PostgreSQL PL/pgSQL. The following code lets you write and test overloaded functions and the concepts of null, zero-length string, and string values.
-- Drop the overloaded functions. DROP FUNCTION IF EXISTS hello_world(), hello_world(whom VARCHAR); -- Create the function. CREATE FUNCTION hello_world() RETURNS text AS $$ DECLARE output VARCHAR(20); BEGIN /* Query the string into a local variable. */ SELECT 'Hello World!' INTO output; /* Return the output text variable. */ RETURN output; END $$ LANGUAGE plpgsql; -- Create the function. CREATE FUNCTION hello_world(whom VARCHAR) RETURNS text AS $$ DECLARE output VARCHAR(20); BEGIN /* Query the string into a local variable. */ IF whom IS NULL OR LENGTH(whom) = 0 THEN SELECT 'Hello World!' INTO output; ELSE SELECT CONCAT('Hello ', whom, '!') INTO output; END IF; /* Return the output text variable. */ RETURN output; END $$ LANGUAGE plpgsql; -- Call the function. SELECT hello_world(); SELECT hello_world(Null) AS output; SELECT hello_world('') AS output; SELECT hello_world('Harry') AS output; |
It should print:
    output
--------------
 Hello World!
(1 row)

    output
--------------
 Hello World!
(1 row)

    output
--------------
 Hello World!
(1 row)

    output
--------------
 Hello Harry!
(1 row) |
As always, I hope this helps those looking for the basics and how to solve problems.
PostgreSQL 14 Install
This post is a step-by-step install guide to PostgreSQL 14 on Windows 10. It sometimes makes me curious that folks want a summary of screen shots from a Microsoftw Software Installer (MSI) because they always appear to me as straightforward.
This walks you through installing PostgreSQL 14, EDS’s version of Apache, supplemental connection libraries, and pgAdmin4. You can find the post-installation steps in my earlier Configure PostgreSQL 14 post.
PostgreSQL Database 14 Installation Steps
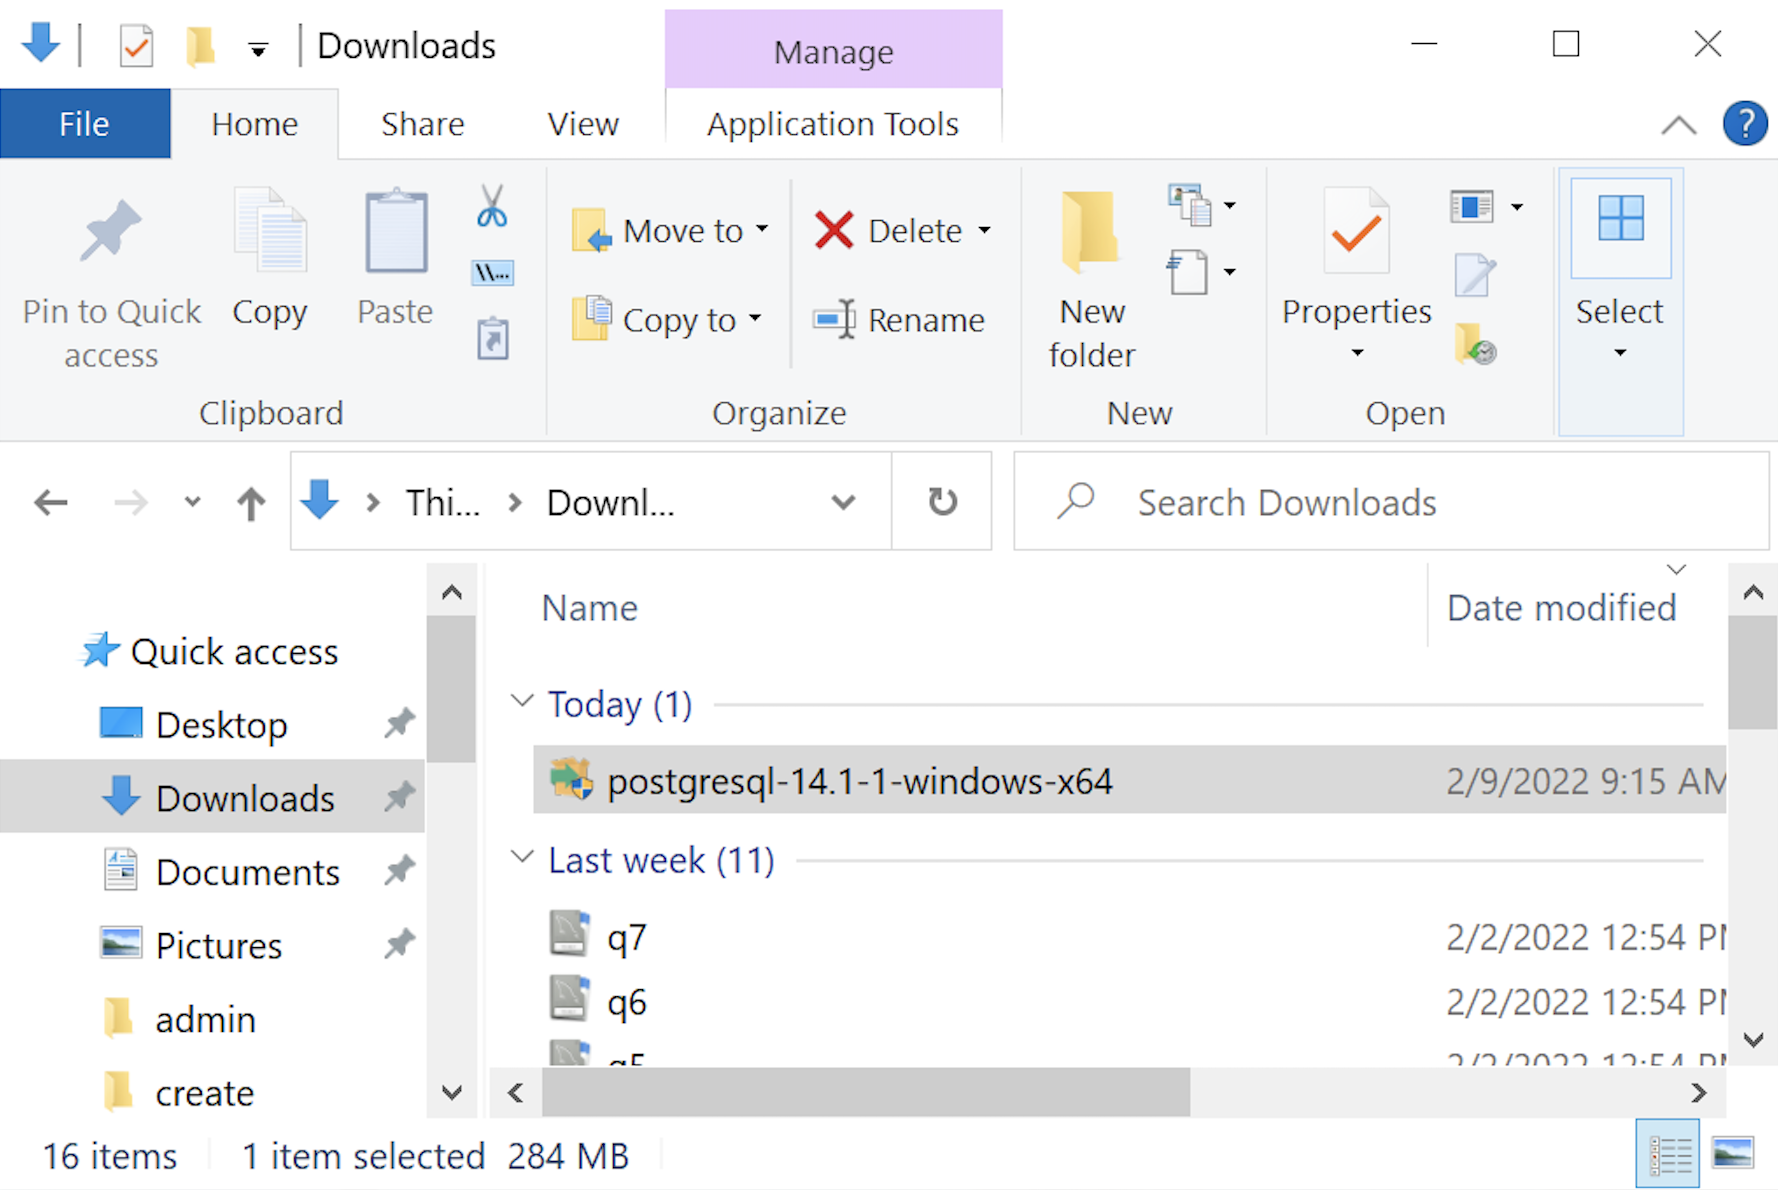
- The first thing you need to do is download the PostgreSQL MSI file, which should be in your C:\Users\username\Downloads directory. You can double-click on the MSI file.

- After double-clicking on the MSI file, you are prompted by User Account Control to allow the PostgreSQL MSI to make changes to your device. Clicking the Yes button is the only way forward.
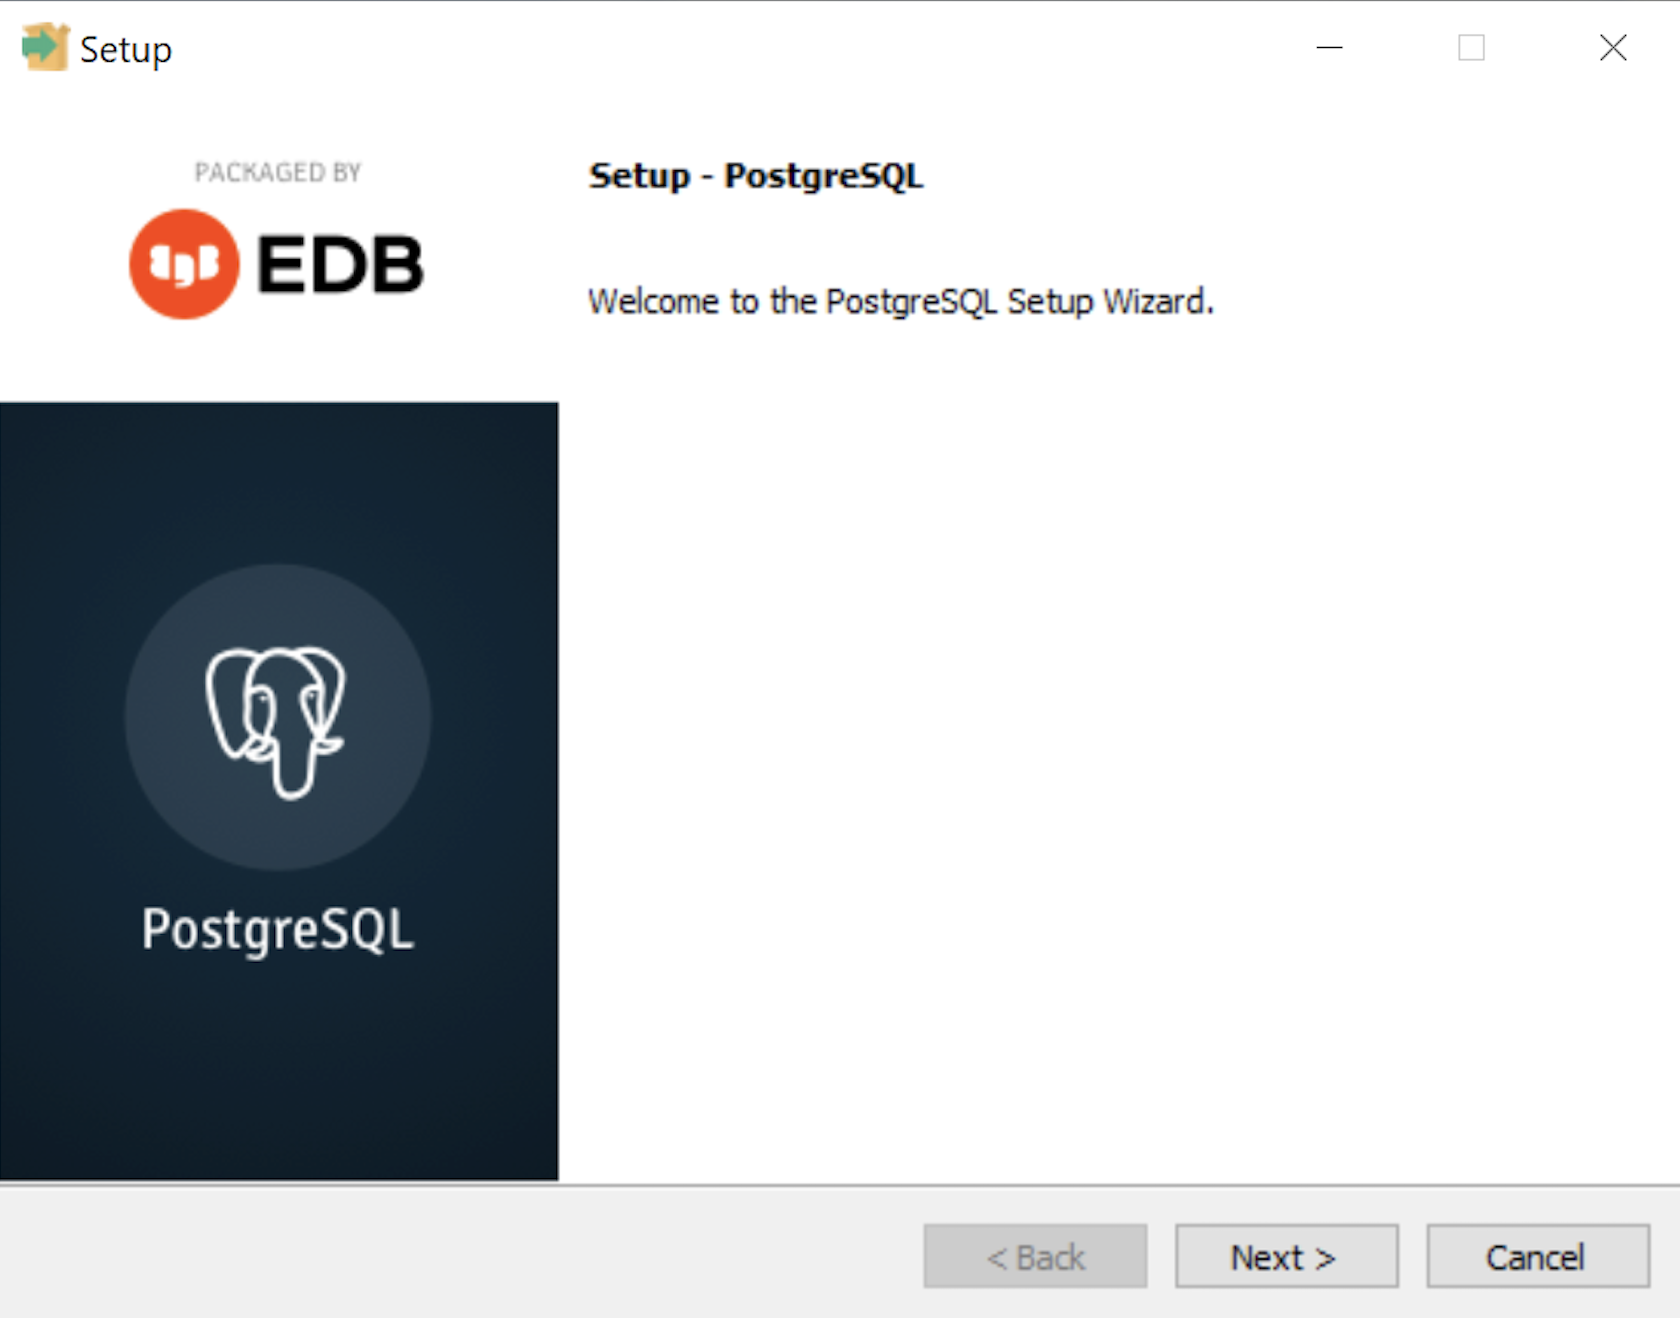
- The Setup – PostgreSQL dialog requires you click the Next button to proceed.
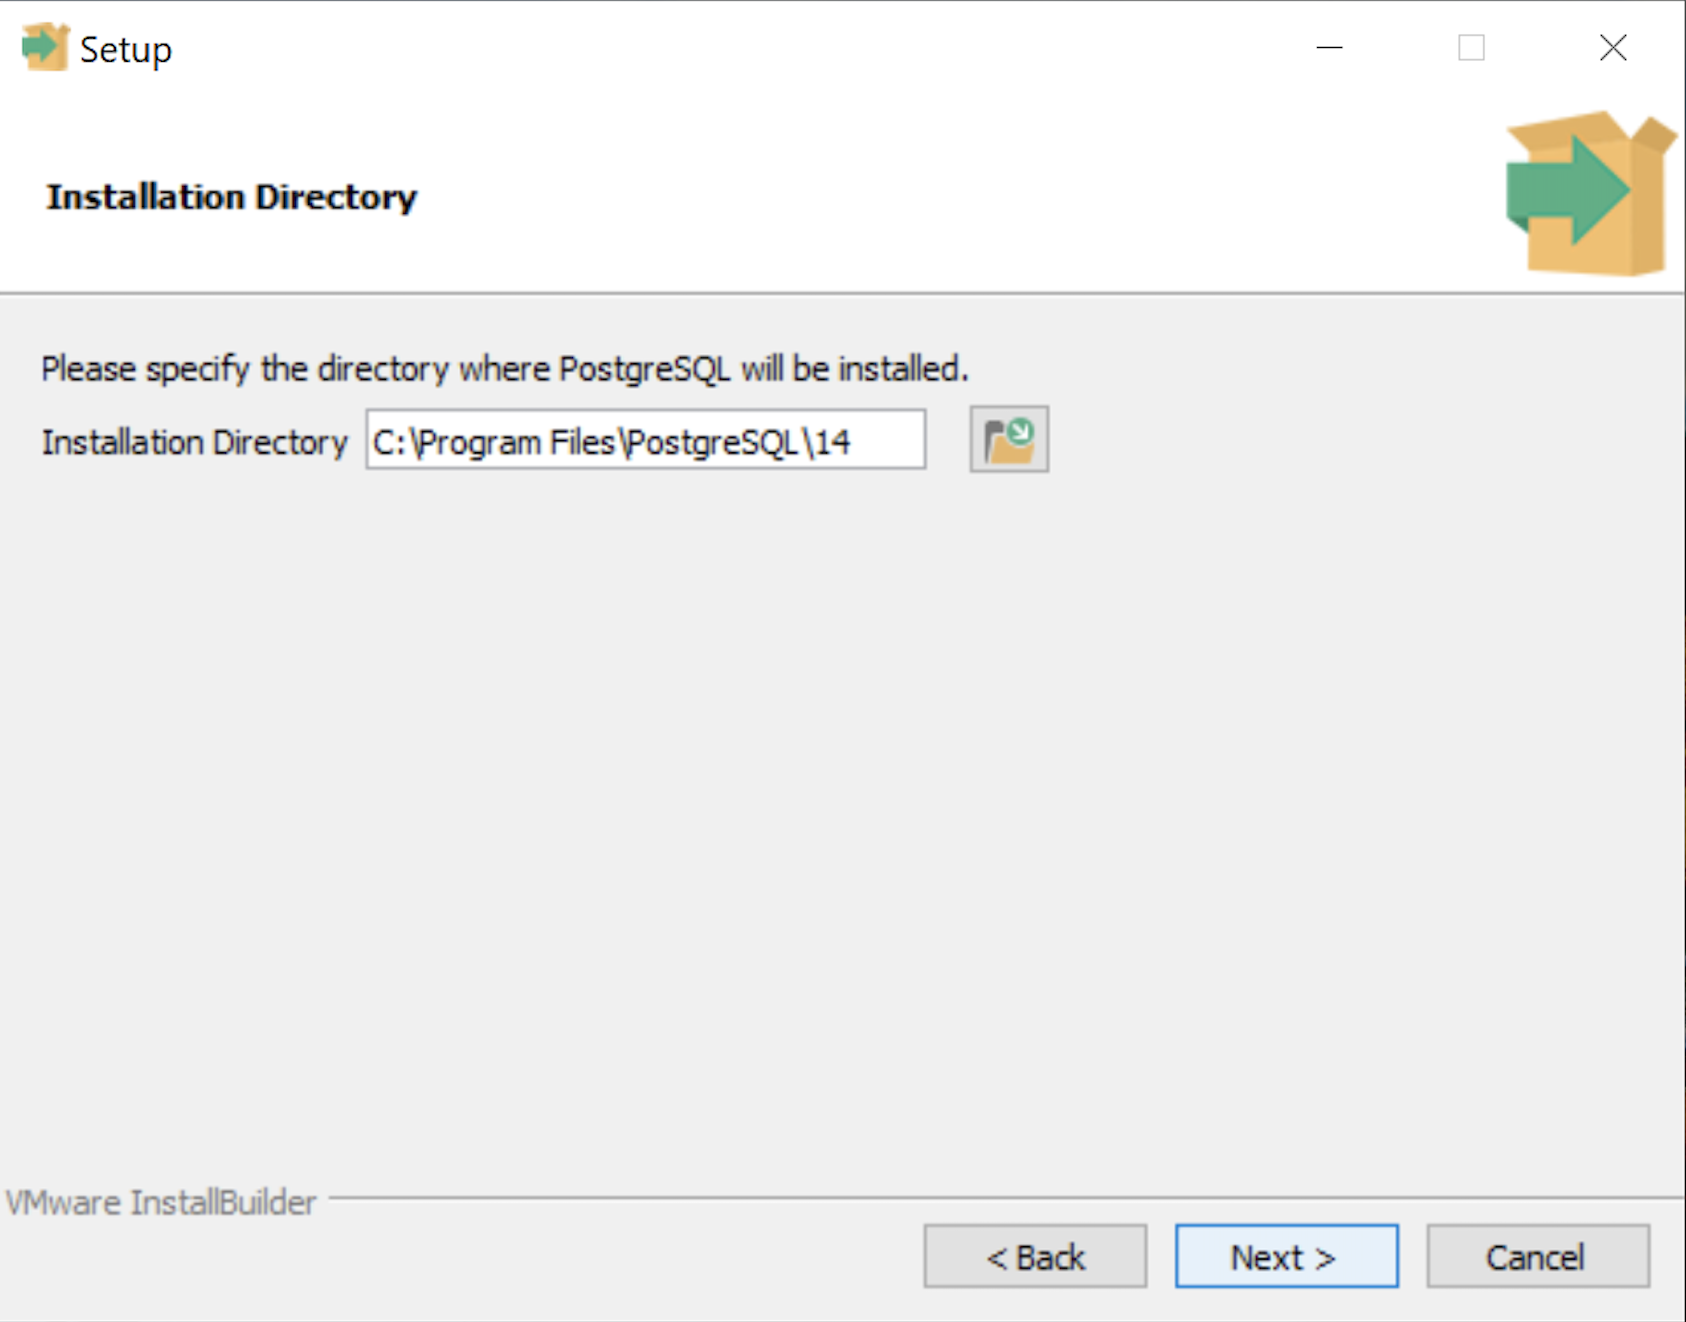
- The Installation Directory dialog prompts you for an installation directory. The default directory is C:\Program Files\PostgreSQL\14 and you should use it. Click the Next button to continue.
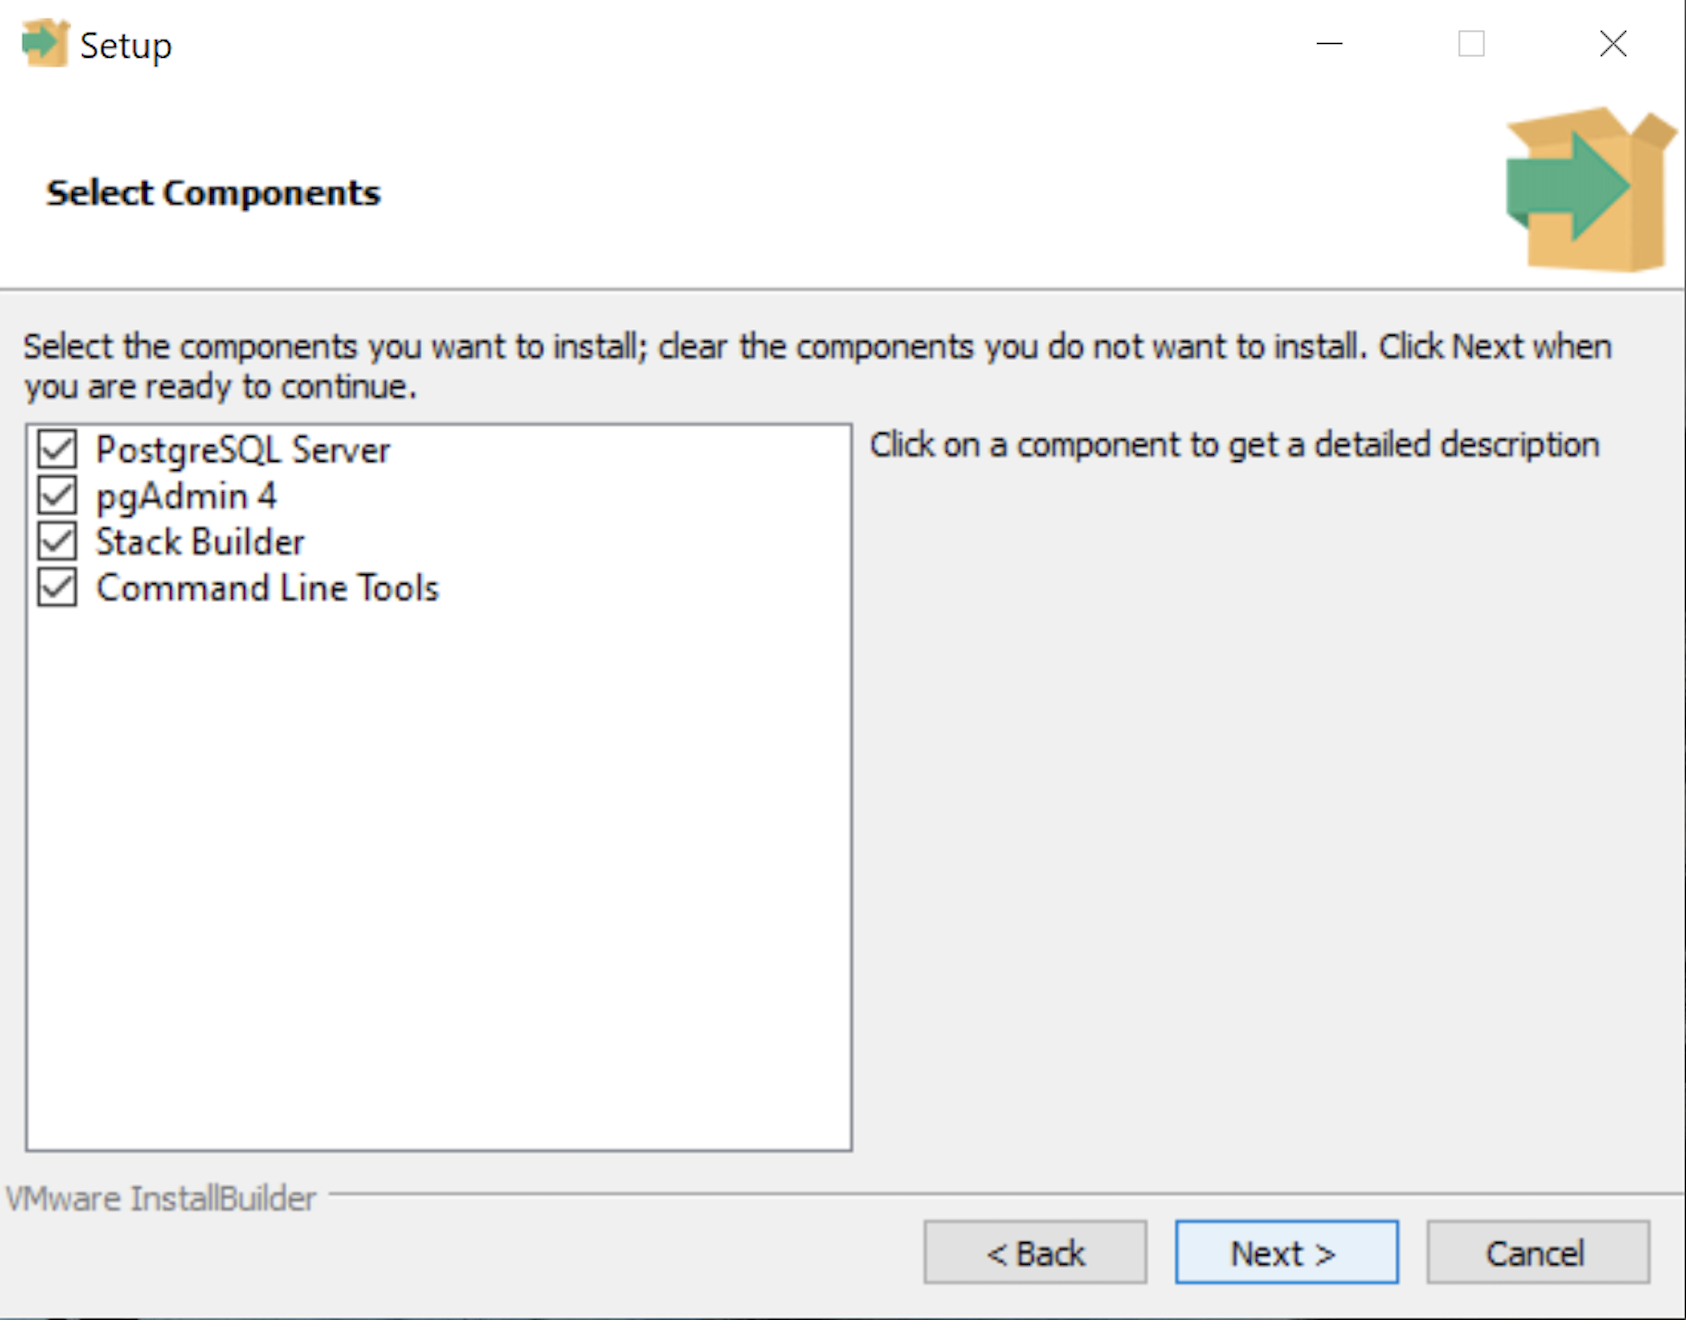
- The Select Components dialog prompts you to choose the products to install. You should choose all four – PostgreSQL Server, pgAdmin 4, Stack Builder, and Command Line Tools. Click the Next button to continue.
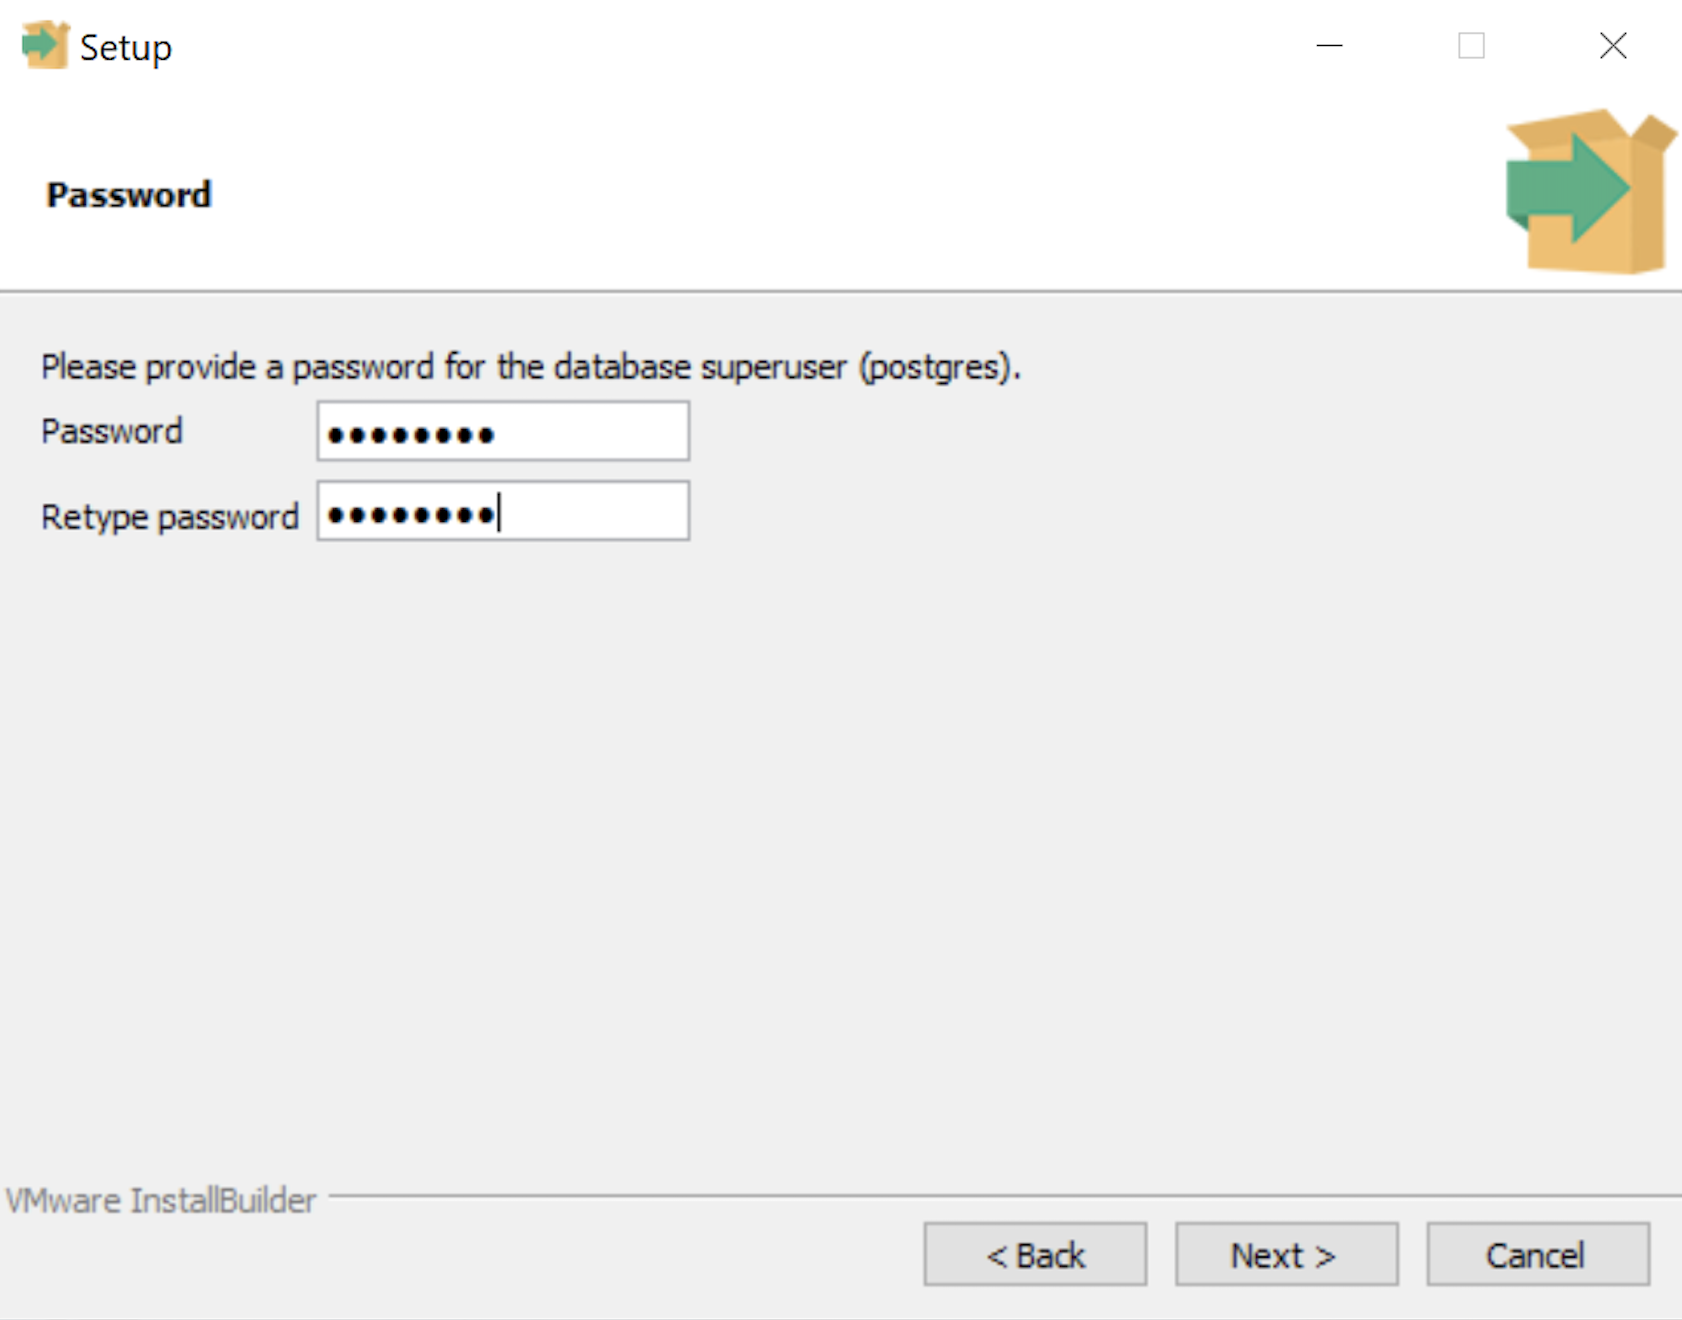
- The Password dialog prompts you for the PostgreSQL superuser password. In a development system for your local computer, you may want to use something straightforward like cangetin. Click the Next button to continue.
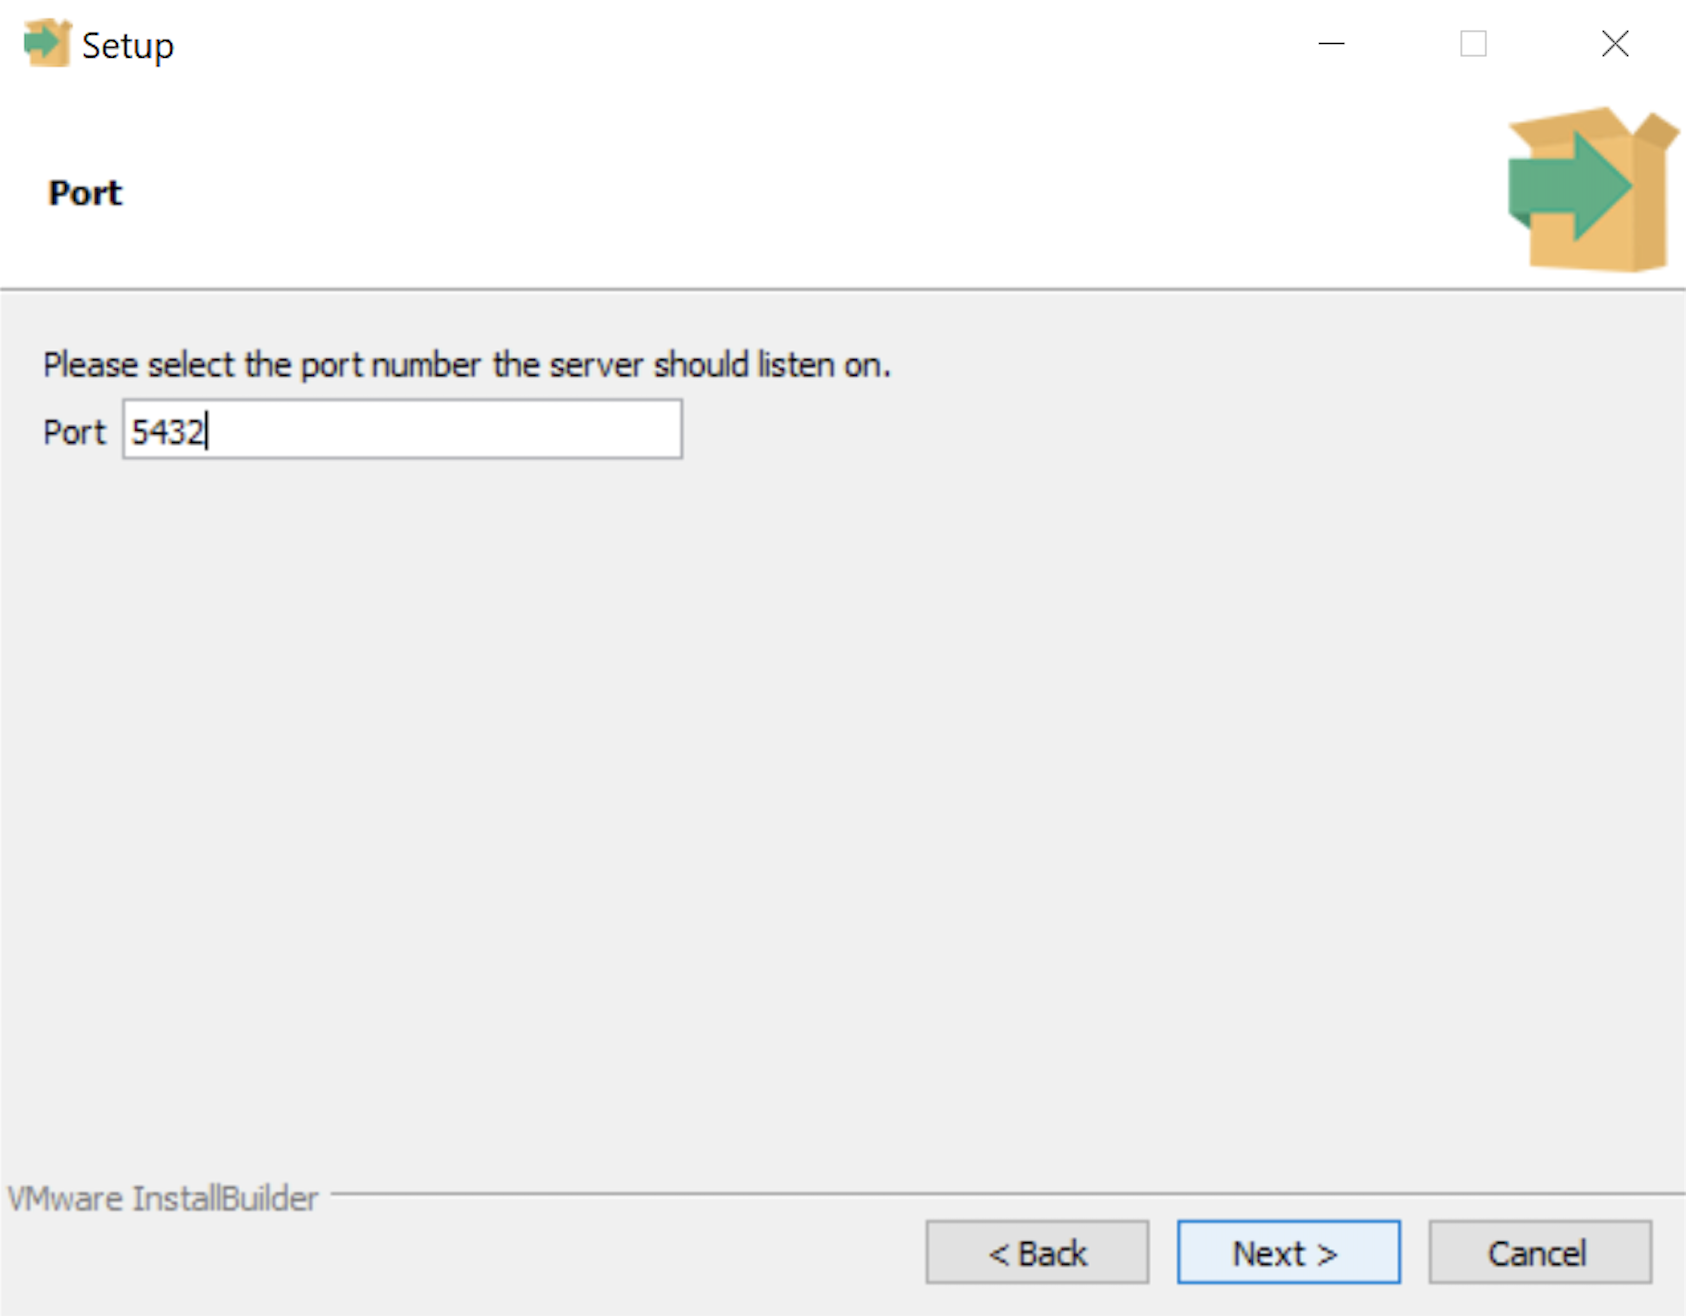
- The Setup dialog lets you select the port number for the PostgreSQL listener. Port 5432 is the standard port for a PostgreSQL database, and ports 5433 and 5434 are used sometimes. Click the Next button to continue.
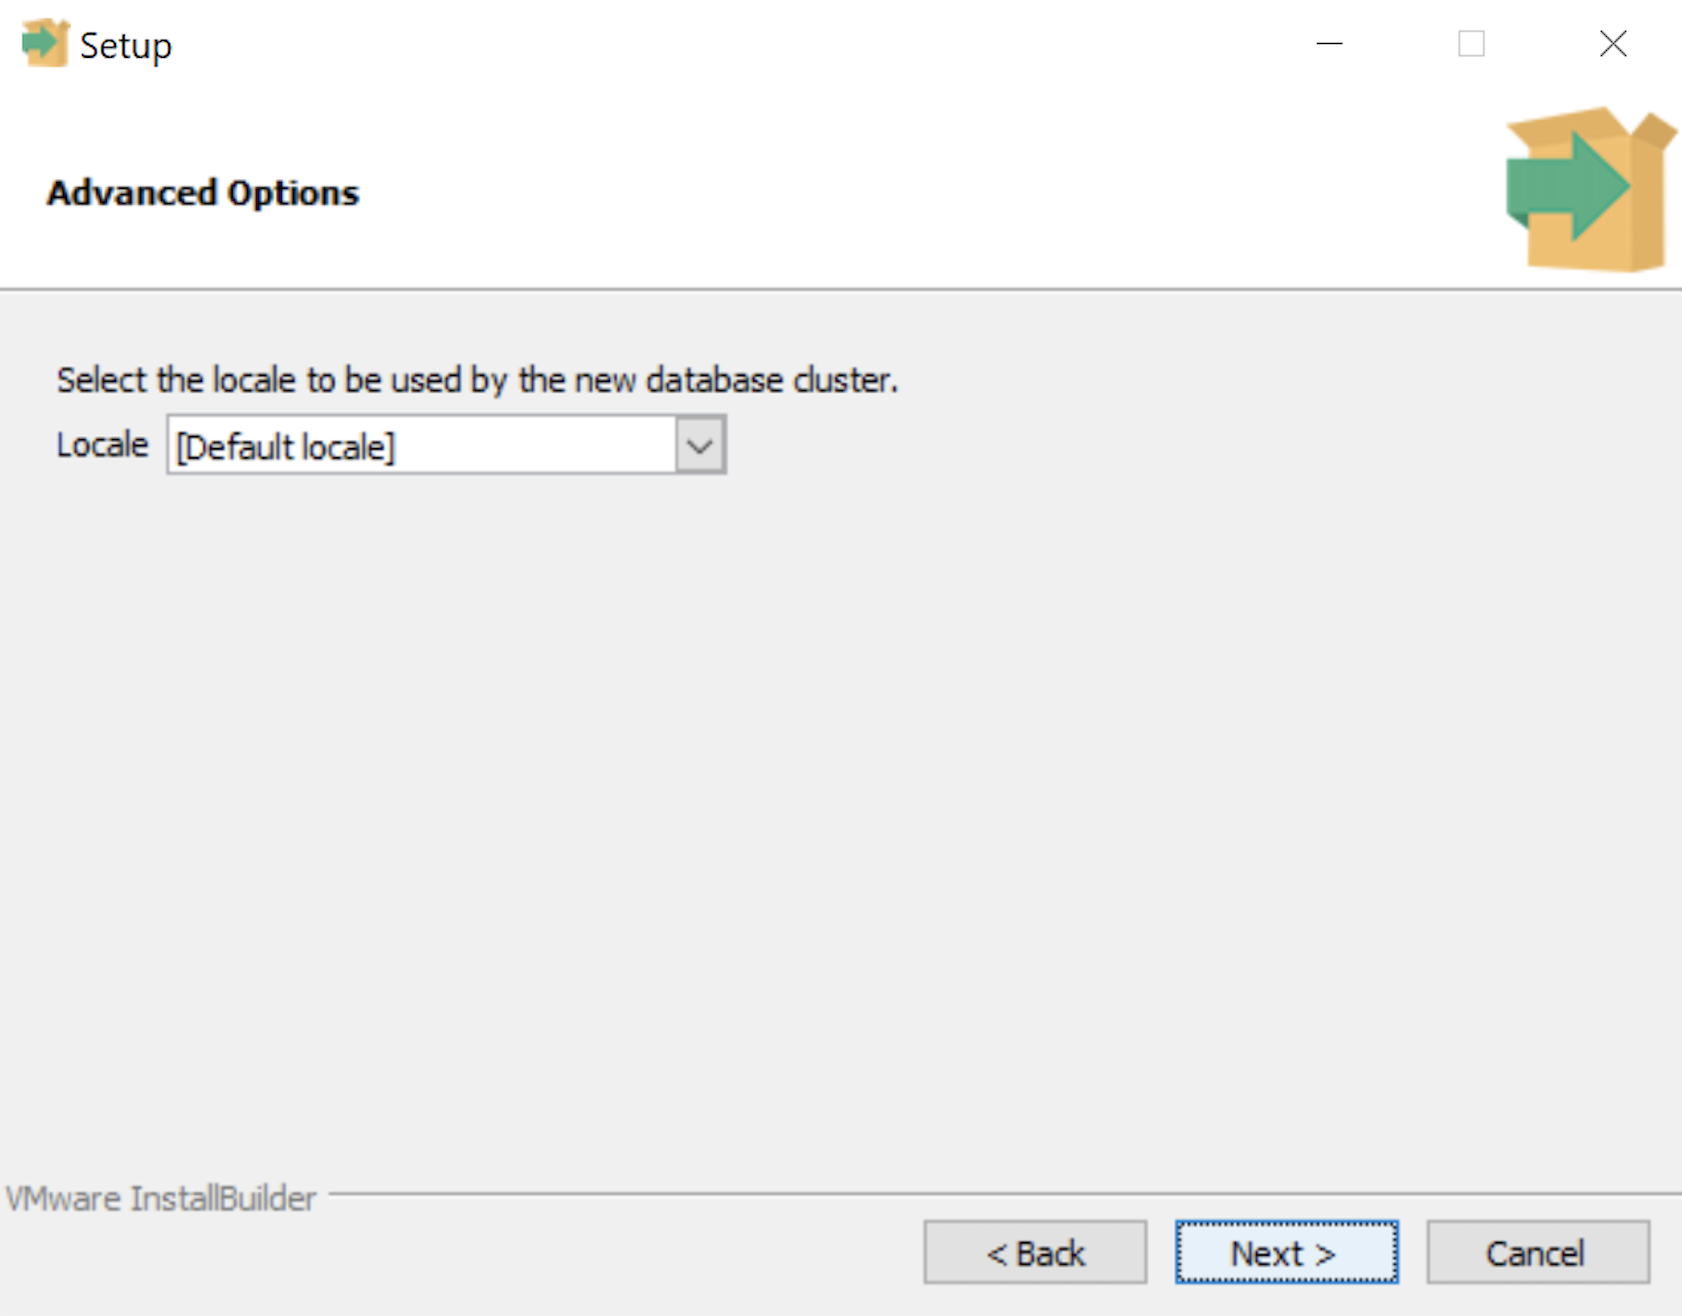
- The Advanced Options dialog lets you select the Locale for the database. As a rule for a development instance you should chose the Default locale. Click the Next button to continue.
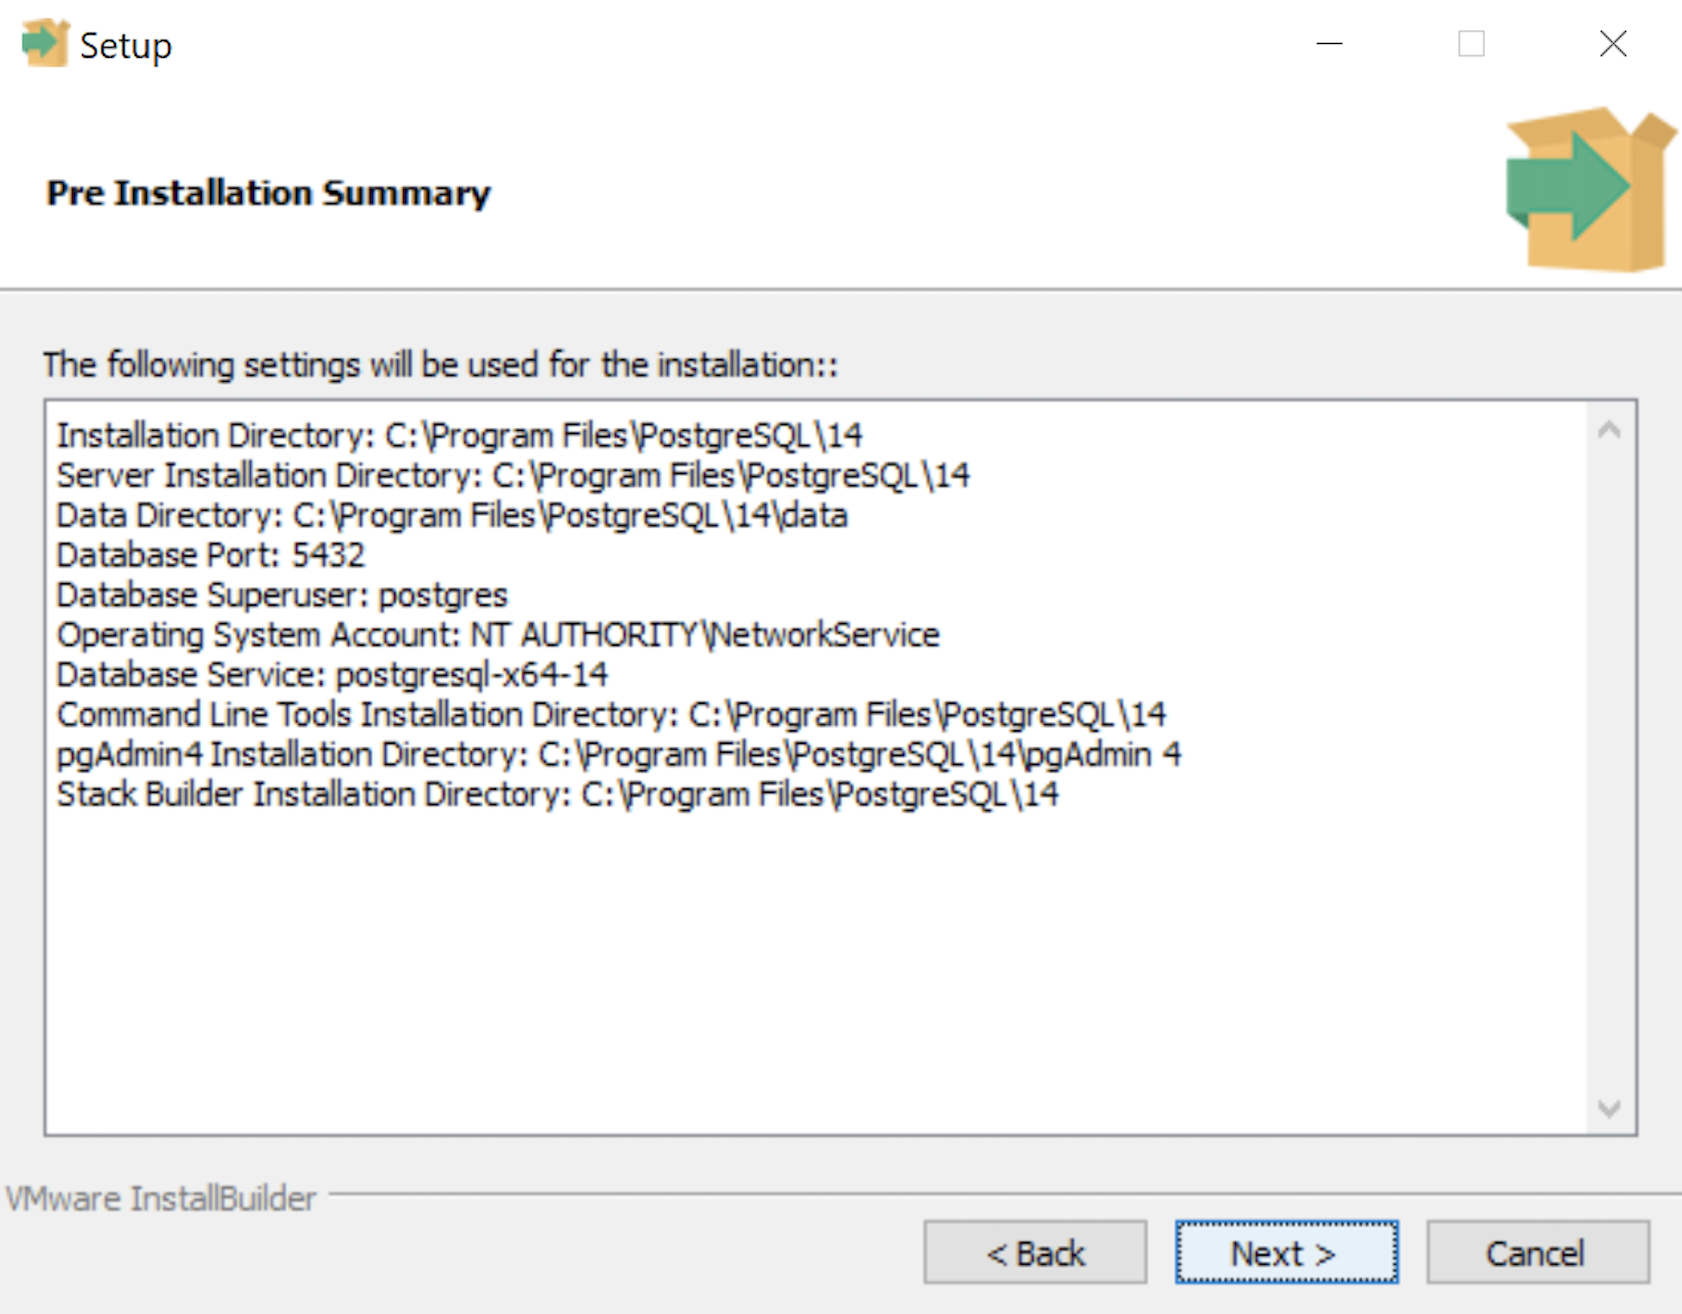
- The Pre Installation Summary dialog tells you what you’ve chosen to install. It gives you a chance to verify what you are installing. Click the Next button to continue.
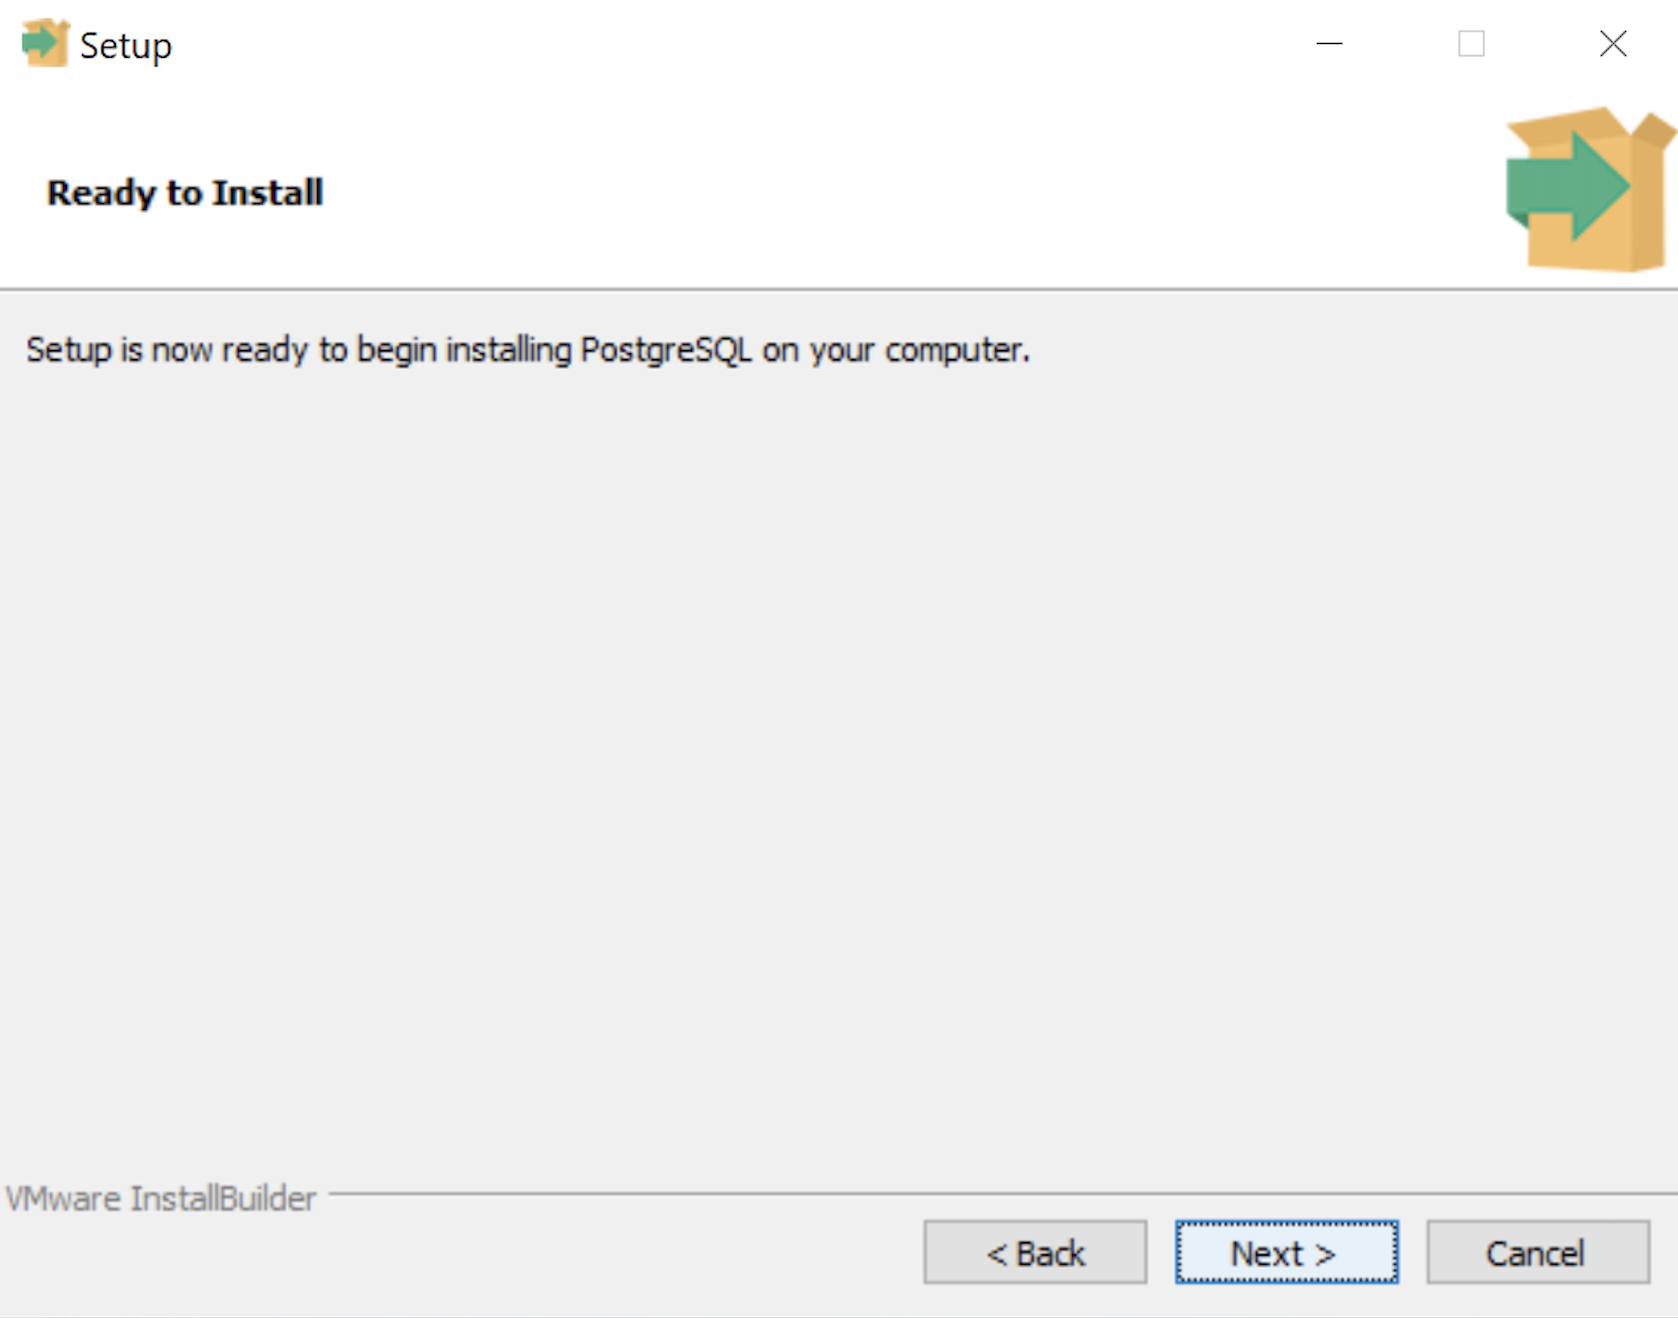
- The Ready to Install dialog lets you pause before you install the software. Click the Next button to continue.
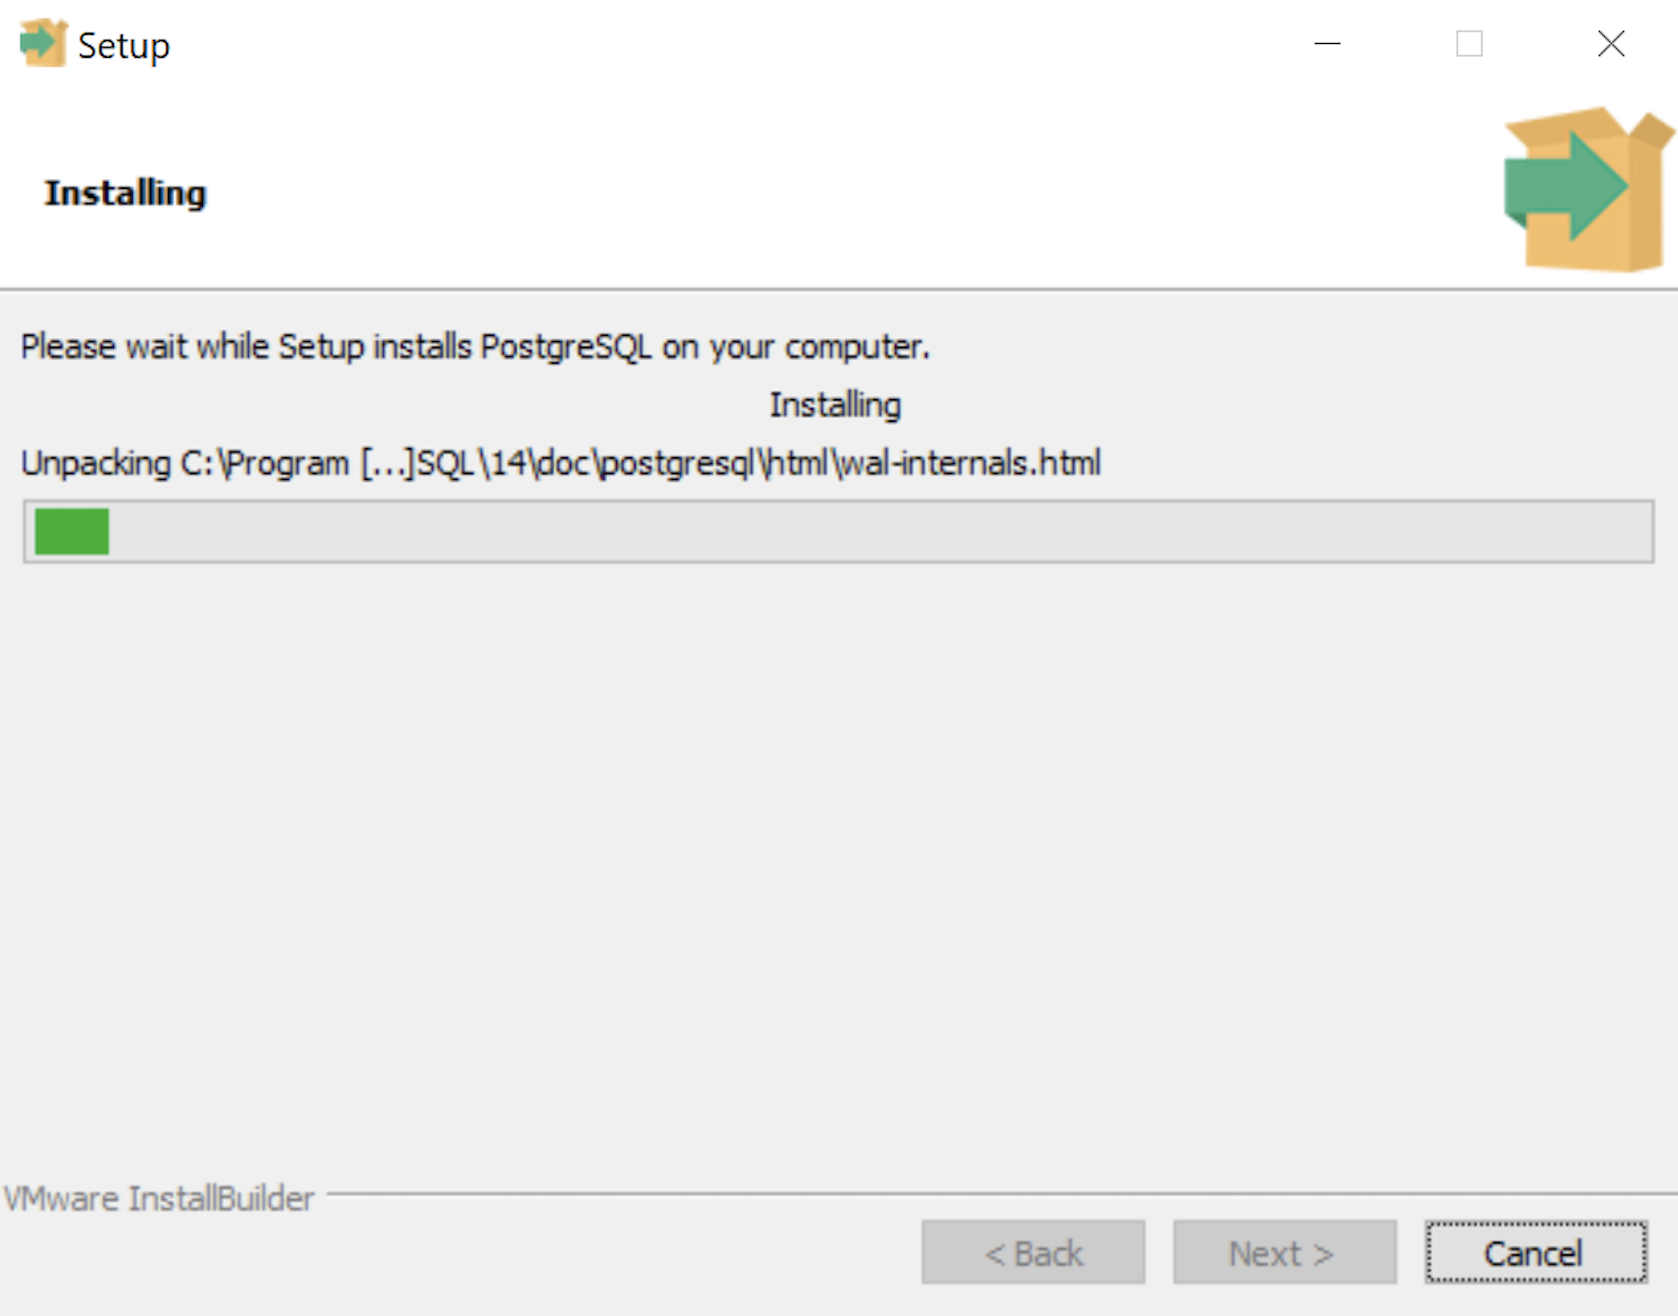
- The Installing dialog is a progress bar that will take several minutes to complete. When the progress bar completes, click the Next button to continue.
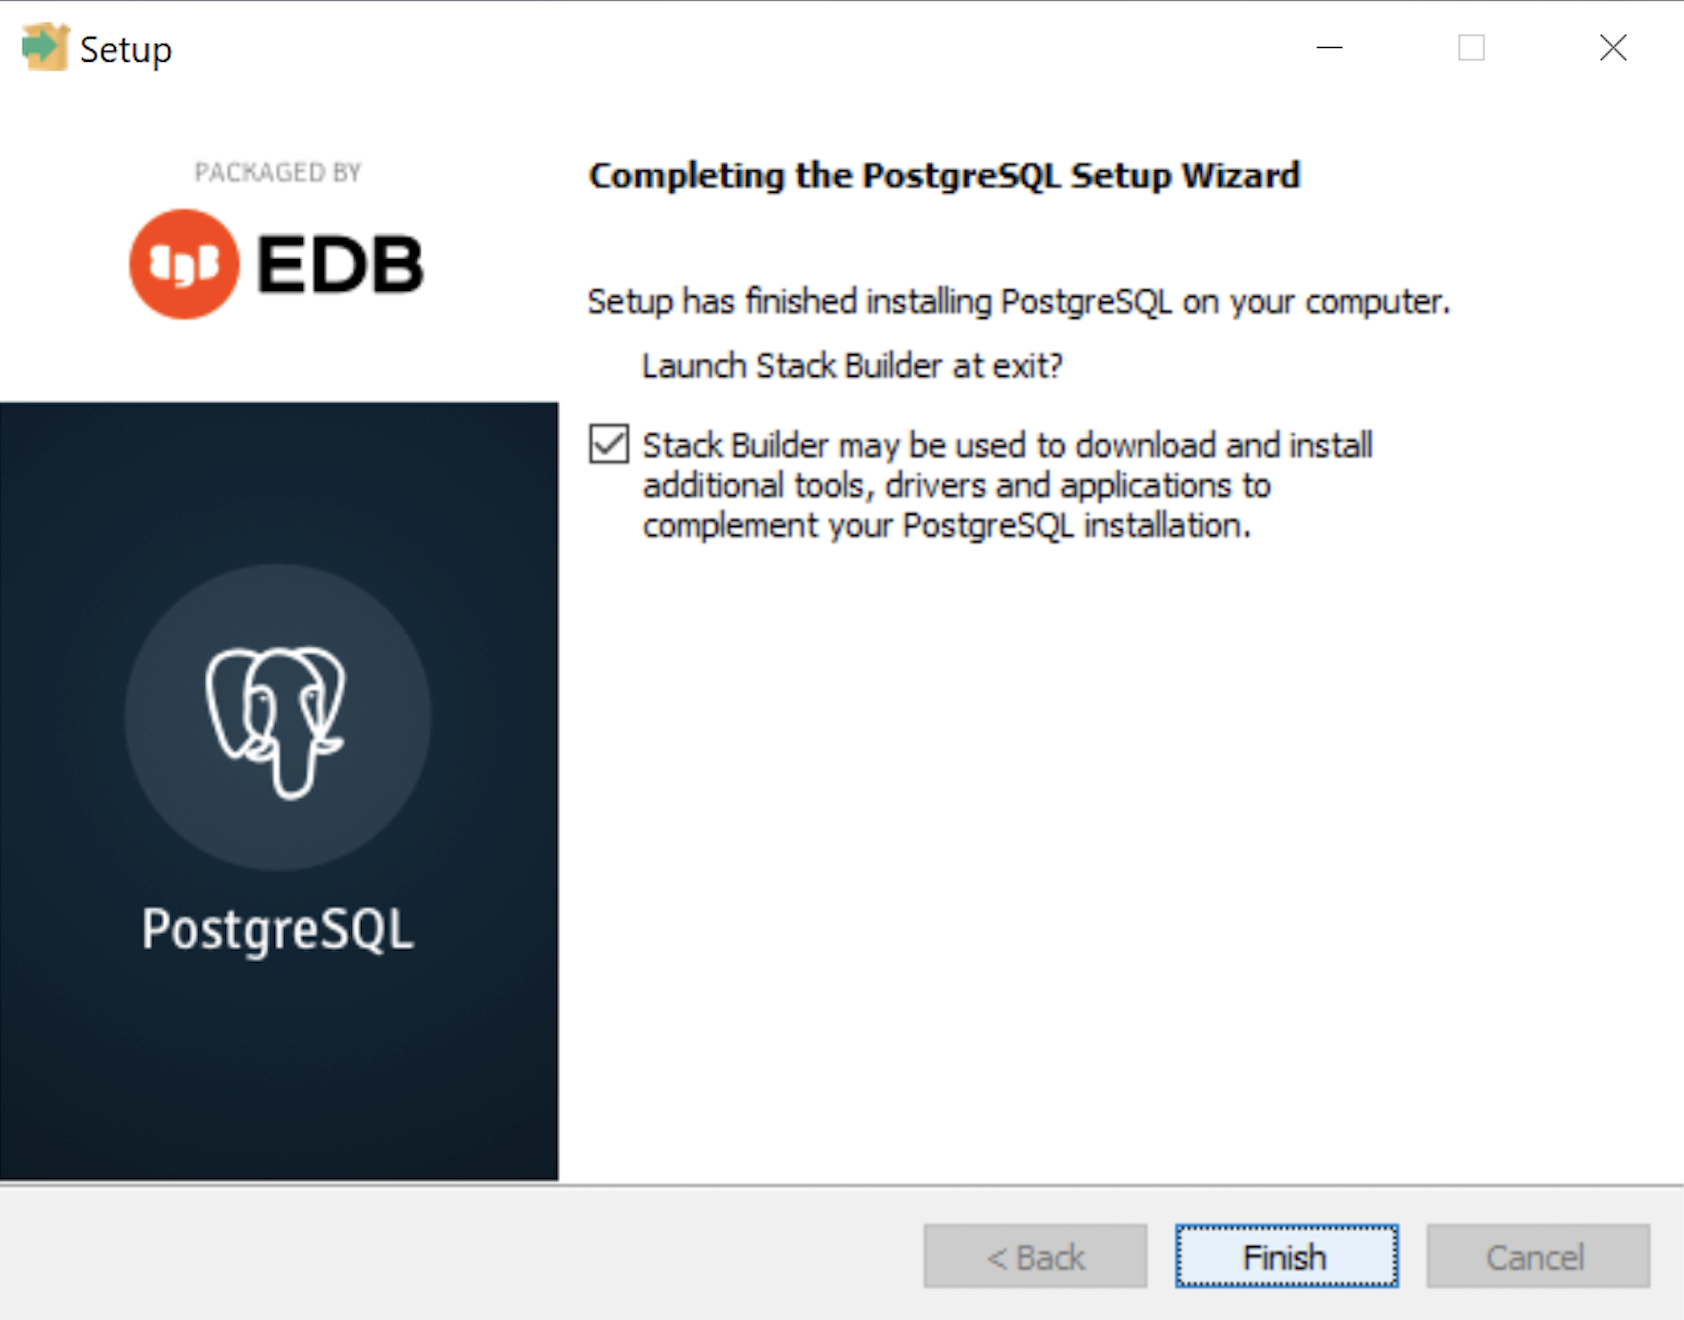
- The Completing the PostgreSQL Setup Wizard dialog tells you that the installation is complete. Click the Finish button to complete the PostgreSQL installation.
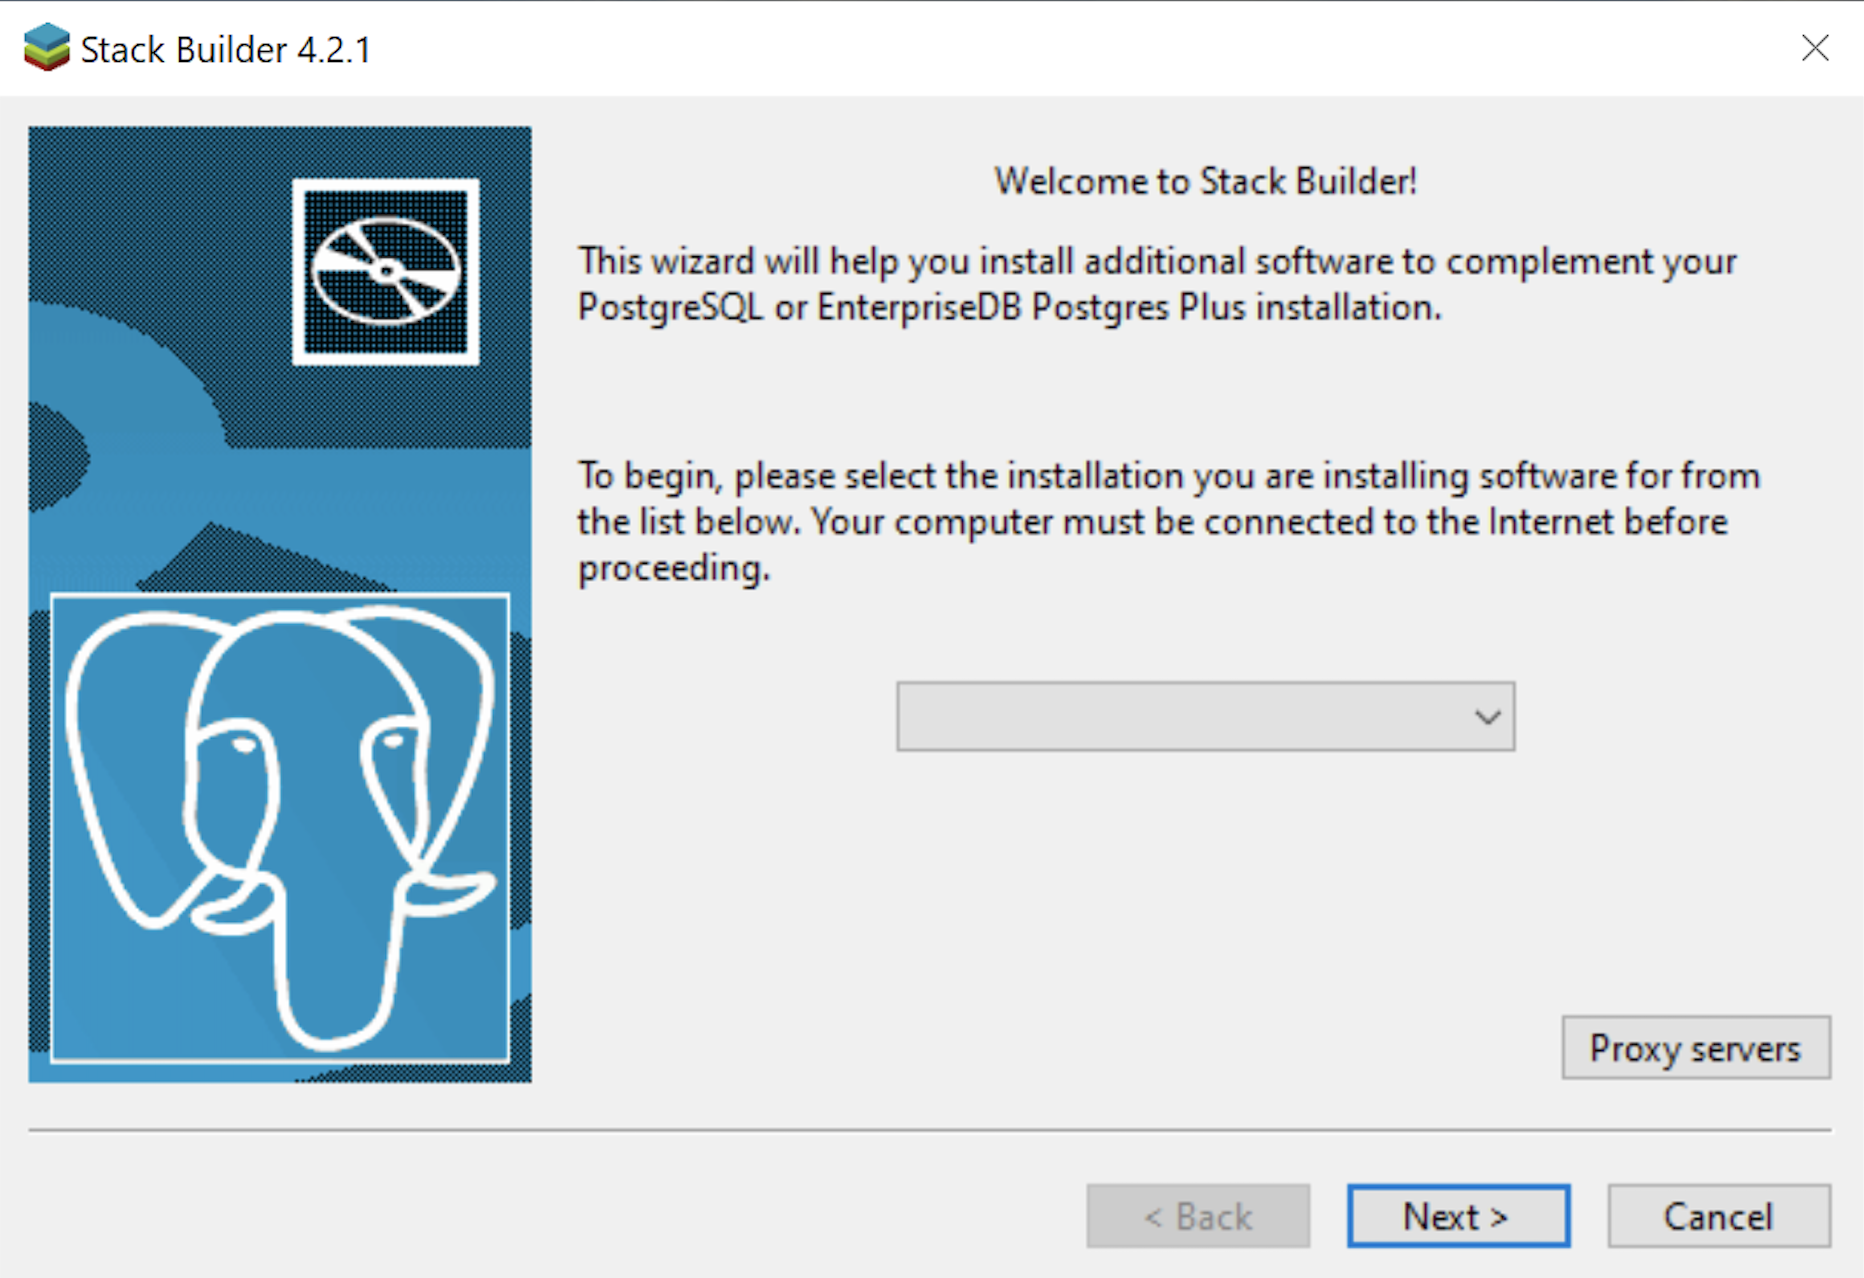
- The Welcome to Stack Builder! dialog lets you choose an installation from those on your computer to build a software stack. Click the drop down box to chose an installation.
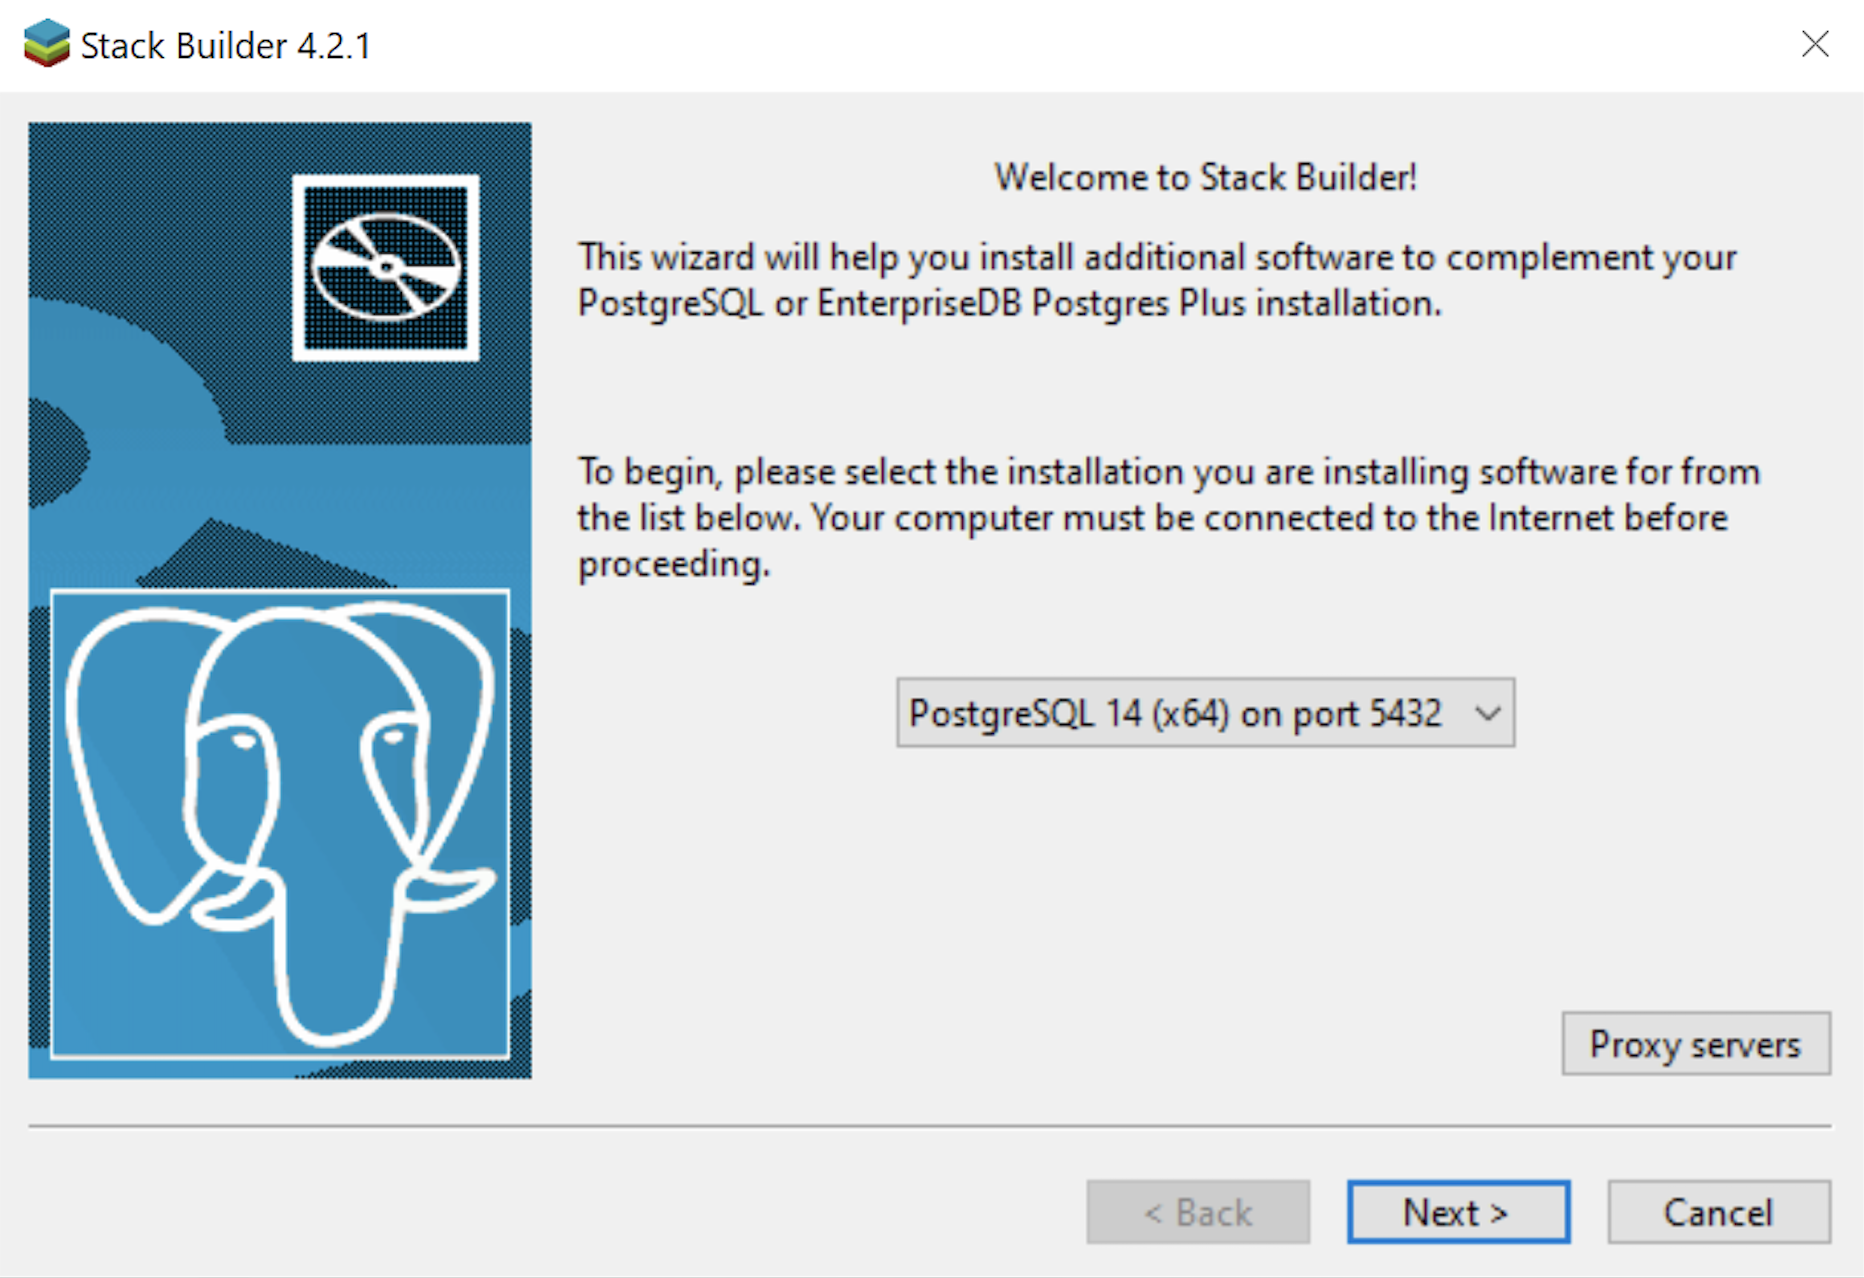
- The second copy of the Welcome to Stack Builder! dialog shows the choice of the PostgreSQL installation you just completed. Click on the Next button to continue.
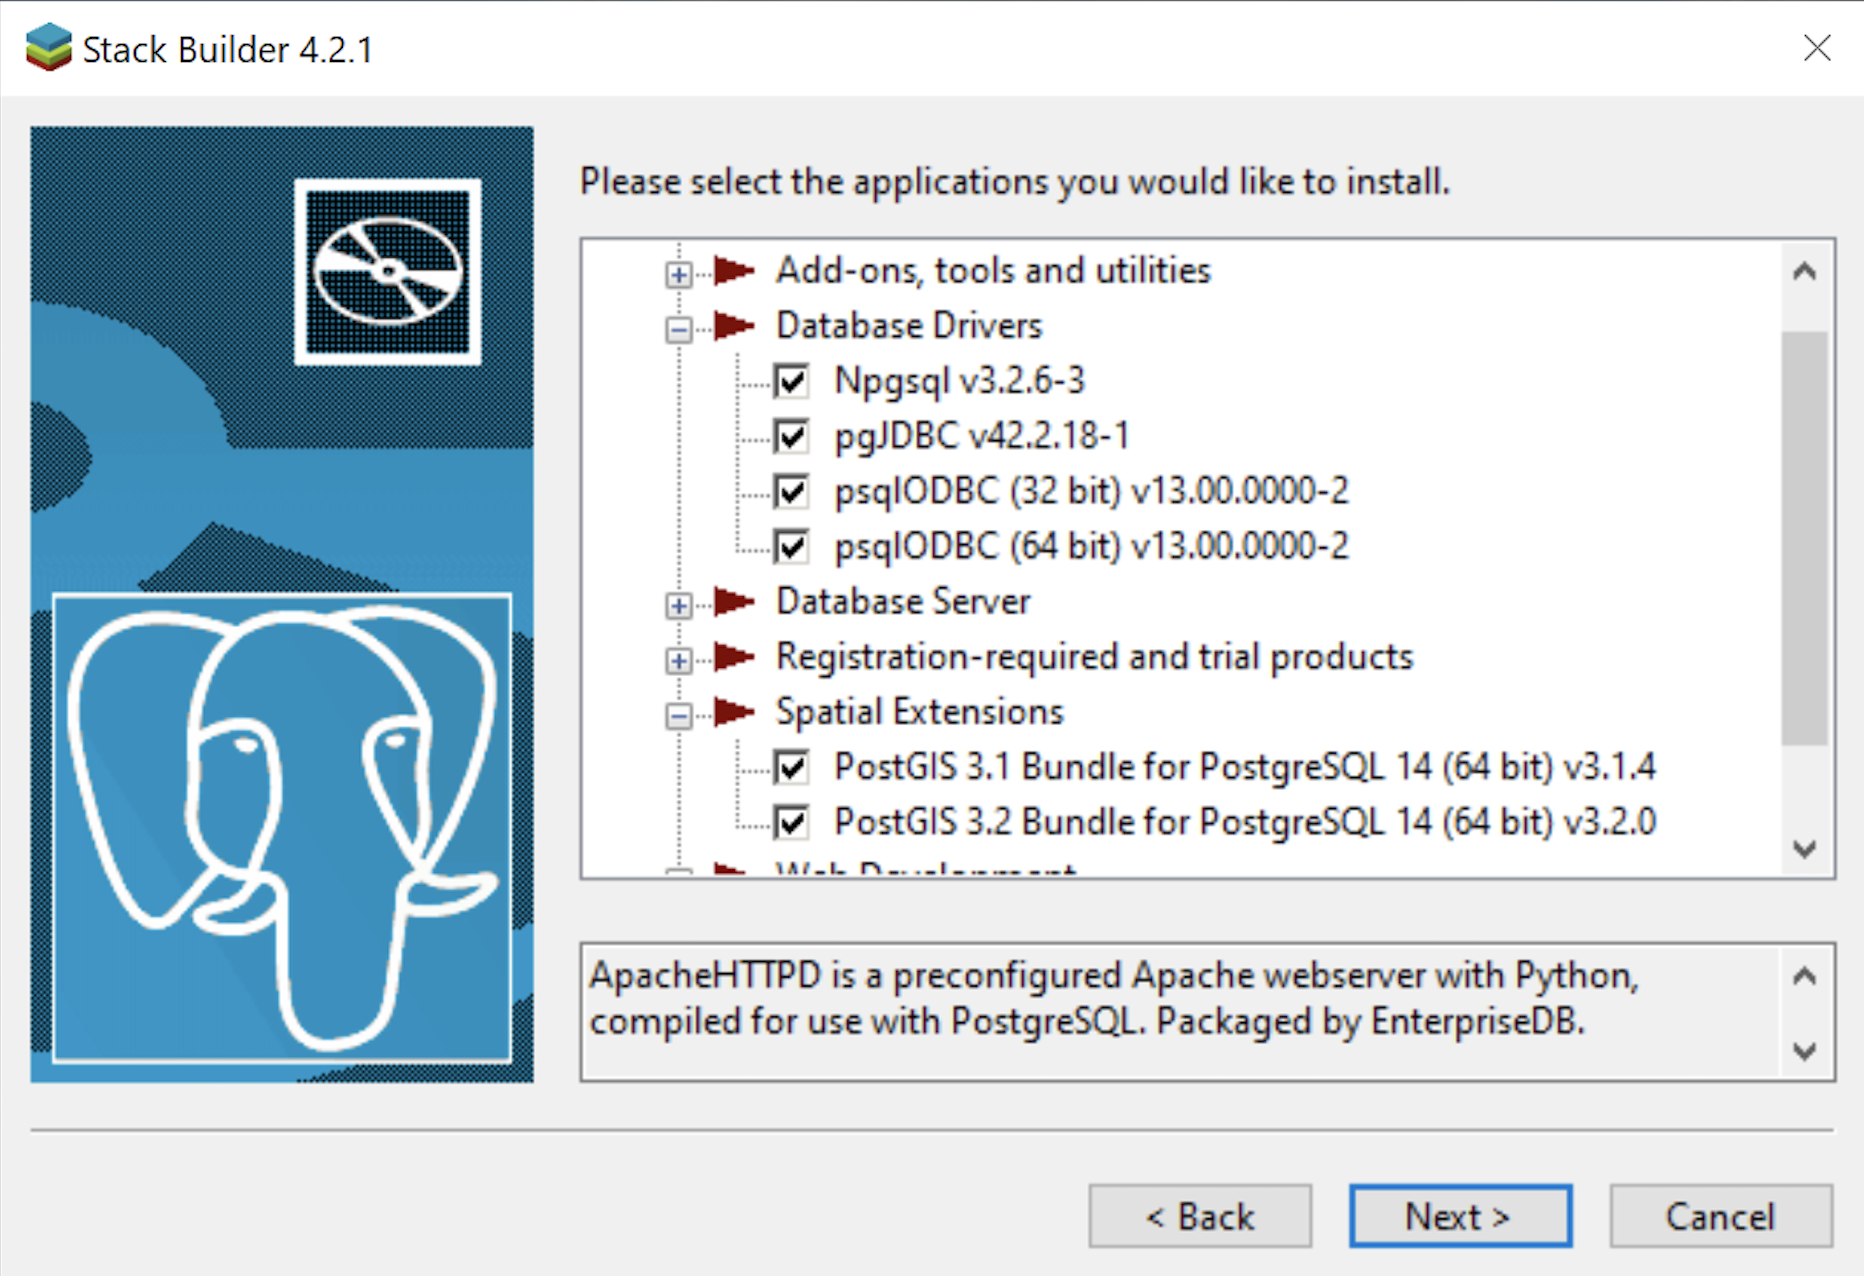
- The Stack Builder dialog prompts you to choose the products to install. You should choose all four database drivers – Npgsql, pgJDBC, psqlODBC, psqlODBC; and the PostGIS 3.1 and PostGIS 3.2 Bundles for PostgreSQL. Then, click the Next button to continue.
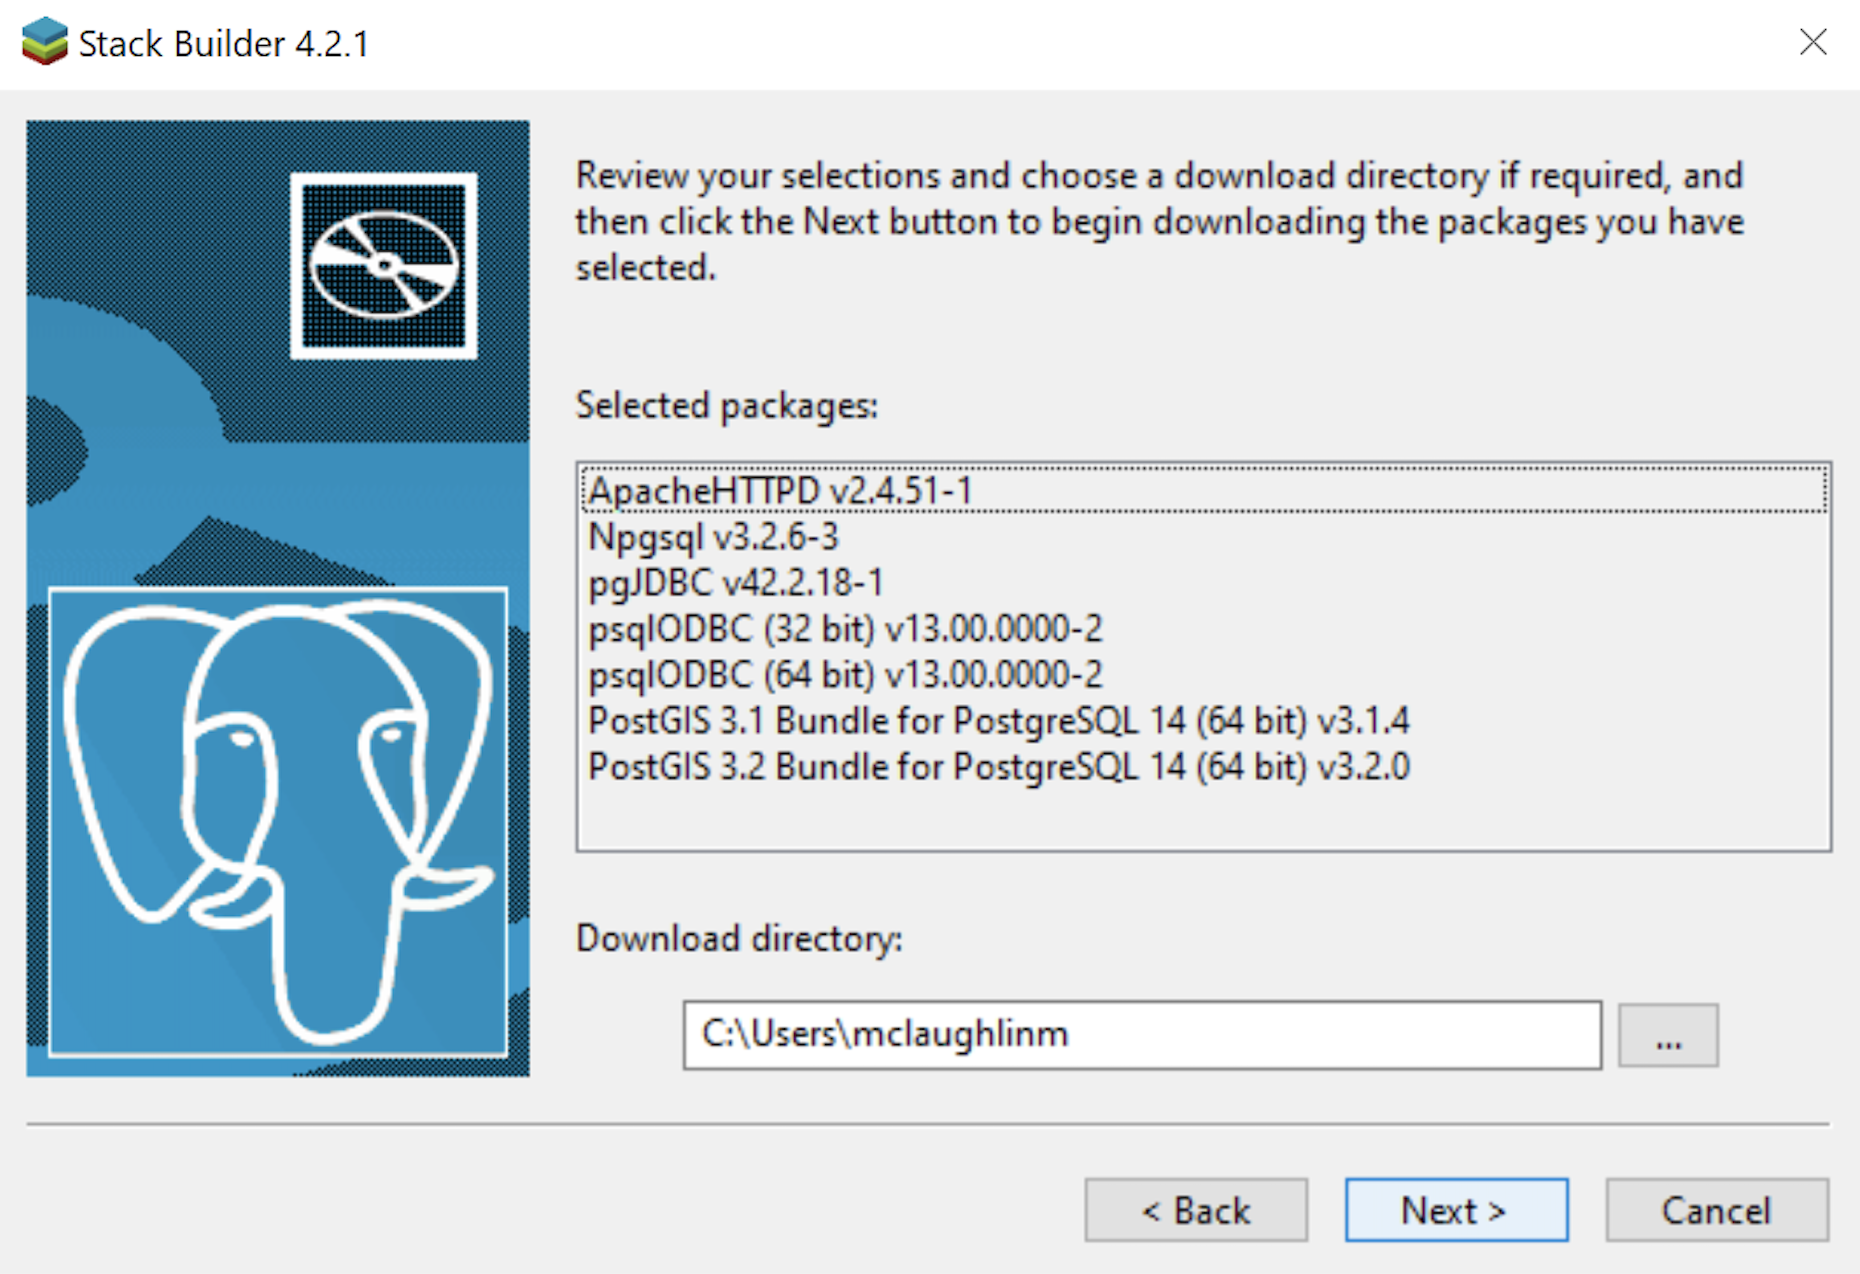
- The Stack Builder dialog shows you the products you will install. You should choose all four database drivers – Npgsql, pgJDBC, psqlODBC, psqlODBC; and the PostGIS 3.1 and PostGIS 3.2 Bundles for PostgreSQL. Click the Next button to continue.
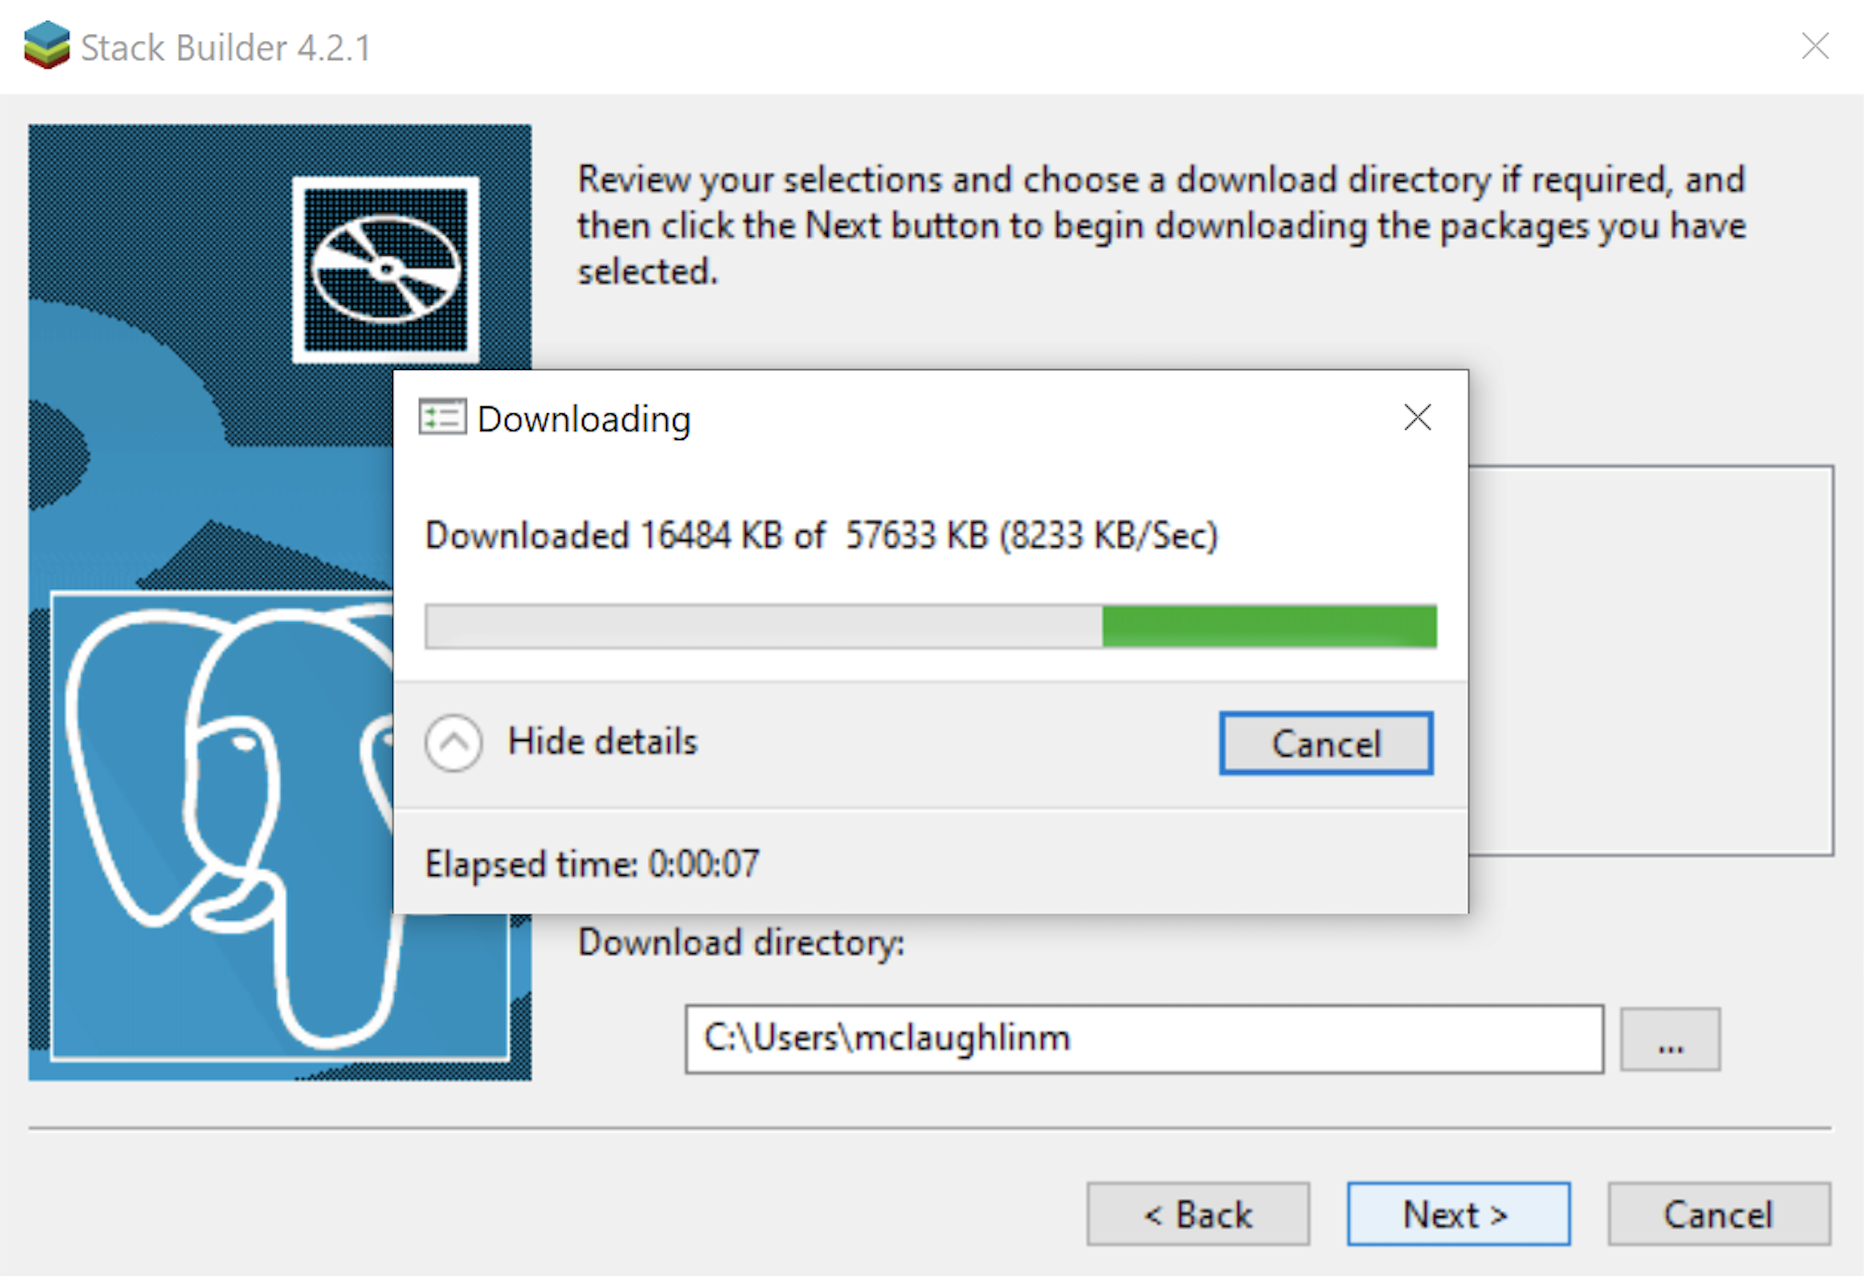
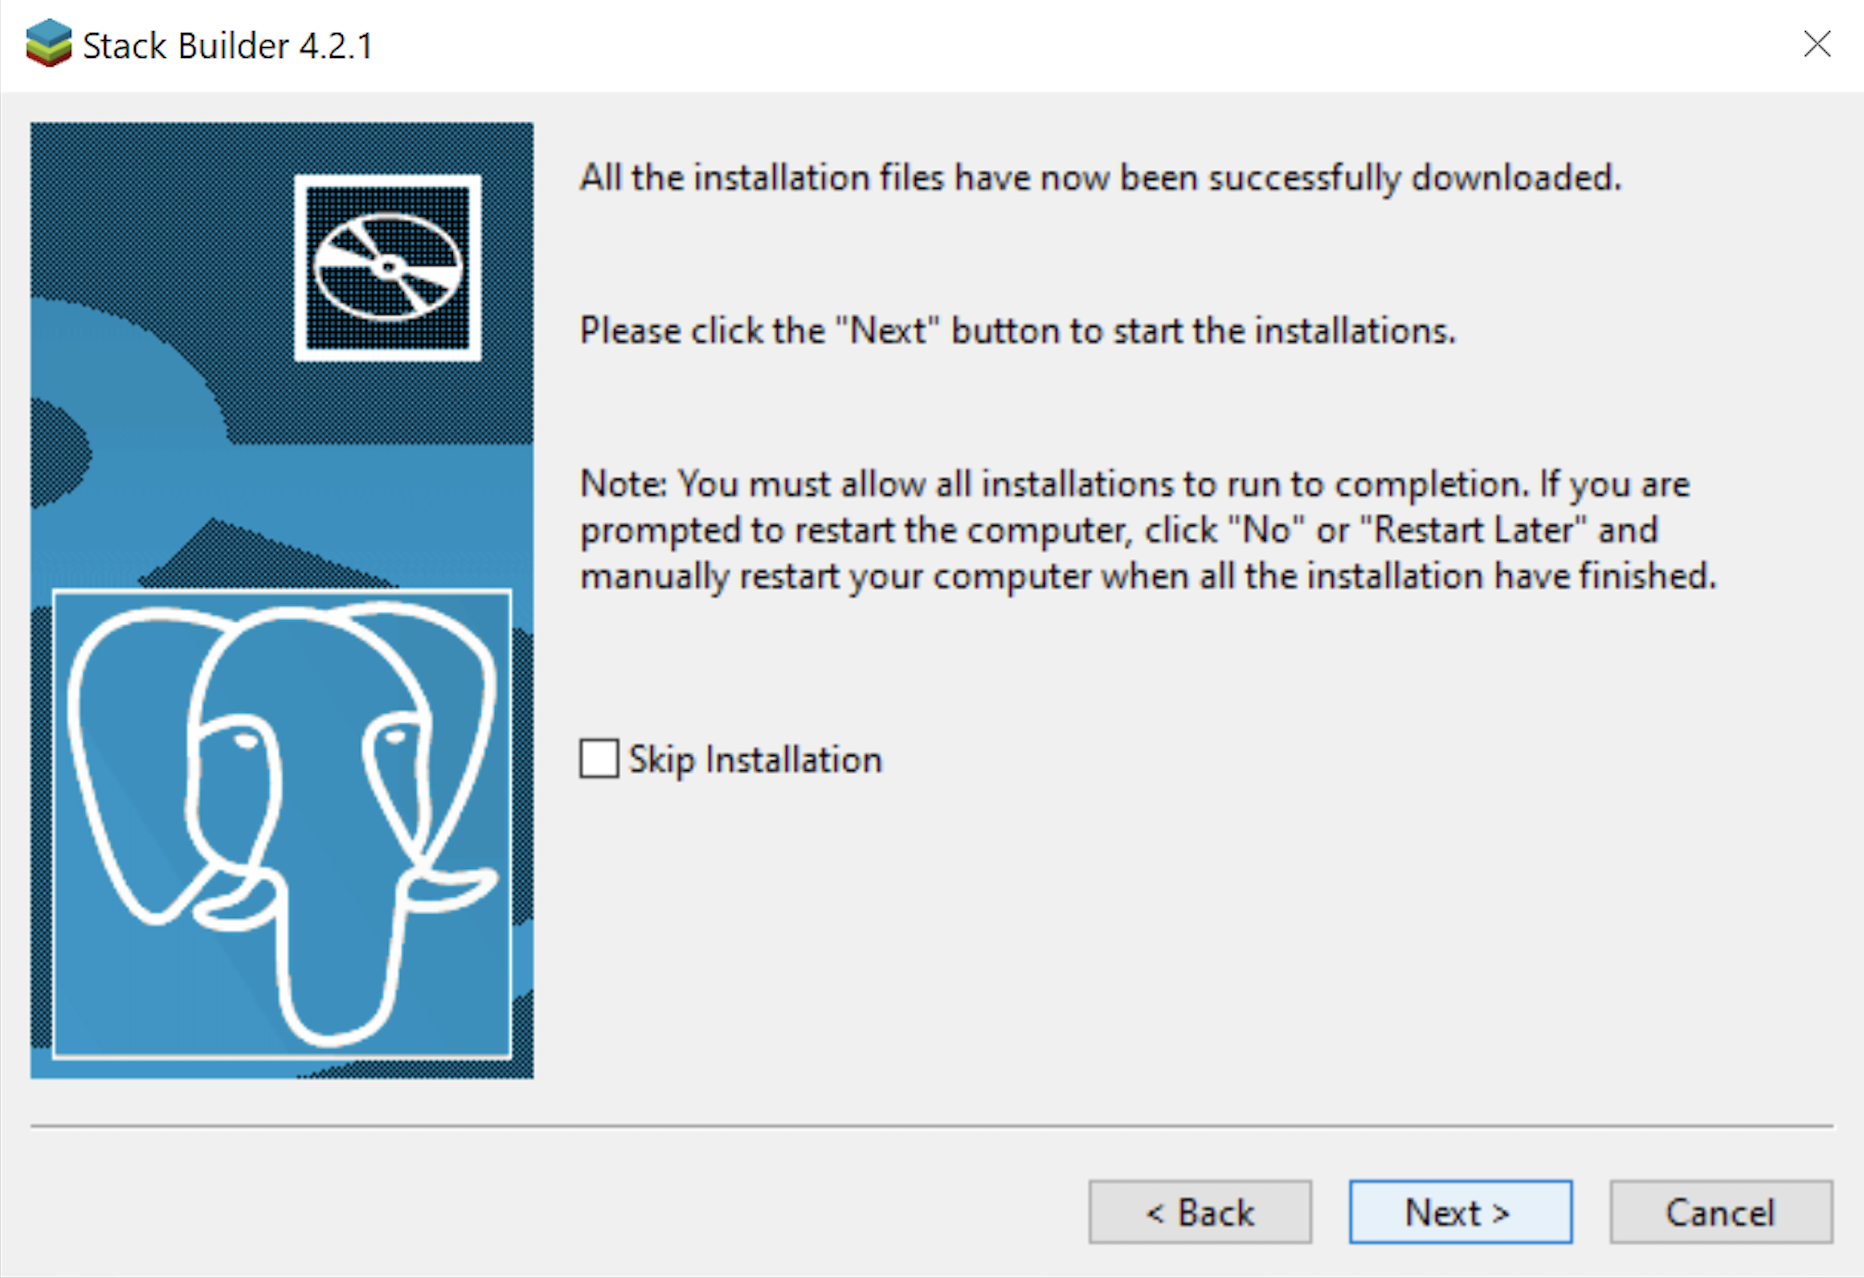
- The Stack Builder dialog shows a download progress bar subdialog, which may take some time to complete. The Stack Builder dialog’s Progress Bar automatically advances to the next dialog box.
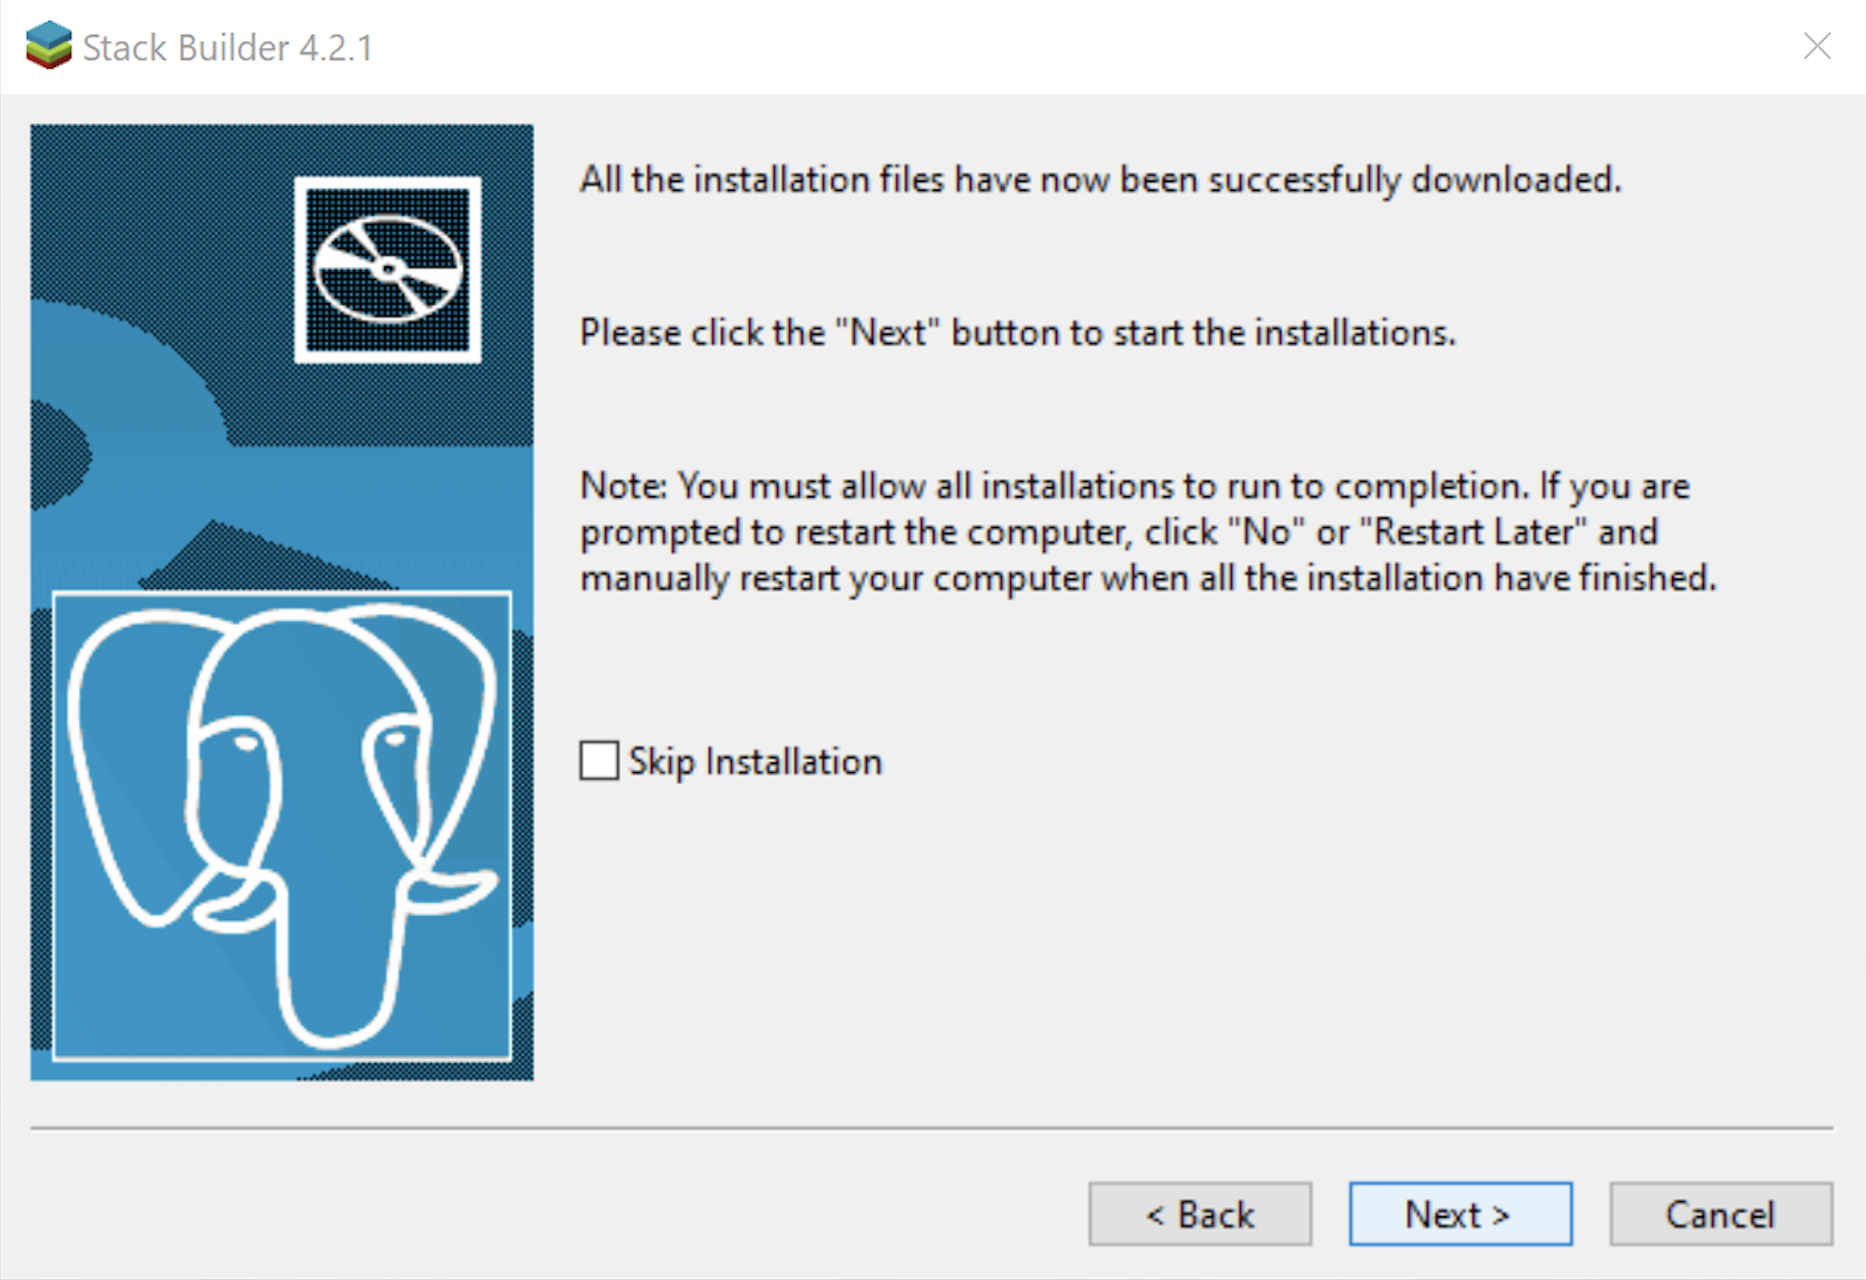
- The Stack Builder dialog tells you the products you downloaded. Click the Next button to continue the developer stack.
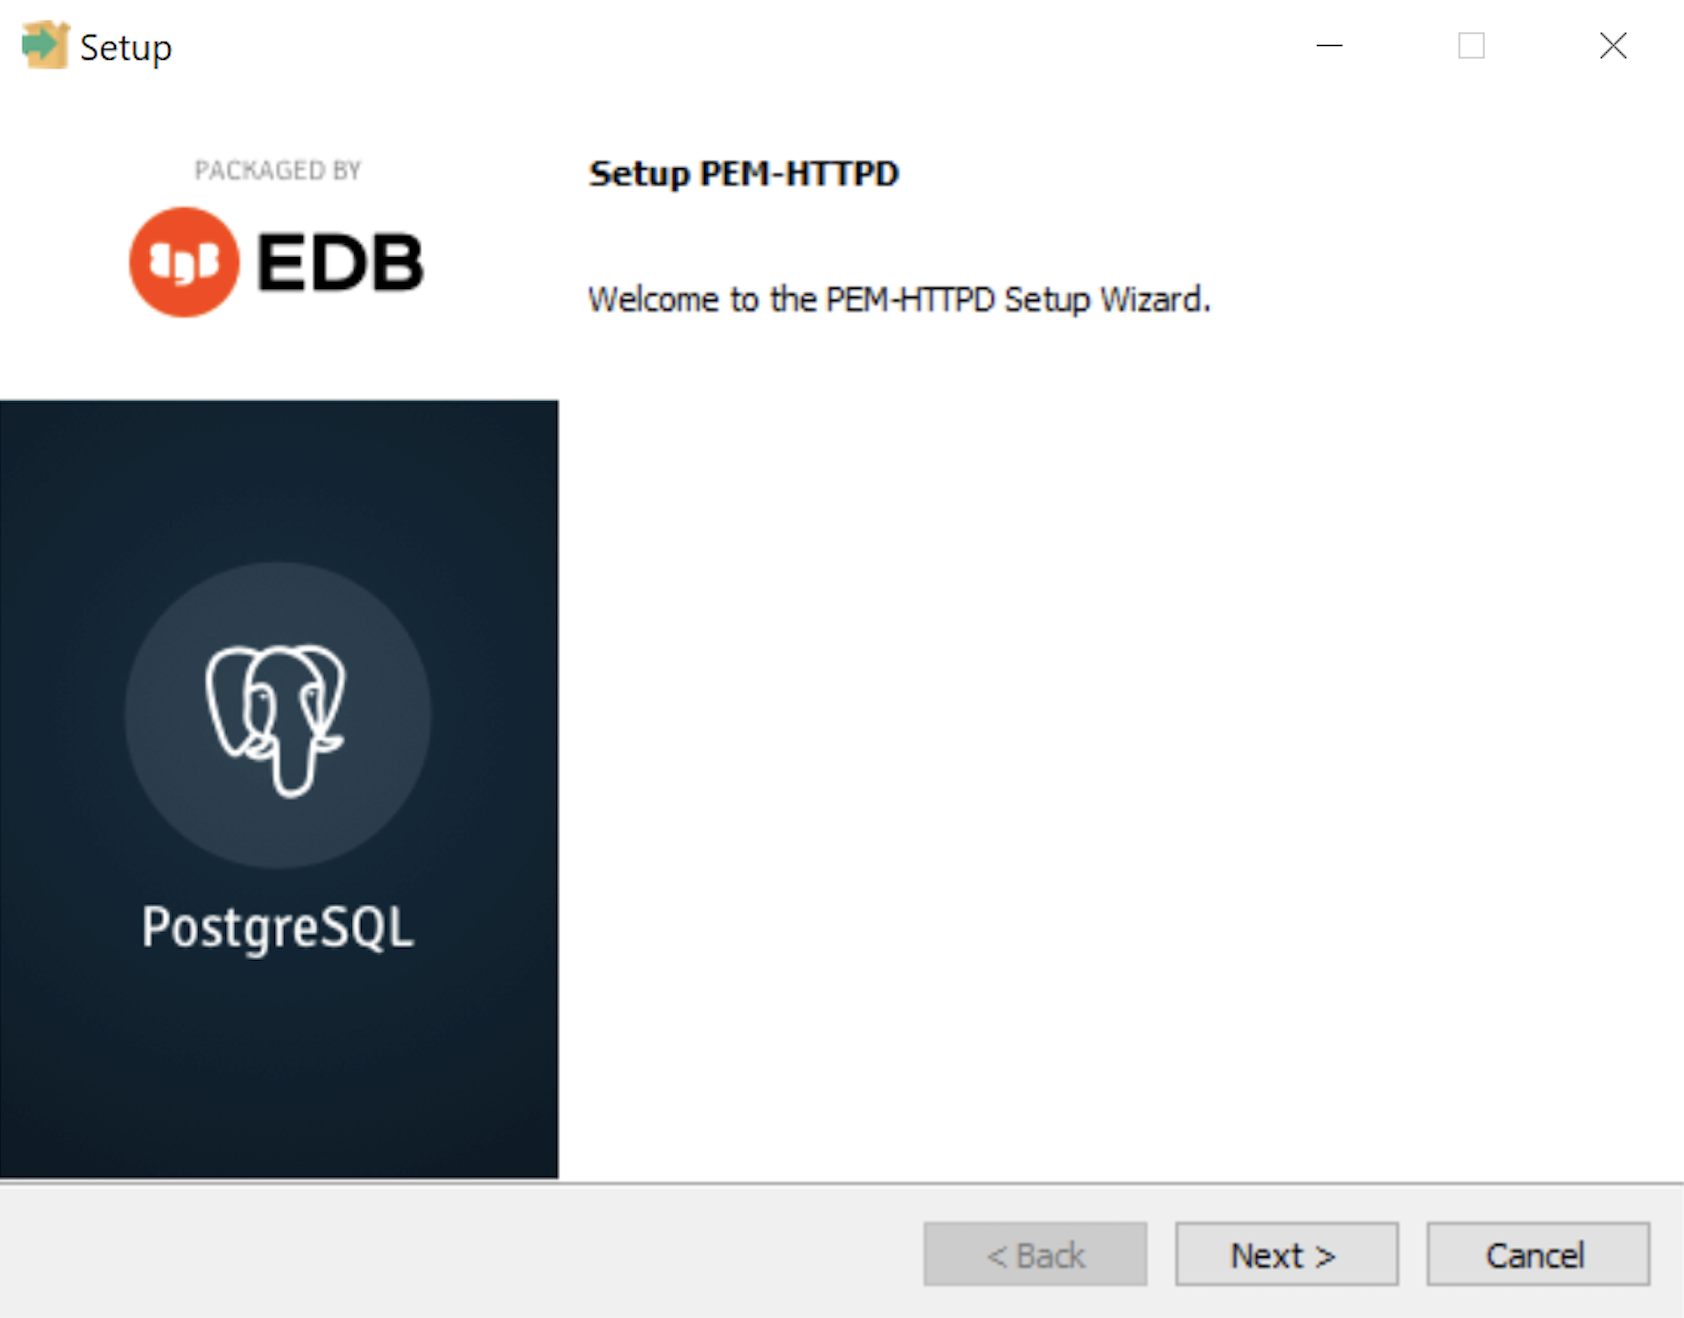
- The Setup dialog advises that you are installing the PEM-HTTPD Setup Wizard. Click the Next button to continue.
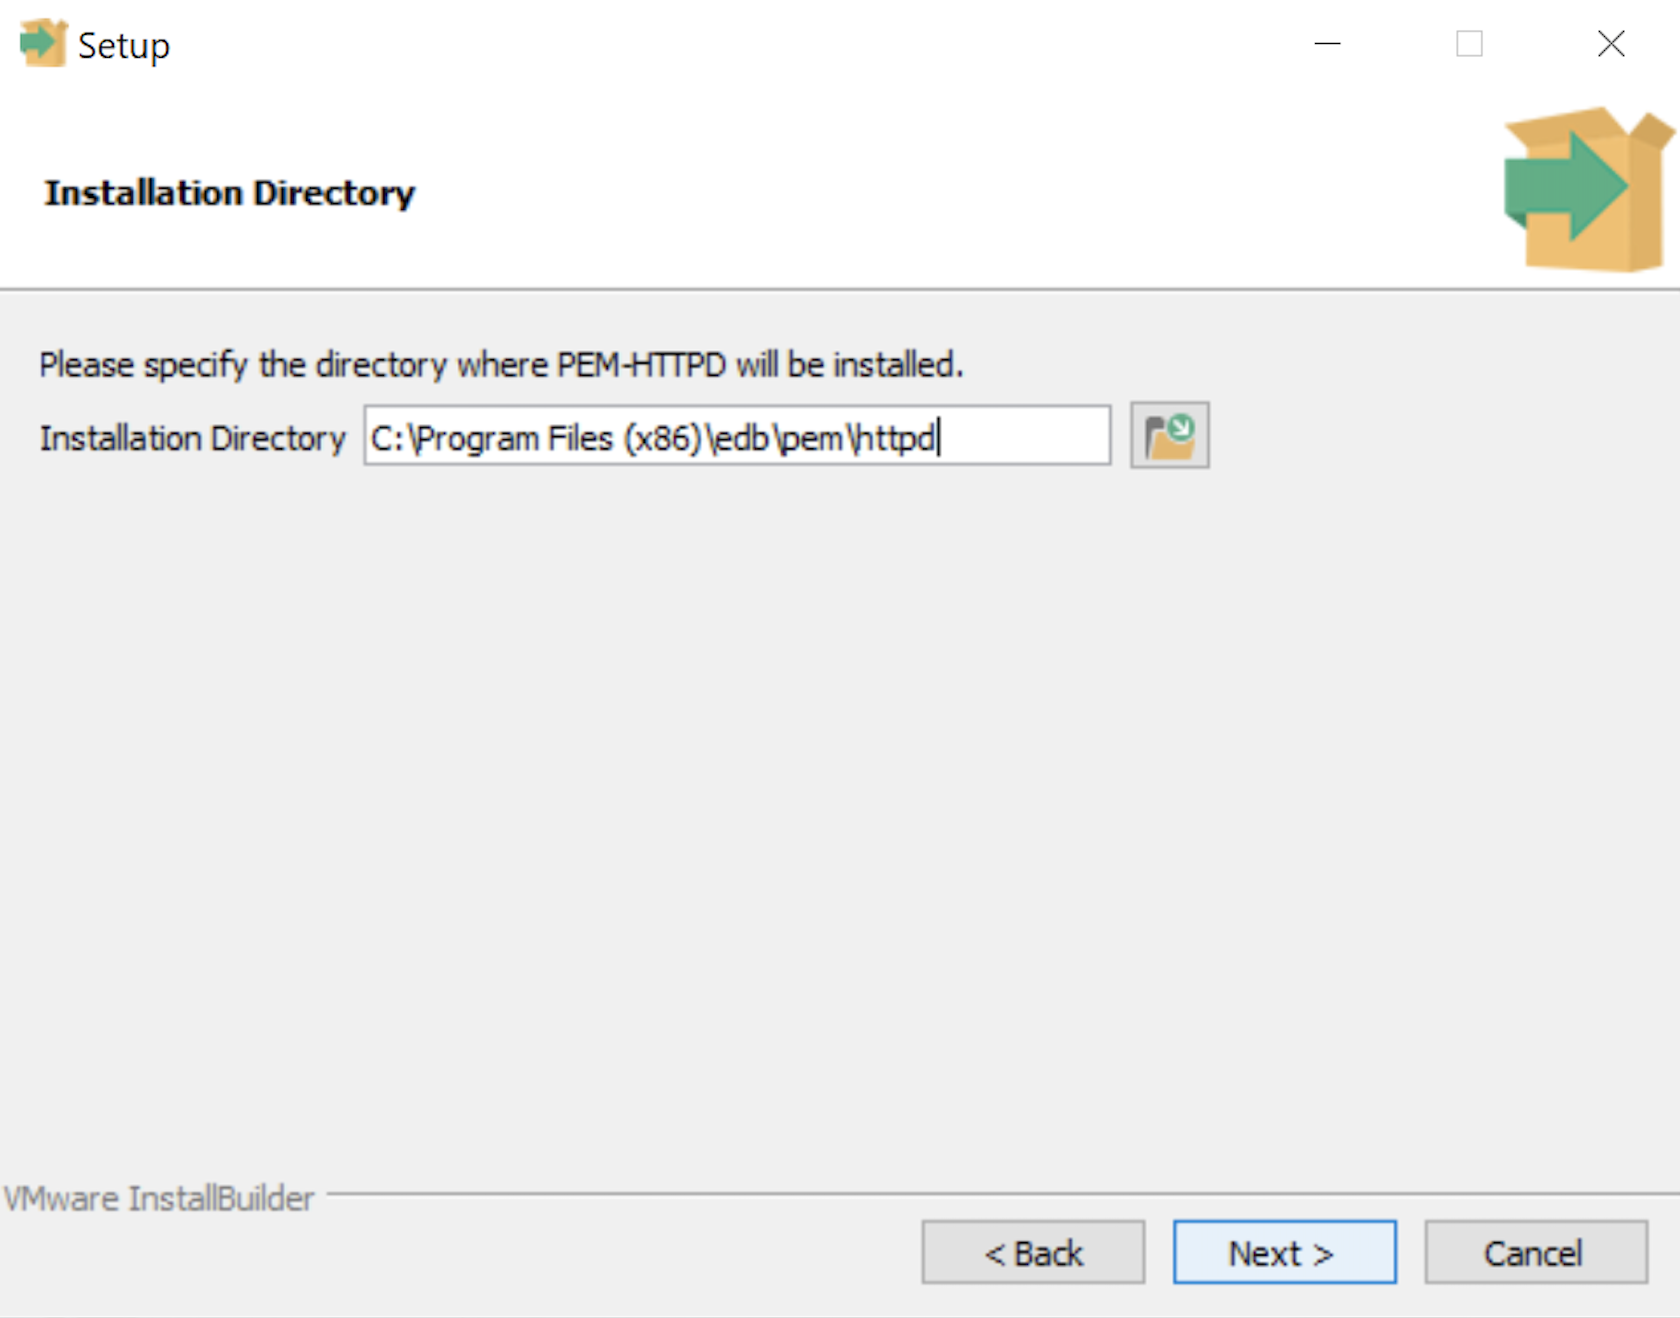
- The Installation Directory dialog prompts you for an installation directory. The default directory is C:\Program Files (x86)\edb\pem\httpd and you should use it because that’s where Windows 10 puts 64-bit libraries. Click the Next button to continue.

- The Setup dialog lets you select the port number for the HTTP listener. Port 8080 is the standard port for an HTTP listener, and ports 8081, 8082, and so forth are used when you have more than one HTTP listener on a single server or workstation. Click the Next button to continue.
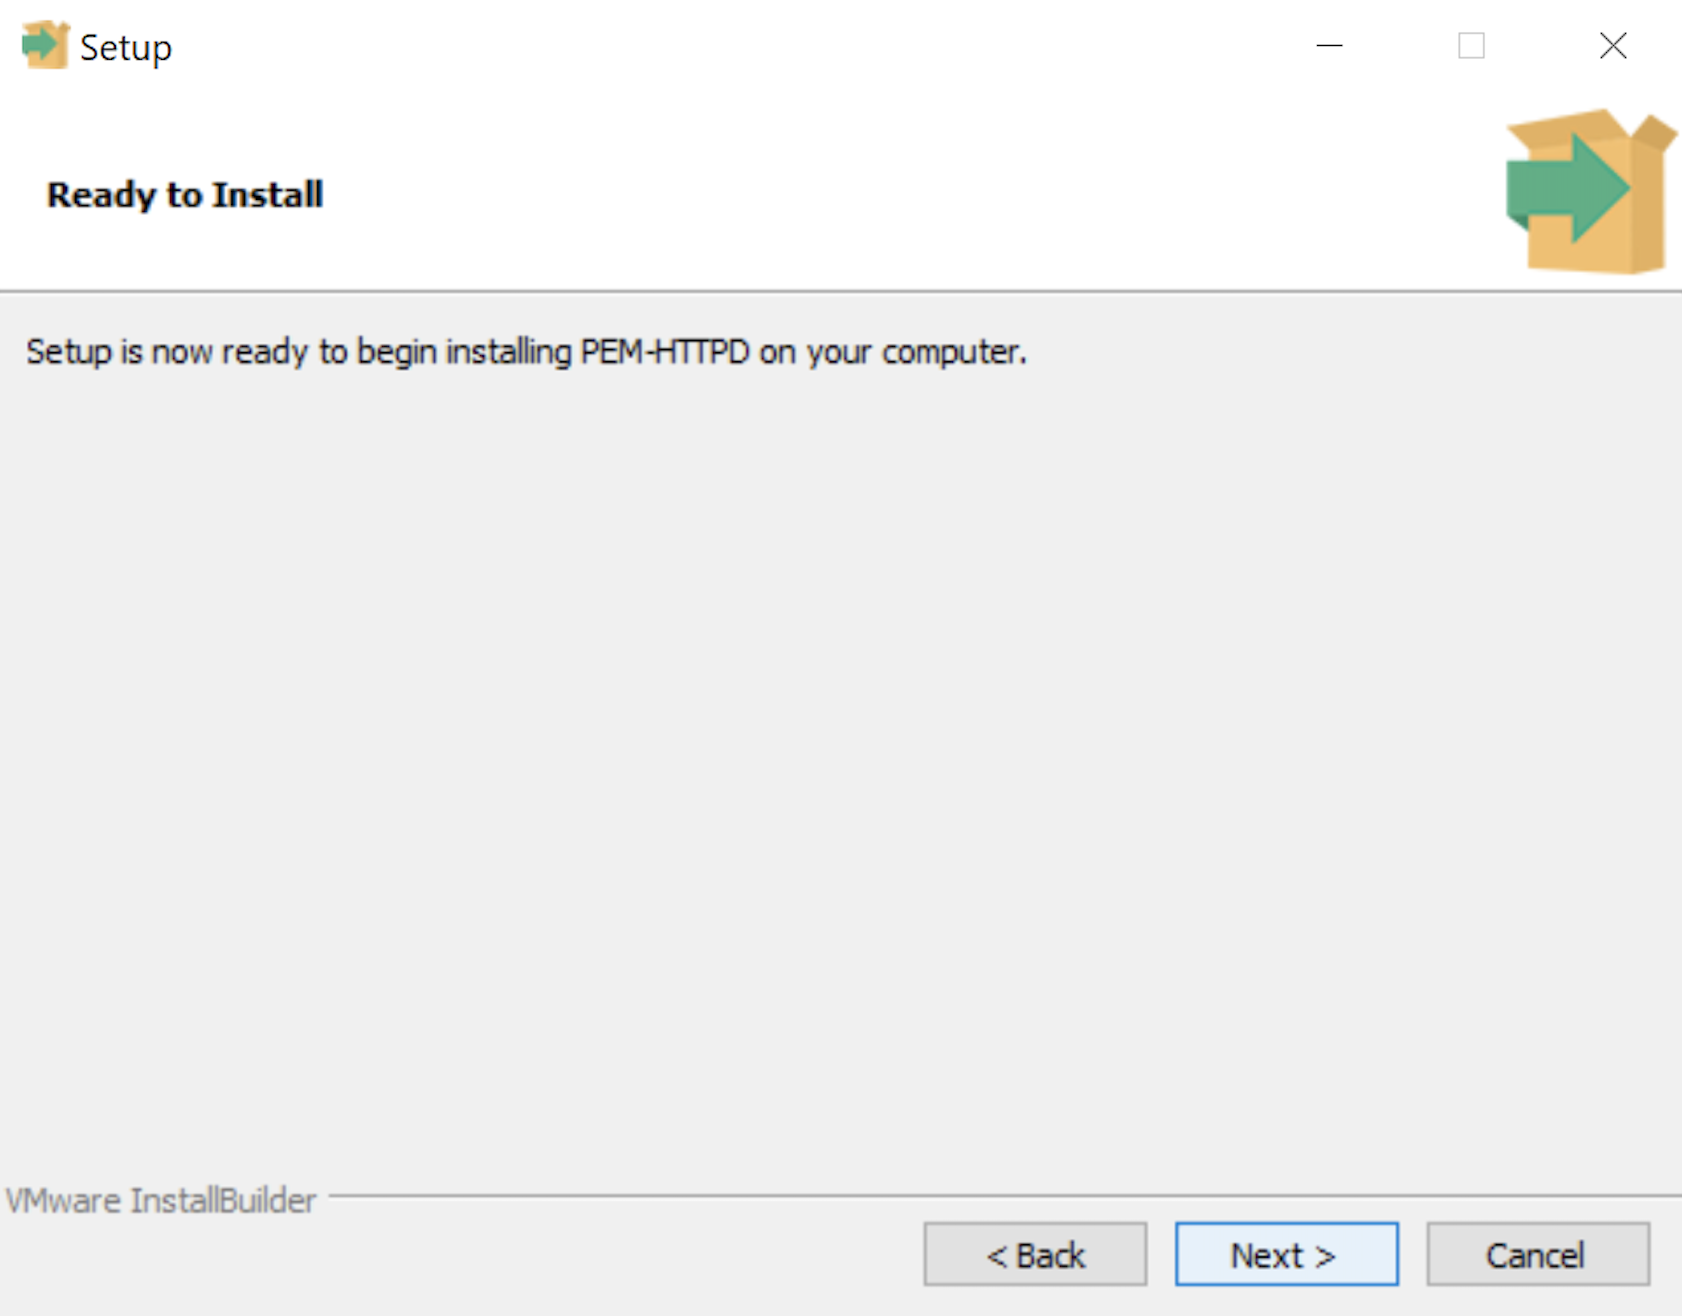
- The Ready to Install dialog lets you pause before you install the software. Click the Next button to continue.
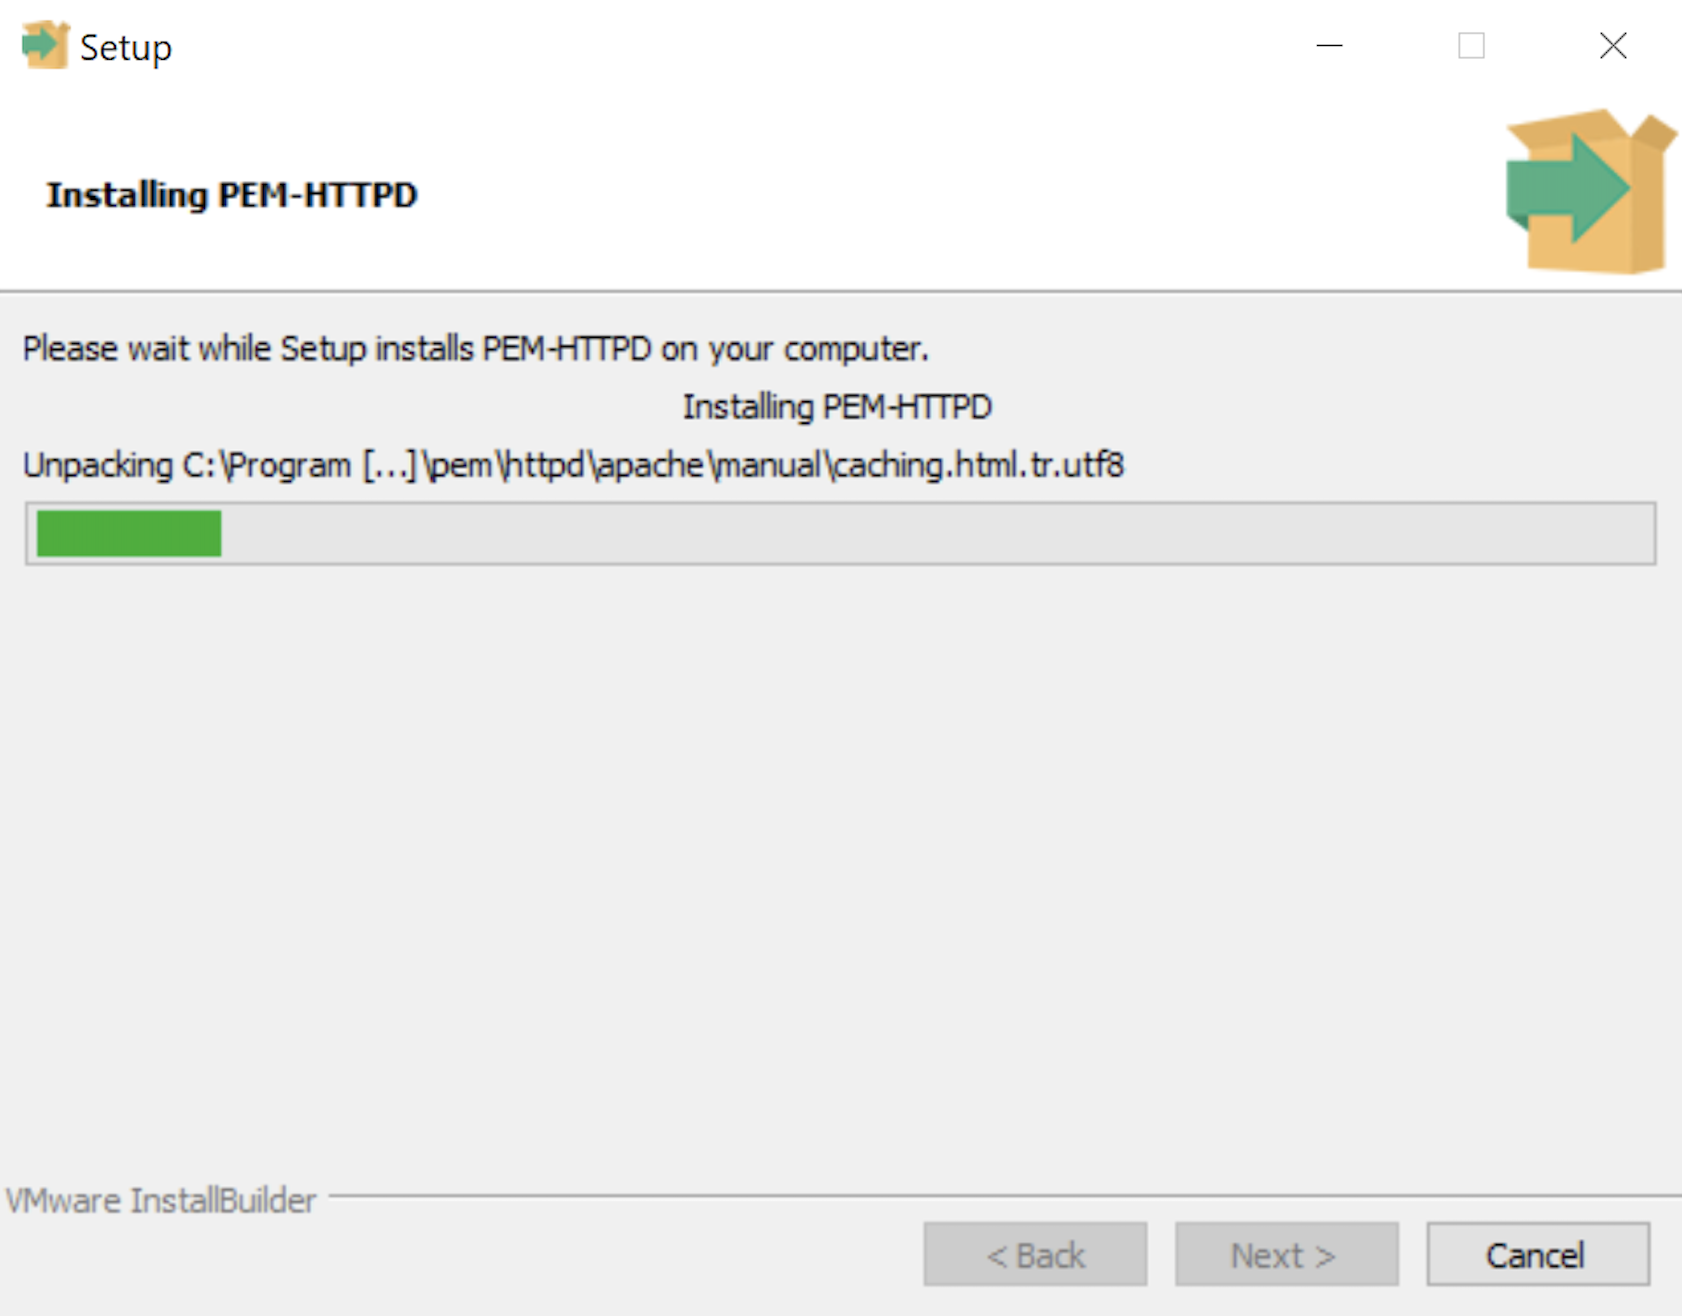
- The Installing dialog is a progress bar that will take several minutes to complete. When the progress bar completes, click the Next button when it becomes available to continue.
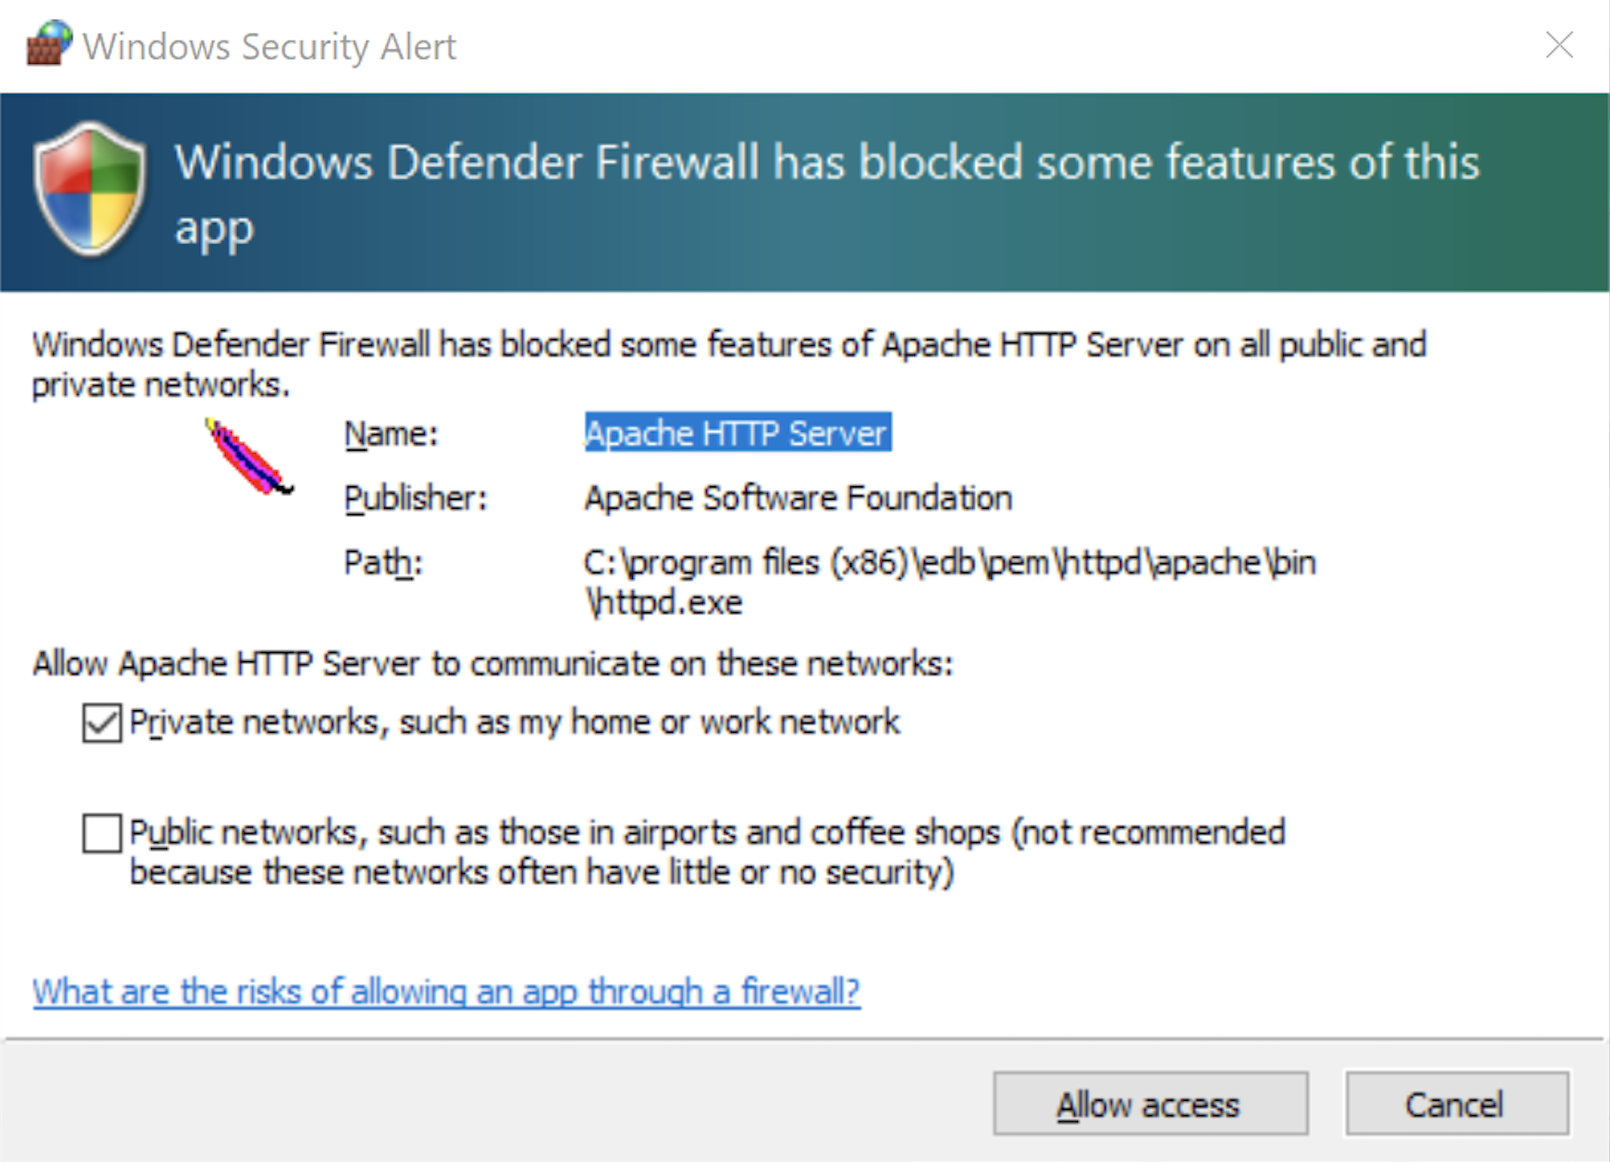
- The Windows Security Alert dialog asks you to allow the Apache HTTP Server to use port 8080. Click the Private networks, such as my home or work network checkbox and then the Allow access button to continue.
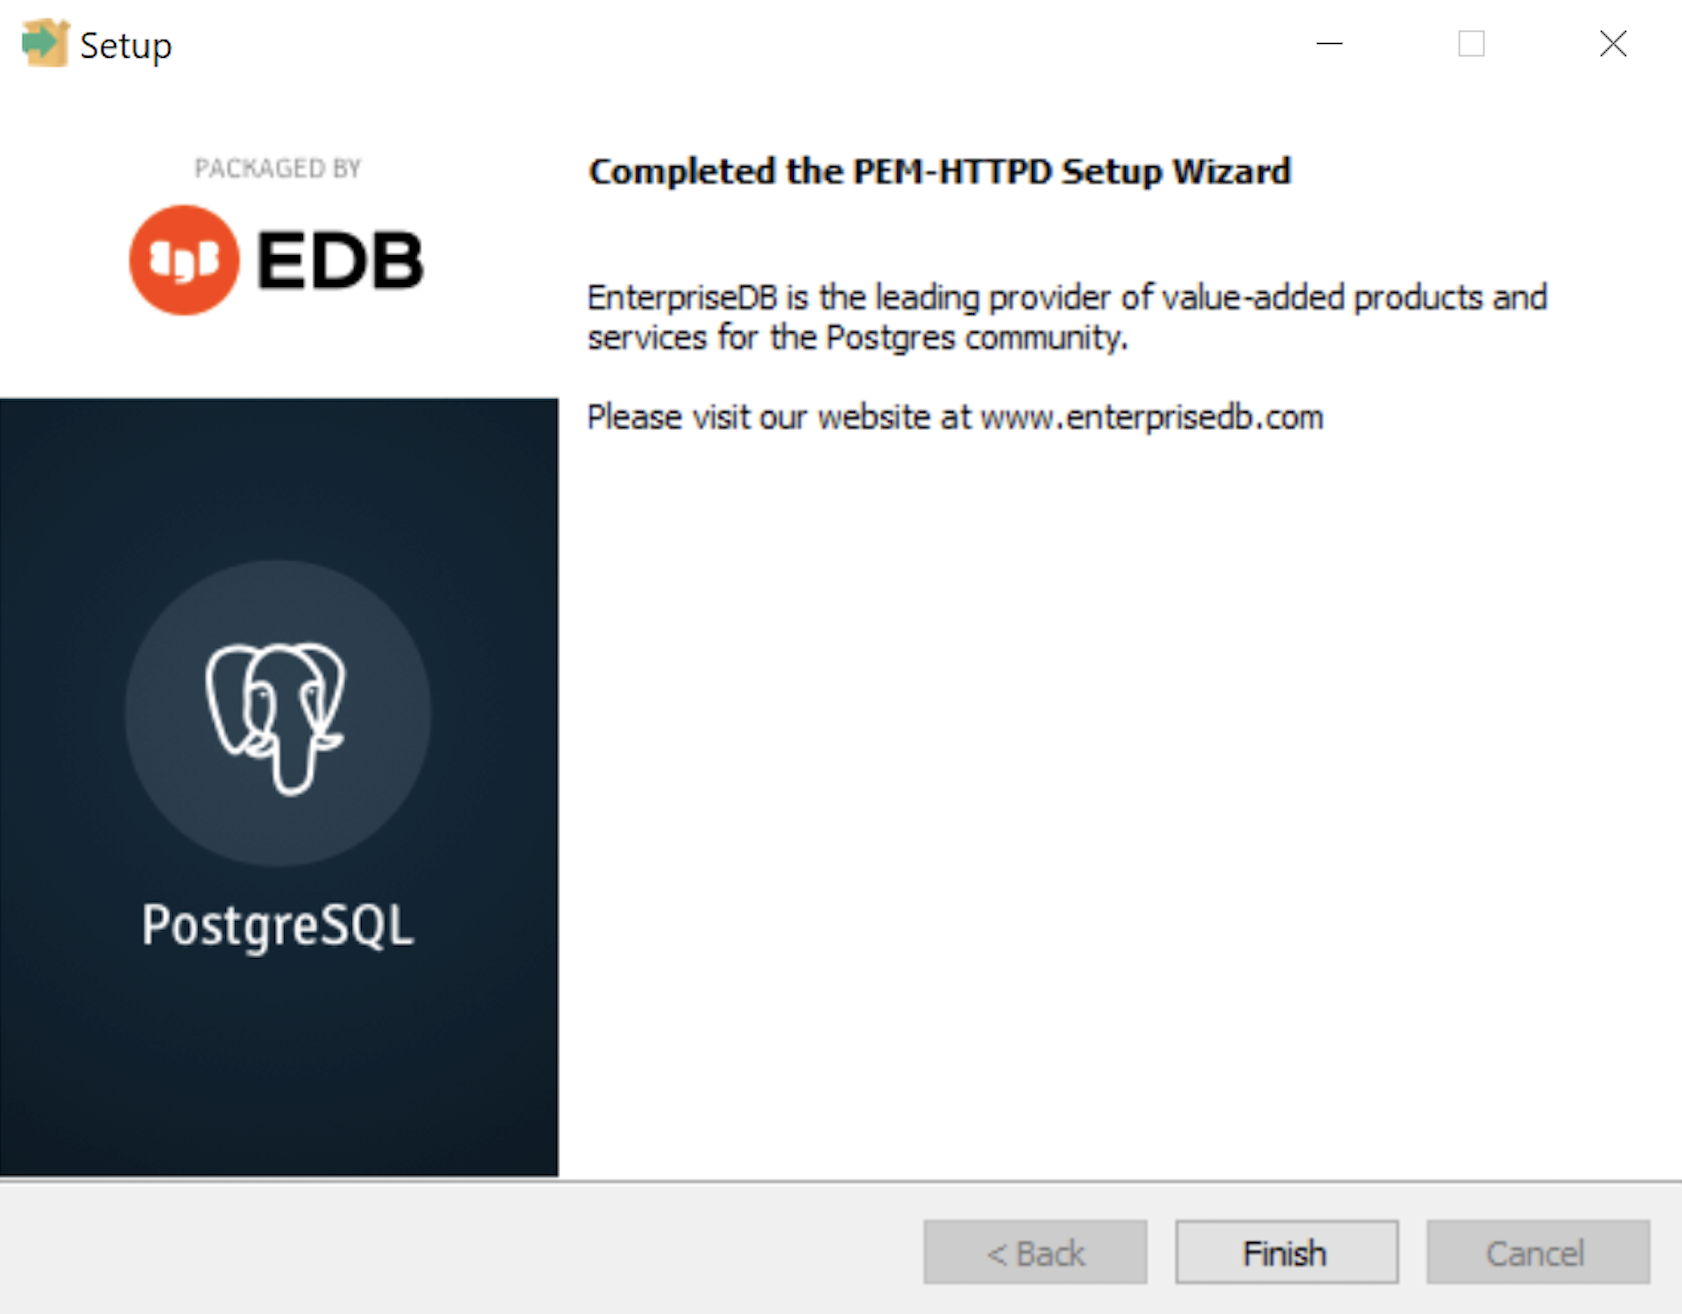
- The Setup dialog advises that you have completed the installation of the PEM-HTTPD Setup Wizard. Click the Finish button to continue.
- The Stack Builder dialog advises you that all four database drivers – Npgsql, pgJDBC, psqlODBC, psqlODBC are downloaded and ready to install. Click the Next button to continue.

- The Installation Directory dialog prompts you for an installation directory. The default directory is C:\Program Files (x86)\PostgreSQL\Npgsql and you should use it because that’s where Windows 10 puts 64-bit libraries and the subdirectory meets the standard installation convention for Microsoft .Net libraries. Click the Next button to continue.
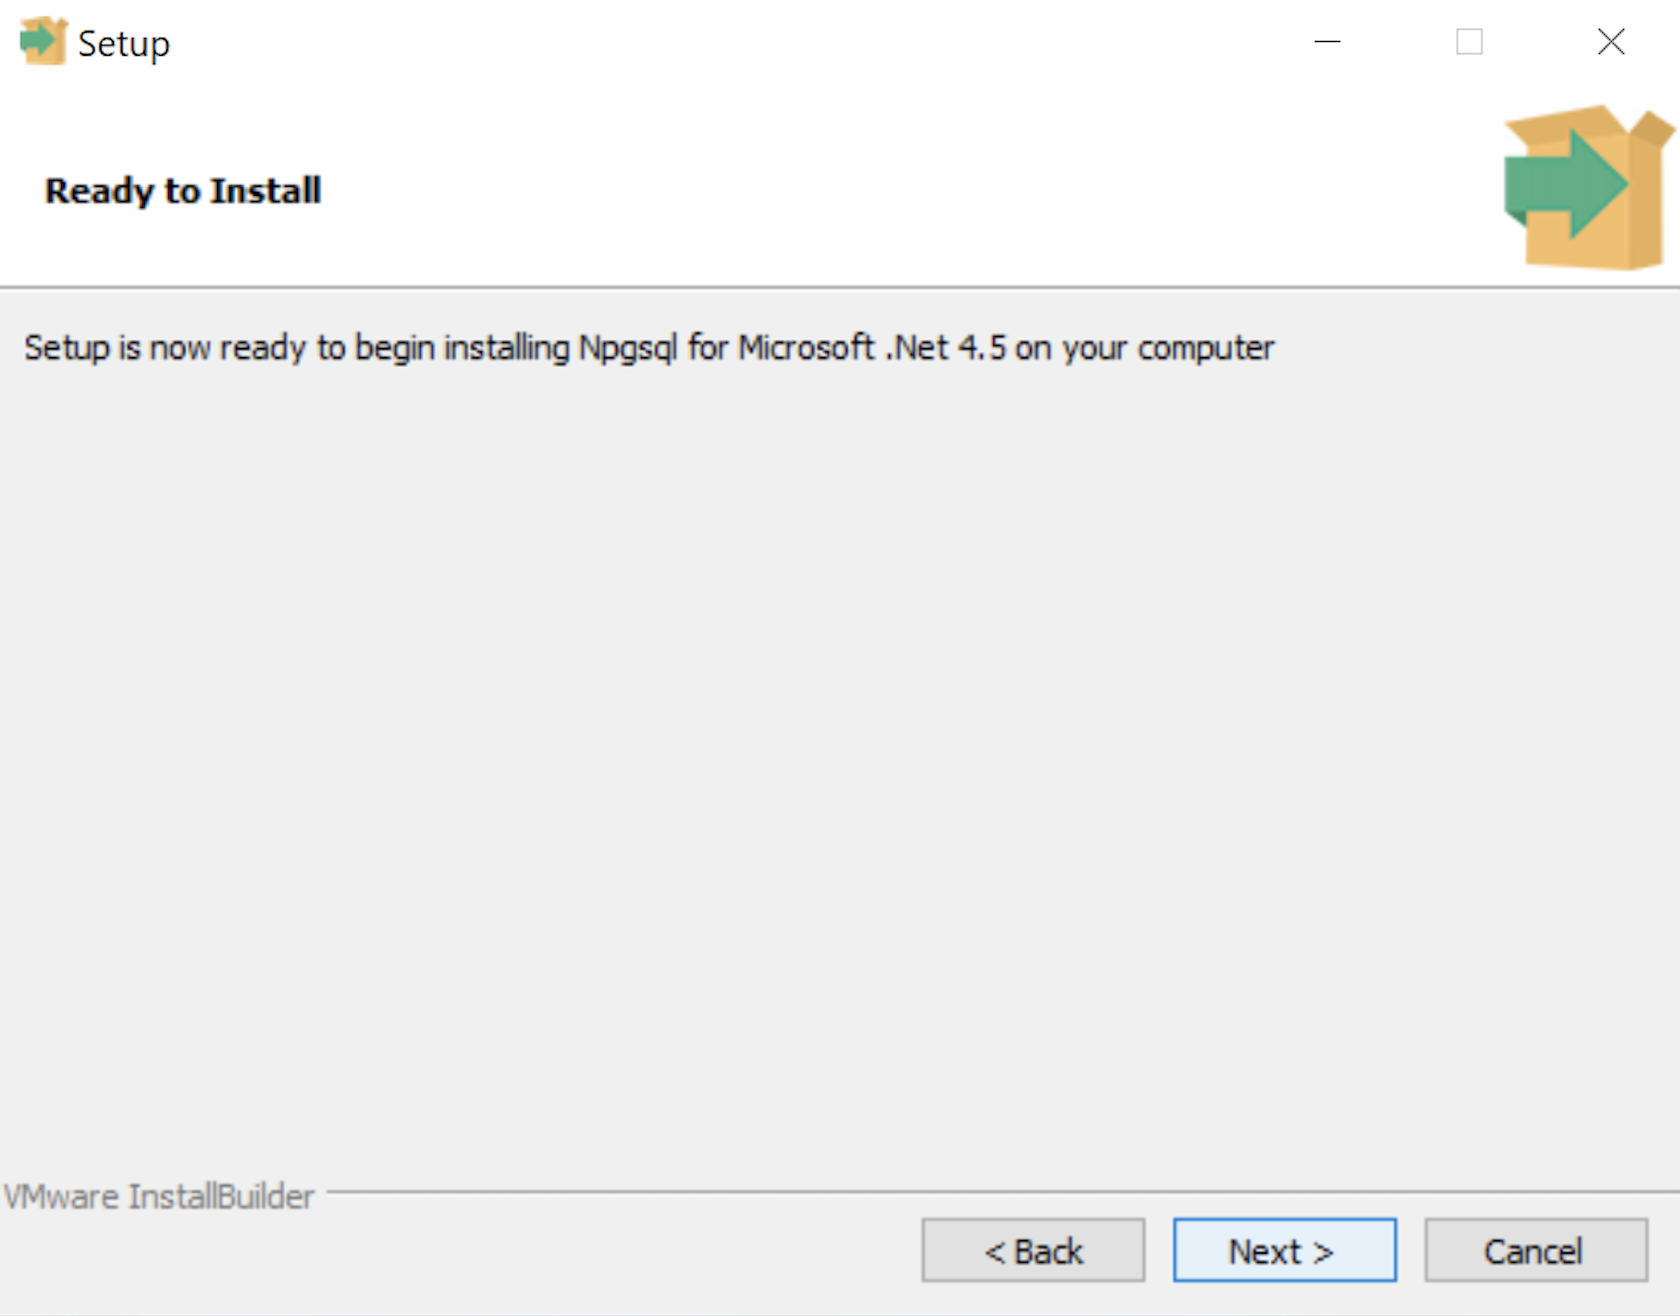
- The Ready to Install dialog lets you pause before you install the Npgsql software for Microsoft .Net. Click the Next button to continue.
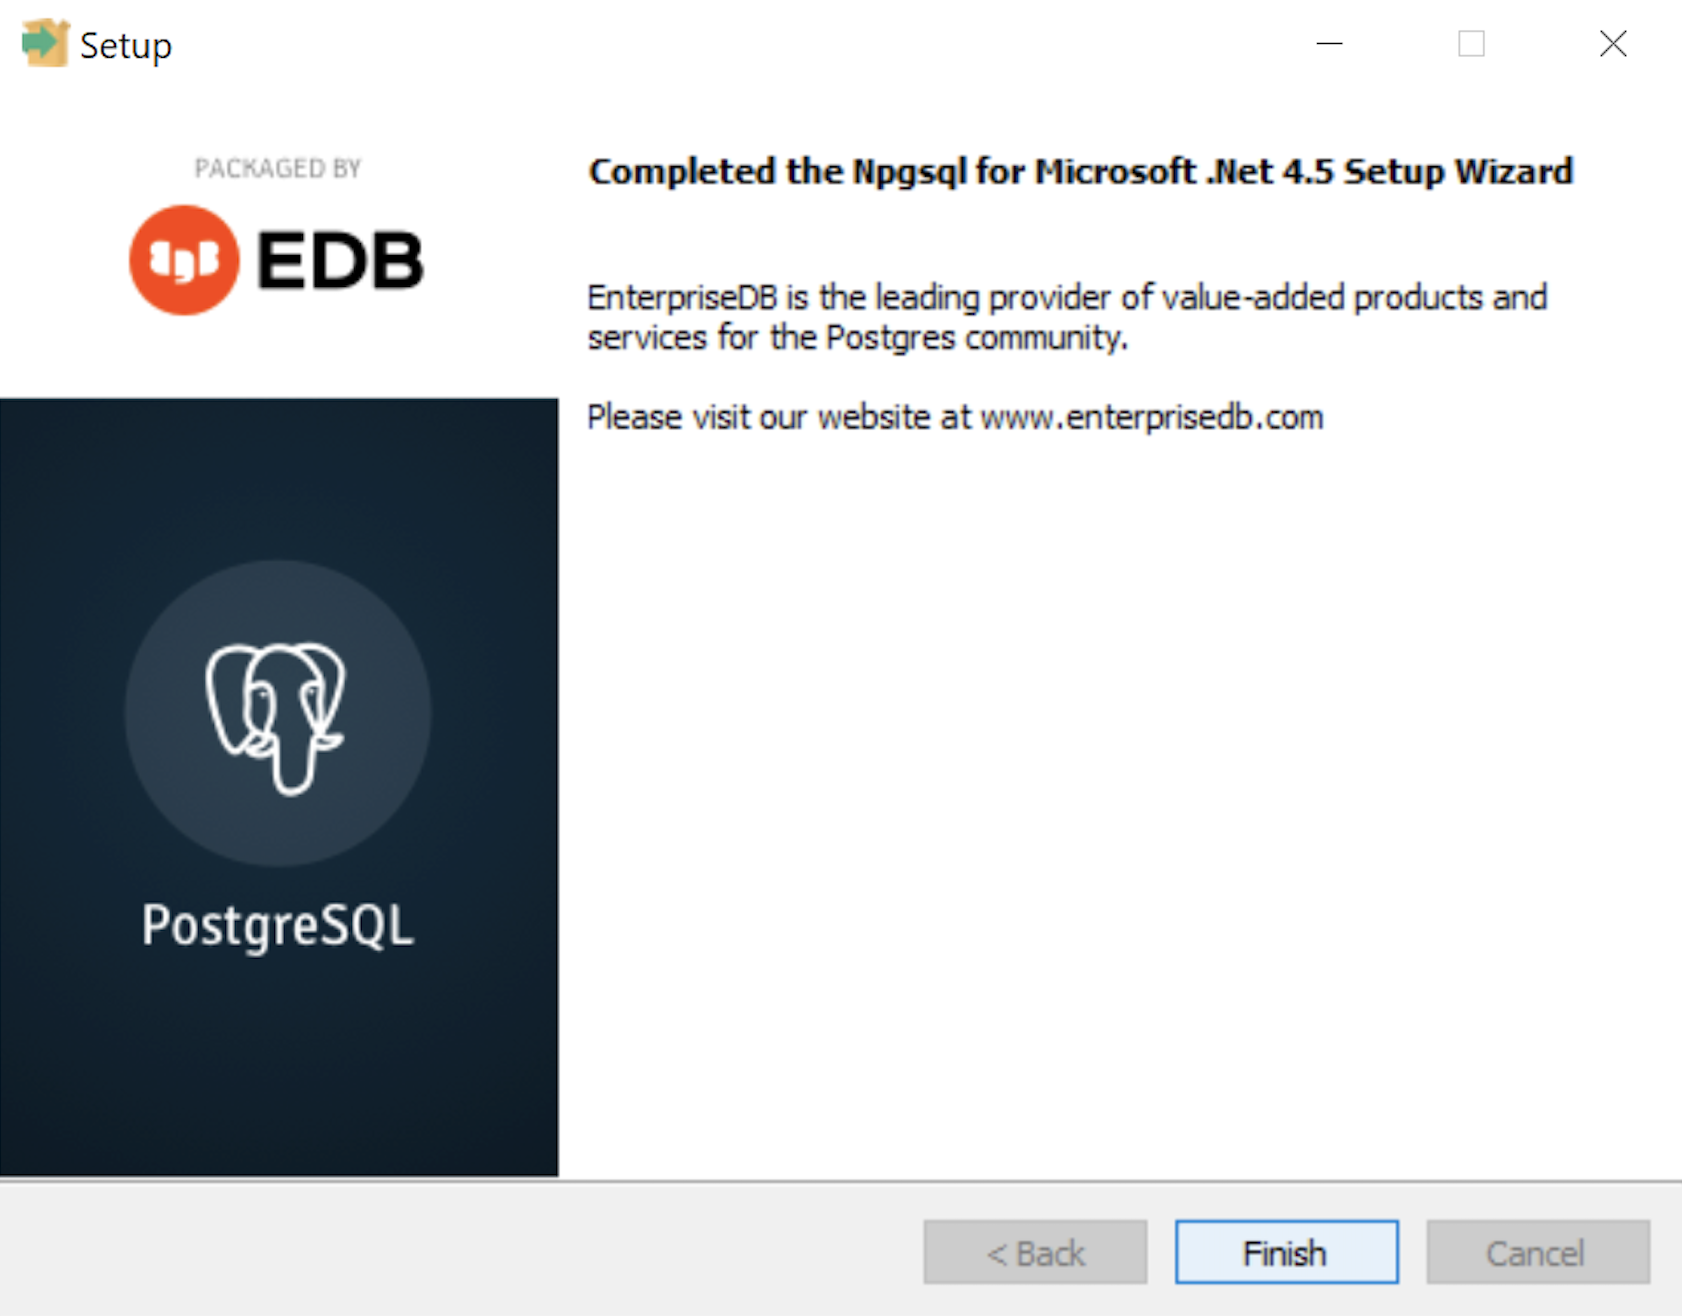
- The Setup dialog advises that you have completed the installation of npgsql driver for Microsoft .Net. Click the Finish button to continue.
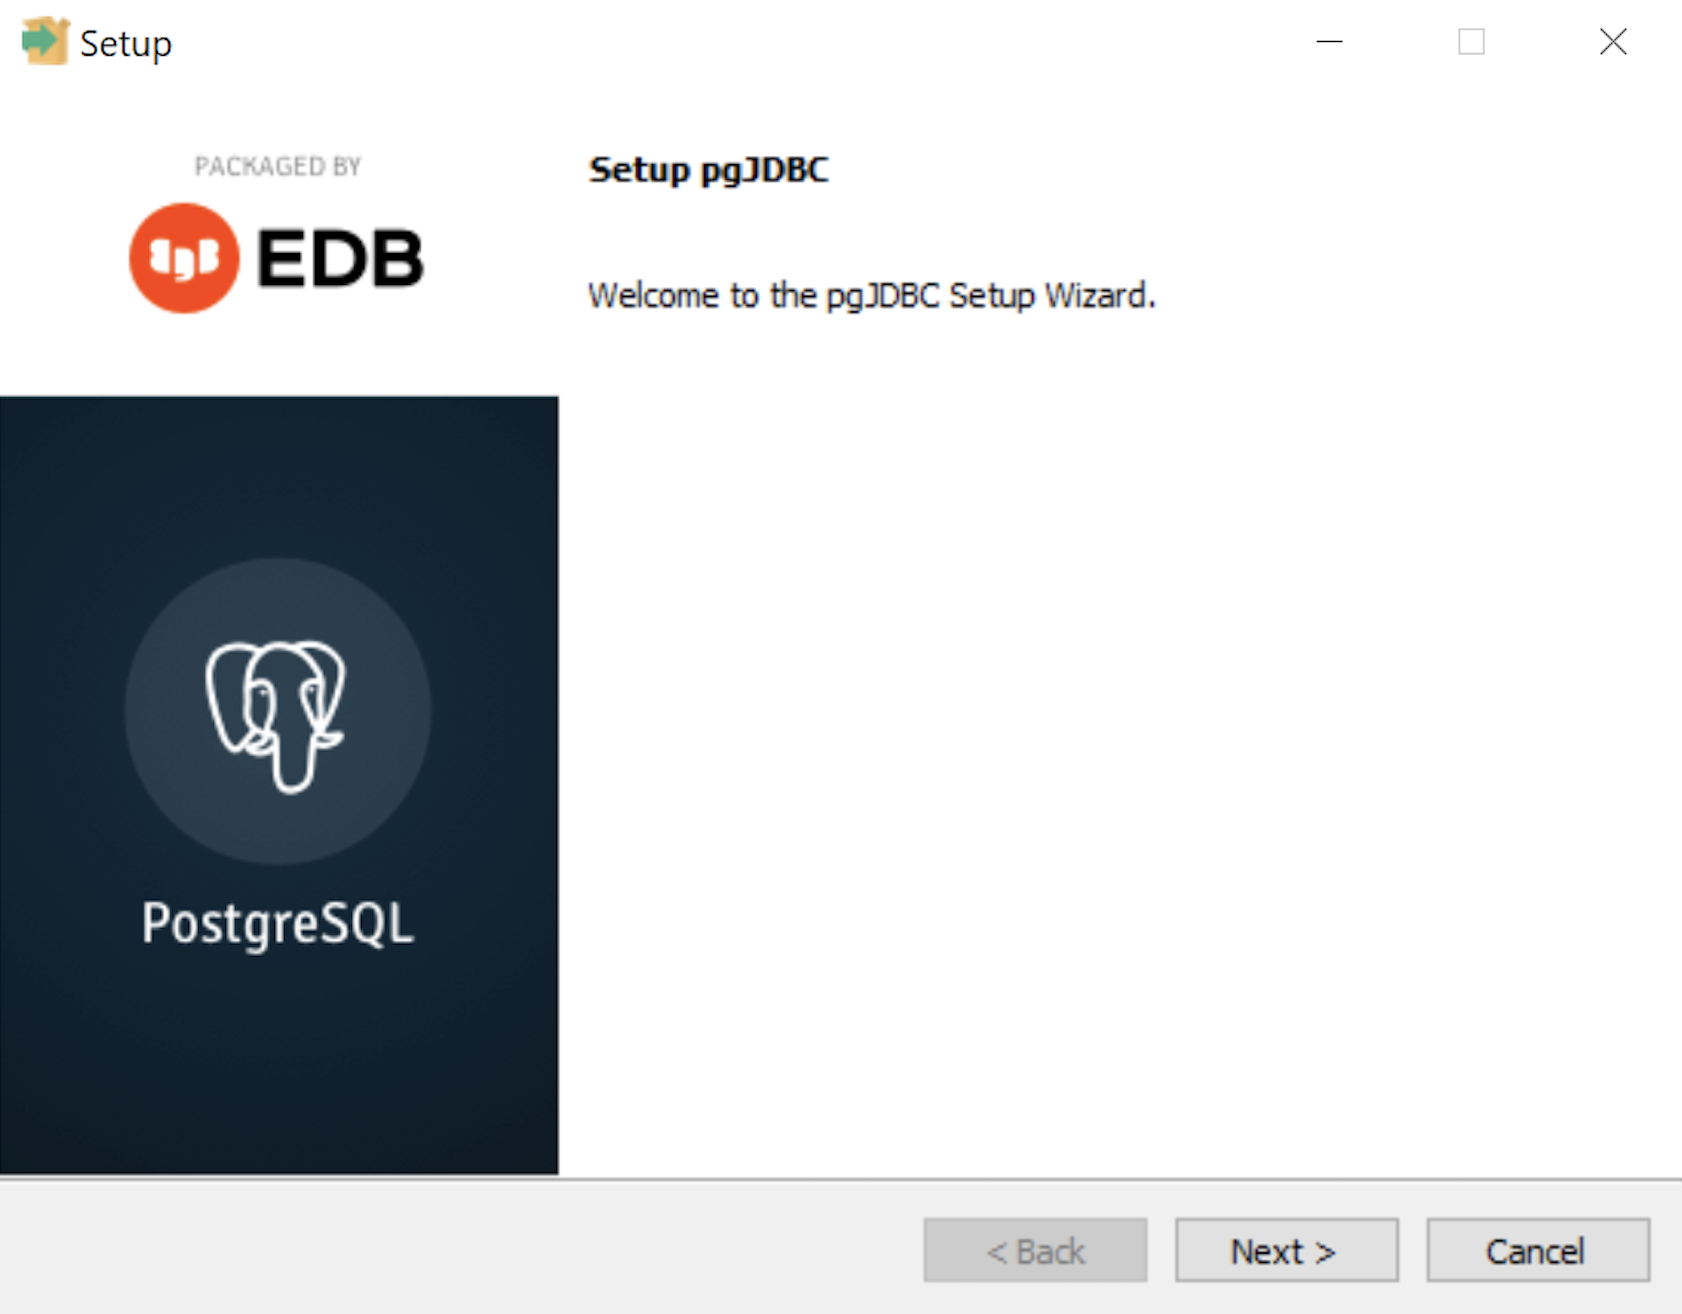
- The Setup dialog advises that you are installing the pgJDBC diver Setup Wizard. Click the Next button to continue.
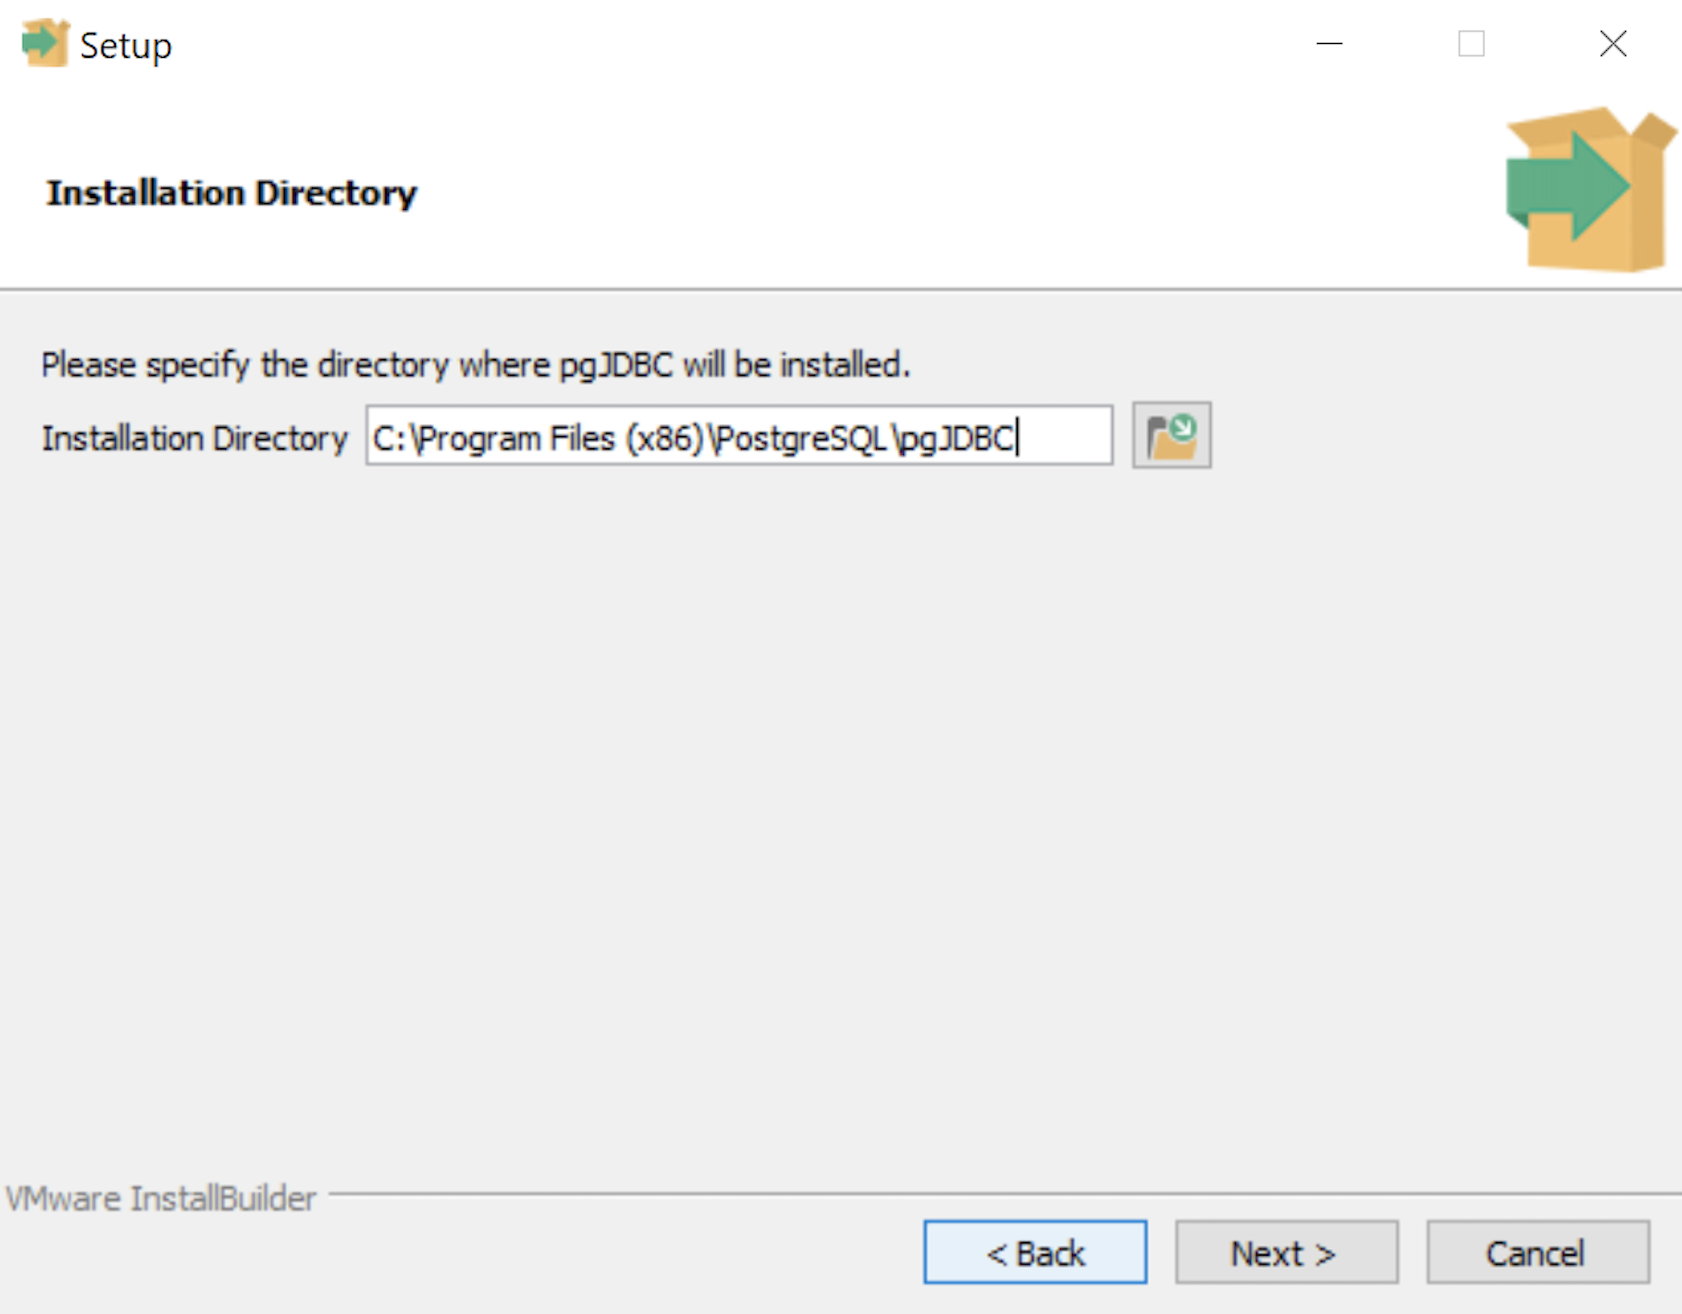
- The Installation Directory dialog prompts you for an installation directory. The default directory is C:\Program Files (x86)\PostgreSQL\pgJDBC and you should use it because that’s where Windows 10 puts 64-bit libraries and the subdirectory meets the standard installation convention for libraries. Click the Next button to continue.

- The Ready to Install dialog lets you pause before you install the pgJDBC software. Click the Next button to continue.
- The Setup dialog advises that you have completed the installation of pgJDBC driver. Click the Finish button to continue.
- The Advisory Message pgAdmin is Starting dialog is really telling you to be patient. It can take a couple minutes to launch pgAdmin.
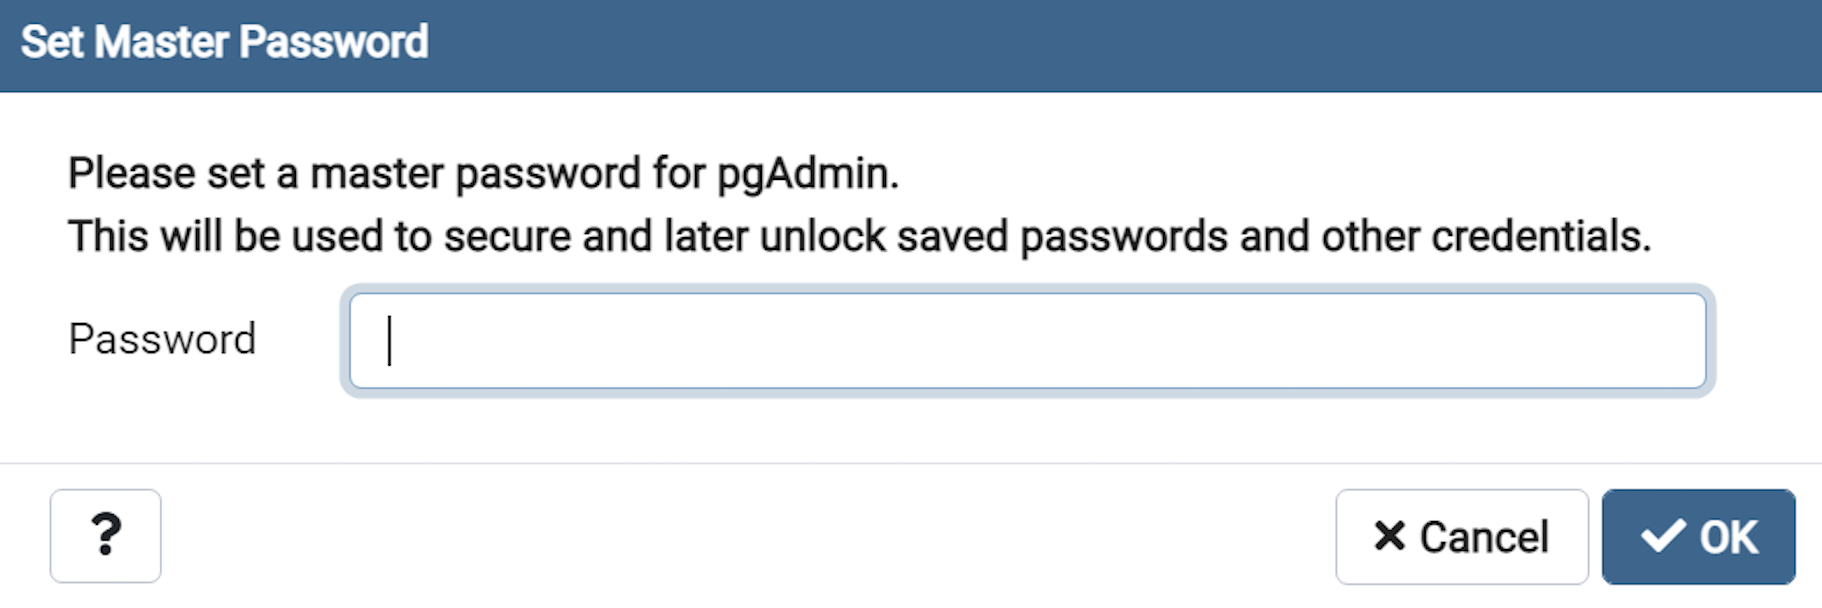
- The Password dialog prompts you for the pgAdmin superuser password. In a development system for your local computer, you may want to use something straightforward like cangetin. Click the Next button to continue.
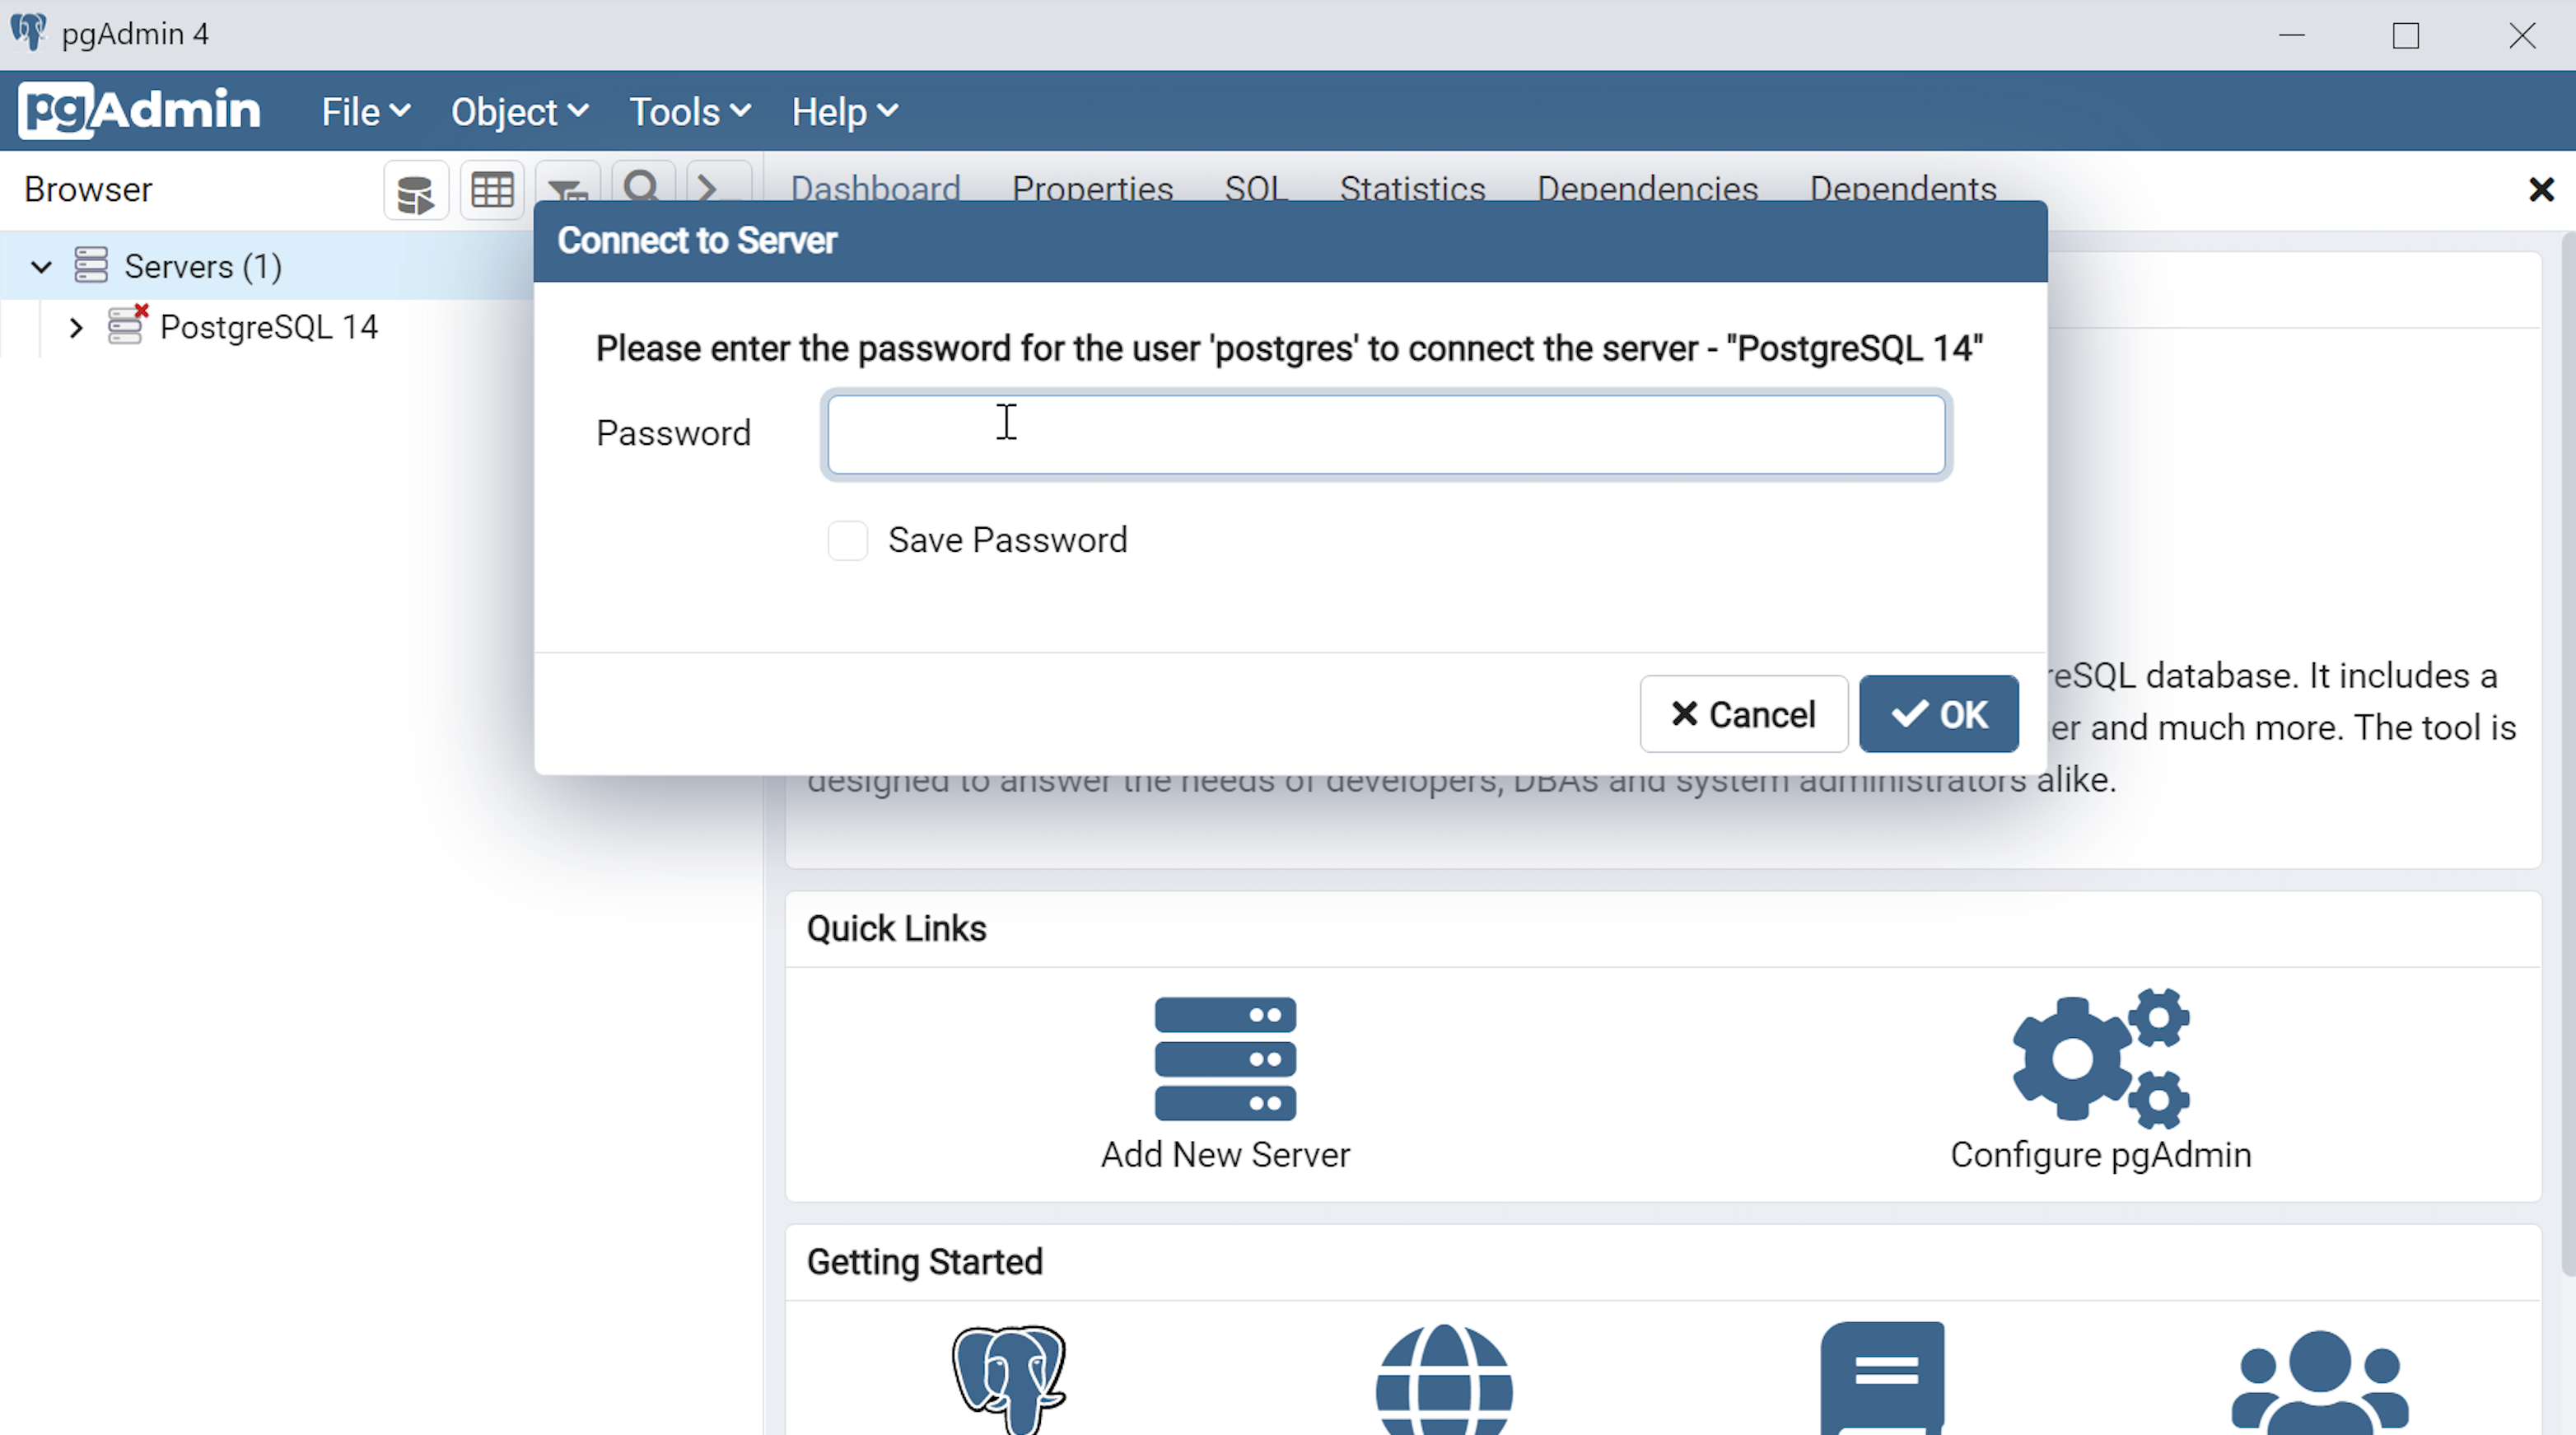
- Enter your password from the earlier step and click the OK button.
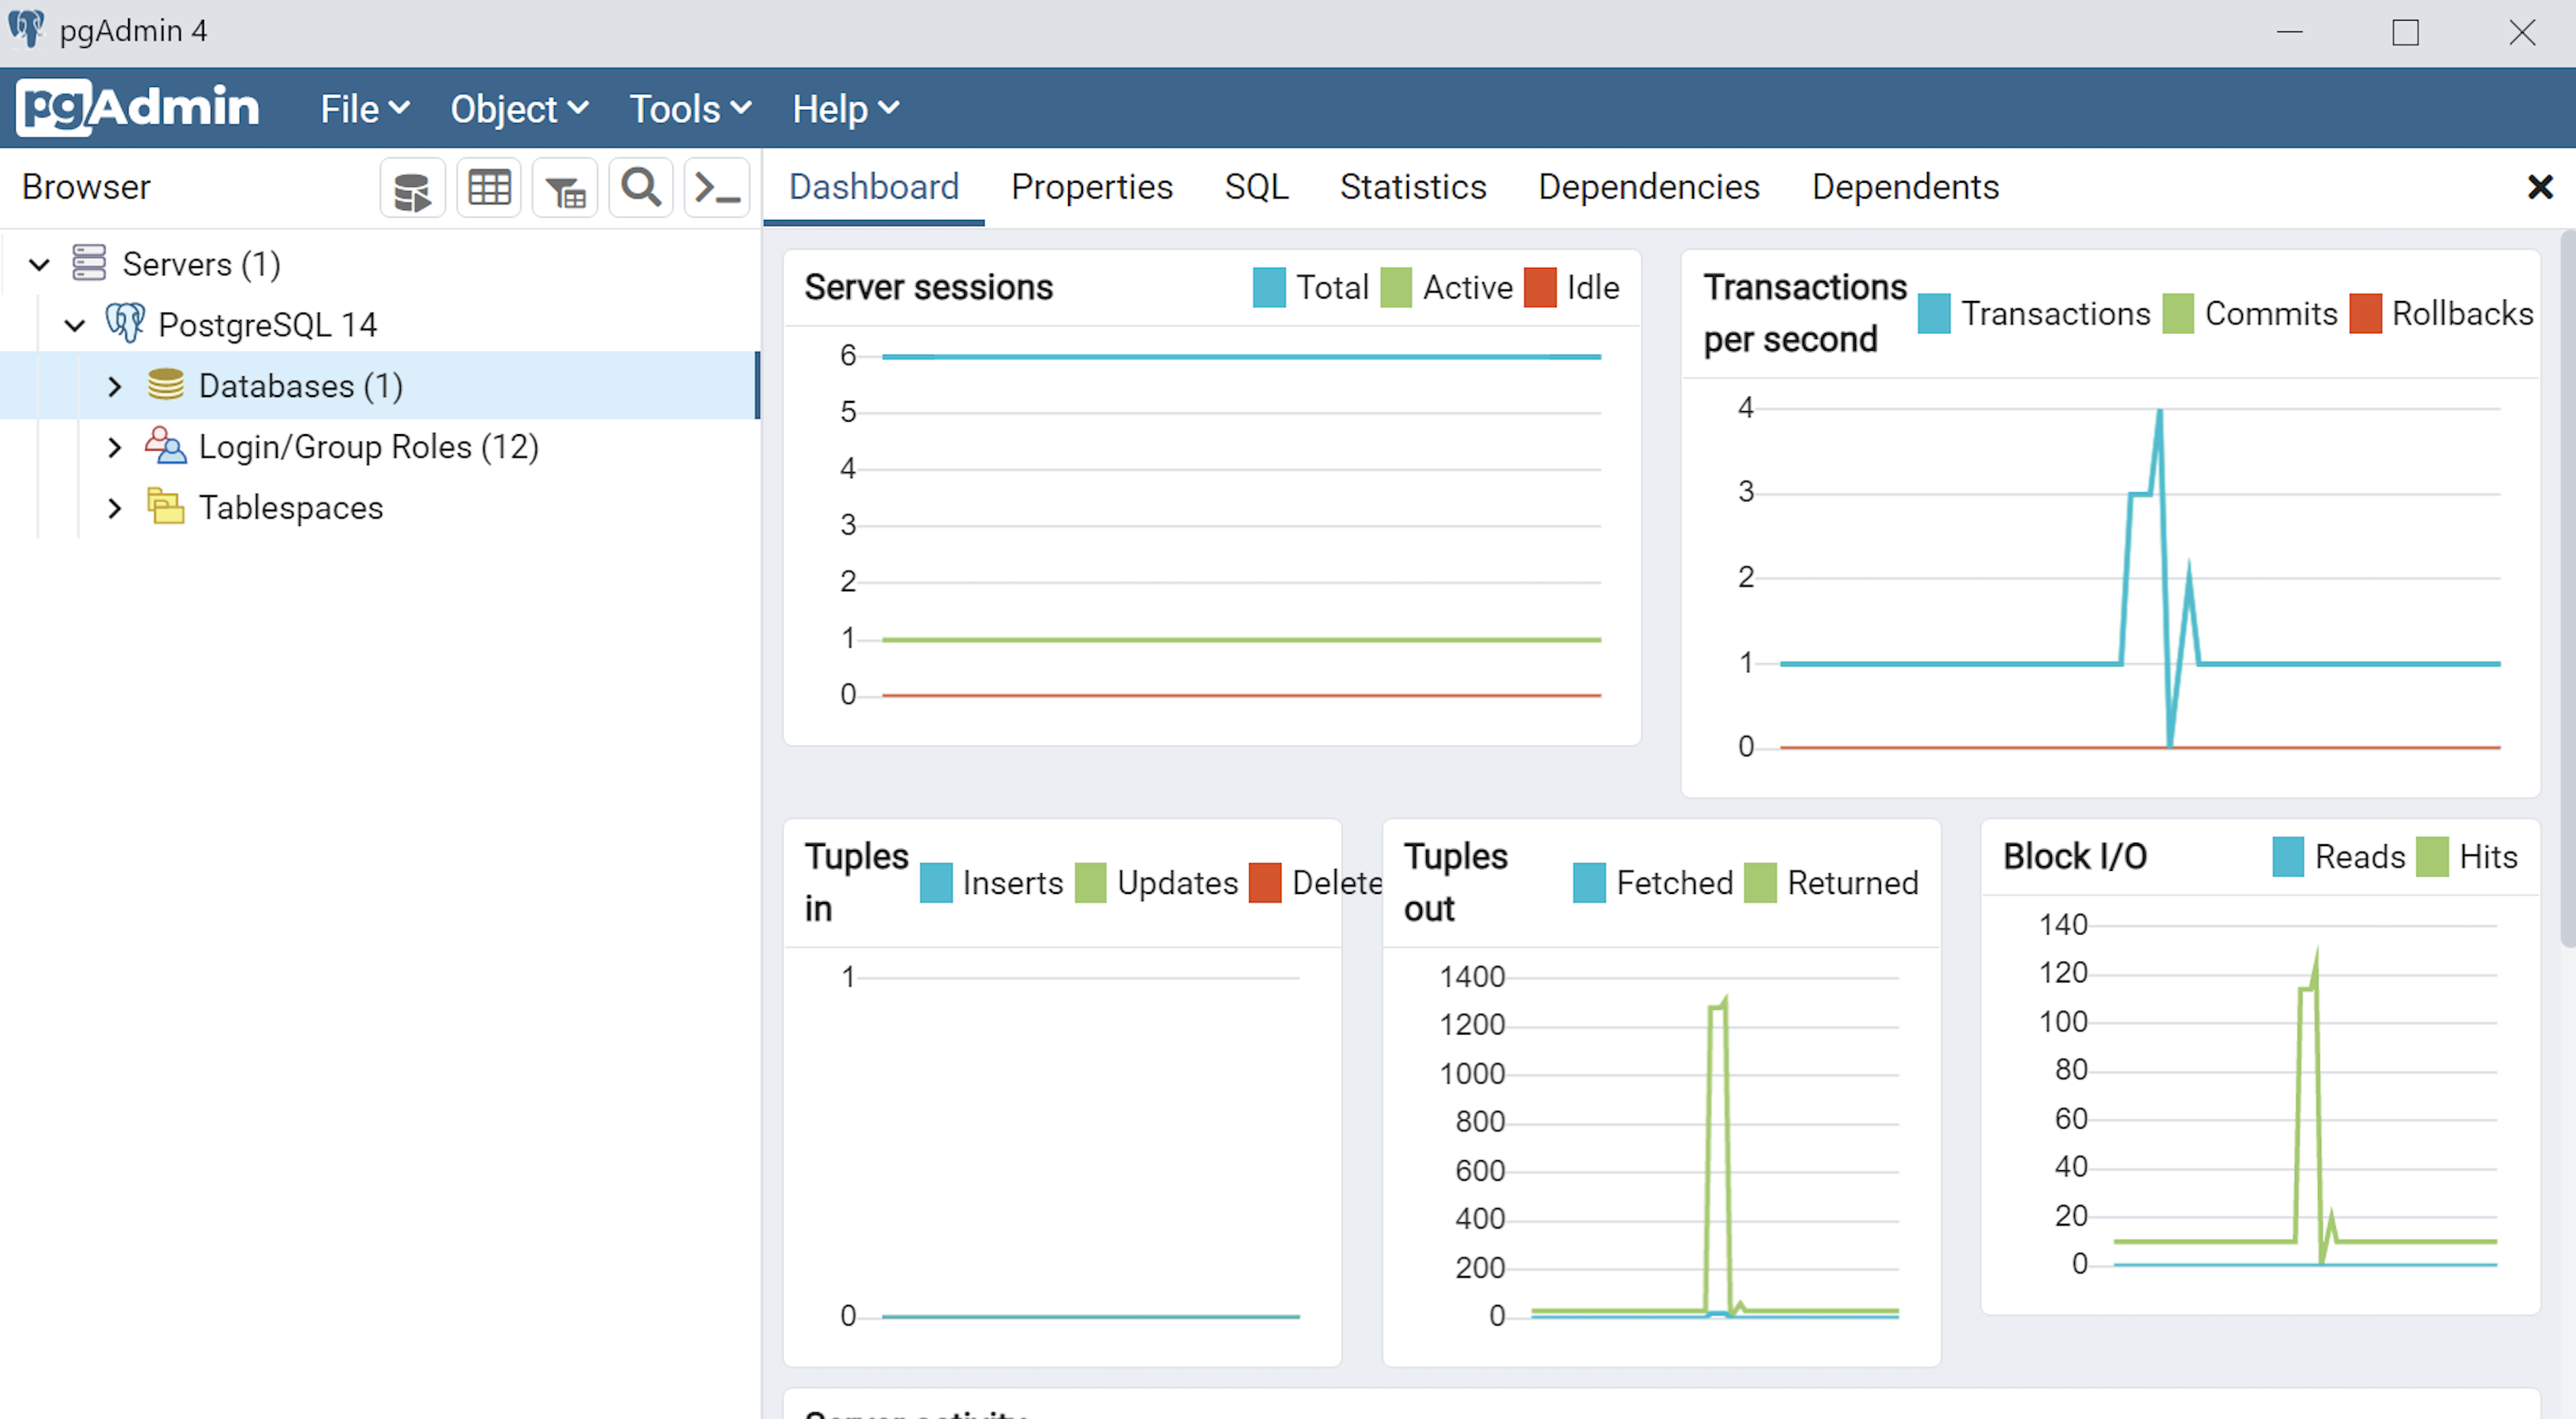
- This is the pgAdmin console. You should see one database and tweleve login/group roles.
The foregoing walked you through the installation of PostgreSQL, the connector libraries and pgAdmin utility. Next, you have to make it real with configuration, which sets up the tablespace, database, and connectivity. I hope it helps those who would like to see the installation steps.
Configure PostgreSQL 14
After you install PostgreSQL 14 on Windows, there are a few steps to create a sandbox database. This post shows you those steps, including a couple Windows OS tasks you’ll need to complete. You should note that these instructions are for the PostgreSQL psql Command Line Interface (CLI).
Open a Command Prompt with Administrator privileges. It should give you a command prompt like the following:
Microsoft Windows [Version 10.0.19042.1466] (c) Microsoft Corporation. All rights reserved. C:\Users\username> |
Type psql to launch the PostgreSQL CLI and then the return or enter key:
C:\Users\username>psql |
Most likely, you’ll get the following error message. It means that your System Path environment variable doesn’t include the directory where the psql executable is found, and that’s why the command is not recognized.
'psql' is not recognized as an internal or external command, operable program or batch file. |
You can set it temporarily in your current Windows CLI with the following command:
set PATH=%PATH%;C:\Program Files\PostgreSQL\14\bin; |
For those familiar with Windows CLI navigation in prior releases, the convention is to append a semicolon at the end of the item added to the %PATH% environment variable. If you were to put the semicolon between the %PATH% and new directory path there would be two semicolons together. While it won’t do any harm, it’s best to follow the new convention or style.
CRITICAL NOTE: The rest of the post assumes you have set the correct %PATH% environment variable or added it to your System’s Path environment variable and restarted the Windows CLI after adding it through the GUI tool. The reason you need to restart the Windows CLI is that the %PATH% environment variable is inherited at startup and doesn’t change in an open Windows CLI shell.
Another common mistake some users make, at least those who have used an older version of the psql utility on a Linux distribution (or “distro”), is to type psql without any arguments to become the superuser. This error doesn’t occur in Linux because you most likely connected as the postgres user before trying to connect to the PostgreSQL database. A quick demonstration should illustrate the error and support explaining why it occurs on the Windows OS.
Attempting to connect to the PostgreSQL database as a non-postgres user:
C:\Users\username>psql |
You should get the following error:
psql: error: connection to server at "localhost" (::1), port 5432 failed: fe_sendauth: no password supplied |
This error occurs because you’re not the postgres user, and all other users must designate that they’re connecting to the superuser account. The correct syntax is:
C:\Users\username>psql -U postgres |
Then, you’ll be prompted for the password that you set when you installed PostreSQL database. Enter that password from the installation at the prompt.
Password for user postgres:
psql (14.1)
WARNING: Console code page (437) differs from Windows code page (1252)
         8-bit characters might not work correctly. See psql reference
         page "Notes for Windows users" for details.
Type "help" for help.

postgres=# |
The warning message is telling you that the character set collation differs between your Windows OS and the PostgreSQL database. We’ll discuss this more later but for the sake of almost all your work, it won’t matter. If the warning message bothers you, you can run the chcp command before launching PostgreSQL when you open your Windows CLI:
chcp 1252 |
The chcp command changes your terminal character set to align with the Latin 1 character set, which enables you to use things like non-English accent characters (the umlaut over an o, or ö). After running the You will see this when you connect after running that command:
psql (14.2) Type "help" for help. postgres# |
INFO: The chcp command is used to supplement the international keyboard and character set information, allowing MS-DOS to be used in other countries and with different languages. Before the chcp command can be used, the nlsfunc must be loaded, and the country.sys must be loaded into the OS configuration.
If you are an experienced Windows OS user, you may want to edit your Windows Registry to change this behavior automatically for each Windows CLI session. You can do that by opening the Windows Registry with the regedit command as an Administrator. In regedit, add an Autorun element with a value of chcp 1252 to this part of the registry:
Computer\HKEY_LOCAL_MACHINE\SOFTWARE\Microsoft\Command Processor |
This value automatically sets your Windows CLI to a Latin 1 character set everytime you launch a terminal shell with the cmd.exe utility. You should only do this if you understand it completely.
Now that you’re connected as the superuser, let’s examine the steps to configure your playground or videodb database. There are five steps to configure your database and one step to connect and use the videodb database as the student user
- Create Physical Directory
The directory for the data dictionary changes with PostgreSQL installations. You can find it with the following psql CLI command:
postgres=# show data_directory; |
This will return the following:
data_directory ------------------------------------- C:/Program Files/PostgreSQL/14/data (1 row) |
While it is possible to store your subdirectory in the data dictionary, it will raise a warning message. It’s actually a better practice to install your local databases in another location on your file system.
Open a new Windows OS CLI to create a subdirectory (or in Windows parlance folder) where you will store your videoDB database. Each new Windows OS CLI opens in your home directory. You need to create a physical video_db subdirectory in your home directory.
HINT: The name of the database inside PostgreSQL should map to the tablespace name and differ from the physical directory. Otherwise there is a chance you might get confused and make an error in the future.
In a new command line shell, you can use the following syntax to create videoDB subdirectory:
md video_db |
- Create Tablespace
Returning to the original Windows CLI shell where you are connected as the postgres superuser, you can create a video_db tablespace with the following syntax:
CREATE TABLESPACE video_db OWNER postgres LOCATION 'C:\Users\username\video_db'; |
This will return the following:
CREATE TABLESPACE |
You can query whether you successfully create the video_db tablespace with the following:
SELECT * FROM pg_tablespace; |
It should return the following:
oid | spcname | spcowner | spcacl | spcoptions -------+------------+----------+--------+------------ 1663 | pg_default | 10 | | 1664 | pg_global | 10 | | 16395 | video_db | 10 | | (3 rows) |
- Create a Database
You need to know the PostgreSQL default collation before you create a new database. You can write the following query to determine the default correlation:
postgres=# SELECT datname, datcollate FROM pg_database WHERE datname = 'postgres'; |
It should return something like this:
datname | datcollate -----------+---------------------------- postgres | English_United States.1252 (1 row) |
The datcollate value of the postgres database needs to the same value for the LC_COLLATE and LC_CTYPE parameters when you create a database. You can create a videodb database with the following syntax provided you’ve made appropriate substitutions for the LC_COLLATE and LC_CTYPE values below:
CREATE DATABASE videodb WITH OWNER = postgres ENCODING = 'UTF8' TABLESPACE = video_db LC_COLLATE = 'English_United States.1252' LC_CTYPE = 'English_United States.1252' CONNECTION LIMIT = -1; |
You can verify the creation of the videodb with the following command:
postgres# \l |
It should show you a display like the following:
                                                 List of databases
   Name    |  Owner   | Encoding |          Collate           |           Ctype            |   Access privileges
-----------+----------+----------+----------------------------+----------------------------+-----------------------
 postgres  | postgres | UTF8     | English_United States.1252 | English_United States.1252 |
 template0 | postgres | UTF8     | English_United States.1252 | English_United States.1252 | =c/postgres          +
           |          |          |                            |                            | postgres=CTc/postgres
 template1 | postgres | UTF8     | English_United States.1252 | English_United States.1252 | =c/postgres          +
           |          |          |                            |                            | postgres=CTc/postgres
 videodb   | postgres | UTF8     | English_United States.1252 | English_United States.1252 |
(4 rows) |
Then, you can assign comment to the database with the following syntax:
COMMENT ON DATABASE videodb IS 'Video Store Database'; |
- Create a Role, Grant, and User
In this section you create a dba role, grant privileges on a videodb database to a role, and create a user with the role that you created previously with the following three statements. There are three steps in this sections.
- The first step creates a dba role:
CREATE ROLE dba WITH SUPERUSER;
- The second step grants all privileges on the videodb database to both the postgres superuser and the dba role:
GRANT ALL PRIVILEGES ON DATABASE videodb TO postgres;
GRANT ALL PRIVILEGES ON DATABASE videodb TO dba;
Any work in pgAdmin4 requires a grant on the videodb database to the postgres superuser. The grant enables visibility of the videodb database in the pgAdmin4 console as shown in the following image.

- The third step creates a student user with the dba role:
CREATE USER student
  WITH ROLE dba
       ENCRYPTED PASSWORD 'student';
After this step, you need to disconnect as the postgres superuser with the following command:
QUIT;
- It is possible that you may (and should if this is a new instance you are building) encounter an error when you try to connect as a sandboxed user. The syntax to connect as the student user is:
psql -d videodb -U student -W
All the options, which are preceded with a single dash (–) are case sensitive. The -d option sets the database for the connection. The -U option set user for the connection and the -W option instructs the psql CLI to prompt for the password.
While you shouldn’t encounter the following error during a Windows OS installation,
psql: FATAL: Peer authentication failed for user "student"
You can fix this in PostgreSQL 14 by changing the user access parameters in the pg_hba.conf configuration file. The file is found in the C:\Program Files\PostgreSQL\14\data directory. These are the correct out of the box settings you should see.
# TYPE  DATABASE        USER            ADDRESS                 METHOD

# "local" is for Unix domain socket connections only
local   all             all                                     scram-sha-256
# IPv4 local connections:
host    all             all             127.0.0.1/32            scram-sha-256
# IPv6 local connections:
host    all             all             ::1/128                 scram-sha-256
# Allow replication connections from localhost, by a user with the
# replication privilege.
local   replication     all                                     scram-sha-256
host    replication     all             127.0.0.1/32            scram-sha-256
host    replication     all             ::1/128                 scram-sha-256
If you find something that’s broken, fix it. The values above should ensure you make the changes successfully. You will need to restart the postgres service if you make changes.
If you plan on using the copy command to read external CSV (Comma Separated Value) files, you need to grant as the postgres superuser another privilege to the student user. This grants the pg_read_server_files role to the student user.
GRANT pg_read_server_files TO student;

- Create a Schema
The PostgreSQL database supports multiple schemas inside databases. The default schema for any database is the public schema. You must create separate schemas and refer to them explicitly when accessing them unless you alter the default search path. This section demonstrates how to:
- Create an app schema.
- Create a revision_history table in the app schema.
- Modify the standard search path to include other schemas
The process of creating a schema requires you grant the CREATE ON DATABASE privilege to the user as the postgres user. The initial grant of the create privilege requires the postgres superuser’s privileges. That means you must connect as the postgres user, like:
psql -U postgres -W |
Then, as the postgres superuser, you use the following syntax to grant the create privilege to the student user on the videodb database:
GRANT CREATE ON DATABASE videodb TO student; |
After granting the create privilege, you should exit the postgres superuser’s account, like
QUIT; |
Now, you should connect as the student user to the videodb database (syntax introduced earlier but provided again below).
psql -U postgres -W |
As the student user, create the app schema with the following syntax:
CREATE SCHEMA app; |
Then, you can query the result as follows:
SELECT * FROM pg_catalog.pg_namespace ORDER BY nspname; |
You should see the following:
  oid  |      nspname       | nspowner |               nspacl
-------+--------------------+----------+-------------------------------------
 16399 | app                |    16398 |
 13388 | information_schema |       10 | {postgres=UC/postgres,=U/postgres}
    11 | pg_catalog         |       10 | {postgres=UC/postgres,=U/postgres}
    99 | pg_toast           |       10 |
  2200 | public             |       10 | {postgres=UC/postgres,=UC/postgres}
(5 rows) |
If you create a table without a schema name, it is automatically placed in the public schema. That means any attempt to describe the table with the \d command line option returns without prepending the schema name returns an error, however, this is only true when you are using the default search parameter.
Let’s create a revision_history table in the app schema with a script file. A script file is a set of related SQL commands, like the following example that suppresses notices, drops any pre-existing revision_history table, and create the revision_history table.
-- Set client messages to warning or error, which means any -- notice associated with the if exists clause is suppressed. SET client_min_messages TO warning; -- Conditionally drop an existing revision_history table in -- the app schema. DROP TABLE IF EXISTS revision_history; -- Create a revision_history table. CREATE TABLE app.revision_history ( revision_history_id serial , session_id VARCHAR , table_name VARCHAR , revision_id INTEGER ); |
You can run a script file by using a relative or absolute file name. An absolute file name includes a full path from a Windows logical driver letter, like C:\ or a Linux mount point. A relative file name is simply the file name.
If you want to use a relative file name, you must first navigate to the directory where you have saved the file first. This directory becomes your local drive and allows you call any file in it from the psql command prompt by using only its file name.
You should connect as the student user to the videodb database. The \i command lets you run a file, assuming you put the preceding script file into a revision_history file in your local directory.
\I revision_history.sql |
If you try to describe the revision_history table with the \d command line option, like
\d revision_history |
It will show the following:
Did not find any relation named "revision_history". |
That’s because there is no revision_history table in the public schema and the default search path only includes the public schema.
You can show the search path with the following:
show search_path; |
It should return the following, which is a schema that shares the user’s name and public.
search_path ----------------- "$user", public (1 row) |
You reset the search path as follows:
SET search_path TO app, "$user", public; |
After you set the search_path, an attempt to describe the table will work because it searches for the table in the app and public schema. That means the following command:
\d revision_history |
Shows:
                                                  Table "app.revision_history"
       Column        |       Type        | Collation | Nullable |                            Default
---------------------+-------------------+-----------+----------+---------------------------------------------------------------
 revision_history_id | integer           |           | not null | nextval('revision_history_revision_history_id_seq'::regclass)
 session_id          | character varying |           |          |
 table_name          | character varying |           |          |
revision_id | integer | | | |
- Connect as student to videodb:
As shown in Step #4 above, you can now connect and use to the videodb as the student user with the following syntax:
psql -d videodb -U student -W |
If you did everything correctly, you should see the following after correctly providing the student password for the student user:
Password:
psql (14.1)
WARNING: Console code page (437) differs from Windows code page (1252)
         8-bit characters might not work correctly. See psql reference
         page "Notes for Windows users" for details.
Type "help" for help.

videodb=> |
After connecting to the videodb database, you can query the current database, like
SELECT current_database(); |
It should return the following:
current_database ------------------ videodb (1 row) |
This has shown you how to create a videodb tablespace, a videodb database, a dba role, a student user, an app schema, and connect to your new videodb database as the student user. As always, I hope it lets you get a lot down with little effort and avoiding pages and pages of documentation.
Dynamic Drop Table
I always get interesting feedback on some posts. On my test case for discovering the STR_TO_DATE function’s behavior, the comment was tragically valid. I failed to cleanup after my test case. That was correct, and I should have dropped param table and the two procedures.
While appending the drop statements is the easiest, I thought it was an opportunity to have a bit of fun and write another procedure that will cleanup test case tables within the test_month_name procedure. Here’s sample dynamic drop_table procedure that you can use in other MySQL stored procedures:
1 2 3 4 5 6 7 8 9 10 11 12 13 14 15 16 17 18 19 20 21 22 23 24 25 | CREATE PROCEDURE drop_table ( table_name VARCHAR(64)) BEGIN /* Declare a local variable for the SQL statement. */ DECLARE stmt VARCHAR(1024); /* Set a session variable with two parameter markers. */ SET @SQL := CONCAT('DROP TABLE ',table_name); /* Check if the constraint exists. */ IF EXISTS (SELECT NULL FROM information_schema.tables t WHERE t.table_schema = database() AND t.table_name = table_name) THEN /* Dynamically allocated and run statement. */ PREPARE stmt FROM @SQL; EXECUTE stmt; DEALLOCATE PREPARE stmt; END IF; END; $$ |
You can now put a call to the drop_table procedure in the test_month_name procedure from the earlier post. For convenience, here’s the modified test_month_name procedure with the call on line #33 right before you leave the loop and procedure:
1 2 3 4 5 6 7 8 9 10 11 12 13 14 15 16 17 18 19 20 21 22 23 24 25 26 27 28 29 30 31 32 33 34 35 36 37 38 39 40 41 42 43 44 | CREATE PROCEDURE test_month_name() BEGIN /* Declare a handler variable. */ DECLARE month_name VARCHAR(9); /* Declare a handler variable. */ DECLARE fetched INT DEFAULT 0; /* Cursors must come after variables and before event handlers. */ DECLARE month_cursor CURSOR FOR SELECT m.month_name FROM month m; /* Declare a not found record handler to close a cursor loop. */ DECLARE CONTINUE HANDLER FOR NOT FOUND SET fetched = 1; /* Open cursor and start simple loop. */ OPEN month_cursor; cursor_loop:LOOP /* Fetch a record from the cursor. */ FETCH month_cursor INTO month_name; /* Place the catch handler for no more rows found immediately after the fetch operations. */ IF fetched = 1 THEN /* Fetch the partial strings that fail to find a month. */ SELECT * FROM param; /* Conditionally drop the param table. */ CALL drop_table('param'); /* Leave the loop. */ LEAVE cursor_loop; END IF; /* Call the subfunction because stored procedures do not support nested loops. */ CALL read_string(month_name); END LOOP; END; $$ |
As always, I hope sample code examples help others solve problems.
str_to_date Function
As many know, I’ve adopted Learning SQL by Alan Beaulieu as a core reference for my database class. Chapter 7 in the book focuses on data generation, manipulation, and conversion.
The last exercise question in my check of whether they read the chapter and played with some of the discussed functions is:
- Use one or more temporal function to write a query that convert the ’29-FEB-2024′ string value into a default MySQL date format. The result should display:
+--------------------+
| mysql_default_date |
+--------------------+
| 2024-02-29         |
+--------------------+
1 row in set, 1 warning (0.00 sec)
If you’re not familiar with the behavior of MySQL functions, this could look like a difficult problem to solve. If you’re risk inclined you would probably try the STR_TO_DATE function but if you’re not risk inclined the description of the %m specifier might suggest you don’t have SQL builtin to solve the problem.
I use the problem to teach the students how to solve problems in SQL queries. The first step requires putting the base ’29-FEB-2024′ string value into a mystringstrings table, like:
DROP TABLE IF EXISTS strings; CREATE TABLE strings (mystring VARCHAR(11)); SELECT 'Insert' AS statement; INSERT INTO strings (mystring) VALUES ('29-FEB-2024'); |
The next step requires creating a query with:
- A list of parameters in a Common Table Expression (CTE)
- A CASE statement to filter results in the SELECT-list
- A CROSS JOIN between the strings table and params CTE
The query would look like this resolves the comparison in the CASE statement through a case insensitive comparison:
SELECT 'Query' AS statement; WITH params AS (SELECT 'January' AS full_month UNION ALL SELECT 'February' AS full_month) SELECT s.mystring , p.full_month , CASE WHEN SUBSTR(s.mystring,4,3) = SUBSTR(p.full_month,1,3) THEN STR_TO_DATE(REPLACE(s.mystring,SUBSTR(s.mystring,4,3),p.full_month),'%d-%M-%Y') END AS converted_date FROM strings s CROSS JOIN params p; |
and return:
+-------------+------------+----------------+ | mystring | full_month | converted_date | +-------------+------------+----------------+ | 29-FEB-2024 | January | NULL | | 29-FEB-2024 | February | 2024-02-29 | +-------------+------------+----------------+ 2 rows in set (0.00 sec) |
The problem with the result set, or derived table, is the CROSS JOIN. A CROSS JOIN matches every row in one table with every row in another table or derived table from prior joins. That means you need to add a filter in the WHERE clause to ensure you only get matches between the strings and parameters, like the modified query:
WITH params AS (SELECT 'January' AS full_month UNION ALL SELECT 'February' AS full_month) SELECT s.mystring , p.full_month , CASE WHEN SUBSTR(s.mystring,4,3) = SUBSTR(p.full_month,1,3) THEN STR_TO_DATE(REPLACE(s.mystring,SUBSTR(s.mystring,4,3),p.full_month),'%d-%M-%Y') END AS converted_date FROM strings s CROSS JOIN params p WHERE SUBSTR(s.mystring,4,3) = SUBSTR(p.full_month,1,3); |
It returns a single row, like:
+-------------+------------+----------------+ | mystring | full_month | converted_date | +-------------+------------+----------------+ | 29-FEB-2024 | February | 2024-02-29 | +-------------+------------+----------------+ 1 row in set (0.00 sec) |
However, none of this is necessary because the query can be written like this:
SELECT STR_TO_DATE('29-FEB-2024','%d-%M-%Y') AS mysql_date; |
It returns:
+------------+ | mysql_date | +------------+ | 2024-02-29 | +------------+ 1 row in set (0.00 sec) |
That’s because the STR_TO_DATE() function with the %M specifier resolves all months with three or more characters. Three characters are required because both Mar and May, and June and July can only be qualified by three characters. If you provide less than three characters of the month, the function returns a null value.
Here’s a complete test case that lets you discover all the null values that may occur with two few characters:
/* Conditionally drop the table. */ DROP TABLE IF EXISTS month, param; /* Create a table. */ CREATE TABLE month ( month_name VARCHAR(9)); /* Insert into the month table. */ INSERT INTO month ( month_name ) VALUES ('January') ,('February') ,('March') ,('April') ,('May') ,('June') ,('July') ,('August') ,('September') ,('October') ,('November') ,('December'); /* Create a table. */ CREATE TABLE param ( month VARCHAR(9) , needle VARCHAR(9)); /* Conditionally drop the procedure. */ DROP PROCEDURE IF EXISTS read_string; DROP PROCEDURE IF EXISTS test_month_name; /* Reset the execution delimiter to create a stored program. */ DELIMITER $$ /* Create a procedure. */ CREATE PROCEDURE read_string(month_name VARCHAR(9)) BEGIN /* Declare a handler variable. */ DECLARE display VARCHAR(17); DECLARE evaluate VARCHAR(17); DECLARE iterator INT DEFAULT 1; DECLARE partial VARCHAR(9); /* Read the list of characters. */ character_loop:LOOP /* Print the character list. */ IF iterator > LENGTH(month_name) THEN LEAVE character_loop; END IF; /* Assign substring of month name. */ SELECT SUBSTR(month_name,1,iterator) INTO partial; SELECT CONCAT('01-',partial,'-2024') INTO evaluate; /* Print only the strings too short to identify as the month. */ IF STR_TO_DATE(evaluate,'%d-%M-%Y') IS NULL THEN INSERT INTO param ( month, needle ) VALUES ( month_name, partial ); END IF; /* Increment the counter. */ SET iterator = iterator + 1; END LOOP; END; $$ /* Create a procedure. */ CREATE PROCEDURE test_month_name() BEGIN /* Declare a handler variable. */ DECLARE month_name VARCHAR(9); /* Declare a handler variable. */ DECLARE fetched INT DEFAULT 0; /* Cursors must come after variables and before event handlers. */ DECLARE month_cursor CURSOR FOR SELECT m.month_name FROM month m; /* Declare a not found record handler to close a cursor loop. */ DECLARE CONTINUE HANDLER FOR NOT FOUND SET fetched = 1; /* Open cursor and start simple loop. */ OPEN month_cursor; cursor_loop:LOOP /* Fetch a record from the cursor. */ FETCH month_cursor INTO month_name; /* Place the catch handler for no more rows found immediately after the fetch operations. */ IF fetched = 1 THEN /* Fetch the partial strings that fail to find a month. */ SELECT * FROM param; /* Leave the loop. */ LEAVE cursor_loop; END IF; /* Call the subfunction because stored procedures do not support nested loops. */ CALL read_string(month_name); END LOOP; END; $$ /* Reset the delimter. */ DELIMITER ; CALL test_month_name(); |
It returns the list of character fragments that fail to resolve English months:
+---------+--------+ | month | needle | +---------+--------+ | January | J | | March | M | | March | Ma | | April | A | | May | M | | May | Ma | | June | J | | June | Ju | | July | J | | July | Ju | | August | A | +---------+--------+ 11 rows in set (0.02 sec) |
There are two procedures because MySQL doesn’t support nested loops and uses a single-pass parser. So, the first read_string procedure is the inner loop and the second test_month_name procedure is the outer loop.
I wrote a follow-up to this post because of a reader’s question about not cleaning up the test case. In the other post, you will find a drop_table procedure that lets you dynamically drop the param table created to store the inner loop procedure’s results.
As always, I hope this helps those looking to open the hood and check the engine.
Case Sensitive Comparison
Sometimes you hear from some new developers that MySQL only makes case insensitive string comparisons. One of my students showed me their test case that they felt proved it:
SELECT STRCMP('a','A') WHERE 'a' = 'A'; |
Naturally, it returns 0, which means:
- The values compared by the STRCMP() function makes a case insensitive comparison, and
- The WHERE clause also compares strings case insensitively.
As a teacher, you’re gratified that the student took the time to build their own use cases. However, in this case I had to explain that while he was right about the STRCMP() function and the case insensitive comparison the student used in the WHERE clause was a choice, it wasn’t the only option. The student was wrong to conclude that MySQL couldn’t make case sensitive string comparisons.
I modified his sample by adding the required BINARY keyword for a case sensitive comparison in the WHERE clause:
SELECT STRCMP('a','A') WHERE BINARY 'a' = 'A'; |
It returns an empty set, which means the binary comparison in the WHERE clause is a case sensitive comparison. Then, I explained while the STRCMP() function performs a case insensitive match, the REPLACE() function performs a case sensitive one. Then, I gave him the following expanded use case for the two functions:
SELECT STRCMP('a','A') AS test1 , REPLACE('a','A','b') AS test2 , REPLACE('a','a','b') AS test3; |
It returns:
+-------+-------+-------+ | test1 | test2 | test3 | +-------+-------+-------+ | 0 | a | b | +-------+-------+-------+ 1 row in set (0.00 sec) |
The behavior of one function may be different than another as to how it compares strings, and its the developers responsibility to make sure they understand its behavior thoroughly before they use it. The binary comparison was a win for the student since they were building a website that needed that behavior from MySQL.
As always, I hope tidbits like this save folks time using MySQL.
Docker on macOS
I finally got on the current release of macOS, Monterey, and found that my tedious Docker error still existed. When the computer boots, I get the following Fatal Error message:

Open a Terminal session and issue the following command:
killall Docker |
Then, restart Docker and everything is fine.
