Archive for October, 2022
AlmaLinux LAMP

After installing and configuring MySQL 8.0.30, I installed the Apache Web Server, PHP and the MySQLi packages. Here are the step-by-step instructions after installing and configuring the MySQL Server and provisioning a student user and the sakila and studentdb databases (blog for those steps). After installing the major components, I completed the HTTPS configuration steps for Apache 2.
The installation steps are:
- Install the Apache packages as the sudoer user with this command:
sudo dnf install -y httpd
- Enable Apache as the sudoer user with this command:
chkconfig httpd on
This returns the following completion message:
Note: Forwarding request to 'systemctl enable httpd.service'.
Created symlink /etc/systemd/system/multi-user.target.wants/httpd.service → /usr/lib/systemd/system/httpd.service.
A quick Linux syntax note in the event you want to confirm the link or link target later. You can use the following syntax as a sudoer user to find the link:
ls `find /etc -type l | grep httpd.service 2>/dev/null`
and the following syntax as a sudoer user to find the link’s target:
readlink `find /etc -type l | grep httpd.service 2>/dev/null`
- You still need to start the Apache service unless you reboot the operating system as the sudoer user with this command:
apachectl start - At this point, you need to check the firewall settings because Apache can’t even read localhost at this point. If you’re new to these firewall commands, you should consider reviewing Korbin Brown’s tutorial. As the sudoer user check the Apache available services with this command:
firewall-cmd --zone=public --list-services
It should return:
cockpit dhcpv6-client sshAdd the following services and ports with these commands:
firewall-cmd --zone=public --add-port 80/tcp --permanent
firewall-cmd --zone=public --add-port 443/tcp --permanent
firewall-cmd --zone=public --add-port 8080/tcp --permanent
firewall-cmd --zone=public --add-service=http --permanent
firewall-cmd --zone=public --add-service=https --permanent
Check the open ports with the following command:
firewall-cmd --zone=public --list-ports
It should return:
80/tcp 443/tcp 8080/tcp
Check the open services with the following command:
firewall-cmd --zone=public --list-services
It should return:
cockpit dhcpv6-client http https ssh - Create the hello.htm file in the /var/www/html directory as the root user:
Restart the Apache service as the sudoer user:
apache restart
<html>
<body>
Hello World!
</body>
</html>
Then, you can launch the Firefox browser and type the following:
localhost/hello.htmIt should print “Hello World!” in the browser.
- Install the php package as the sudoer user with the following command:
sudo dnf install -y php
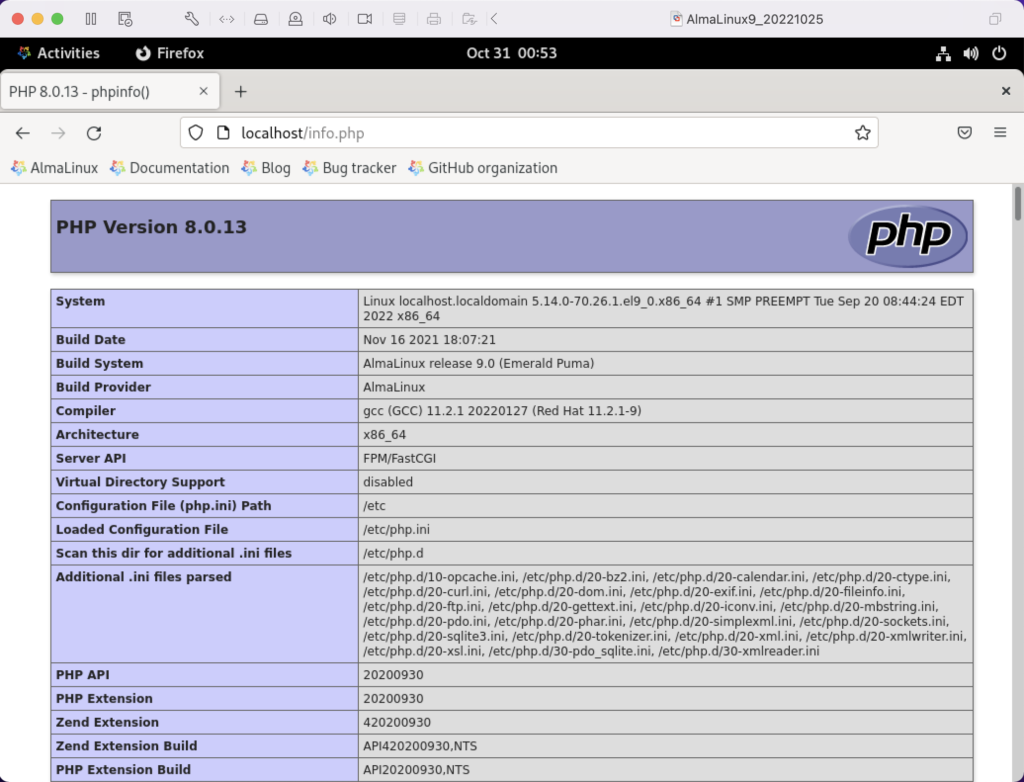
Create the info.php file in the /var/www/html directory as the root user:
<?php
  phpinfo();
?>
apache restart
Then, you can launch the Firefox browser and type the following:
localhost/info.php
It should return the following in the browser.
- Install the php_mysqli package as the sudoer user with the following command:
dnf install -y php-mysqli
Create the mysqli_check.php file in the /var/www/html directory as the root user:
<html>
<header>
<title>Static Query Object Sample</title>
</header>
<body>
<?php
  if (!function_exists('mysqli_init') && !extension_loaded('mysqli')) {
    print 'mysqli not installed.'; }
  else {
    print 'mysqli installed.'; }
  if (!function_exists('pdo_init') && !extension_loaded('pdo')) {
    print '<p>pdo not installed.</p>'; }
  else {
    print '<p>pdo installed.</p>'; }
?>
</script>
</body>
</html>
apache restart
Then, you can launch the Firefox browser and type the following:
localhost/mysqli_check.php
It should print the following in the browser.
mysqli installed.

pdo installed.
- Check if the mod_ssl module is installed. You can use the following command::
rpm -qa | grep mod_ssl
Assuming it’s not installed, you install it like this:
dnf install -y mod_ssl
Recheck after installing mod_ssl with the following command::
rpm -qa | grep mod_ssl
It should print:
mod_ssl-2.4.51-7.el9_0.x86_64
- AlmaLinux and Apache require you to resolve the ServerName values and the public and private keys. Run this command on AlmaLinux to begin verifying and configuring the ServerName values and the public and private keys:
httpd -M | grep ssl
Assuming a new installation consistent with were MySQL and Apache were just configured, you should get the following message:
AH00558: httpd: Could not reliably determine the server's fully qualified domain name, using localhost.localdomain. Set the 'ServerName' directive globally to suppress this message
 ssl_module (shared)
Recheck the failure for more detail with this command:
sudo systemctl status httpd.service -l --no-pager
It should print:
● httpd.service - The Apache HTTP Server Loaded: loaded (/usr/lib/systemd/system/httpd.service; enabled; vendor preset: disabled) Drop-In: /usr/lib/systemd/system/httpd.service.d └─php-fpm.conf Active: active (running) since Sun 2022-11-13 22:39:07 EST; 1h 37min ago Docs: man:httpd.service(8) Main PID: 1351 (httpd) Status: "Total requests: 0; Idle/Busy workers 100/0;Requests/sec: 0; Bytes served/sec: 0 B/sec" Tasks: 213 (limit: 23280) Memory: 43.1M CPU: 2.733s CGroup: /system.slice/httpd.service ├─1351 /usr/sbin/httpd -DFOREGROUND ├─1443 /usr/sbin/httpd -DFOREGROUND ├─1452 /usr/sbin/httpd -DFOREGROUND ├─1456 /usr/sbin/httpd -DFOREGROUND └─1459 /usr/sbin/httpd -DFOREGROUND Nov 13 22:39:06 localhost.localdomain systemd[1]: Starting The Apache HTTP Server... Nov 13 22:39:07 localhost.localdomain httpd[1351]: AH00558: httpd: Could not reliably determine the server's fully qualified domain name, using localhost.localdomain. Set the 'ServerName' directive globally to suppress this message Nov 13 22:39:07 localhost.localdomain systemd[1]: Started The Apache HTTP Server. Nov 13 22:39:07 localhost.localdomain httpd[1351]: Server configured, listening on: port 80It takes the next set of steps to fix the ServerName values.
- Generically, on Linux you need to find the files to modify. You can use the following command from within the /etc directory to find the configuration files in the /etc directory that include ServerName in them. Their values will be proceeded by a # symbol because they’re comments by default.
find /etc -type f | xargs grep -i ServerName
It should return the following:
./httpd/conf.d/ssl.conf:#ServerName www.example.com:443
./httpd/conf/httpd.conf:# ServerName gives the name and port that the server uses to identify itself.
./httpd/conf/httpd.conf:#ServerName www.example.com:80
./dnsmasq.conf:# tftp_servername (the third option to dhcp-boot) and in that
- Add the following line to the ssl.conf file as the root user:
ServerName localhost:443 - Add the following line to the httpd.conf file as the root user:
ServerName localhost:443 - After adding the two values, restart Apache with the following command:
sudo apachectl restart
- Rerun the systemctl command to get the status of the httpd service with this command:
sudo systemctl status httpd.service -l --no-pager
It should print:
● httpd.service - The Apache HTTP Server
     Loaded: loaded (/usr/lib/systemd/system/httpd.service; enabled; vendor preset: disabled)
    Drop-In: /usr/lib/systemd/system/httpd.service.d
             └─php-fpm.conf
     Active: active (running) since Mon 2022-11-14 00:37:03 EST; 3min 23s ago
       Docs: man:httpd.service(8)
   Main PID: 53596 (httpd)
     Status: "Total requests: 0; Idle/Busy workers 100/0;Requests/sec: 0; Bytes served/sec:   0 B/sec"
      Tasks: 213 (limit: 23280)
     Memory: 34.0M
        CPU: 183ms
     CGroup: /system.slice/httpd.service
             ├─53596 /usr/sbin/httpd -DFOREGROUND
             ├─53597 /usr/sbin/httpd -DFOREGROUND
             ├─53598 /usr/sbin/httpd -DFOREGROUND
             ├─53599 /usr/sbin/httpd -DFOREGROUND
             └─53600 /usr/sbin/httpd -DFOREGROUND

Nov 14 00:37:03 localhost.localdomain systemd[1]: Starting The Apache HTTP Server...
Nov 14 00:37:03 localhost.localdomain systemd[1]: Started The Apache HTTP Server.
Nov 14 00:37:03 localhost.localdomain httpd[53596]: Server configured, listening on: port 443, port 80
- Generically, on Linux you need to find the files to modify. You can use the following command from within the /etc directory to find the configuration files in the /etc directory that include ServerName in them. Their values will be proceeded by a # symbol because they’re comments by default.
- Your next step requires setting up an SSL Certificate. Consistent with the design to build a standalone test system that uses a DHCP assigned IP address to resolve a localhost server name, you require the following two tasks to create an openssl self-signed certificate.
- On the new instance, you create a private subdirectory with this command:
sudo mkdir /etc/ssl/private
- Then, you can build a self-signed certificate with this command:
sudo openssl req -x509 -nodes -days 365 -newkey rsa:2048 -keyout /etc/ssl/private/apache-selfsigned.key -out /etc/ssl/certs/apache-selfsigned.crt
The openssl command will prompt you for these values to create a private key:
You are about to be asked to enter information that will be incorporated
into your certificate request.
What you are about to enter is what is called a Distinguished Name or a DN.
There are quite a few fields but you can leave some blank
For some fields there will be a default value,
If you enter '.', the field will be left blank.
-----
Country Name (2 letter code) [XX]:
State or Province Name (full name) []:
Locality Name (eg, city) [Default City]:
Organization Name (eg, company) [Default Company Ltd]:
Organizational Unit Name (eg, section) []:
Common Name (eg, your name or your server's hostname) []:
Email Address []:
- On the new instance, you create a private subdirectory with this command:
- Your last step requires three tasks to configure Apache to use SSL.
- You need to create the following sites-available directory with the following command as the root user:
mkdir /etc/httpd/sites-available
- Add the following localhost.conf/etc/httpd/sites-available directory:
<VirtualHost *:443>
   ServerName localhost
   DocumentRoot /var/www/html

   SSLEngine on
   SSLCertificateFile /etc/ssl/certs/localhost.crt
   SSLCertificateKeyFile /etc/ssl/private/apache-selfsigned.key
</VirtualHost>
- Restart Apache with the following command:
sudo apachectl restart
- You need to create the following sites-available directory with the following command as the root user:
- After configuring everything, let’s test our self-signed HTTPS skunkworks. Launch the default Firefox browser and enter the following URL, which uses the mysql_check.php file from step #7:
https://localhost/mysqli_check.php
It will raise a warning message about a potential security risk, which is caused by our self-signed certificate. Click the Advanced… button and will see the option to Accept the Risk and Continue. If you want to use the self-signed and contained AlmaLinux LAMP stack for developer testing, accept the risk.

Having assumed the risk, the confirmation of the configuration will be displayed as follows:

As always, I hope this helps those looking to install MySQL, PHP, on AlmaLinux.
AlmaLinux Rust
Installed the Rust programming language on AlmaLinux as a sudoer user with this command:
sudo yum install -y rust |
Wrote a simple Hello World! program, as qualified in the Rust Programming language online reference. Only, I changed the name of the file to hello.rs rather than main.rs because I thought that beginning programmers might not tell the difference between a program name and the main function.
fn main() { println!("Hello World!"); } |
Compiled the program with:
rustc hello.rs |
Then, ran the generated hello executable file from its local directory:
./hello |
It printed:
Hello World! |
You need to install cargo, which is the Rust Programming Language’s package manager to build anything other than the simplest examples. The easiest way to install the cargo package manager at this point is to type:
cargo --version |
It’ll tell you that it isn’t installed on a fresh AlmaLinux environment and prompt you to install it, as shown:
Install package 'cargo' to provide command 'cargo'? [N/y] y * Waiting in queue... * Loading list of packages.... The following packages have to be installed: cargo-1.58.1-1.el9.x86_64 Rust's package manager and build tool Proceed with changes? [N/y] y * Waiting in queue... * Waiting for authentication... * Waiting in queue... * Loading list of packages.... * Downloading packages... * Requesting data... * Testing changes... * Installing packages... cargo 1.58.0 |
I’m hoping that introducing Rust to the blog may encourage more exploration of the Rust Programming Language.
AlmaLinux MySQL+Python
After installing and configuring MySQL 8.0.30, I installed the Python connector. During that process on AlmaLinux, there were several changes since I last installed the Python’s mysql module. Here are the step-by-step instructions after installing and configuring MySQL Server (blog for those steps).
Using the MySQL Connector/Python X DevAPI Reference, you must install the pip utility before you install the library. You install the pip library as a sudoer user with the following command:
sudo yum install -y pip |
Then, using the pip utility as a sudoer user install the mysql-connector-python module with the following command:
sudo pip install mysql-connector-python |
Please note that this type of library installation can cause problems when you maintain multiple testing environments. If you plan to maintain multiple testing environments, please install this library in a virtual environment.
You create a bare-bones Python connection test program, like connect.py below:
# Import the library. import mysql.connector from mysql.connector import errorcode try: # Open connection. cnx = mysql.connector.connect(user='student', password='student', host='127.0.0.1', database='studentdb') # Print the value. print("Database connection resolved.") # Handle exception and close connection. except mysql.connector.Error as e: if e.errno == errorcode.ER_ACCESS_DENIED_ERROR: print("Something is wrong with your user name or password") elif e.errno == errorcode.ER_BAD_DB_ERROR: print("Database does not exist") else: print(e) # Close the connection when the try block completes. else: cnx.close() |
You test the connect.py program with this command:
python connect.py |
It’ll return the following provided you provisioned the student user and studentdb database:
Database connection resolved. |
If you’d like to run it without calling the python executable, you can add the following as the first line:
#/usr/bin/python |
and, change the default file permissions from
-rw-rw-r--. 1 student student 717 Oct 30 13:57 connect.py |
with the chmod command to
-rwxr-xr-x. 1 student student 717 Oct 30 13:57 connect.py |
These instructions should set you up to develop Python code against your AlmaLinux MySQL studentdb database. You use this syntax, assuming a default $PATH environment variable that excludes the present working directory.
./connect.py |
As always, I hope this helps those trying to get a complete solution.
AlmaLinux Installation
These are the instructions for installing AlmaLinux 9 on MacOS Intel with VMware. It’s broken into three parts: Configuration, Installation, and Setup.
You should download the current or desired older version of AlmaLinux from the website. It’s a good idea to install it in a source directory or folder.
You need to launch VMware, click the File menu option and then the New menu option before you can configure, install, and setup AlmaLinux. It will show you the following dialog.
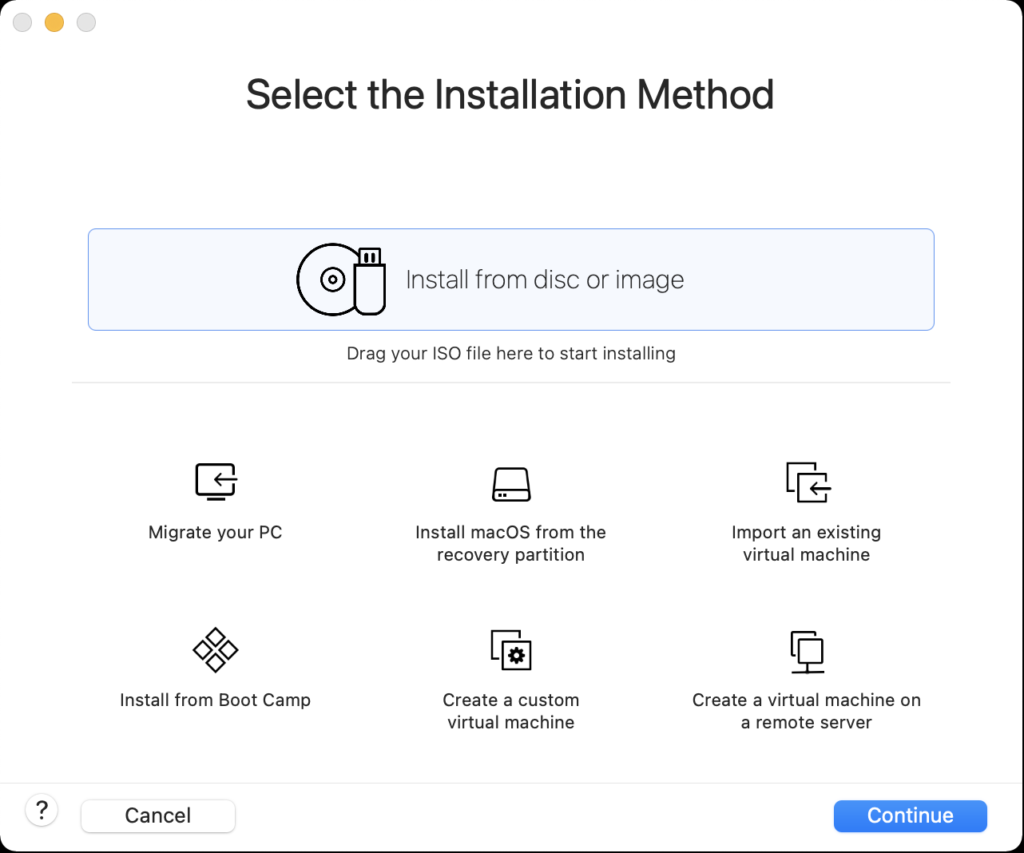
Use the Finder to drag the AlmaLinux-9-latest-x86_64-dvd.iso file on to the Install from disc or image to begin the configuration process.
Configuration

- The first thing you need to do is configure the VMware container. You click on the wrench icon in the menu bar that lets you edit the hardware settings for this virtual machine. This opens the general settings dialog.
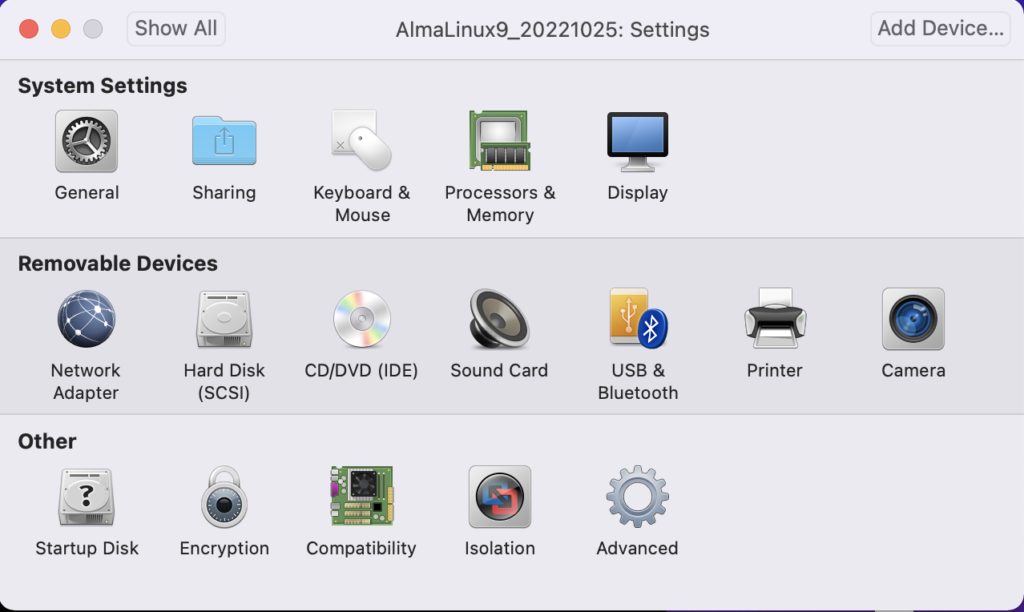
- The General System Settings dialog lets you will configure the isolation properties for “drag and drop” and “copy and paste”, and define the network adapter.
![]()
- Click on the Isolation menu option from the General System Settings dialog, and enable “Drag adn Drop” and “Copy and Paste” checkboxes. Then, return to the General System Settings dialog/li>
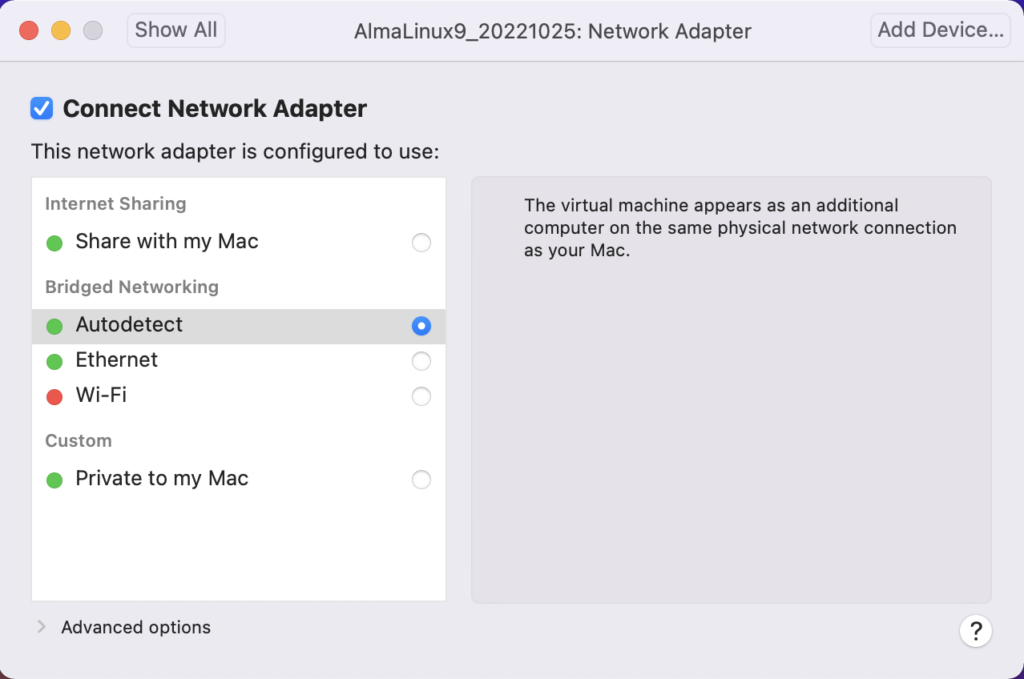
- Click on the Network Adapter menu option from the General System Settings dialog, and click the “Autodetect” checkbox. Then, return to the General System Settings dialog.
Installation
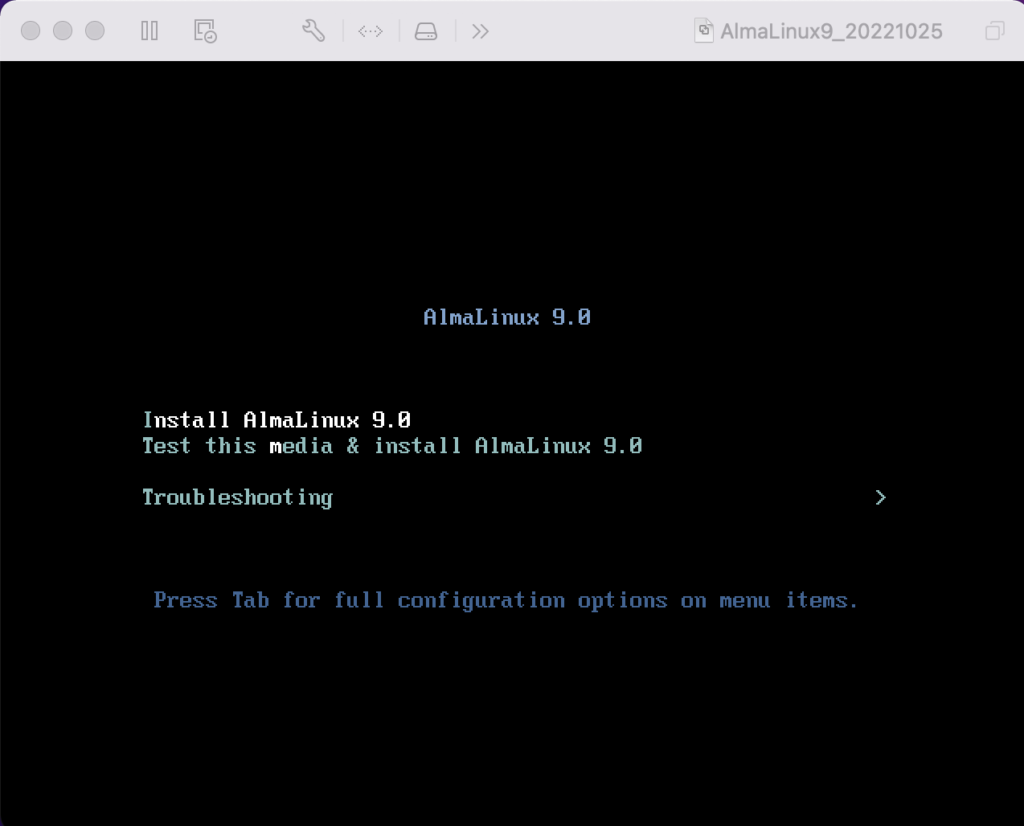
- The first the install asks you to do is type an I for install or T for test. Generally, you can skip the test if this is a copied file rather than DVD.
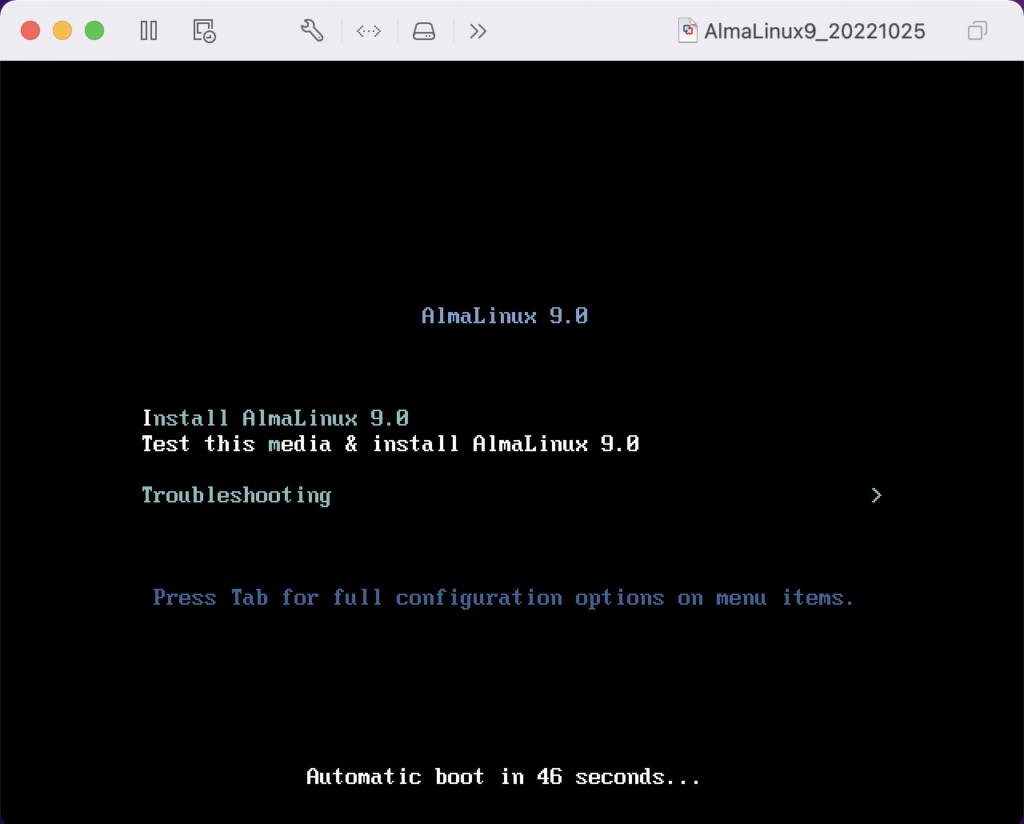
- Click the Tab key to configure the target installation or Enter key to skip the automatic boot delay.

- Choose the installation language and click the Continue button.
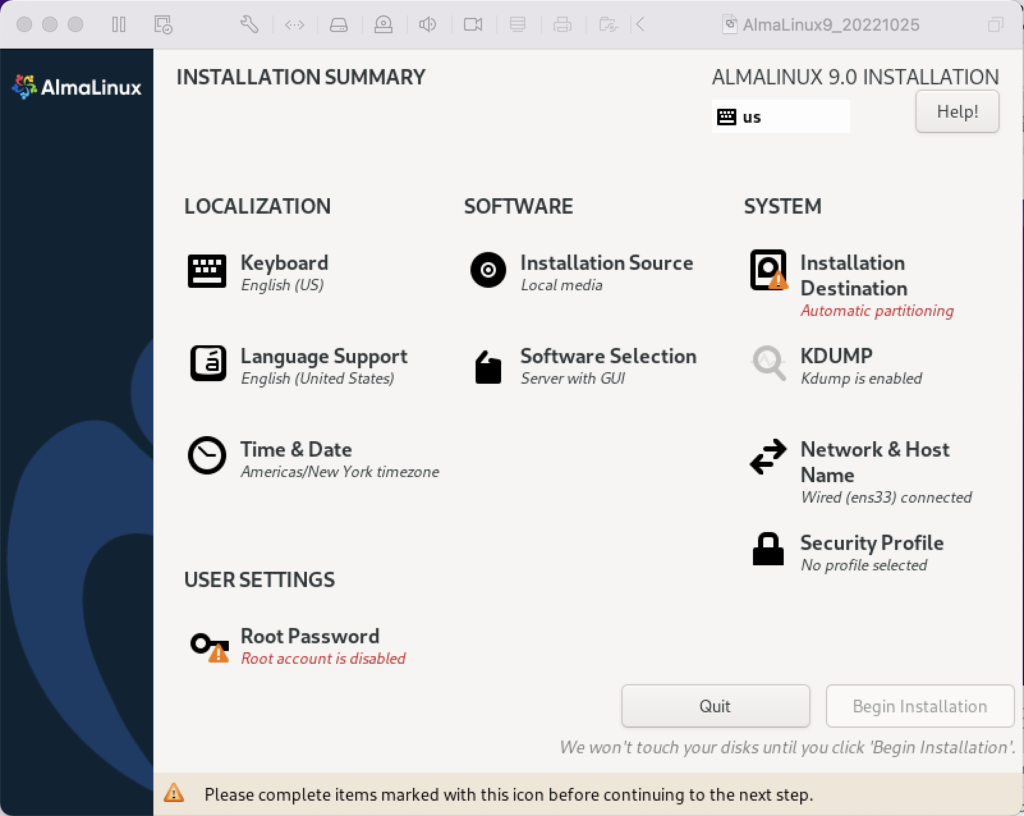
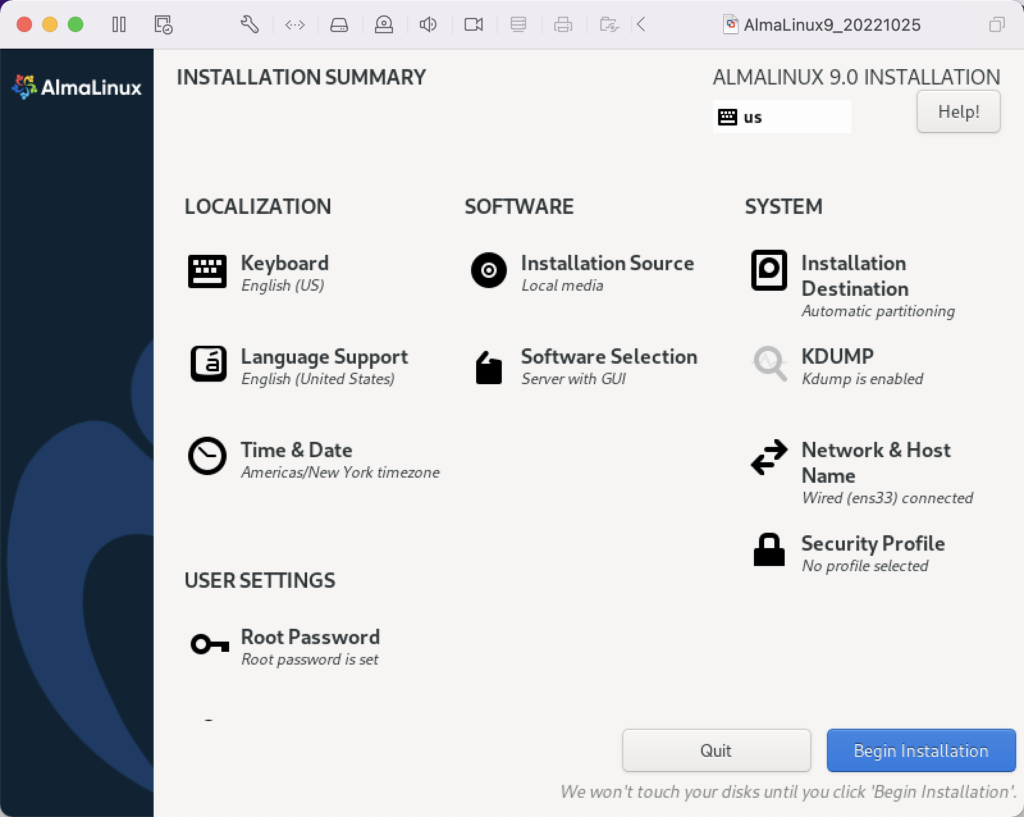
- The Installation Summary dialog lets you fix anything with a warning message orange triangle. Fix the Root Password first by clicking on the text.
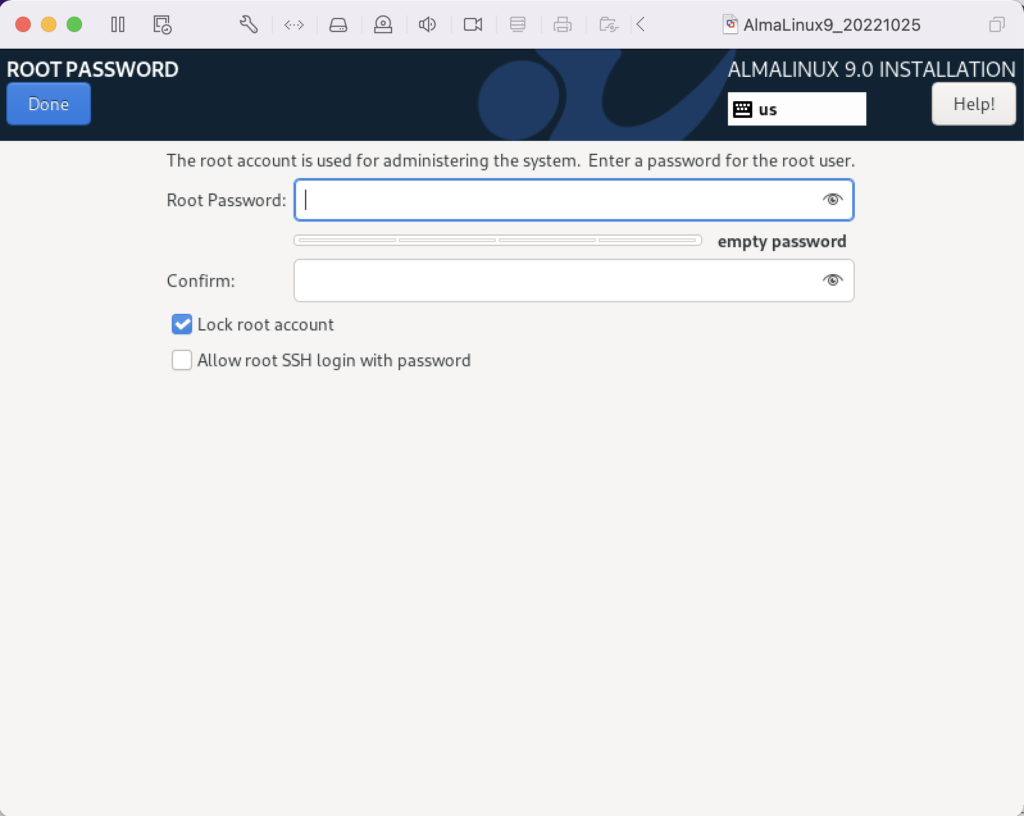
- Enter the Root Password twice, click the Lock root account checkbox to unselect it, and click the Allow root SSH login with password checkbox to enable it.

- Click the Done button to complete setting the root password.

- After fixing the root password, click on the Installation Destination item to change the default partition.
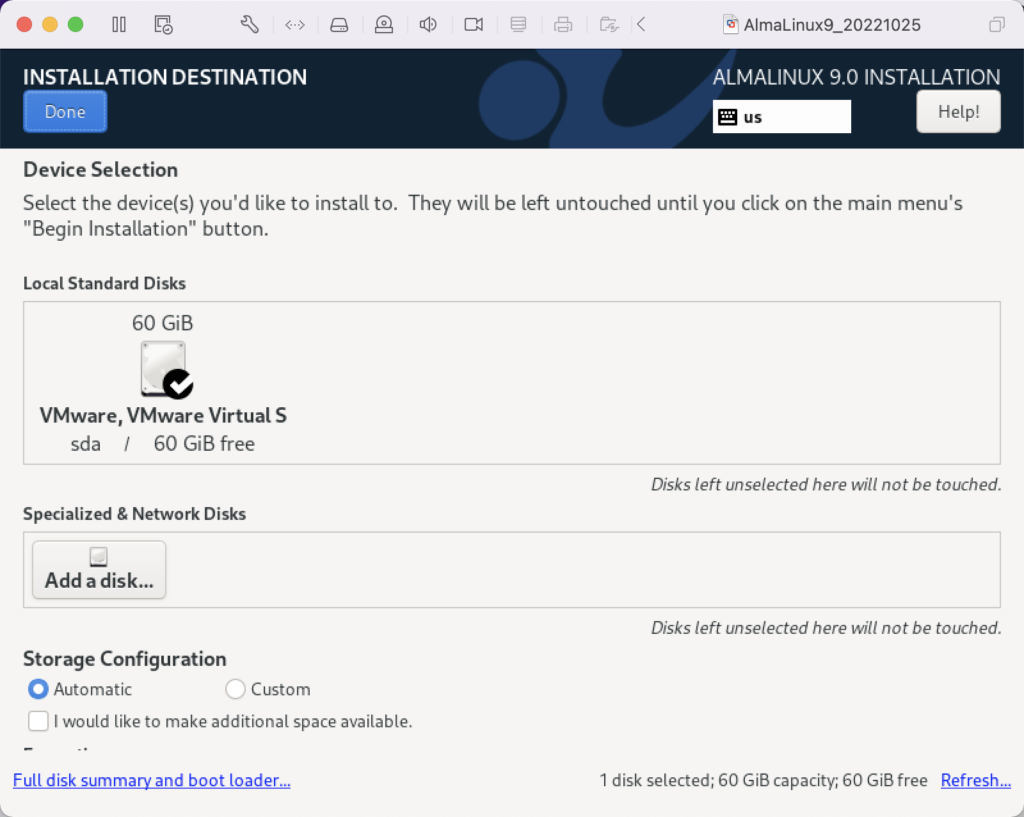
- Click the Done button to accept the initial size of the VM partition.
- Click the Software Selection element to add software components to the default installation.
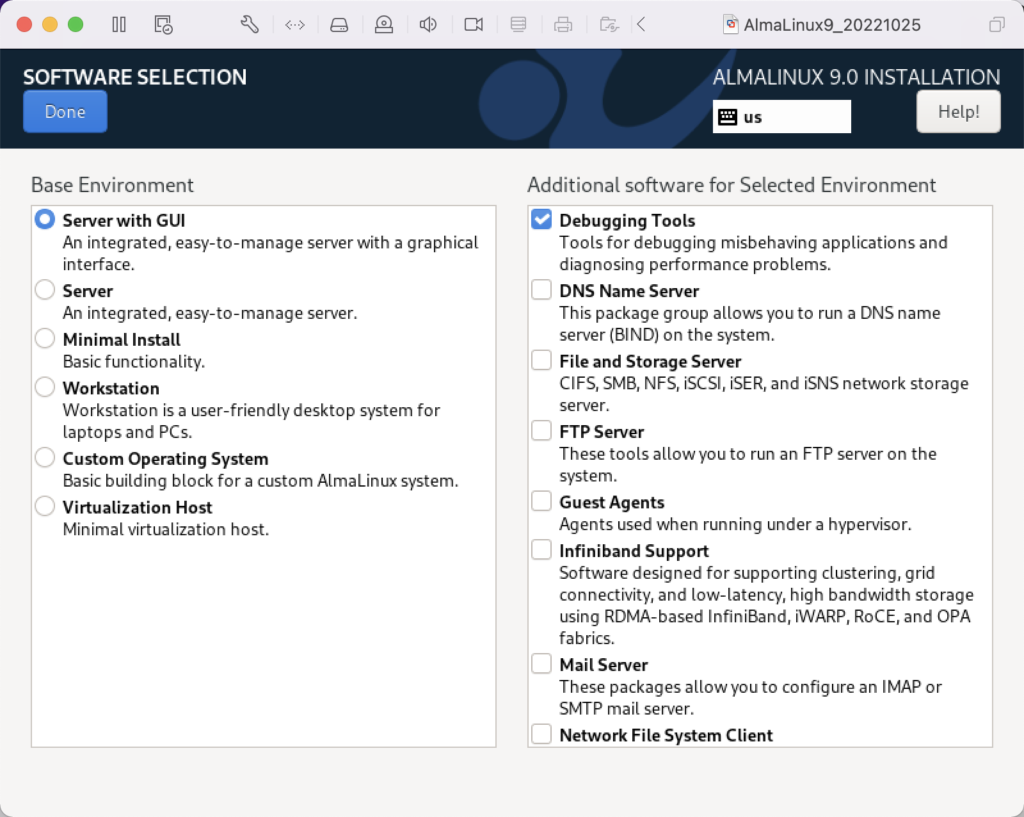
- Click the checkboxes for the following additional software:
- Debugging Tools
- Performance Tools
- Remote Desktop Clients
- Remote Management for Linux
- Legacy UNIX Compatibility
- Console Internet Tools
- Development Tools
- .NET Development
- Graphical Administration Tools
- System Tools
Click the Done button to accept the added software elements.
- Click the Begin Installation button to begin the installation of AlmaLinux.
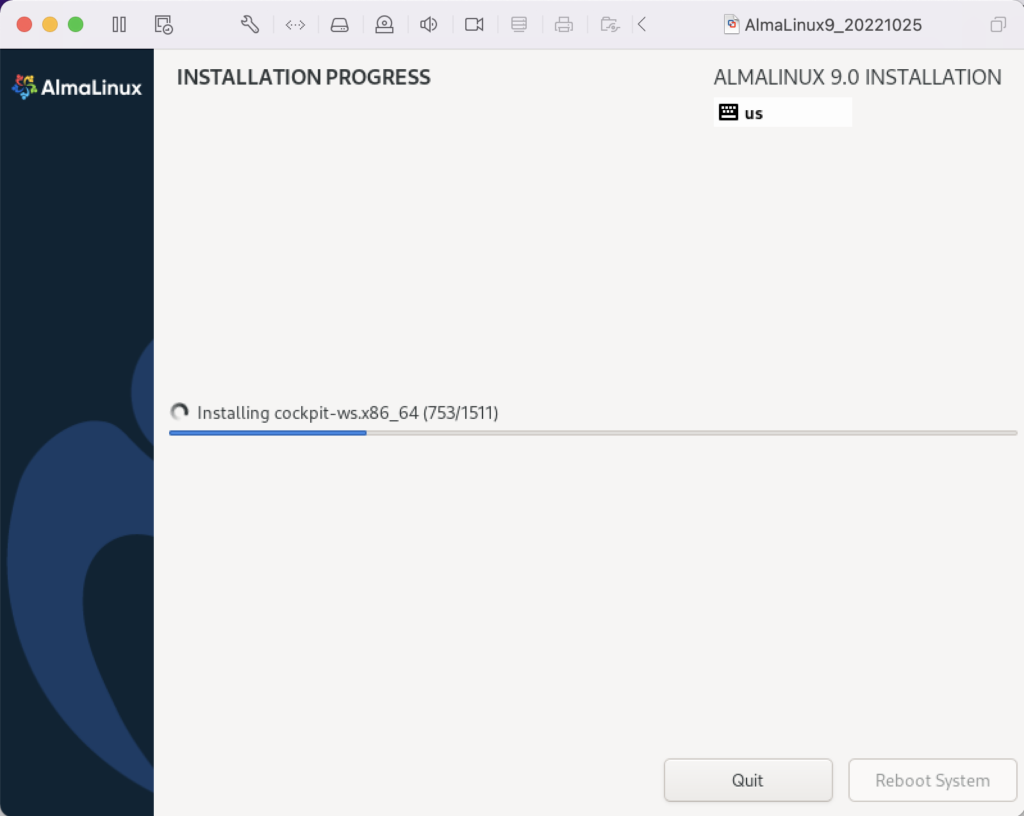
- The Installing Progress dialog will show a progress bar for several minutes.
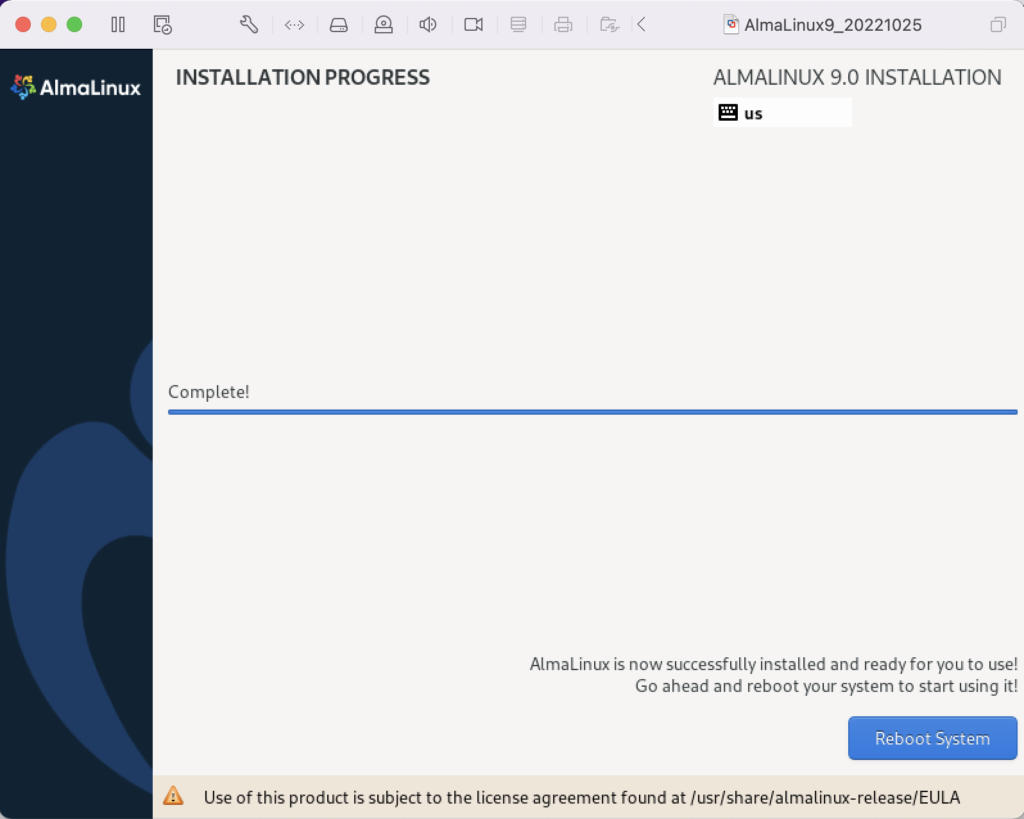
- The Installing Progress dialog eventually completes, and you click the Reboot System button to complete the installation.
Setup
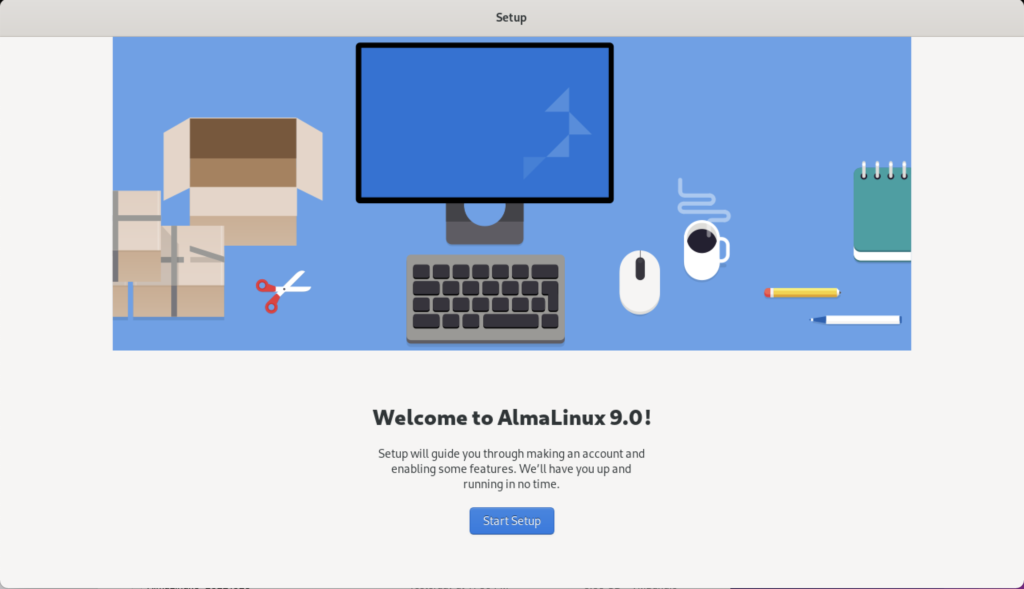
- The Welcome to AlmaLinux page begins the set up of the operating systems.
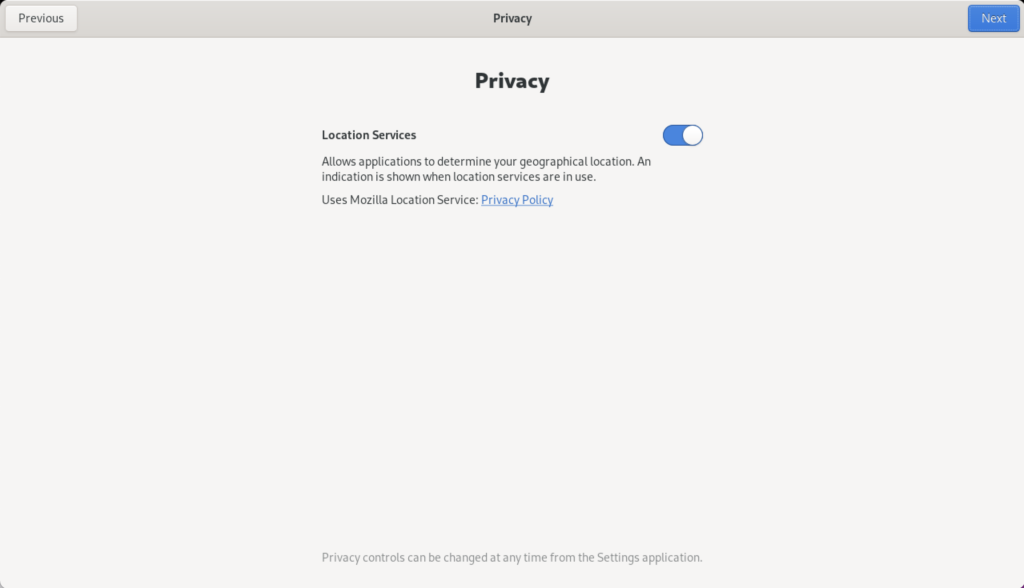
- Click the Slide to disable location services.
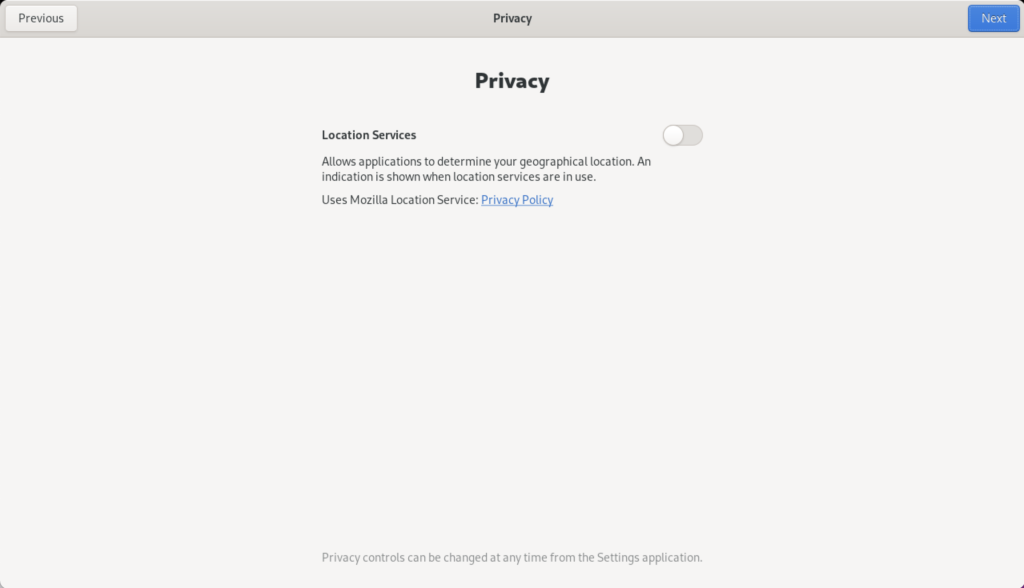
- After clicking the Slide location services are disabled.

- The Online Account dialog lets you connect your email, online calendar, contacts, documents, and photos. You click the Skip button to avoid setting up any of the online accounts.

- The About You dialog lets you enter user account with sudoer privileges.
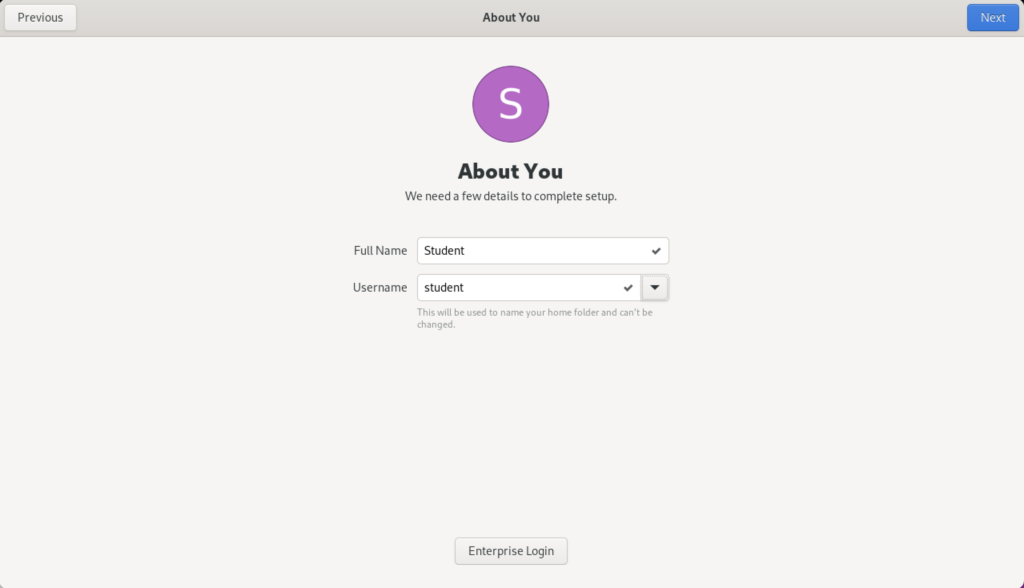
- The About You dialog enters a title case user’s name and a lowercase user’s name.
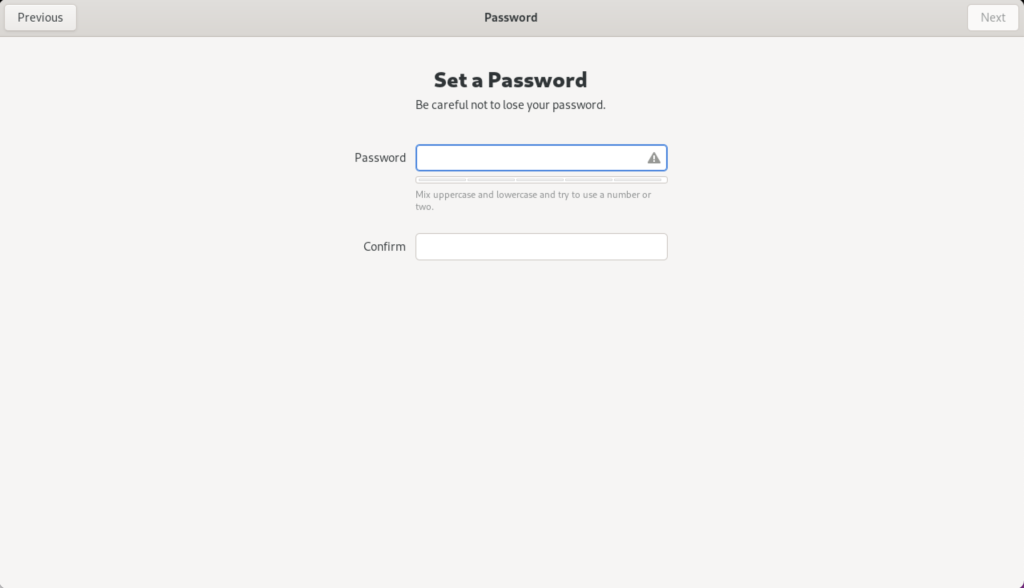
- The Password dialog lets you enter a case sensitive password.
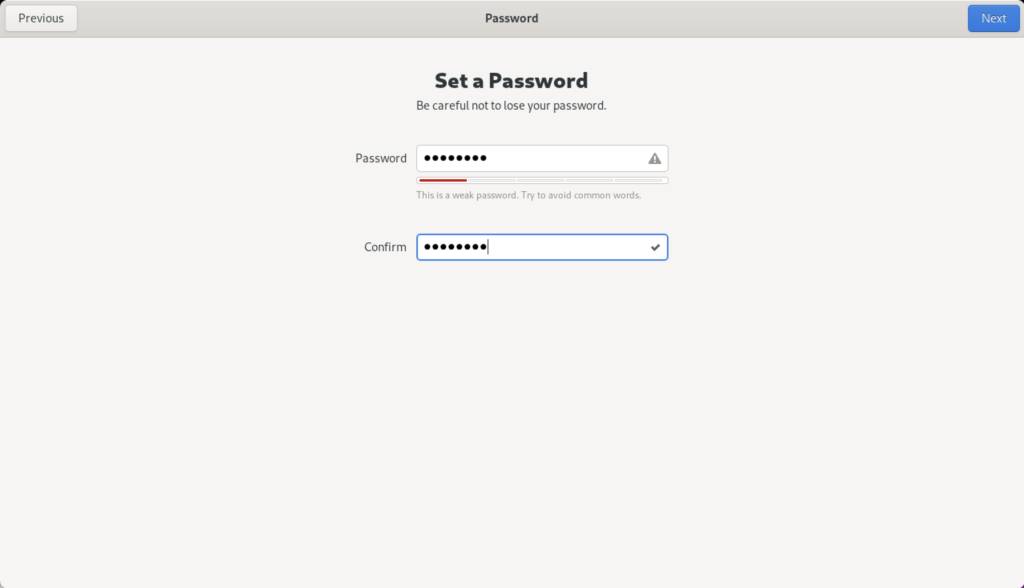
- The Password dialog displays the entry of the passwords as dots.
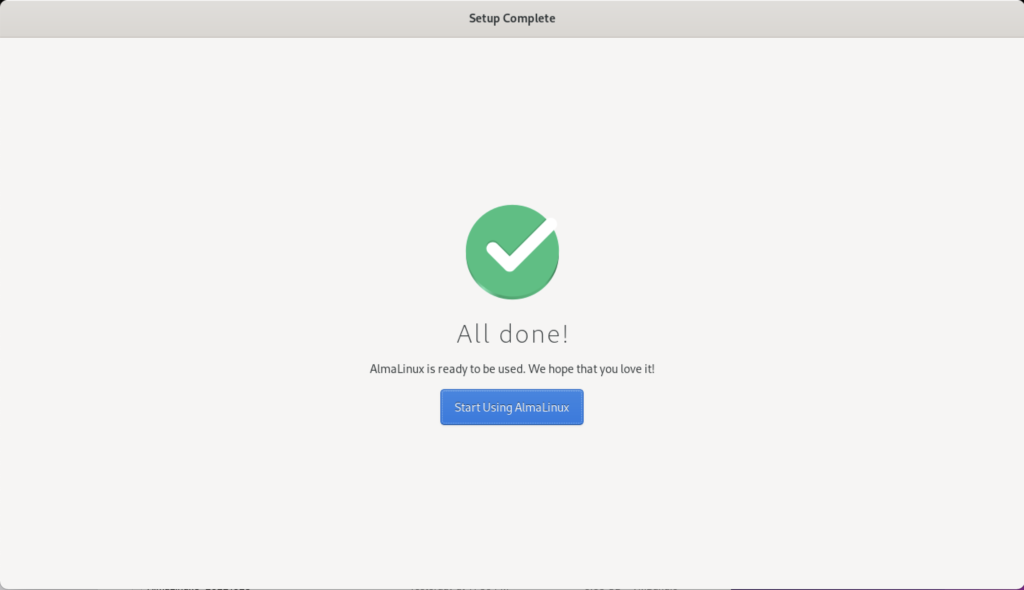
- The Setup Complete dialog leaves you to click the Start Using AlmaLinux button to complete the setup.

- The blank image page displays until you click on it.
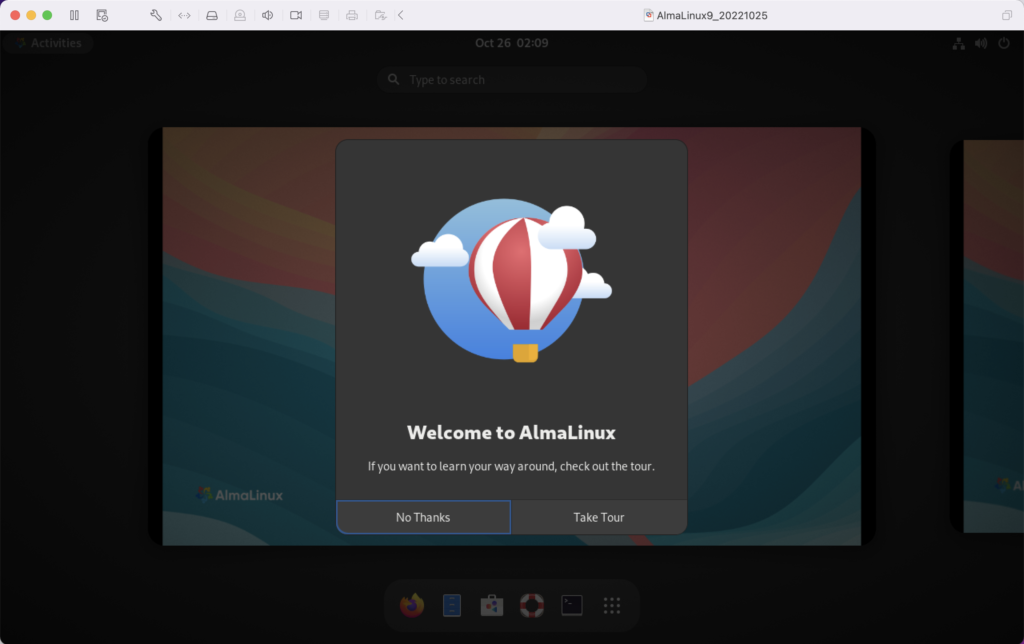
- The Welcome to AlmaLinux dialog invites you to take a tour or decline it. Click the No Thanks button to decline the tour.

- After declining the tour, it displays the core AlmaLinux screen.

- Rebooting the system is necessary to complete the installation. Click on the circle icon on the right to begin the process to restart or shutdown the operating system. Click on the Power Off / Log Out dropdown to continue.

- Click the Restart… menu option to restart the operating system.

- Click the Restart… menu option to confirm the restart of the operating system.
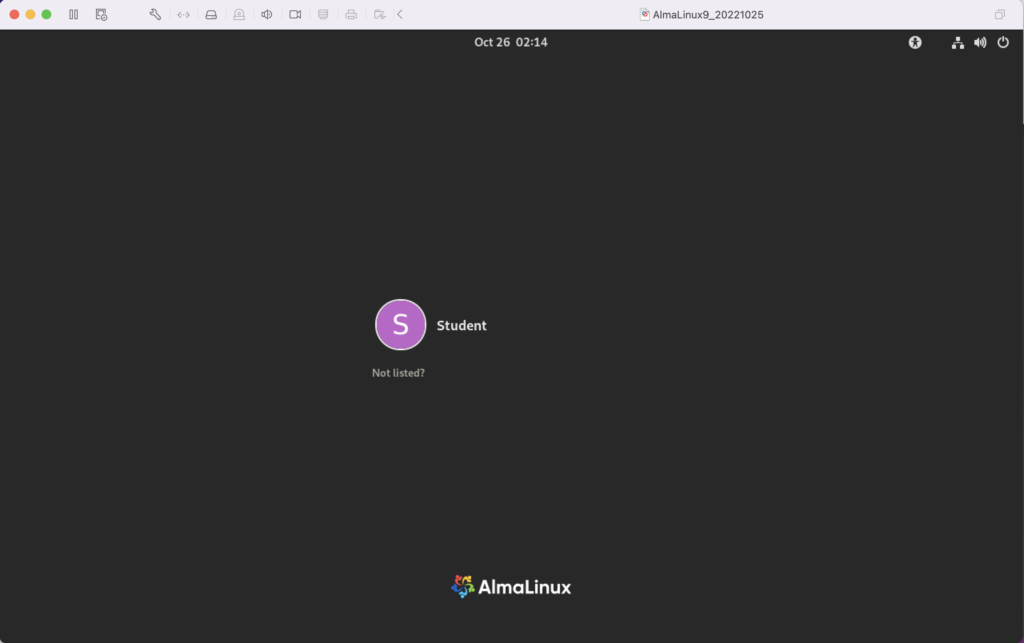
- Click the Student icon to get prompted for a password.
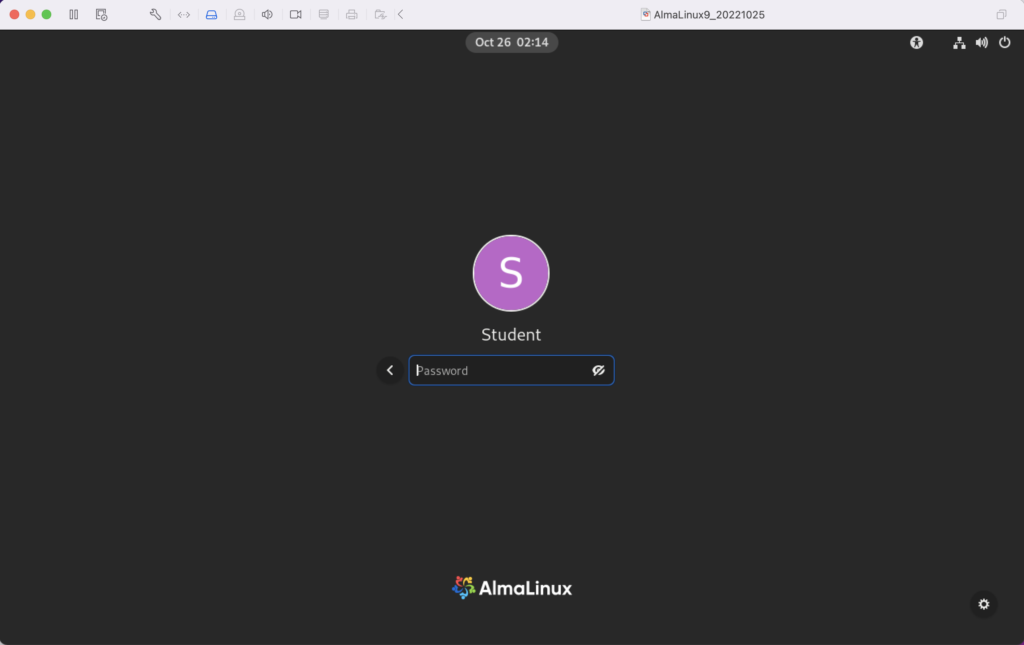
- Enter the Student password to connect to the AlmaLinux operating system.

- This displays the standard working interface for the AlmaLinux operating system.
MySQL on AlmaLinux
After installing AlmaLinux in a VMware VM on my MacBook Pro (Intel Chip), and updating the packages with the following command:
sudo dnf upgrade --refresh -y |
MySQL was first on my installation and configuration list. Here are the commands to install and configure it on AlmaLinux.
Install the MySQL Server packages and dependents:
sudo dnf install mysql mysql-server -y |
Install the MySQL service utilities with the initscripts package, using the following command:
sudo yum install -y initscripts |
Start the MySQL daemon with the following command:
sudo service mysqld start |
Connect and verify the root user can connect to the database. At this point, you’ve not set the root user’s password and should use the following syntax:
mysql -uroot |
It should connect and display:
Welcome to the MySQL monitor. Commands end with ; or \g. Your MySQL connection id is 10 Server version: 8.0.30 Source distribution Copyright (c) 2000, 2022, Oracle and/or its affiliates. Oracle is a registered trademark of Oracle Corporation and/or its affiliates. Other names may be trademarks of their respective owners. Type 'help;' or '\h' for help. Type '\c' to clear the current input statement. mysql> |
Exit MySQL and run the following command:
mysql_secure_installation |
It’ll run you through the following prompts, which you may change to suit your installation. My choices are a trivial student database isolated inside a VM.
Securing the MySQL server deployment. Connecting to MySQL using a blank password. VALIDATE PASSWORD COMPONENT can be used to test passwords and improve security. It checks the strength of password and allows the users to set only those passwords which are secure enough. Would you like to setup VALIDATE PASSWORD component? Press y|Y for Yes, any other key for No: n Please set the password for root here. New password: Re-enter new password: By default, a MySQL installation has an anonymous user, allowing anyone to log into MySQL without having to have a user account created for them. This is intended only for testing, and to make the installation go a bit smoother. You should remove them before moving into a production environment. Remove anonymous users? (Press y|Y for Yes, any other key for No) : y Success. Normally, root should only be allowed to connect from 'localhost'. This ensures that someone cannot guess at the root password from the network. Disallow root login remotely? (Press y|Y for Yes, any other key for No) : y Success. By default, MySQL comes with a database named 'test' that anyone can access. This is also intended only for testing, and should be removed before moving into a production environment. Remove test database and access to it? (Press y|Y for Yes, any other key for No) : y - Dropping test database... Success. - Removing privileges on test database... Success. Reloading the privilege tables will ensure that all changes made so far will take effect immediately. Reload privilege tables now? (Press y|Y for Yes, any other key for No) : y Success. All done! |
The next step requires setting up the sample sakila and studentdb database. The syntax has changed from prior releases. Here are the new three steps:
- Grant the root user the privilege to grant to others, which root does not have by default. You use the following syntax as the MySQL root user:
mysql> GRANT ALL ON *.* TO 'root'@'localhost';
- Download the sakila database, which you can download from this site. Click on the sakila database’s TGZ download.

When you download the sakila zip file it creates a sakila-db folder in the /home/student/Downloads directory. Copy the sakila-db folder into the /home/student/Data/sakila directory. Then, change to the /home/student/Data/sakila/sakila-db directory, connect to mysql as the root user, and run the following command:
mysql> SOURCE /home/student/Data/sakila/sakila-db/sakila-schema.sql
mysql> SOURCE /home/student/Data/sakila/sakila-db/sakila-data.sql
- Create the studentdb database with the following command as the MySQL root user:
mysql> CREATE DATABASE studentdb; - Create the user with a clear English password and grant the user student full privileges on the sakila and studentdb databases:
mysql> CREATE USER 'student'@'localhost' IDENTIFIED WITH mysql_native_password BY 'student';
mysql> GRANT ALL ON studentdb.* TO 'student'@'localhost';
mysql> GRANT ALL ON sakila.* TO 'student'@'localhost';
You can now connect to a sandboxed sakila database with the student user’s credentials, like:
mysql -ustudent -p -Dsakila |
or, you can now connect to a sandboxed studentdb database with the student user’s credentials, like:
mysql -ustudent -p -Dstudentdb |
As always, I hope code and step complete instructions help others get things done more quickly.
Quick Python Bit #1
A student asked for a Python example that would find a string starting with a vowel and prepend an “An” or starting with a non-vowel and prepend an “A”. As a rule, this one seems to make sense to most beginning programmers.
#/usr/bin/python # Import the regular expression library. import re # Create a list of words to check. haystack = ['anything','something','nothing'] # Create a regular expression for a leading vowel. needle = "^[AEIOUaeiou].*$" # Read through the haystacks and use the right article. for i in range(0,len(haystack),1): if re.search(needle,haystack[i],re.IGNORECASE): print("An",haystack[i]+".") else: print("A",haystack[i]+".") |
However, this loop is much cleaner:
#/usr/bin/python # Import the regular expression library. import re # Create a list of words to check. haystack = ['anything','something','nothing'] # Create a regular expression for a leading vowel. needle = "^[AEIOUaeiou].*$" # Read through the haystacks and use the right article. for i in haystack: if re.search(needle,i,re.IGNORECASE): print("An",i+".") else: print("A",i+".") |
Both programs print the following:
An anything. A something. A nothing. |
As always, happy to help write another example.
MySQL Workbench Keys
As I teach students how to create tables in MySQL Workbench, it’s always important to review the meaning of the checkbox keys. Then, I need to remind them that every table requires a natural key from our prior discussion on normalization. I explain that a natural key is a compound candidate key (made up of two or more column values), and that it naturally defines uniqueness for each row in a table.
Then, we discuss surrogate keys, which are typically ID column keys. I explain that surrogate keys are driven by sequences in the database. While a number of databases disclose the name of sequences, MySQL treats the sequence as an attribute of the table. In Object-Oriented Analysis and Design (OOAD), that makes the sequence a member of the table by composition rather than aggregation. Surrogate keys are also unique in the table but should never be used to determine uniqueness like the natural key. Surrogate keys are also candidate keys, like a VIN number uniquely identifies a vehicle.
In a well designed table you always have two candidate keys: One describes the unique row and the other assigns a number to it. While you can perform joins by using either candidate key, you always should use the surrogate key for joins statements. This means you elect, or choose, the surrogate candidate key as the primary key. Then, you build a unique index for the natural key, which lets you query any unique row with human decipherable words.
The column attribute table for MySQL Workbench is:
| Key | Meaning |
|---|---|
| PK | Designates a primary key column. |
| NN | Designates a not-null column constraint. |
| UQ | Designates a column contains a unique value for every row. |
| BIN | Designates a VARCHAR data type column so that its values are stored in a case-sensitive fashion. You can’t apply this constraint to other data types. |
| UN | Designates a column contains an unsigned numeric data type. The possible values are 0 to the maximum number of the data type, like integer, float, or double. The value 0 isn’t possible when you also select the PK and AI check boxes, which ensures the column automatically increments to the maximum value of the column. |
| ZF | Designates a zero fill populates zeros in front of any number data type until all space is consumed, which acts like a left pad function with zeros. |
| AI | Designates AUTO_INCREMENT and should only be checked for a surrogate primary key value. |
All surrogate key columns should check the PK, NN, UN, and AI checkboxes. The default behavior checks only the PK and NN checkboxes and leaves the UN and AI boxes unchecked. You should also click the UN checkbox with the AI checkbox for all surrogate key columns. The AI checkbox enables AUTO_INCREMENT behavior. The UN checkbox ensure you have the maximum number of integers before you would migrate the table to a double precision number. More or less, this is what I wrote in MySQL Workbench Data Modeling & Development as the primary product guide in 2013, and what you find in the MySQL Workbench Manual 8.1.10.2 Columns Tab section.
Active tables grow quickly and using a signed int means you run out of rows more quickly. This is an important design consideration because using a unsigned int adds a maintenance task later. The maintenance task will require changing the data type of all dependent foreign key columns before changing the primary key column’s data type. Assuming you’re design uses referential integrity constraints, implemented as a foreign keys, you will need to:
- Remove any foreign key constraints before changing the referenced primary key and dependent foreign key column’s data types.
- Change the primary and foreign key column’s data types.
- Add back foreign key constraints after changing the referenced primary key and dependent foreign key column’s data types.
While fixing a less optimal design is a relatively simple scripting exercise for most data engineers, you can avoid this maintenance task. Implement all surrogate primary key columns and foreign key columns with the signed int as their initial data type.
The following small ERD displays a multi-language lookup table, which is preferable to a monolinquistic enum data type.:

A design uses a lookup table when there are known lists of selections to make. There are known lists that occur in most if not all business applications. Maintaining that list of values is an application setup task and requires the development team to build an entry and update form to input and maintain the lists.
While some MySQL examples demonstrate these types of lists by using the MySQL enum data type. However, the MySQL enum type doesn’t support multilingual implementations, isn’t readily portable to other relational database, and has a number of limitations.
A lookup table is the better solution to using an enum data type. It typically follows this pattern:
- Identify the target table and column where a list is useful. Use the table_name and column_name columns as a super key to identify the location where the list belongs.
- Identify a unique type identifier for the list. Store the unique type value in the type column of the lookup table.
- Use a lang column to enable multilingual lists.
The combination of the table_name, column_name, type, and lang let you identify unique sets. You can find a monolingual implementation in these two older blog posts:
The column view of the lookup table shows the appropriate design checkboxes:

While most foreign keys use copies of surrogate keys, there are instances when you copy the natural key value from another table rather than the surrogate key. This is done when your application will frequently query the dependent lookup table without a join to the lang table, which means the foreign key value should be a human friendly foreign key value that works as a super key.
A super key is a column or set of columns that uniquely identifies a rows in the scope of a relation. For this example, the lang column identifies rows that belong to a language in a multilingual data model. Belonging to a language is the relation between the lookup and language table. It is also a key when filtering rows with a specific lang value from the lookup table.
You navigate to the foreign key tab to create a lookup_fk foreign key constraint, like:

With this type of foreign key constraint, you copy the lang value from the language table when inserting the lookup table values. Then, your HTML forms can use the lookup table’s meaning column in any of the supported languages, like:
SELECT lookup_id , type , meaning FROM lookup WHERE table_name = 'some_table_name' AND column_name = 'some_column_name' AND lang = 'some_lang_name'; |
The type column value isn’t used in the WHERE clause to filter the data set because it is unique within the relation of the table_name, column_name, and lang column values. It is always non-unique when you exclude the lang column value, and potentially non-unique for another combination of the table_name and column_name column values.
As a rule, most foreign key references are to the lookup table’s surrogate primary key because the meaning column’s value is too long to copy into the referencing table or subject to change in the base or translated languages. Small values, with intrinsic meaning, are stored in a code column in many implementations, like the lang column. Those typically follow the same implementation rule as the lang column and are copied into the referencing table.
If I’ve left questions, let me know. Other wise, I hope this helps qualify a best design practice.
Debugging PL/SQL Functions
Teaching student how to debug a PL/SQL function takes about an hour now. I came up with the following example of simple deterministic function that adds three numbers and trying to understand how PL/SQL implicitly casts data types. The lecture follows a standard Harvard Case Study, which requires the students to suggest next steps. The starting code is:
1 2 3 4 5 6 7 8 9 10 | CREATE OR REPLACE FUNCTION adding ( a DOUBLE PRECISION , b INTEGER , c DOUBLE PRECISION ) RETURN INTEGER DETERMINISTIC IS BEGIN RETURN a + b + c; END; / |
Then, we use one test case for two scenarios:
SELECT adding(1.25, 2, 1.24) AS "Test Case 1" , adding(1.25, 2, 1.26) AS "Test Case 2" FROM dual; |
It returns:
Test Case 1 Test Case 2
----------- -----------
4 5 |
Then, I ask why does that work? Somehow many students can’t envision how it works. Occasionally, a student will say it must implicitly cast the INTEGER to a DOUBLE PRECISION data type and add the numbers as DOUBLE PRECISION values before down-casting it to an INTEGER data type.
Whether I have to explain it or a student volunteers it, the next question is: “How would you build a test case to see if the implicit casting?” Then, I ask them to take 5-minutes and try to see how the runtime behaves inside the function.
At this point in the course, they only know how to use dbms_output.put_line to print content from anonymous blocks. So, I provide them with a modified adding function:
1 2 3 4 5 6 7 8 9 10 11 12 13 14 15 16 17 18 19 20 21 22 23 24 25 26 27 28 29 | CREATE OR REPLACE FUNCTION adding ( a DOUBLE PRECISION , b INTEGER , c DOUBLE PRECISION ) RETURN INTEGER DETERMINISTIC IS /* Define a double precision temporary result variable. */ temp_result NUMBER; /* Define an integer return variable. */ temp_return INTEGER; BEGIN /* * Perform the calculation and assign the value to the temporary * result variable. */ temp_result := a + b + c; /* * Assign the temporary result variable to the return variable. */ temp_return := temp_result; /* Return the integer return variable as the function result. */ RETURN temp_return; END; / |
The time limit ensures they spend their time typing the code from the on screen display and limits testing to the dbms_output.put_line attempt. Any more time and one or two of them would start using Google to find an answer.
I introduce the concept of a Black Box as their time expires, and typically use an illustration like the following to explain that by design you can’t see inside runtime operations of functions. Then, I teach them how to do exactly that.

You can test the runtime behaviors and view the variable values of functions by doing these steps:
- Create a debug table, like
CREATE TABLE debug
( msg  VARCHAR2(200));
- Make the function into an autonomous transaction by:
- Adding the PRAGMA (or precompiler) instruction in the declaration block.
- Adding a COMMIT at the end of the execution block.
- Use an INSERT statement to write descriptive text with the variable values into the debug table.
Here’s the refactored test code:
1 2 3 4 5 6 7 8 9 10 11 12 13 14 15 16 17 18 19 20 21 22 23 24 25 26 27 28 29 30 31 32 33 34 35 36 37 38 39 40 41 | CREATE OR REPLACE FUNCTION adding ( a DOUBLE PRECISION , b INTEGER , c DOUBLE PRECISION ) RETURN INTEGER DETERMINISTIC IS /* Define a double precision temporary result variable. */ temp_result NUMBER; /* Define an integer return variable. */ temp_return INTEGER; /* Precompiler Instrunction. */ PRAGMA AUTONOMOUS_TRANSACTION; BEGIN /* * Perform the calculation and assign the value to the temporary * result variable. */ temp_result := a + b + c; /* Insert the temporary result variable into the debug table. */ INSERT INTO debug (msg) VALUES ('Temporary Result Value: ['||temp_result||']'); /* * Assign the temporary result variable to the return variable. */ temp_return := temp_result; /* Insert the temporary result variable into the debug table. */ INSERT INTO debug (msg) VALUES ('Temporary Return Value: ['||temp_return||']'); /* Commit to ensure the write succeeds in a separate process scope. */ COMMIT; /* Return the integer return variable as the function result. */ RETURN temp_return; END; / |
While an experienced PL/SQL developer might ask while not introduce conditional computation, the answer is that’s for another day. Most students need to uptake pieces before assembling pieces and this example is already complex for a newbie.
The same test case works (shown to avoid scrolling up):
SELECT adding(1.25, 2, 1.24) AS "Test Case 1" , adding(1.25, 2, 1.26) AS "Test Case 2" FROM dual; |
It returns:
Test Case 1 Test Case 2
----------- -----------
4 5 |
Now, they can see the internal step-by-step values with this query:
COL msg FORMAT A30 HEADING "Internal Variable Auditing" SELECT msg FROM debug; |
It returns:
Internal Variable Auditing ------------------------------ Temporary Result Value: [4.49] Temporary Return Value: [4] Temporary Result Value: [4.51] Temporary Return Value: [5] 4 rows selected. |
What we learn is that:
- Oracle PL/SQL up-casts the b variable from an integer to a double precision data type before adding the three input variables.
- Oracle PL/SQL down-casts the sum of the three input variables from a double precision data type to an integer by applying traditionally rounding.
I hope this helps those trying to understand implicit casting and discovering how to unhide an opaque function’s operations for debugging purposes.
Oracle PLS-00103 Gotcha
Teaching PL/SQL can be fun and sometimes challenging when you need to troubleshoot a student error. Take the Oracle PLS-00103 error can be very annoying when it return like this:
24/5 PLS-00103: Encountered the symbol "LV_CURRENT_DATE" WHEN expecting one OF the following: language |
Then, you look at the code and see:
22 23 24 25 | , pv_user_id NUMBER ) IS /* Declare local constants. */ lv_current_date DATE := TRUNC(SYSDATE); |
Obviously, there’s nothing wrong on the line number that the error message pointed. Now, here’s where it gets interesting because of a natural human failing. The student thought they had something wrong with declaring the variable and tested as stand alone procedure and anonymous block. Naturally, they were second guessing what they knew about the PL/SQL.
That’s when years of experience with PL/SQL kicks in to solve the problem. The trick is recognizing two things:
- The error message points to the first line of code in a package body.
- The error is pointing to the first character on the line after the error.
That meant that the package body was incorrectly defined. A quick check to the beginning of the package body showed:
1 2 3 4 5 6 | CREATE OR REPLACE PACKAGE account_creation AS PROCEDURE insert_contact ( pv_first_name VARCHAR2 , pv_middle_name VARCHAR2 := NULL |
The student failed to designate the package as an implementation by omitting the keyword BODY from line 2. The proper definition of the package body should be:
1 2 3 4 5 6 | CREATE OR REPLACE PACKAGE BODY account_creation AS PROCEDURE insert_contact ( pv_first_name VARCHAR2 , pv_middle_name VARCHAR2 := NULL |
That’s the resolution for the error message. I wrote this because I checked if they should have been able to find a helpful article with a google search. I discovered that there wasn’t an answer like this that came up after 10 minutes of various searches.
As always, I hope this helps those writing PL/SQL.
