PostgreSQL 14 Install
This post is a step-by-step install guide to PostgreSQL 14 on Windows 10. It sometimes makes me curious that folks want a summary of screen shots from a Microsoftw Software Installer (MSI) because they always appear to me as straightforward.
This walks you through installing PostgreSQL 14, EDS’s version of Apache, supplemental connection libraries, and pgAdmin4. You can find the post-installation steps in my earlier Configure PostgreSQL 14 post.
PostgreSQL Database 14 Installation Steps
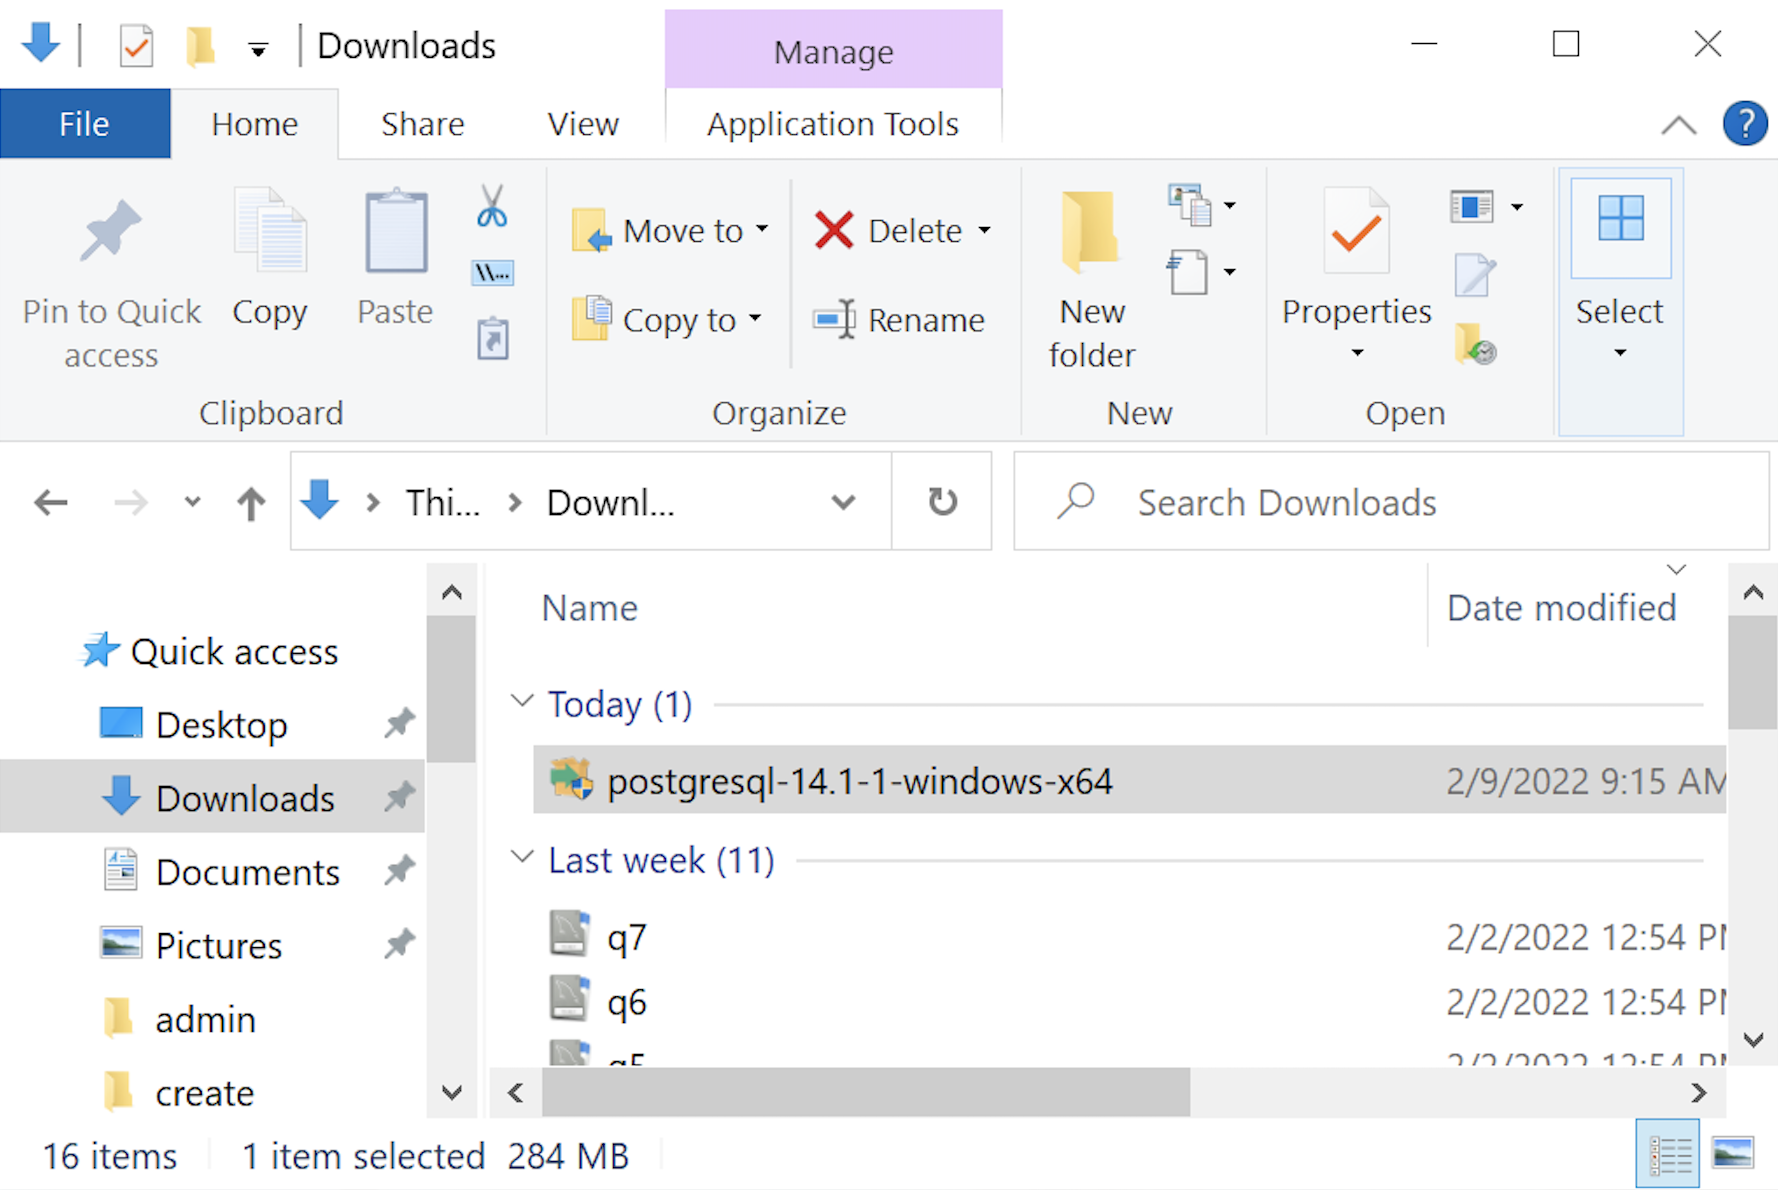
- The first thing you need to do is download the PostgreSQL MSI file, which should be in your C:\Users\username\Downloads directory. You can double-click on the MSI file.

- After double-clicking on the MSI file, you are prompted by User Account Control to allow the PostgreSQL MSI to make changes to your device. Clicking the Yes button is the only way forward.
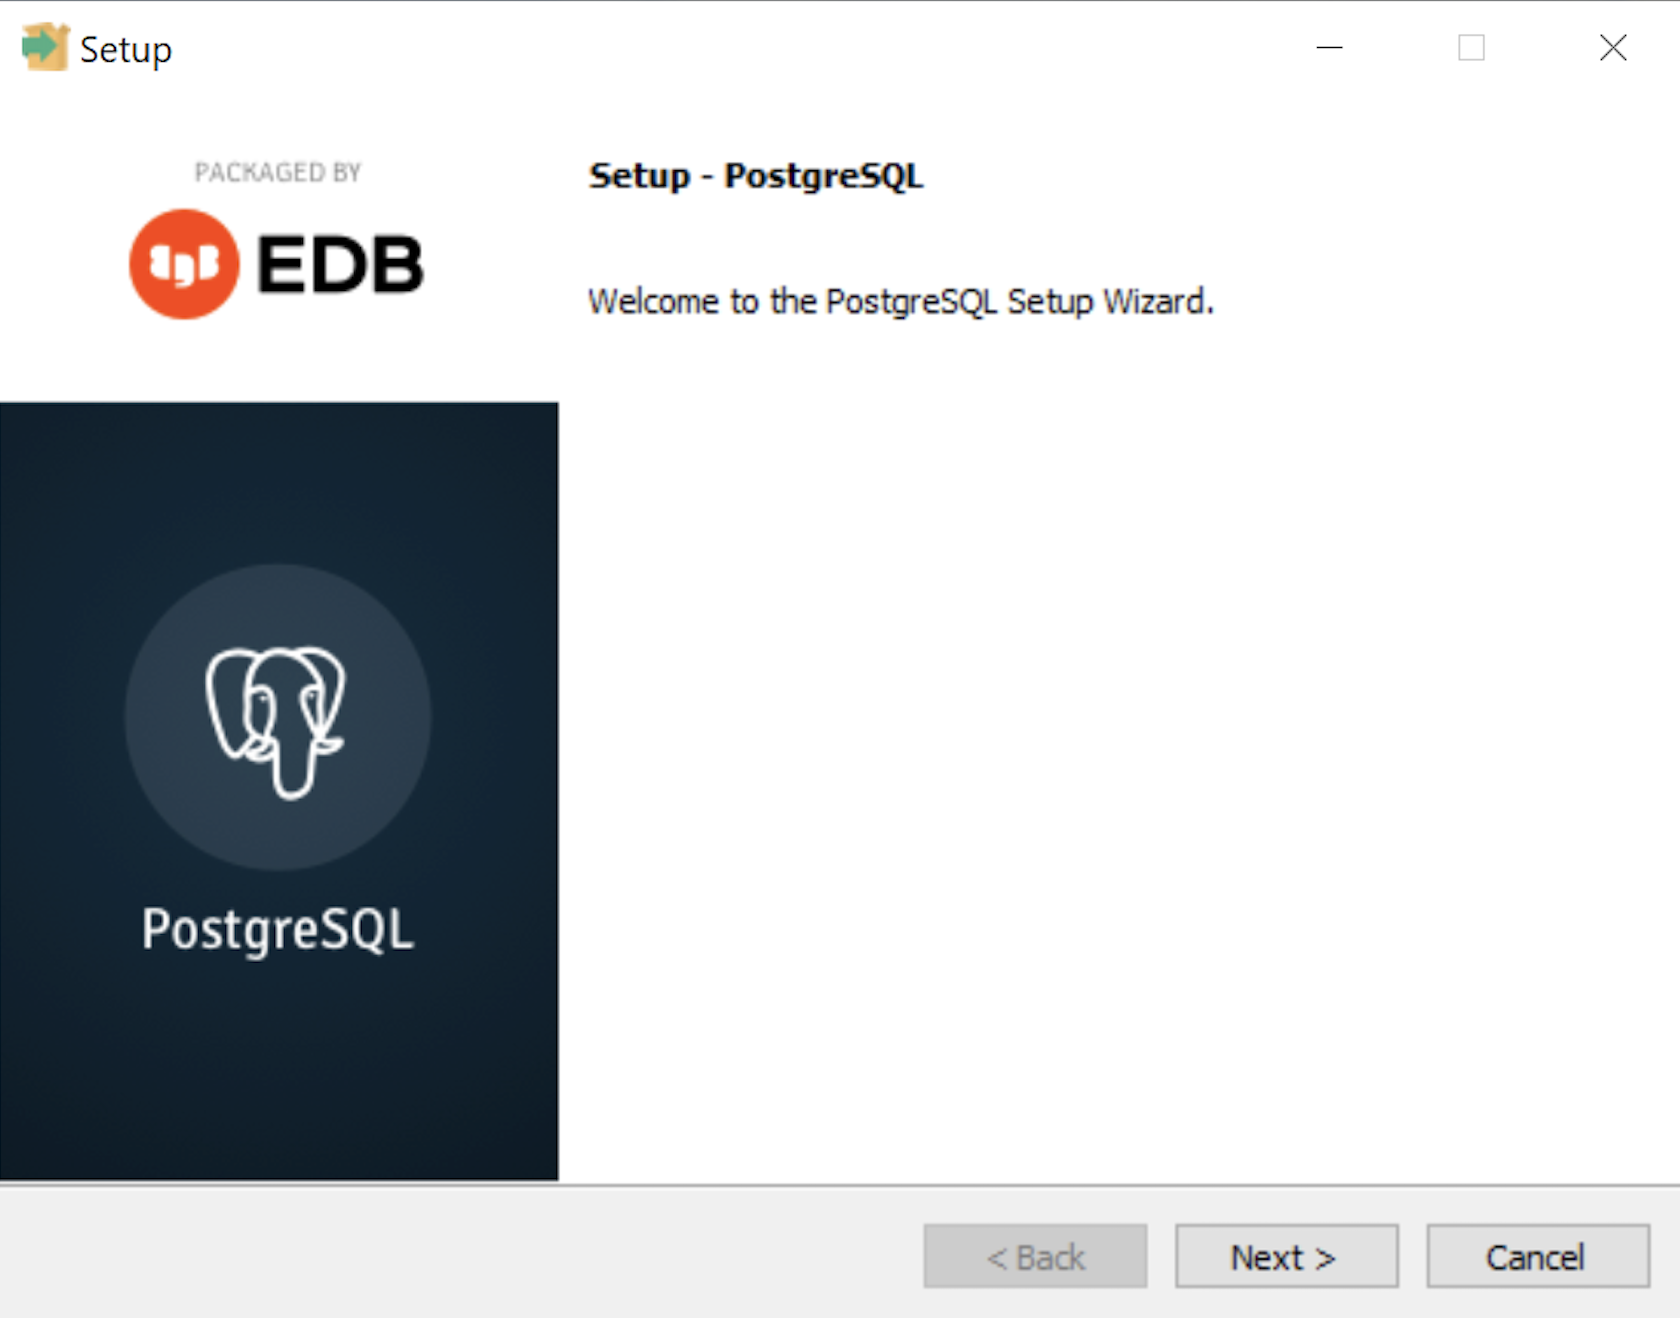
- The Setup – PostgreSQL dialog requires you click the Next button to proceed.
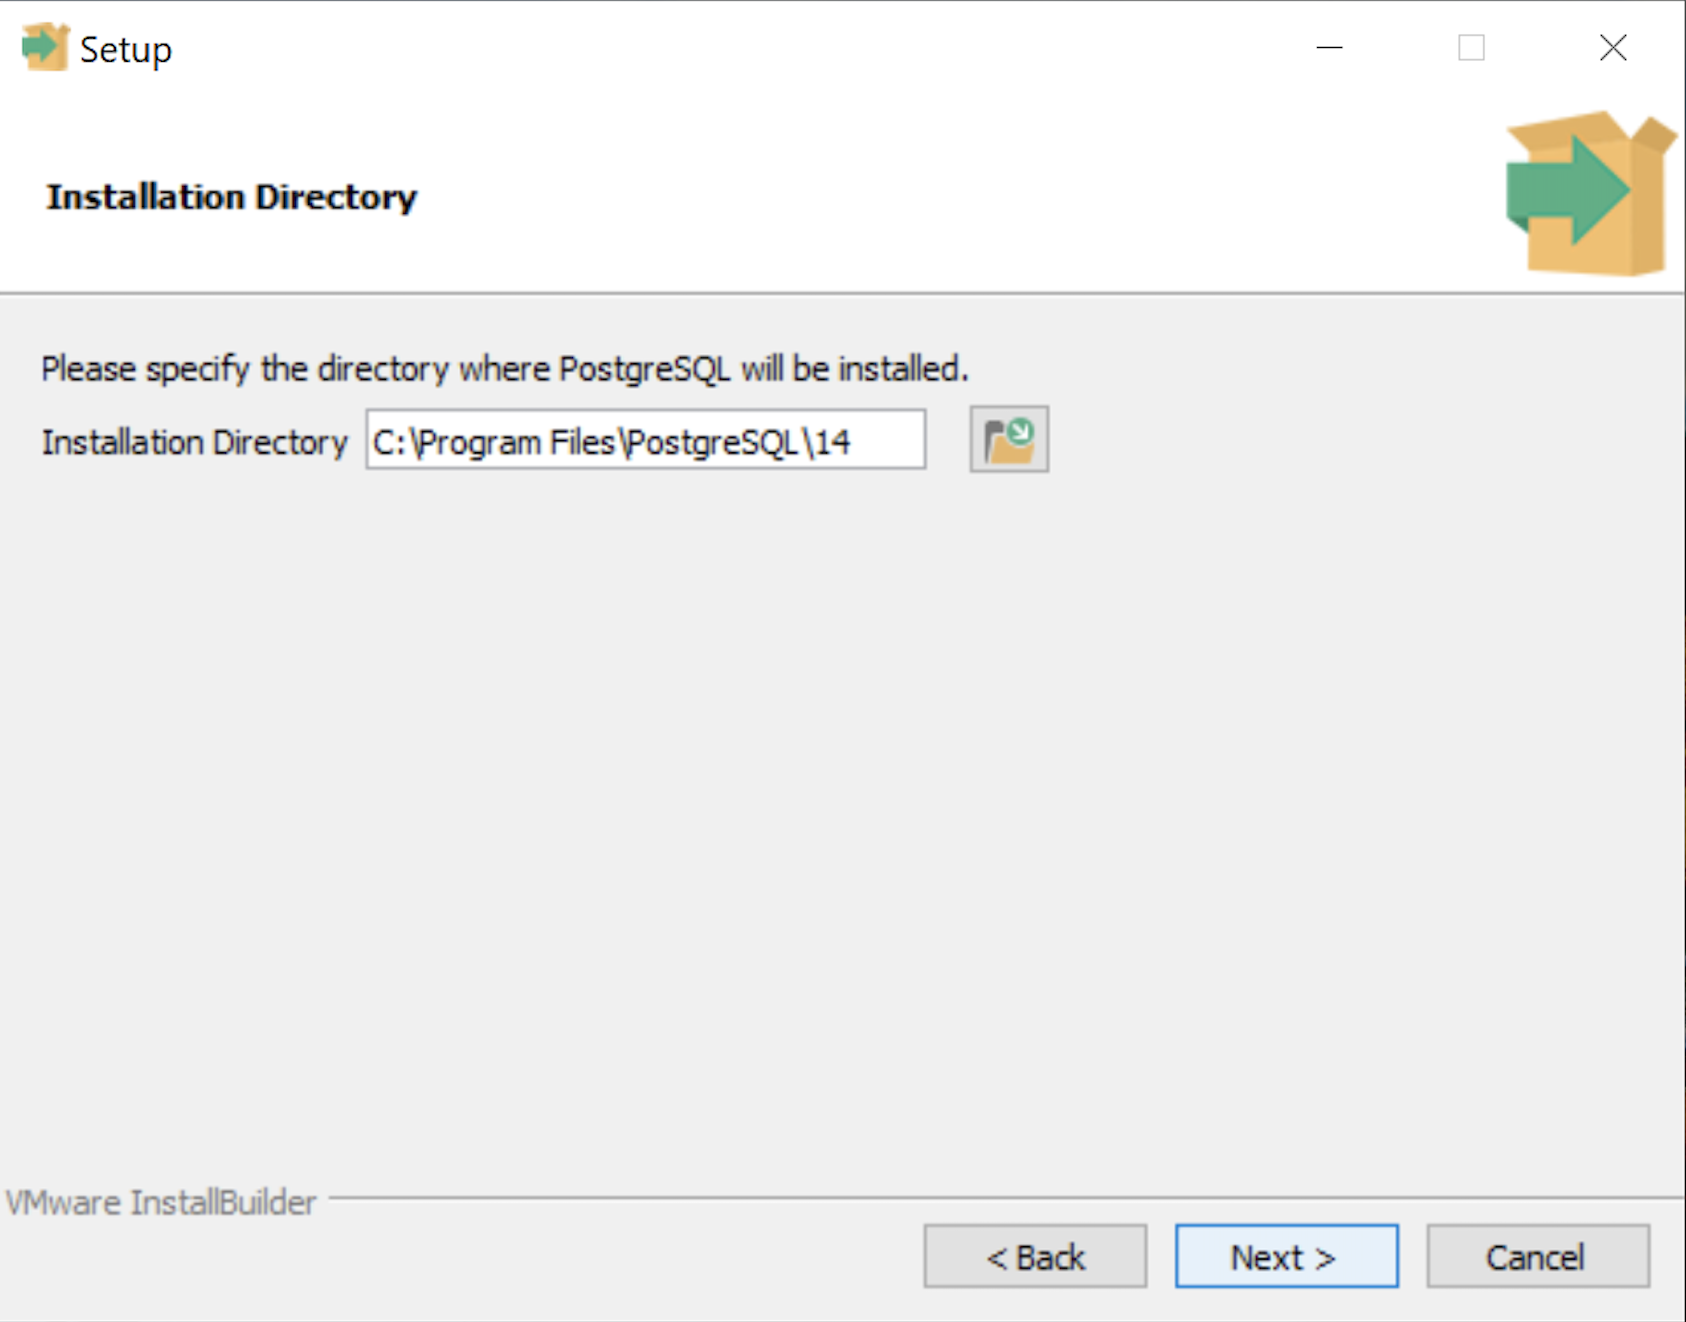
- The Installation Directory dialog prompts you for an installation directory. The default directory is C:\Program Files\PostgreSQL\14 and you should use it. Click the Next button to continue.
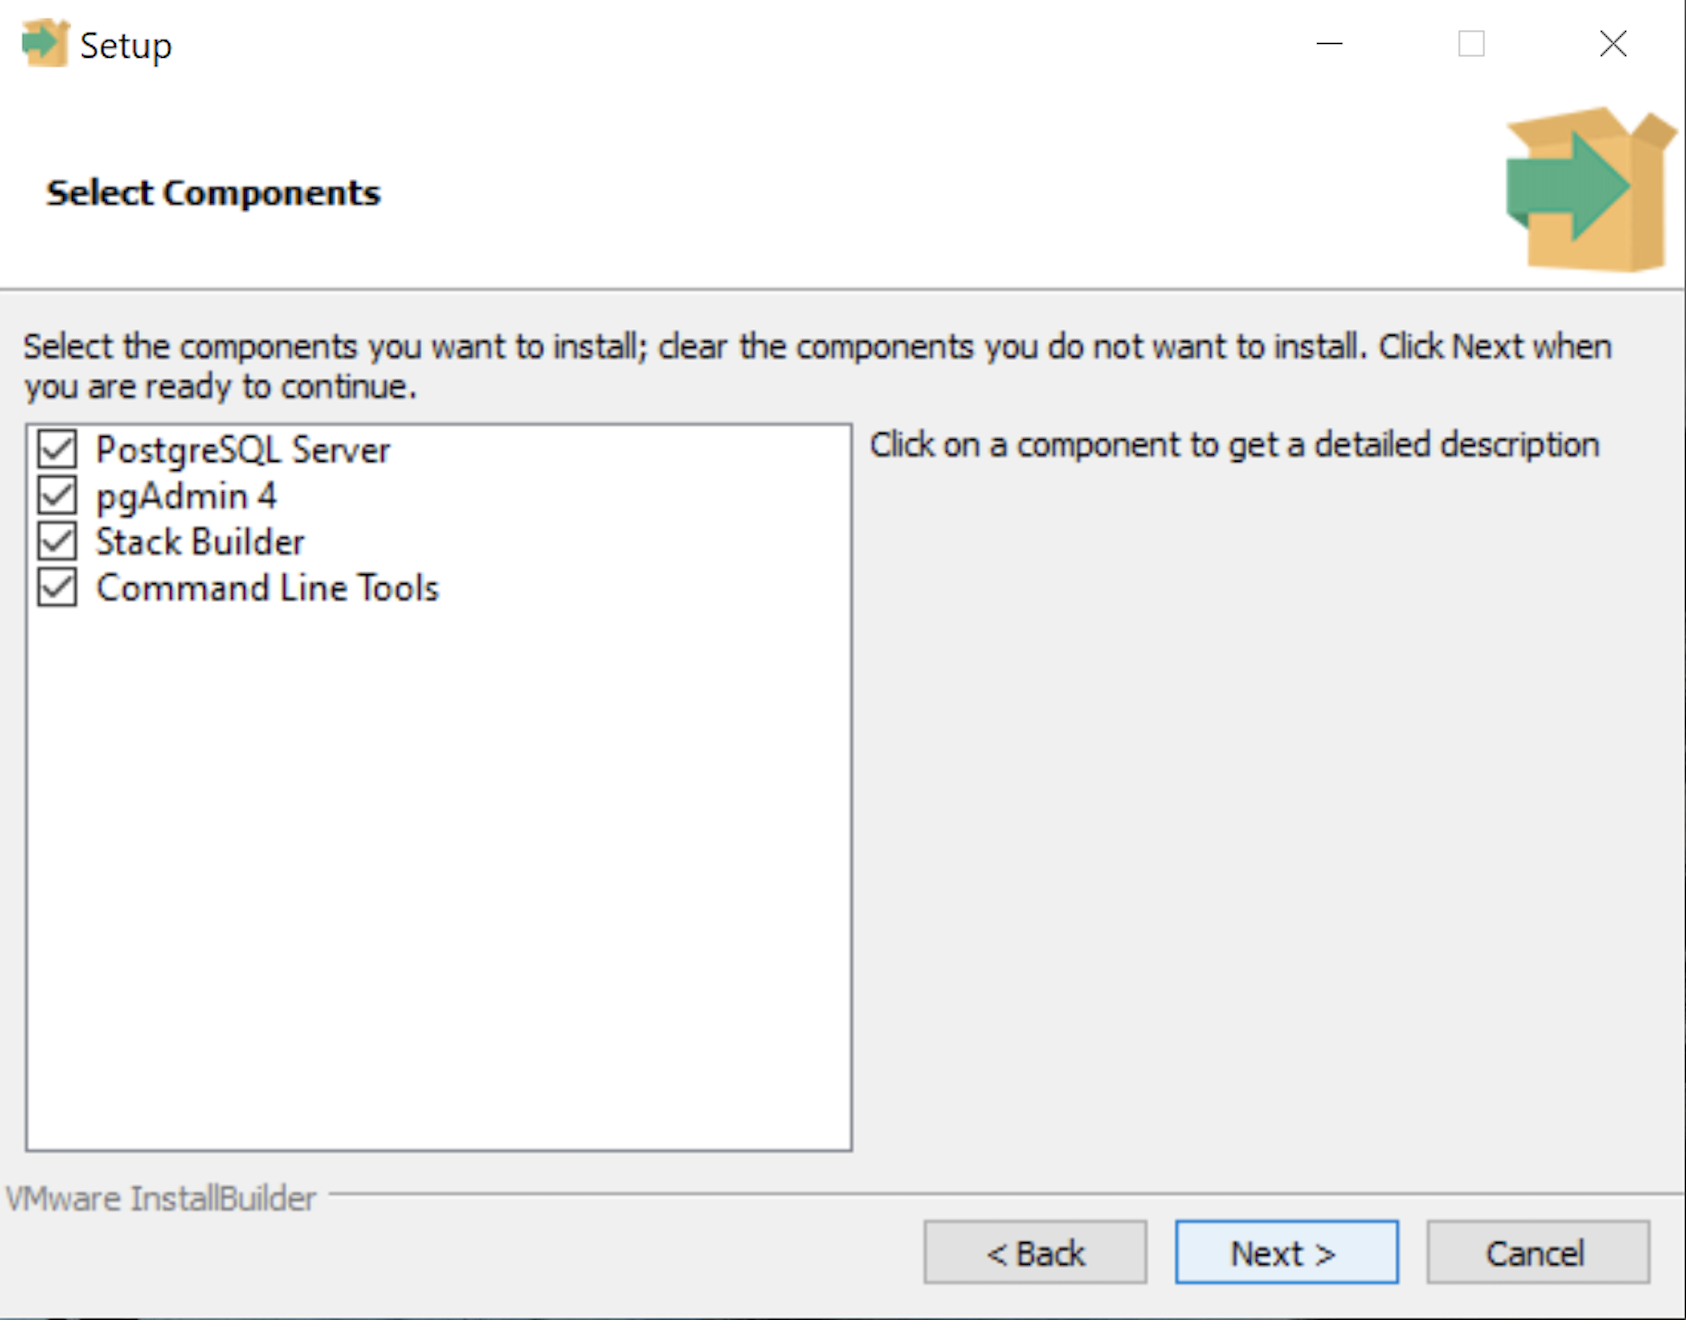
- The Select Components dialog prompts you to choose the products to install. You should choose all four – PostgreSQL Server, pgAdmin 4, Stack Builder, and Command Line Tools. Click the Next button to continue.
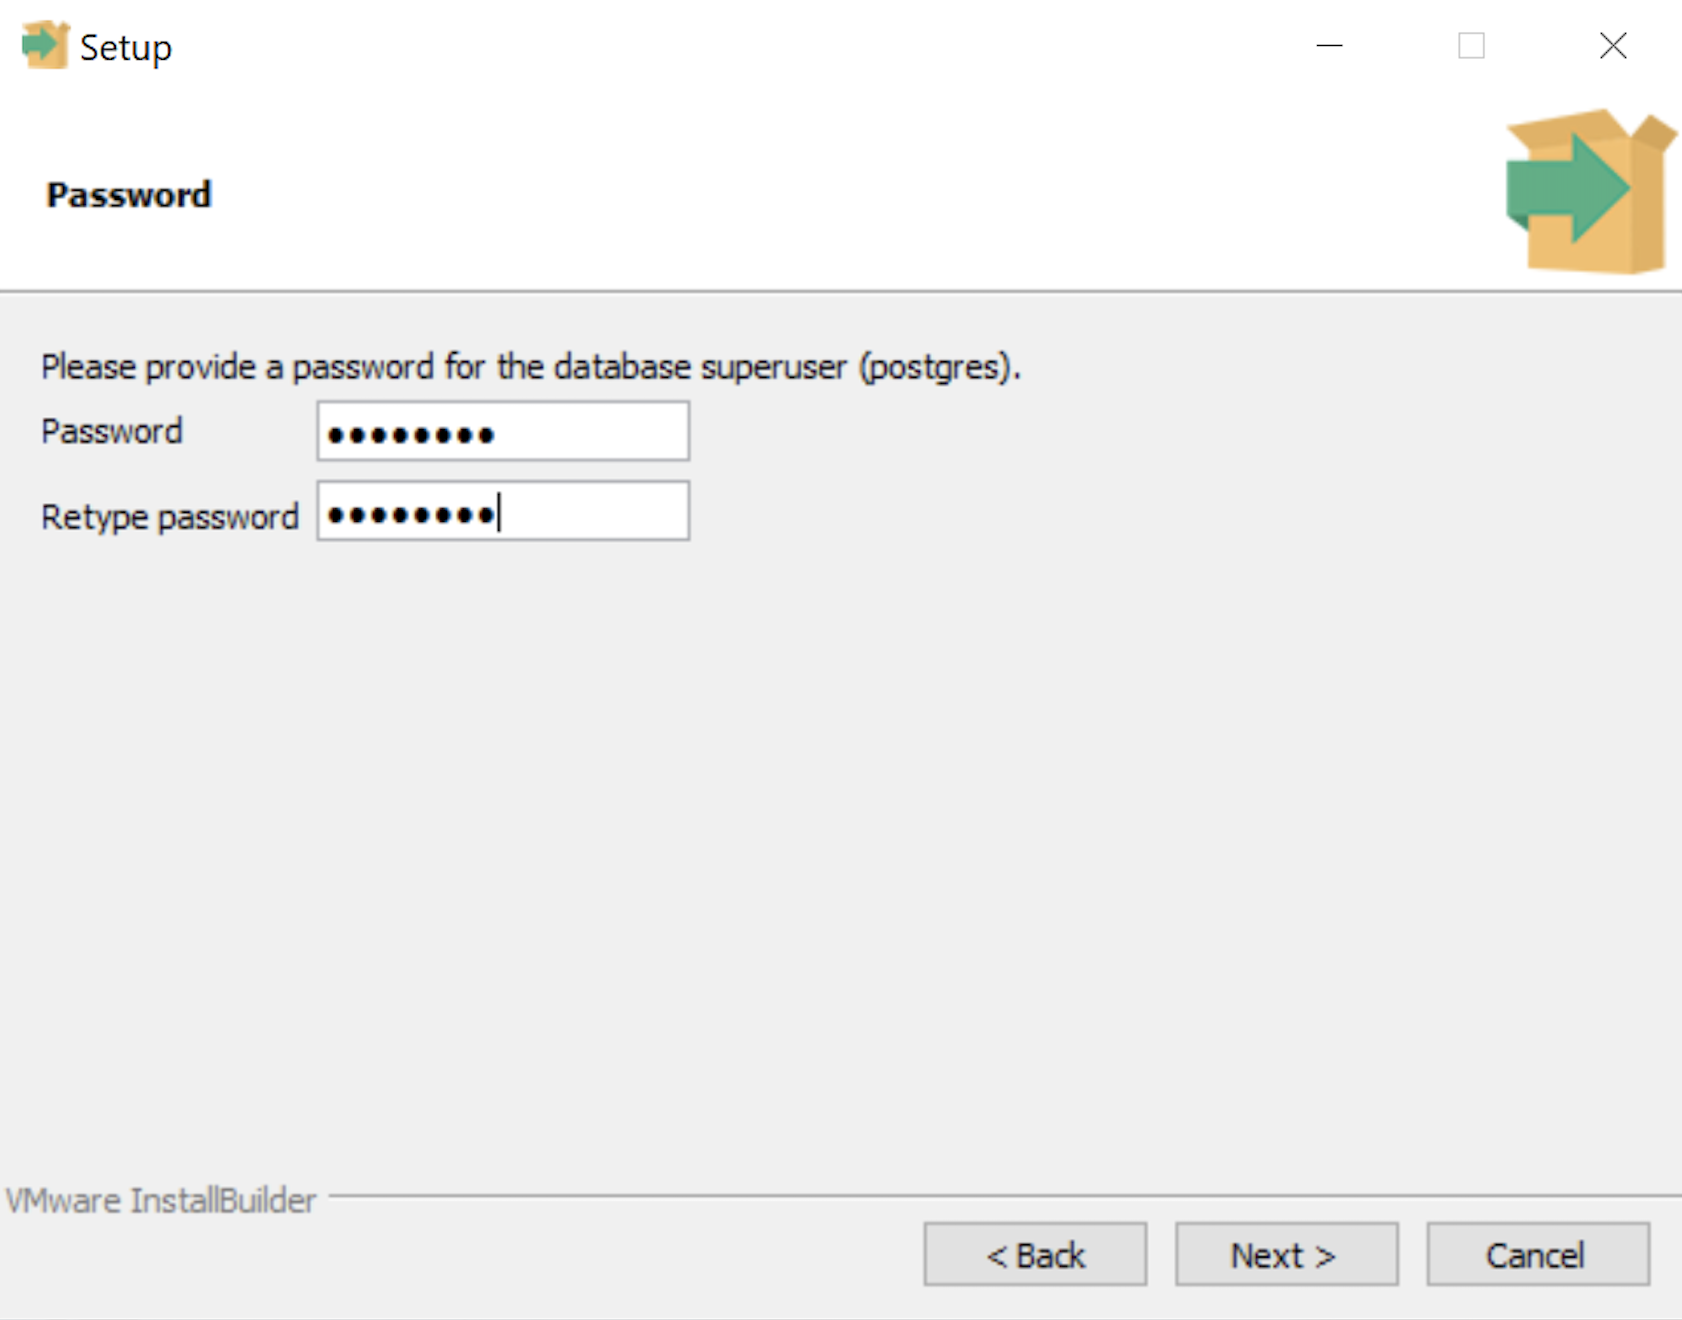
- The Password dialog prompts you for the PostgreSQL superuser password. In a development system for your local computer, you may want to use something straightforward like cangetin. Click the Next button to continue.
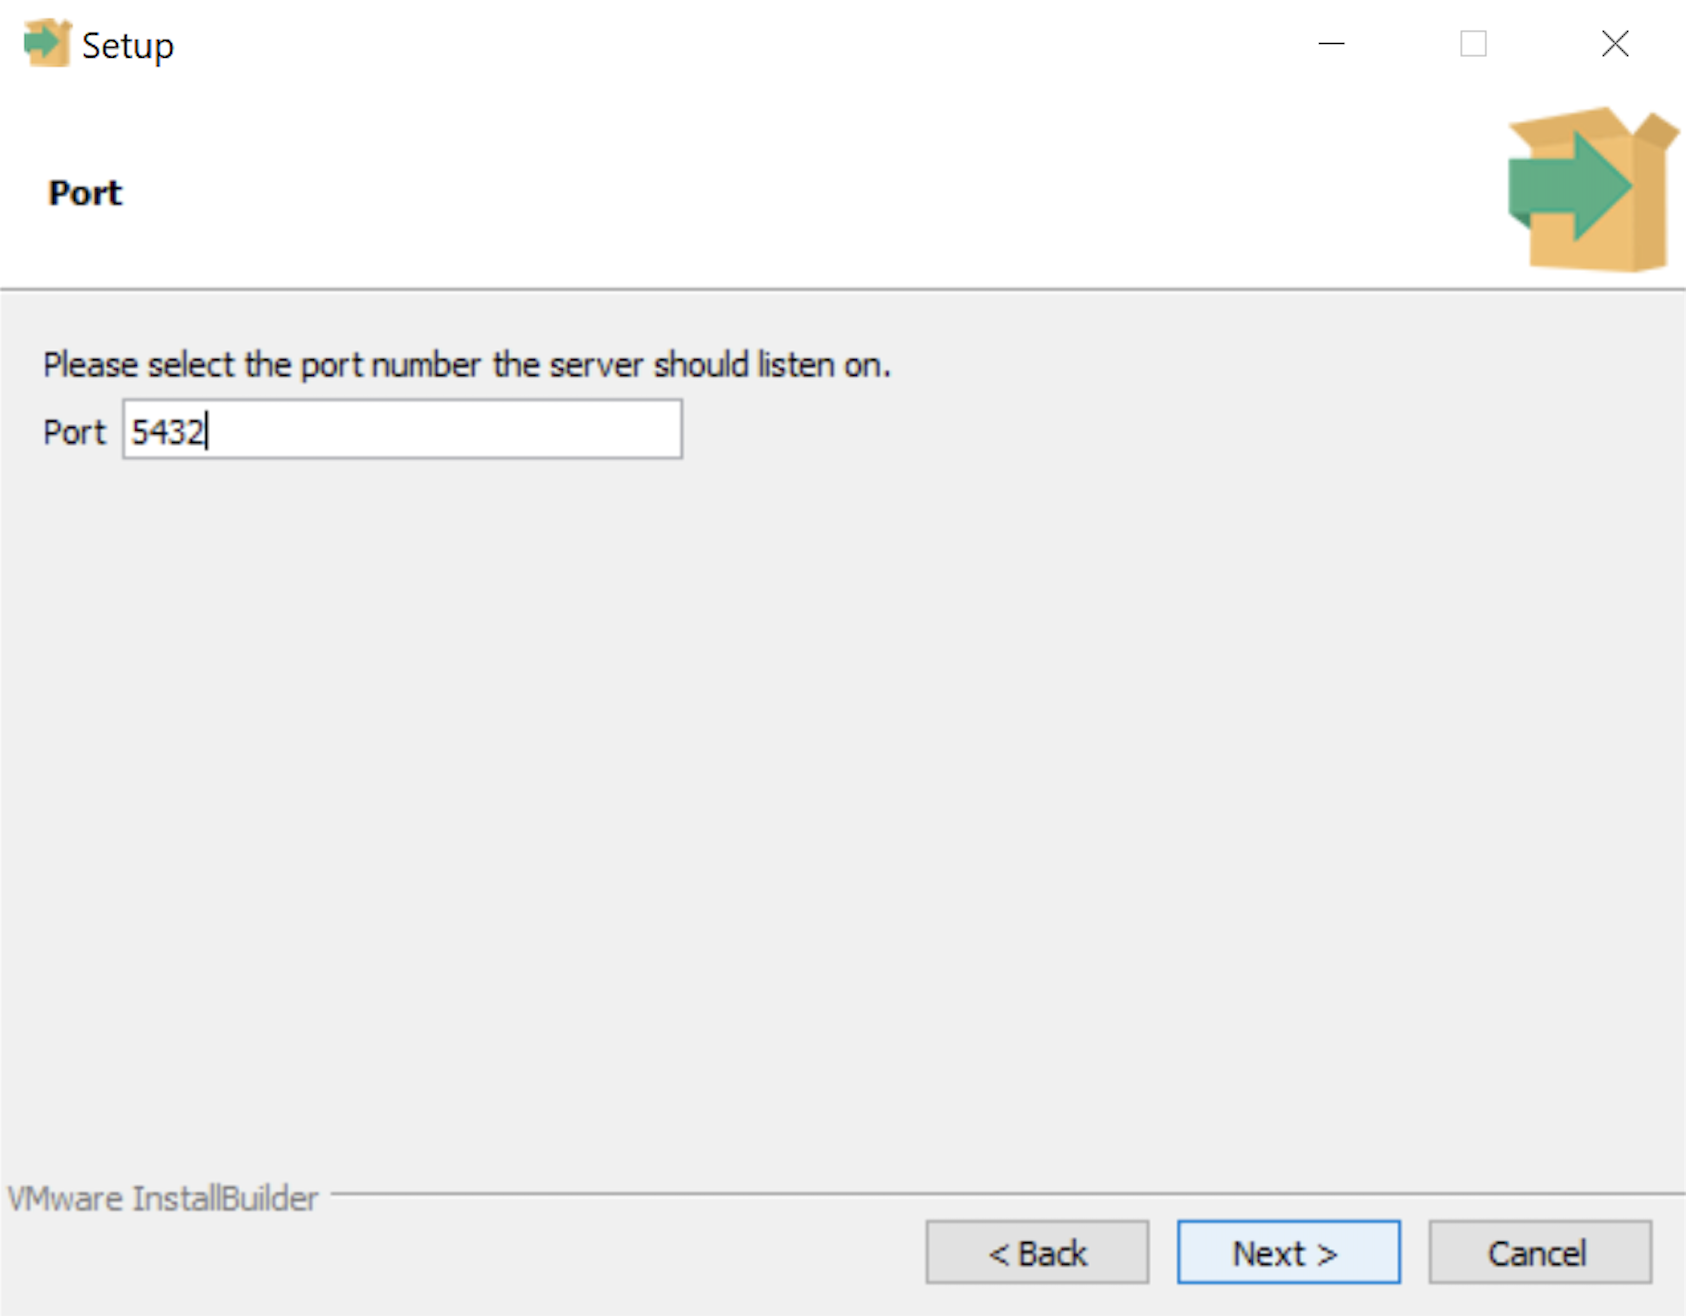
- The Setup dialog lets you select the port number for the PostgreSQL listener. Port 5432 is the standard port for a PostgreSQL database, and ports 5433 and 5434 are used sometimes. Click the Next button to continue.
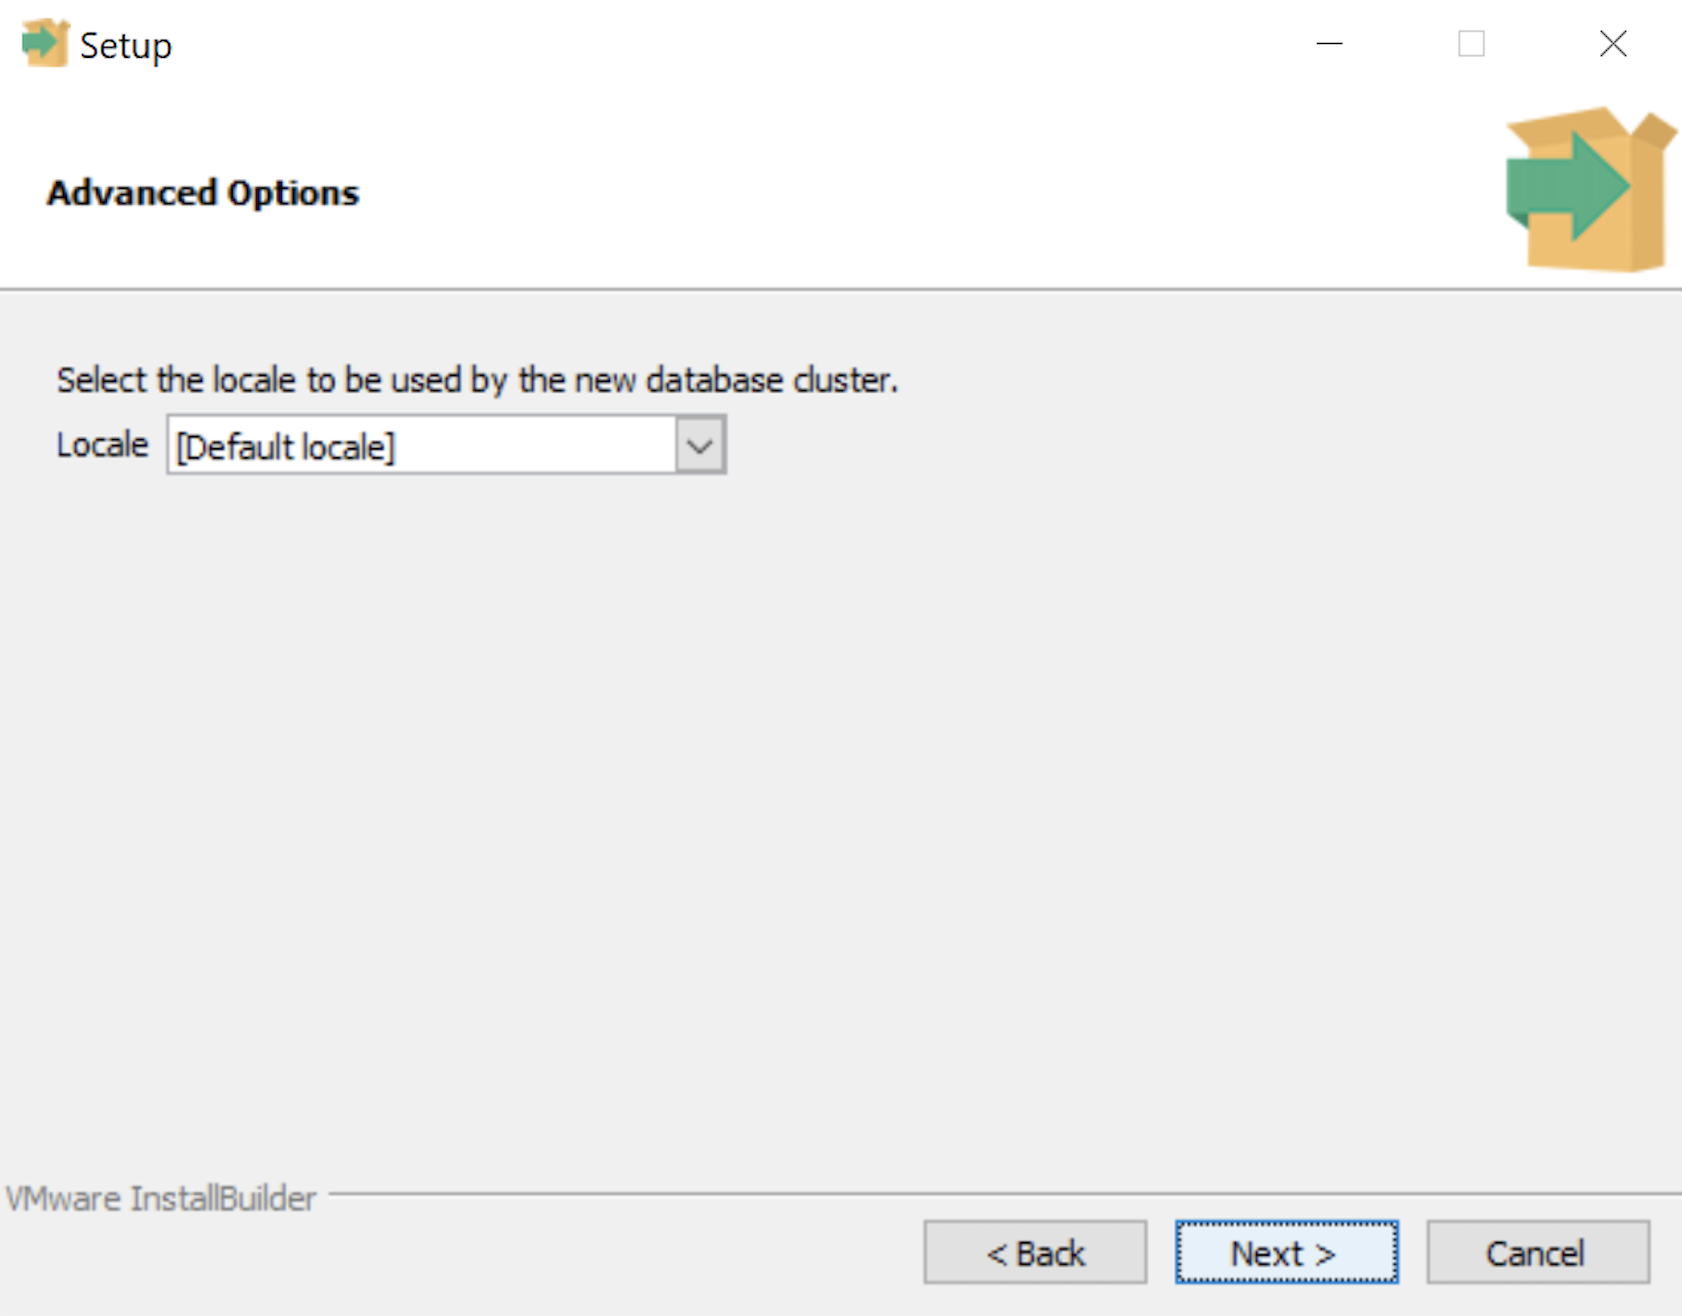
- The Advanced Options dialog lets you select the Locale for the database. As a rule for a development instance you should chose the Default locale. Click the Next button to continue.
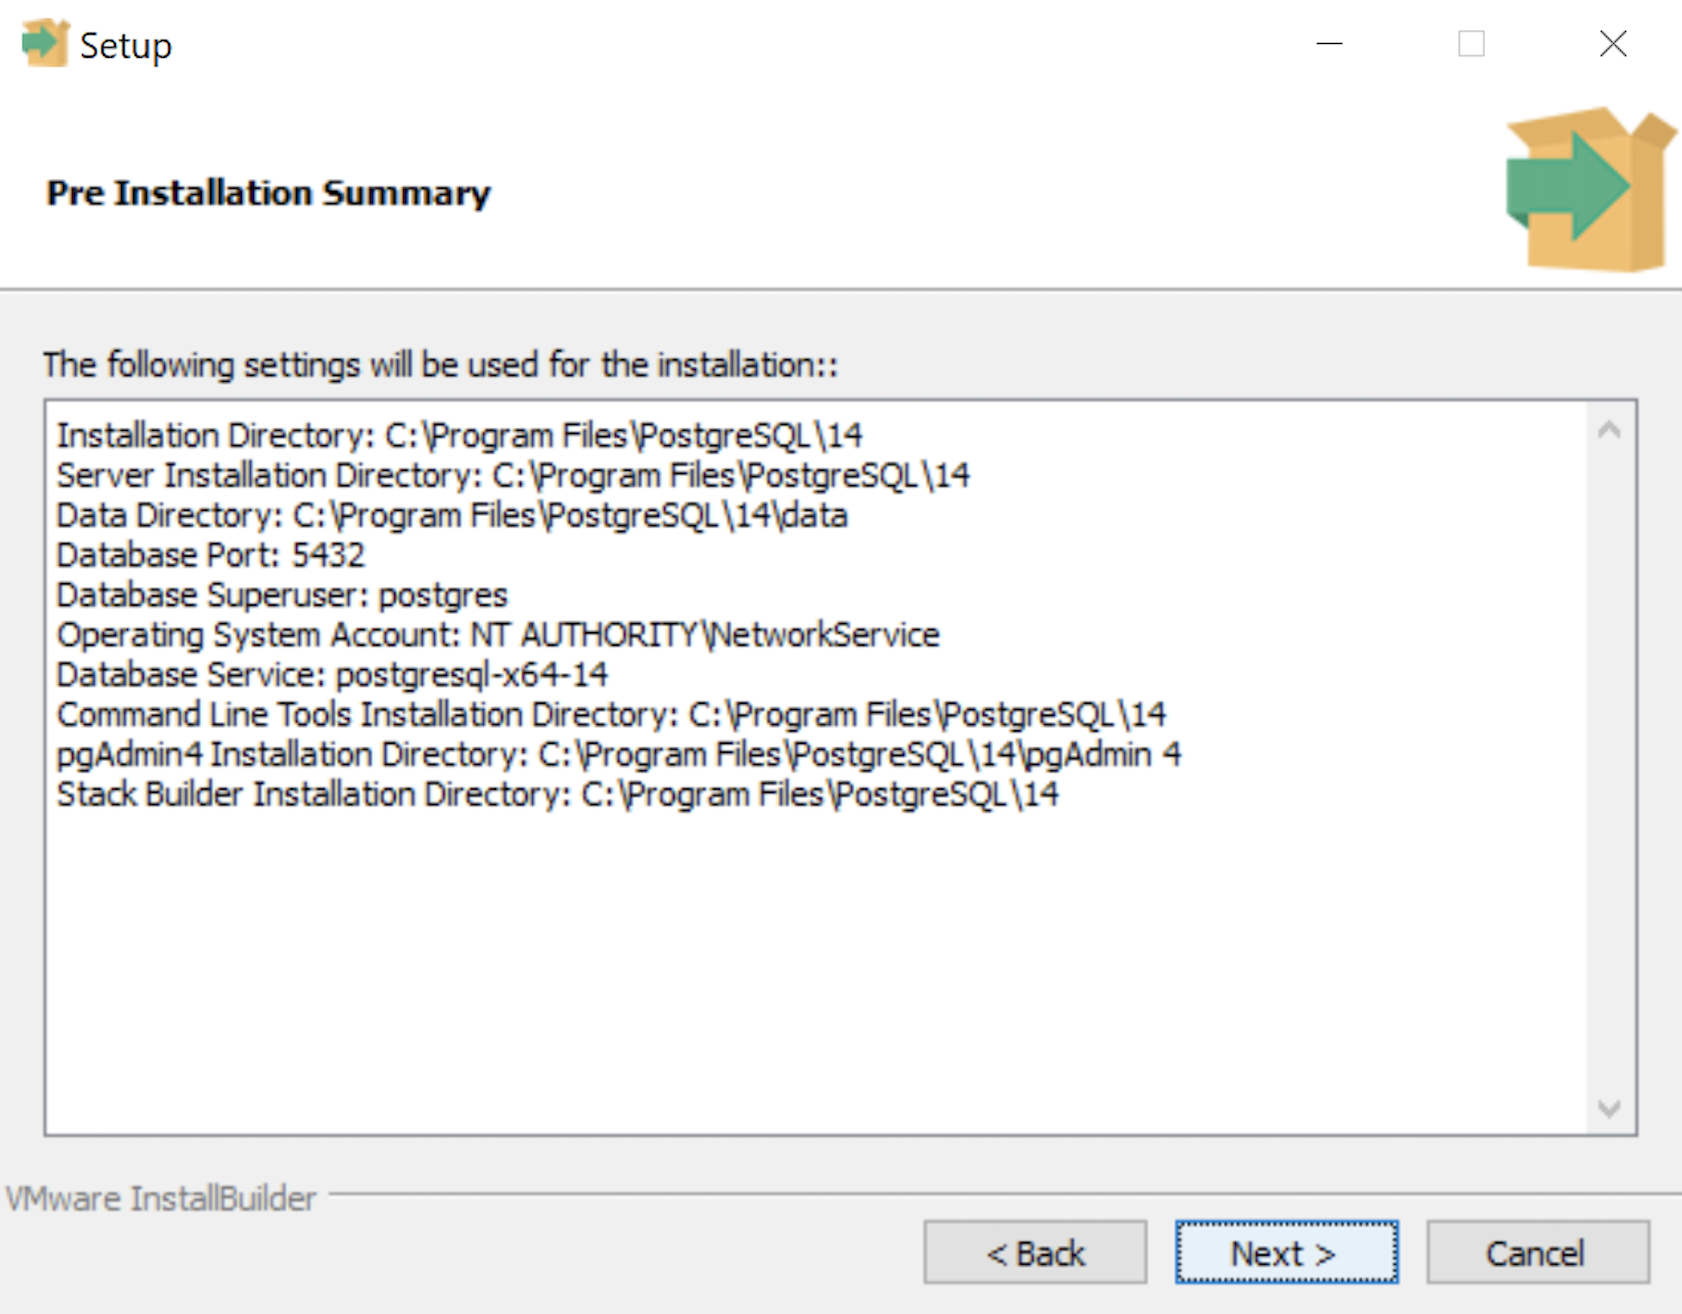
- The Pre Installation Summary dialog tells you what you’ve chosen to install. It gives you a chance to verify what you are installing. Click the Next button to continue.
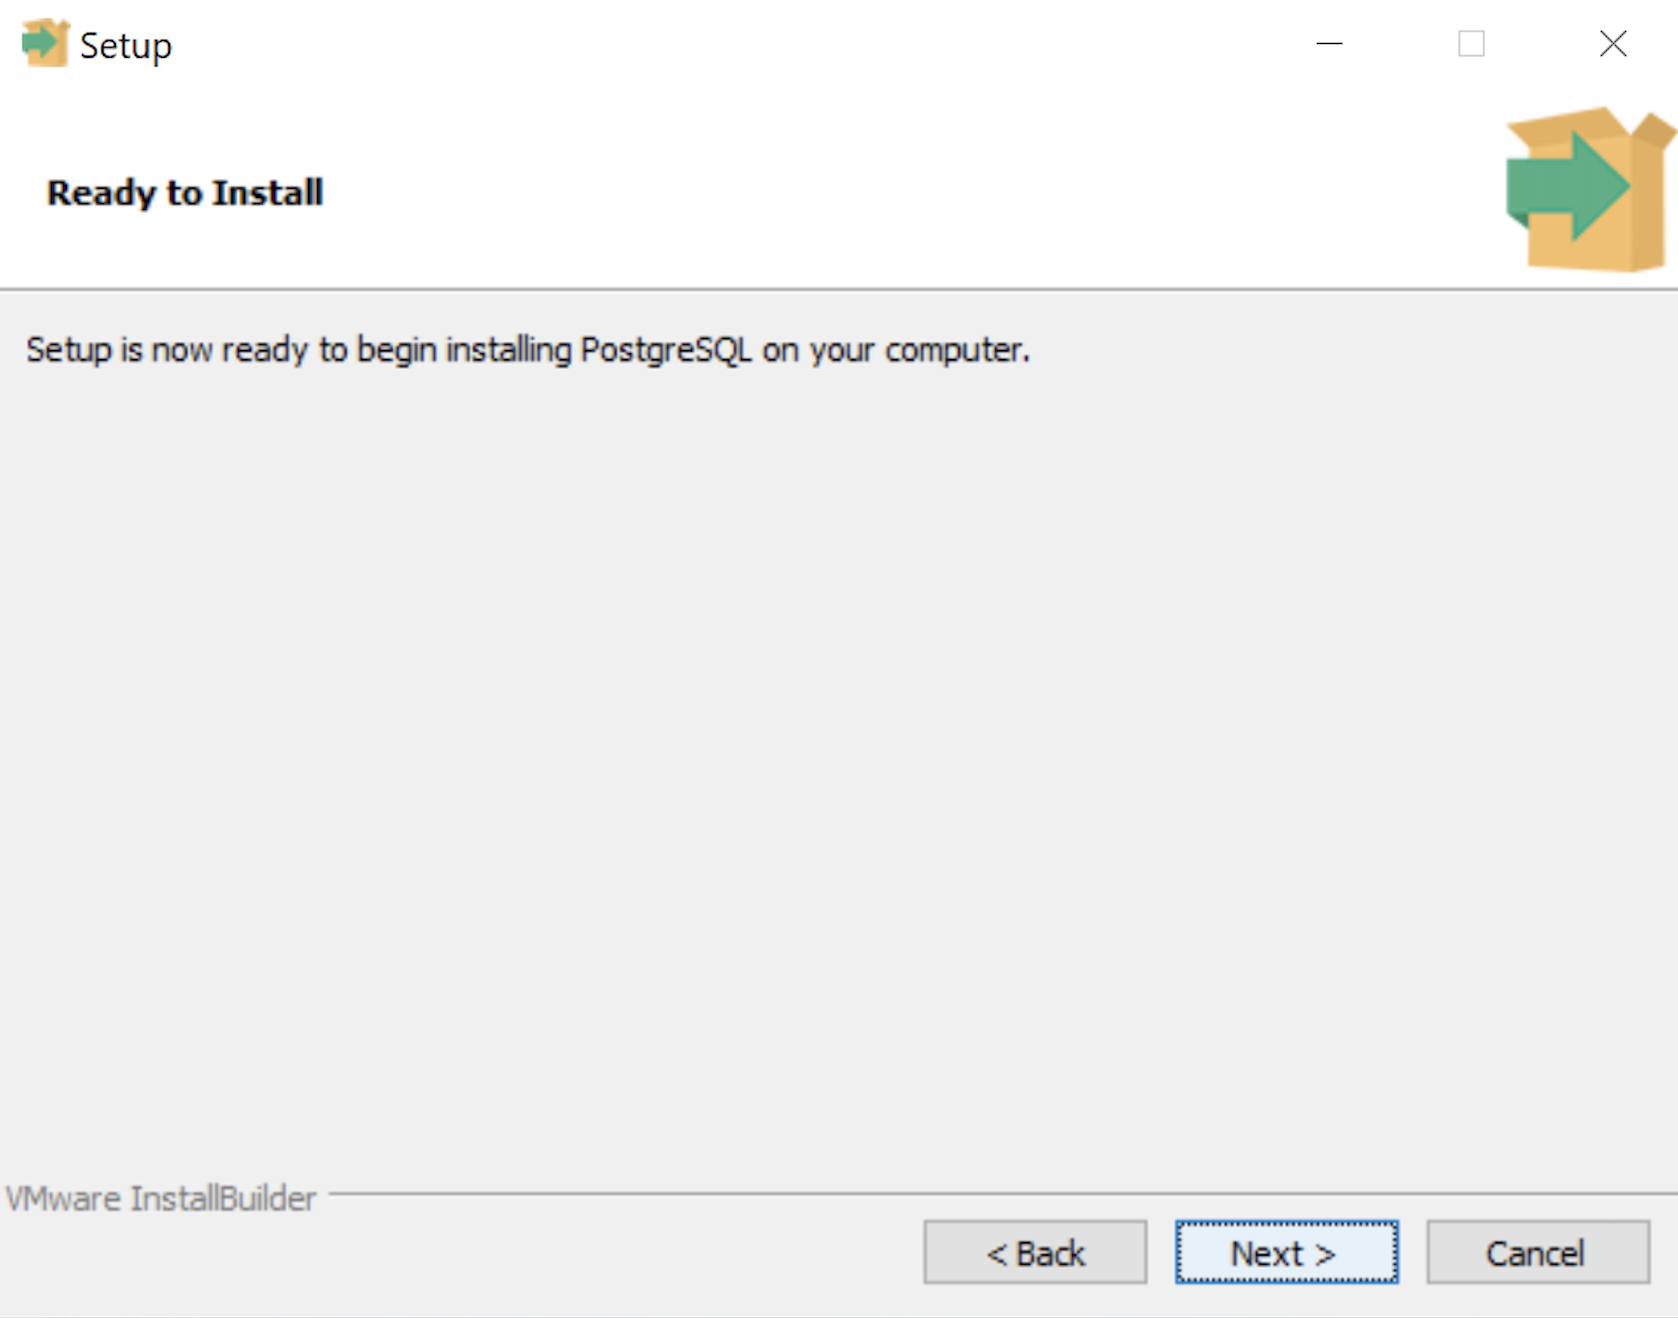
- The Ready to Install dialog lets you pause before you install the software. Click the Next button to continue.
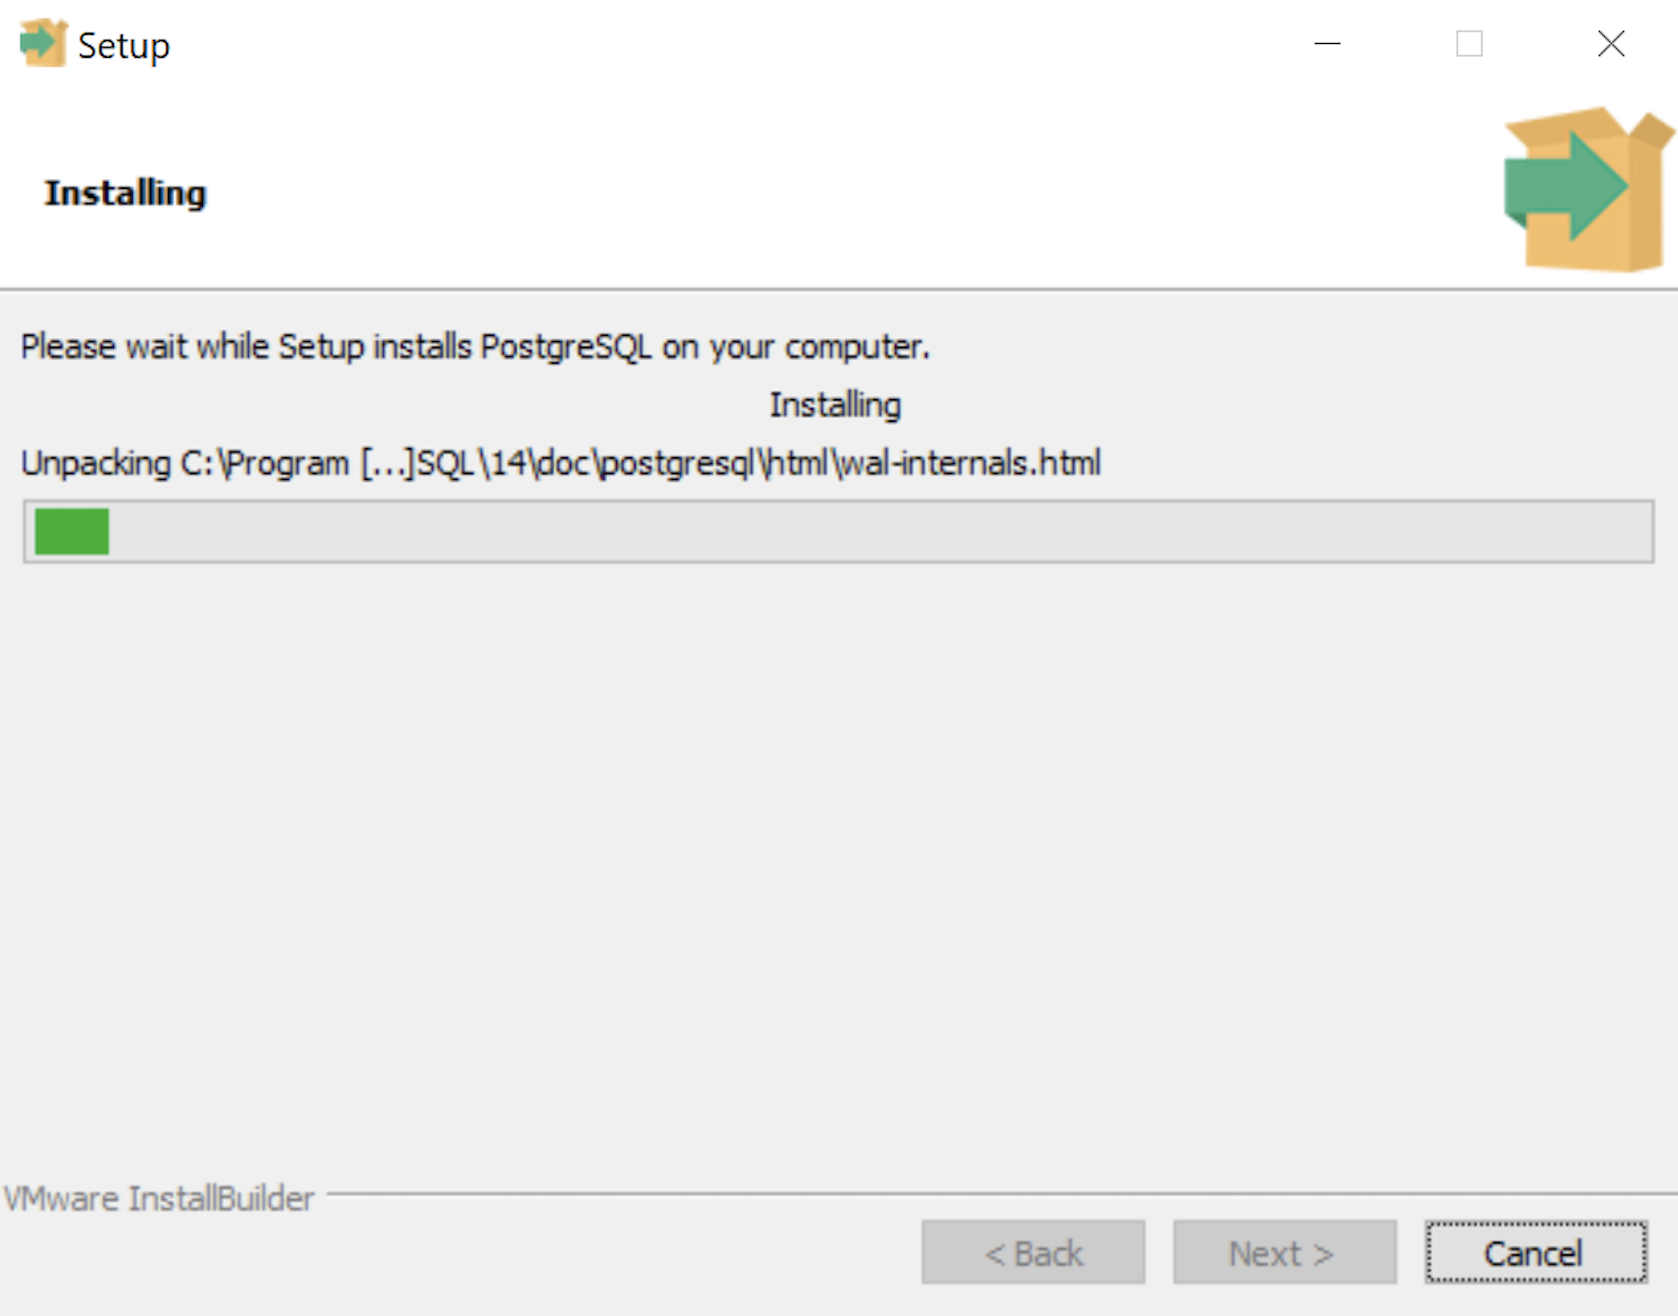
- The Installing dialog is a progress bar that will take several minutes to complete. When the progress bar completes, click the Next button to continue.
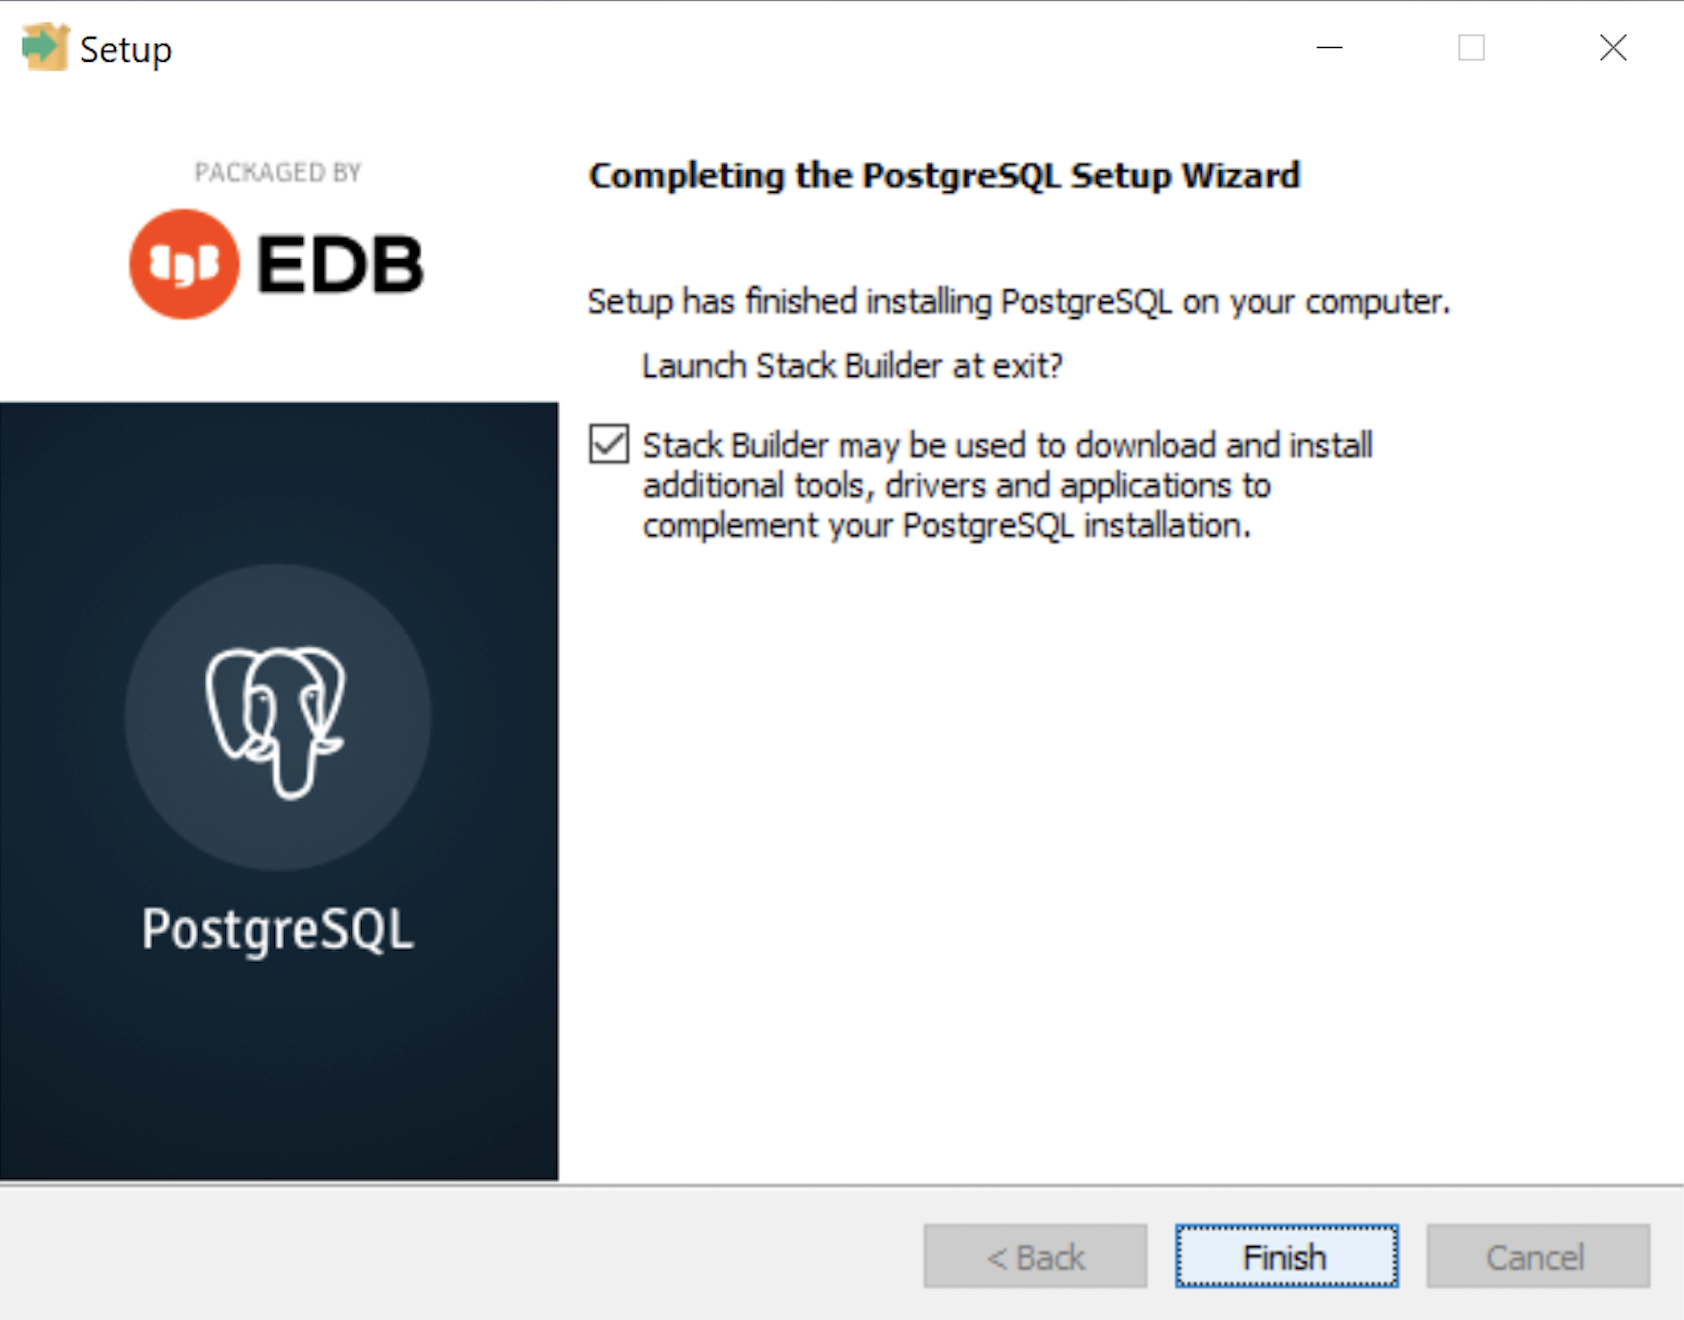
- The Completing the PostgreSQL Setup Wizard dialog tells you that the installation is complete. Click the Finish button to complete the PostgreSQL installation.
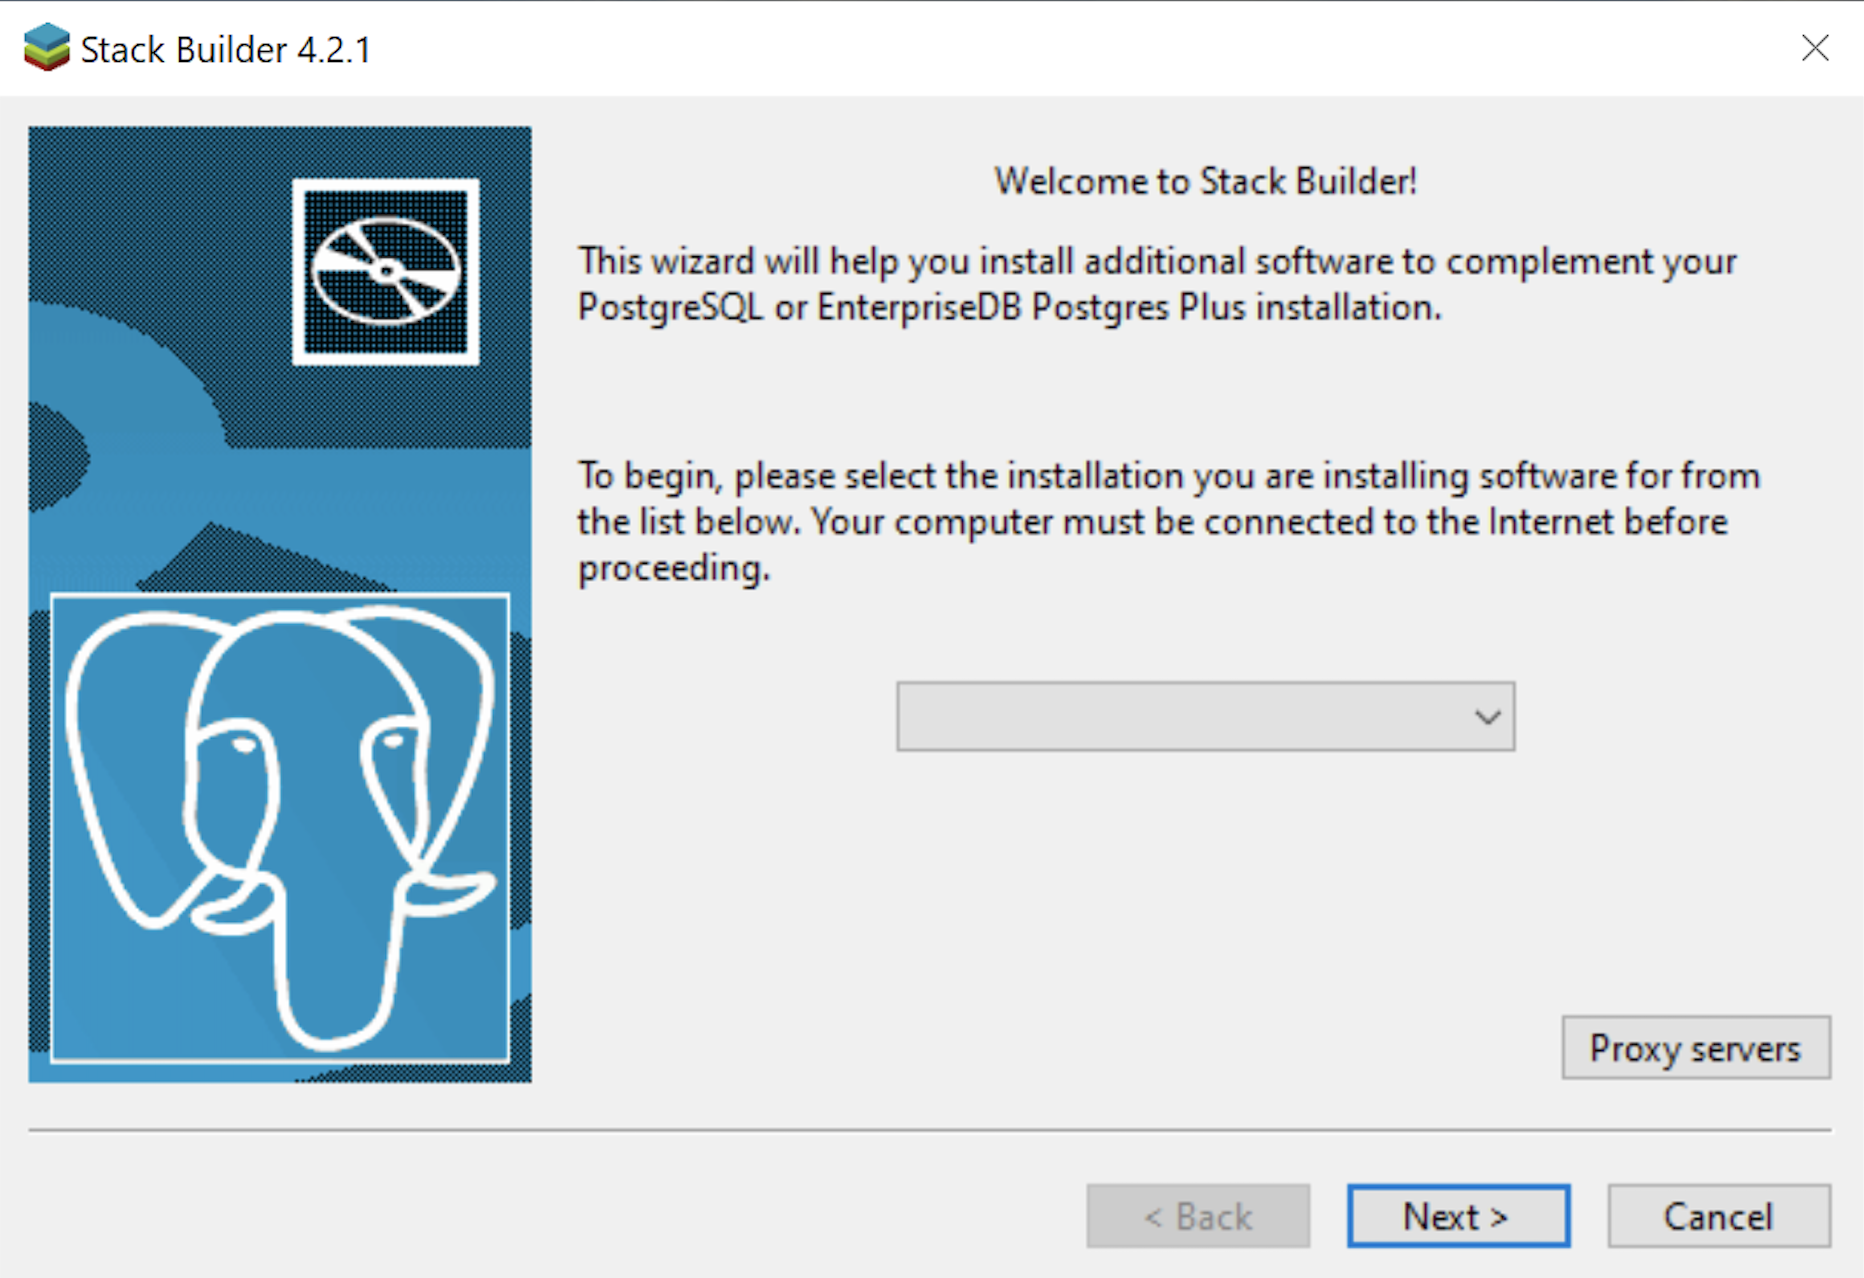
- The Welcome to Stack Builder! dialog lets you choose an installation from those on your computer to build a software stack. Click the drop down box to chose an installation.
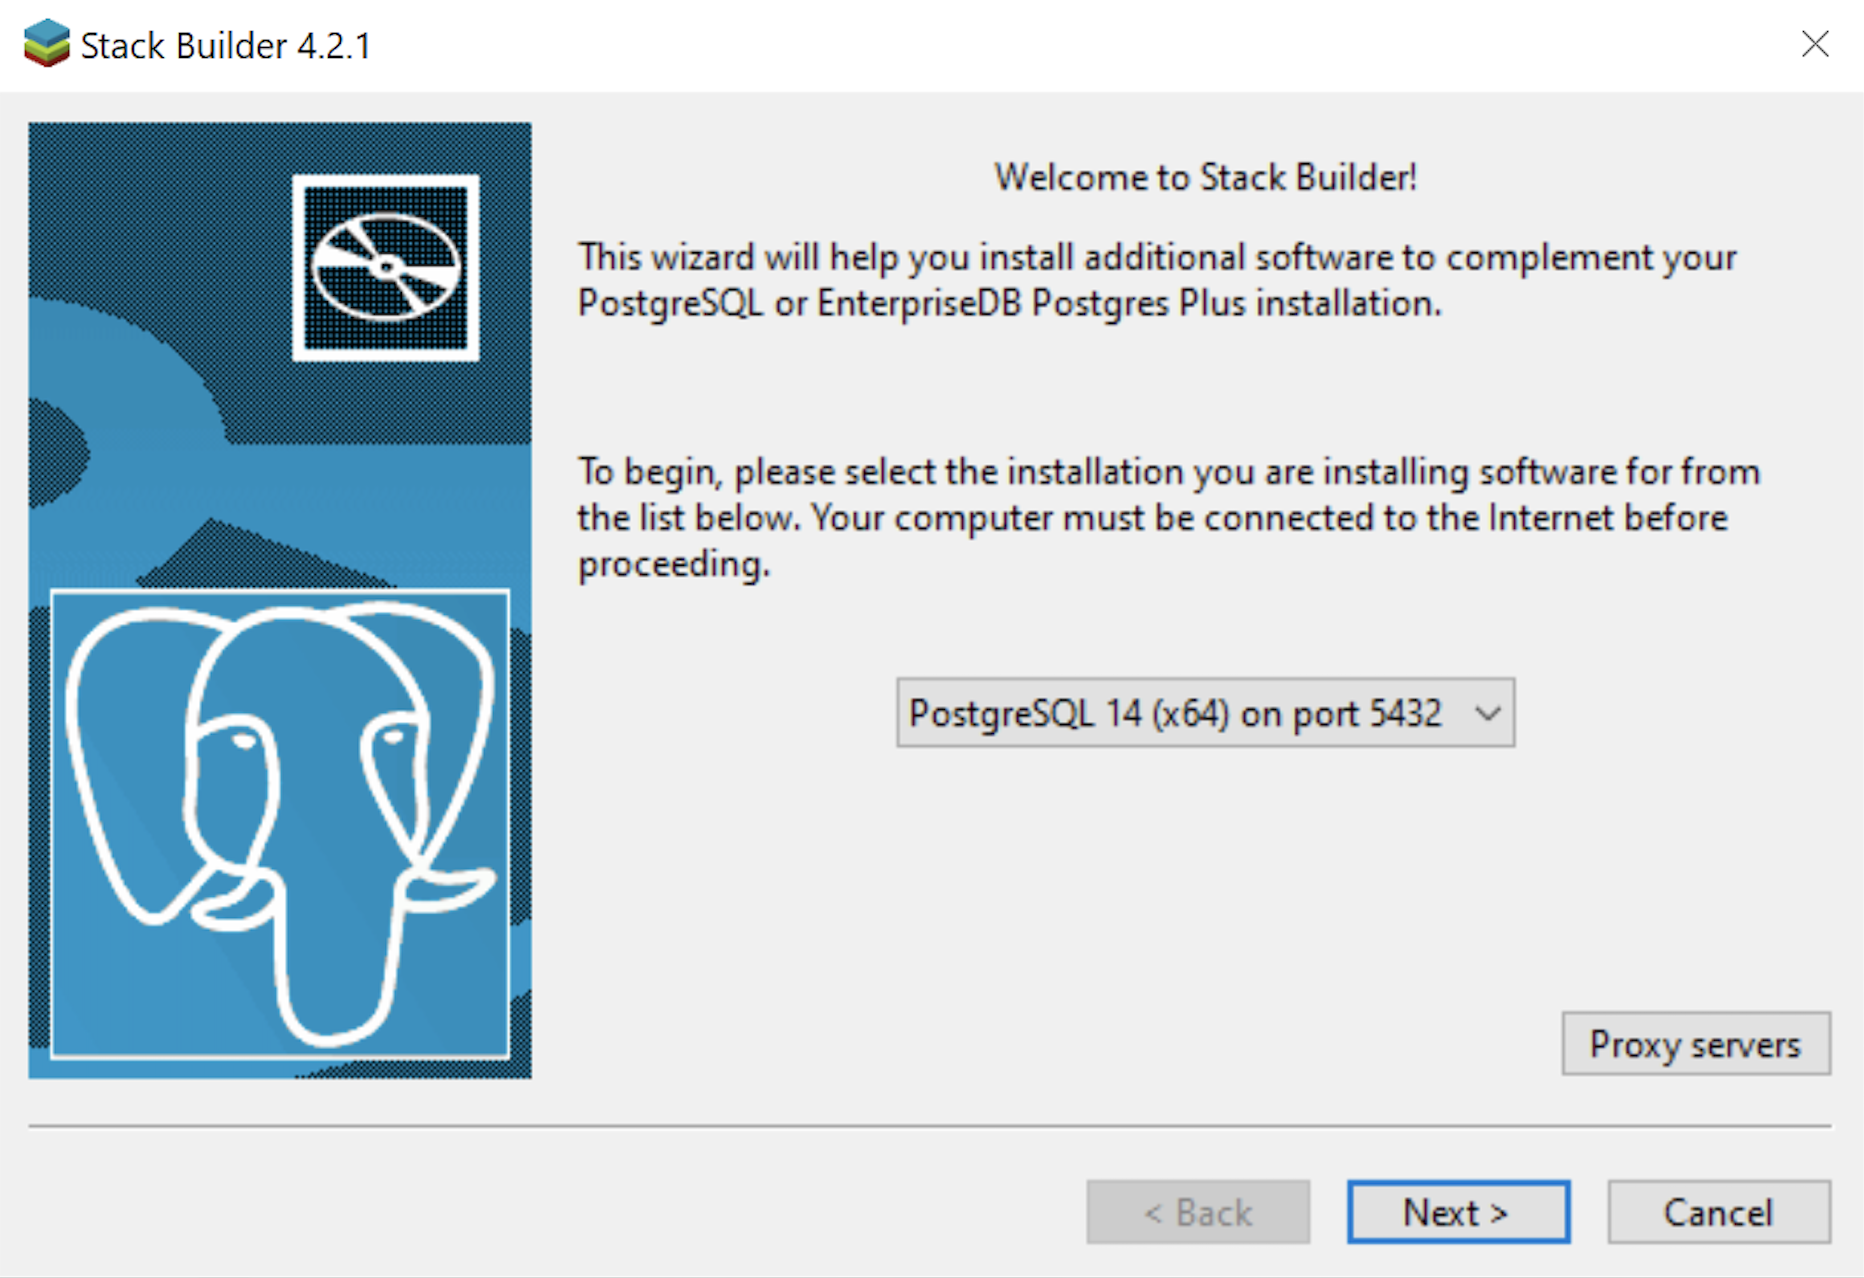
- The second copy of the Welcome to Stack Builder! dialog shows the choice of the PostgreSQL installation you just completed. Click on the Next button to continue.
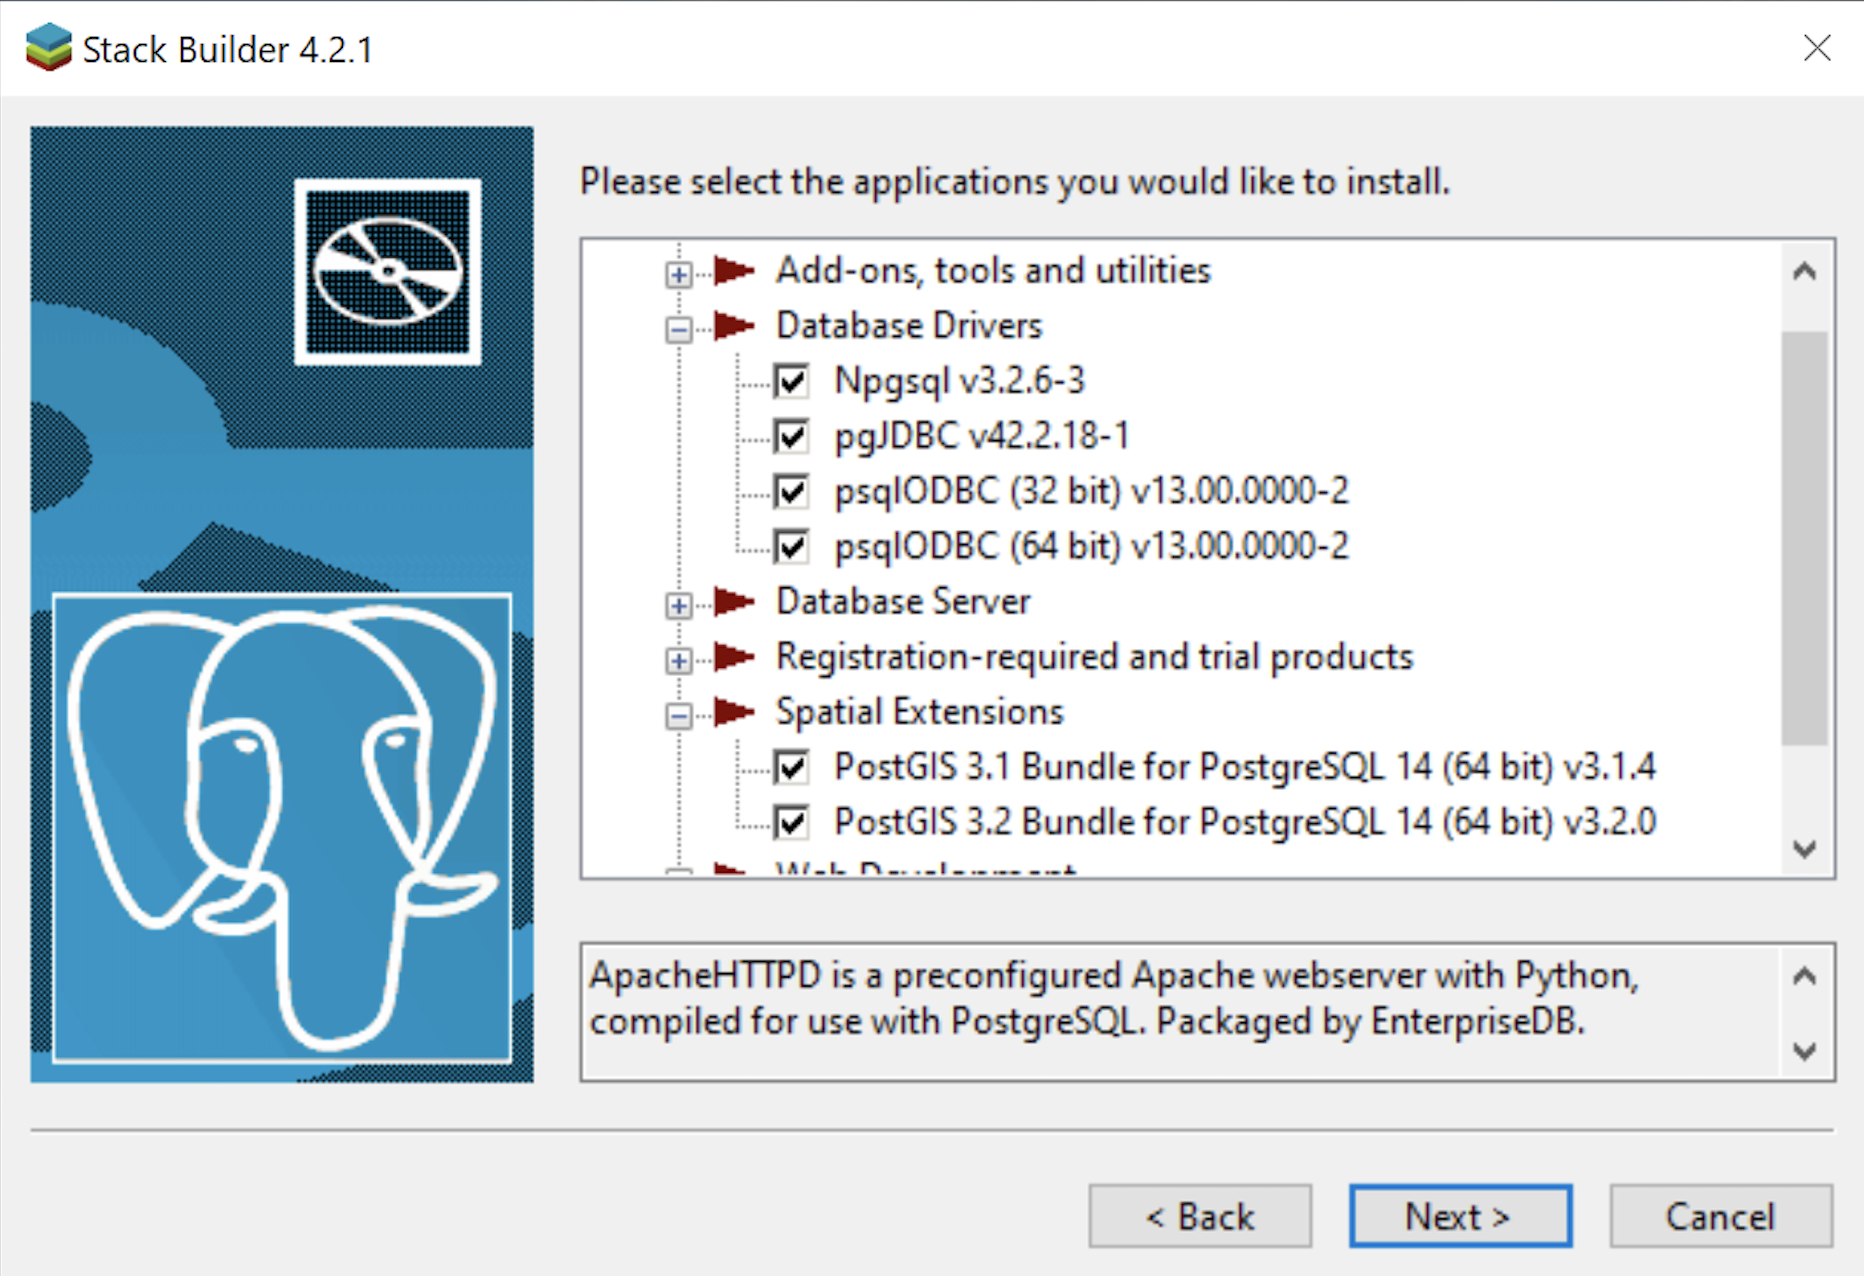
- The Stack Builder dialog prompts you to choose the products to install. You should choose all four database drivers – Npgsql, pgJDBC, psqlODBC, psqlODBC; and the PostGIS 3.1 and PostGIS 3.2 Bundles for PostgreSQL. Then, click the Next button to continue.
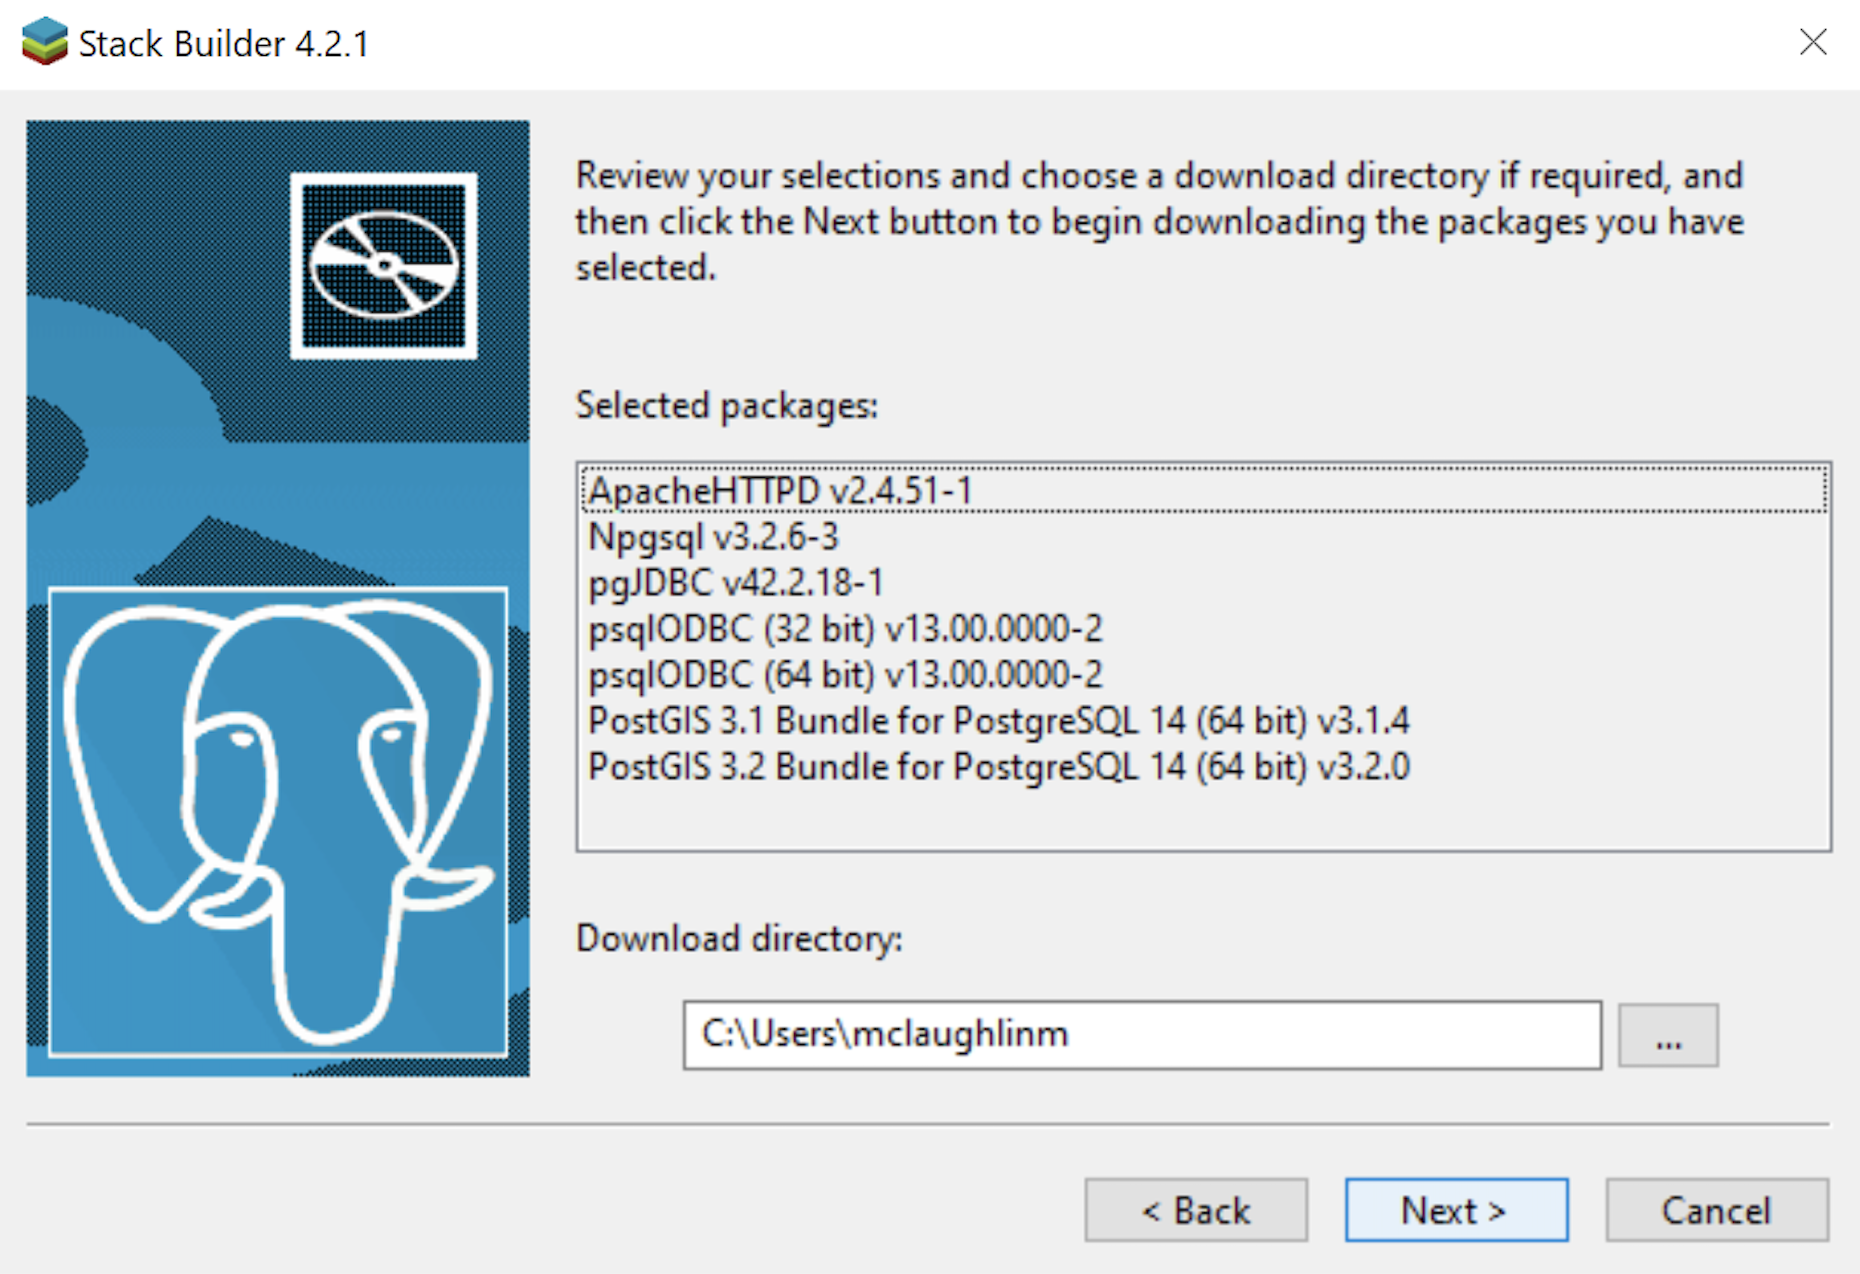
- The Stack Builder dialog shows you the products you will install. You should choose all four database drivers – Npgsql, pgJDBC, psqlODBC, psqlODBC; and the PostGIS 3.1 and PostGIS 3.2 Bundles for PostgreSQL. Click the Next button to continue.
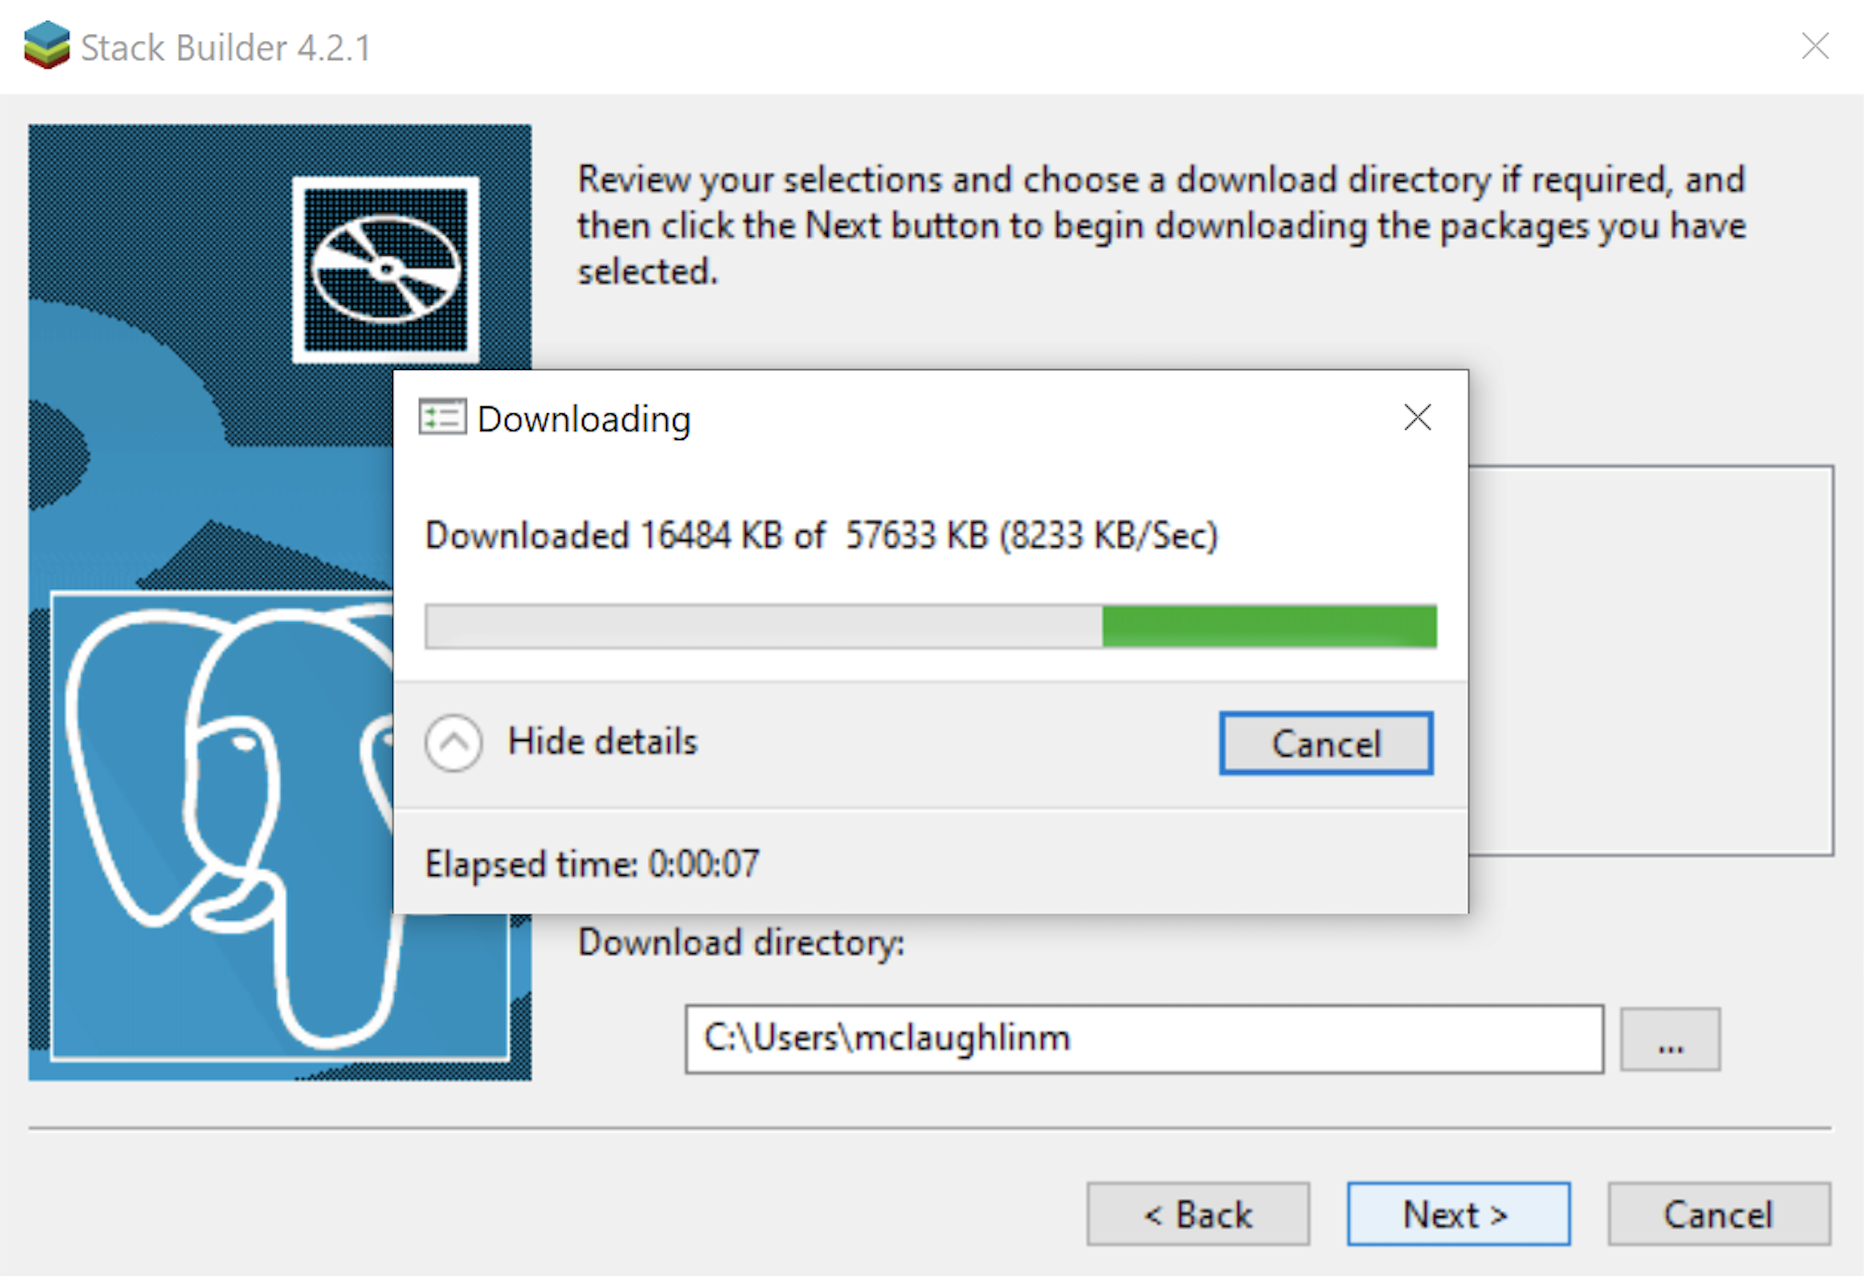
- The Stack Builder dialog shows a download progress bar subdialog, which may take some time to complete. The Stack Builder dialog’s Progress Bar automatically advances to the next dialog box.
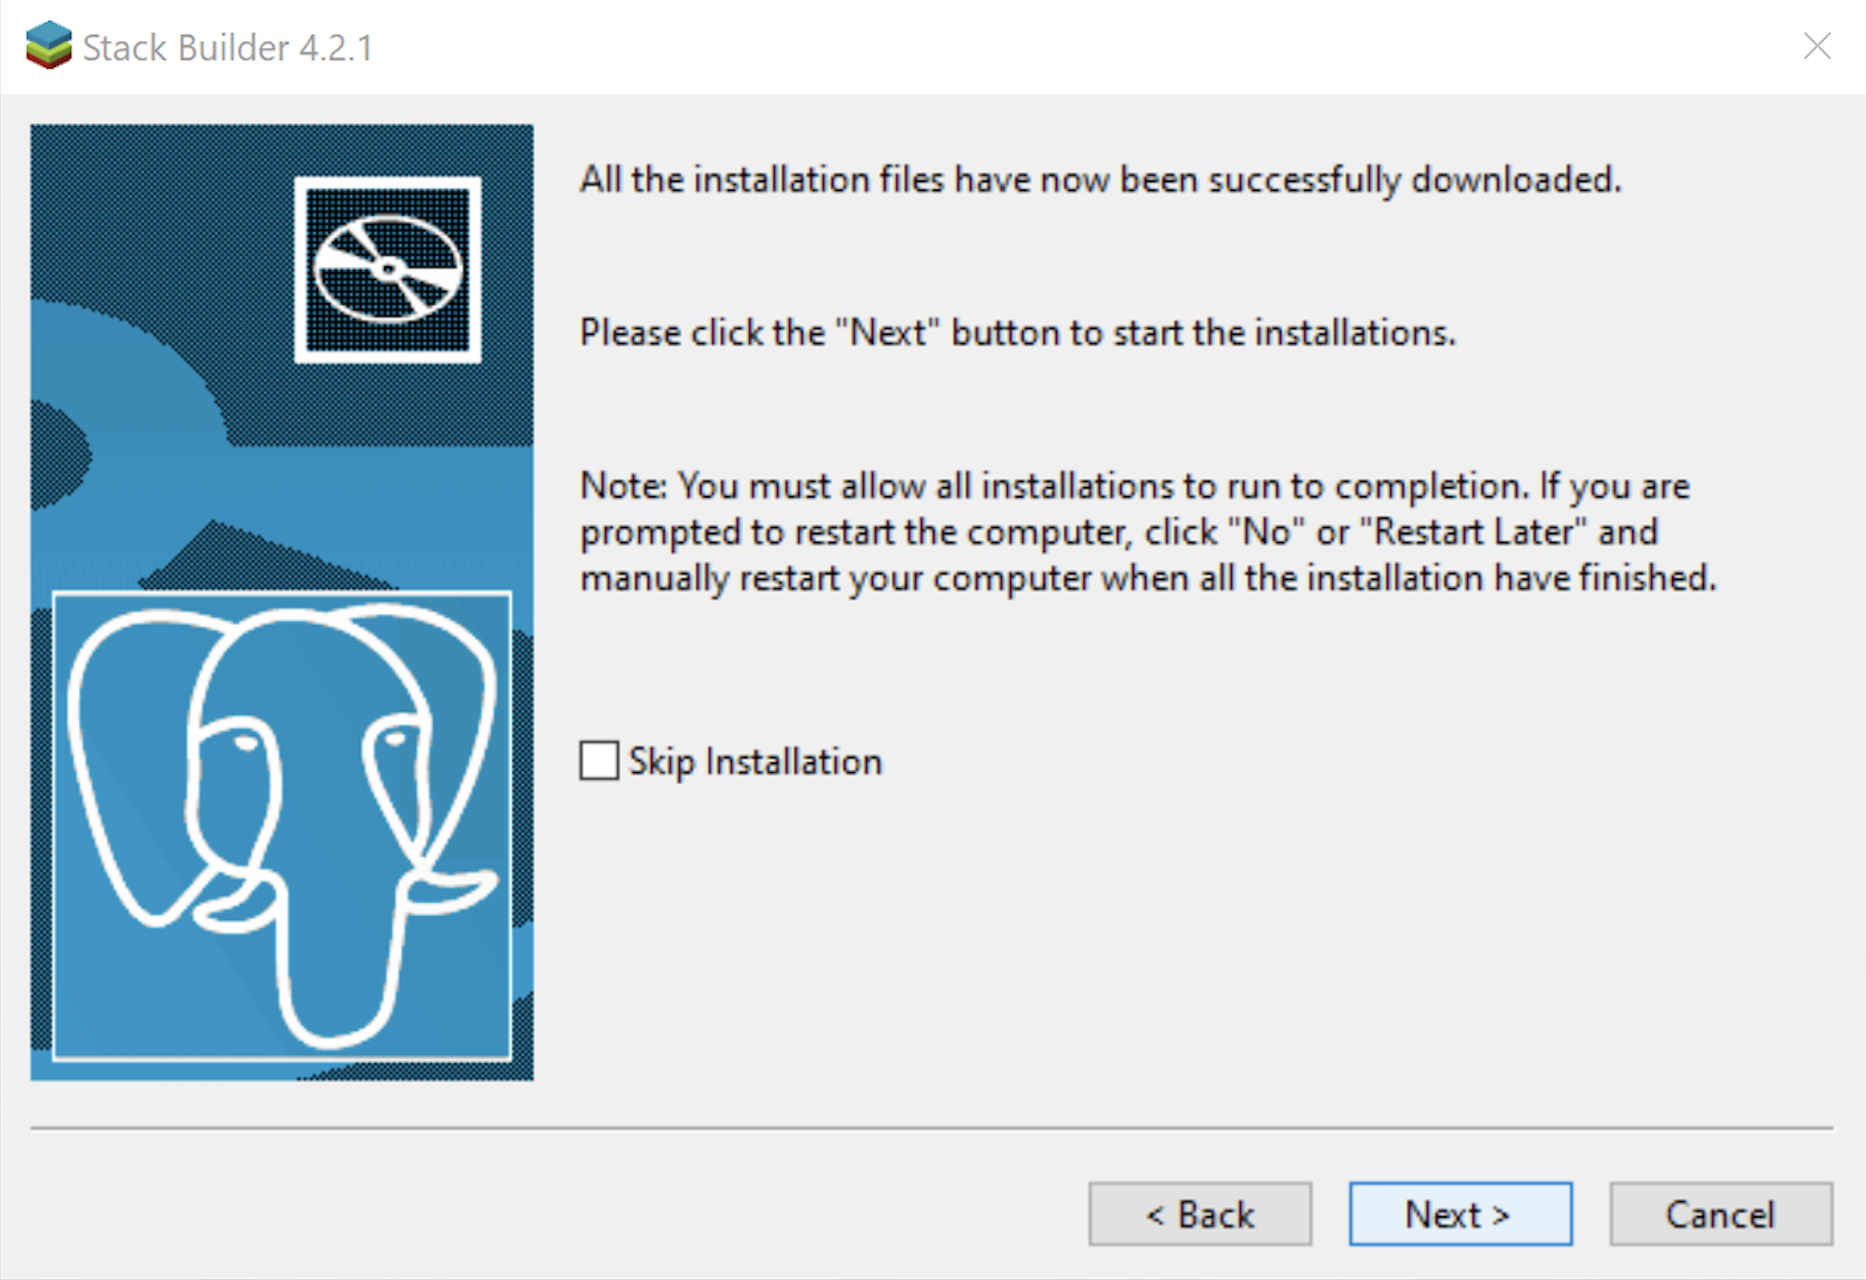
- The Stack Builder dialog tells you the products you downloaded. Click the Next button to continue the developer stack.
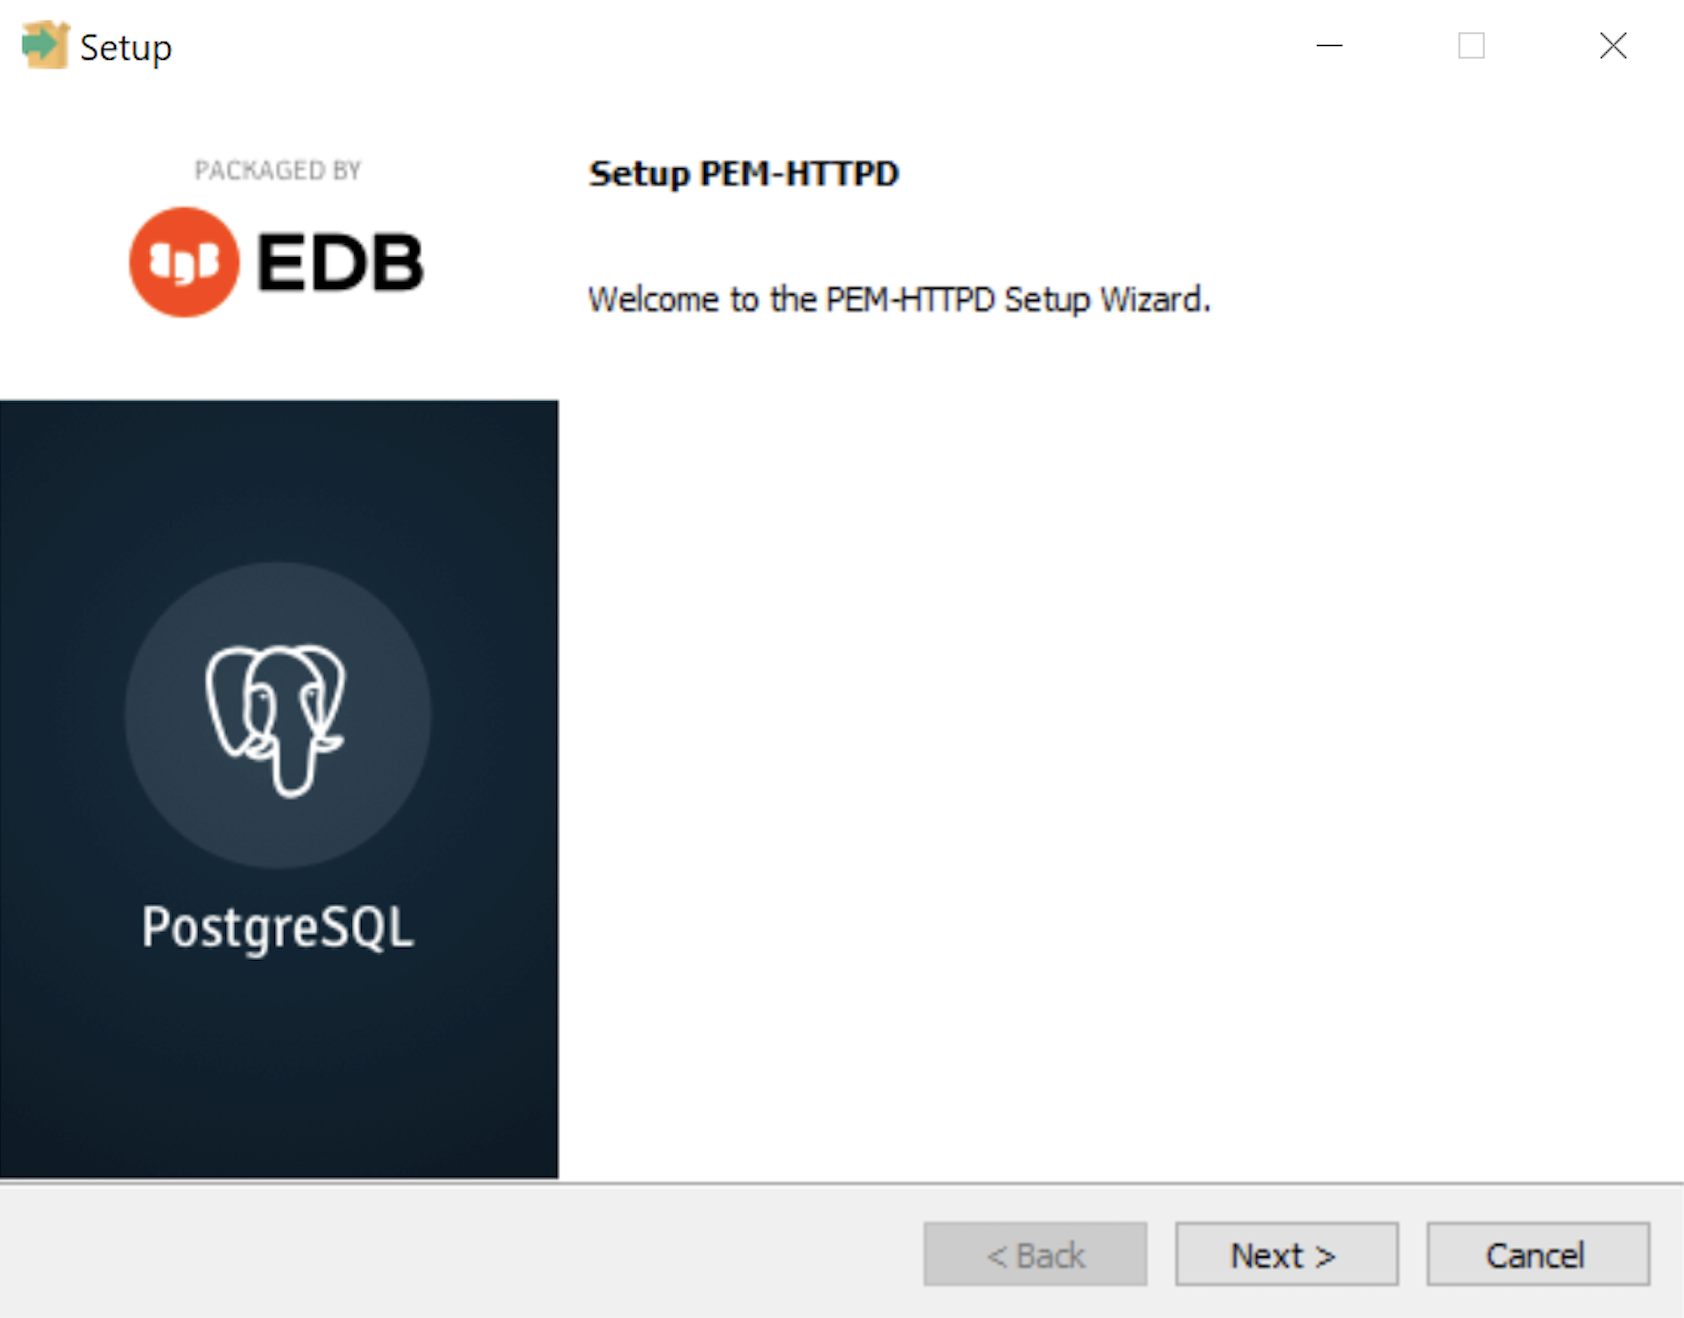
- The Setup dialog advises that you are installing the PEM-HTTPD Setup Wizard. Click the Next button to continue.
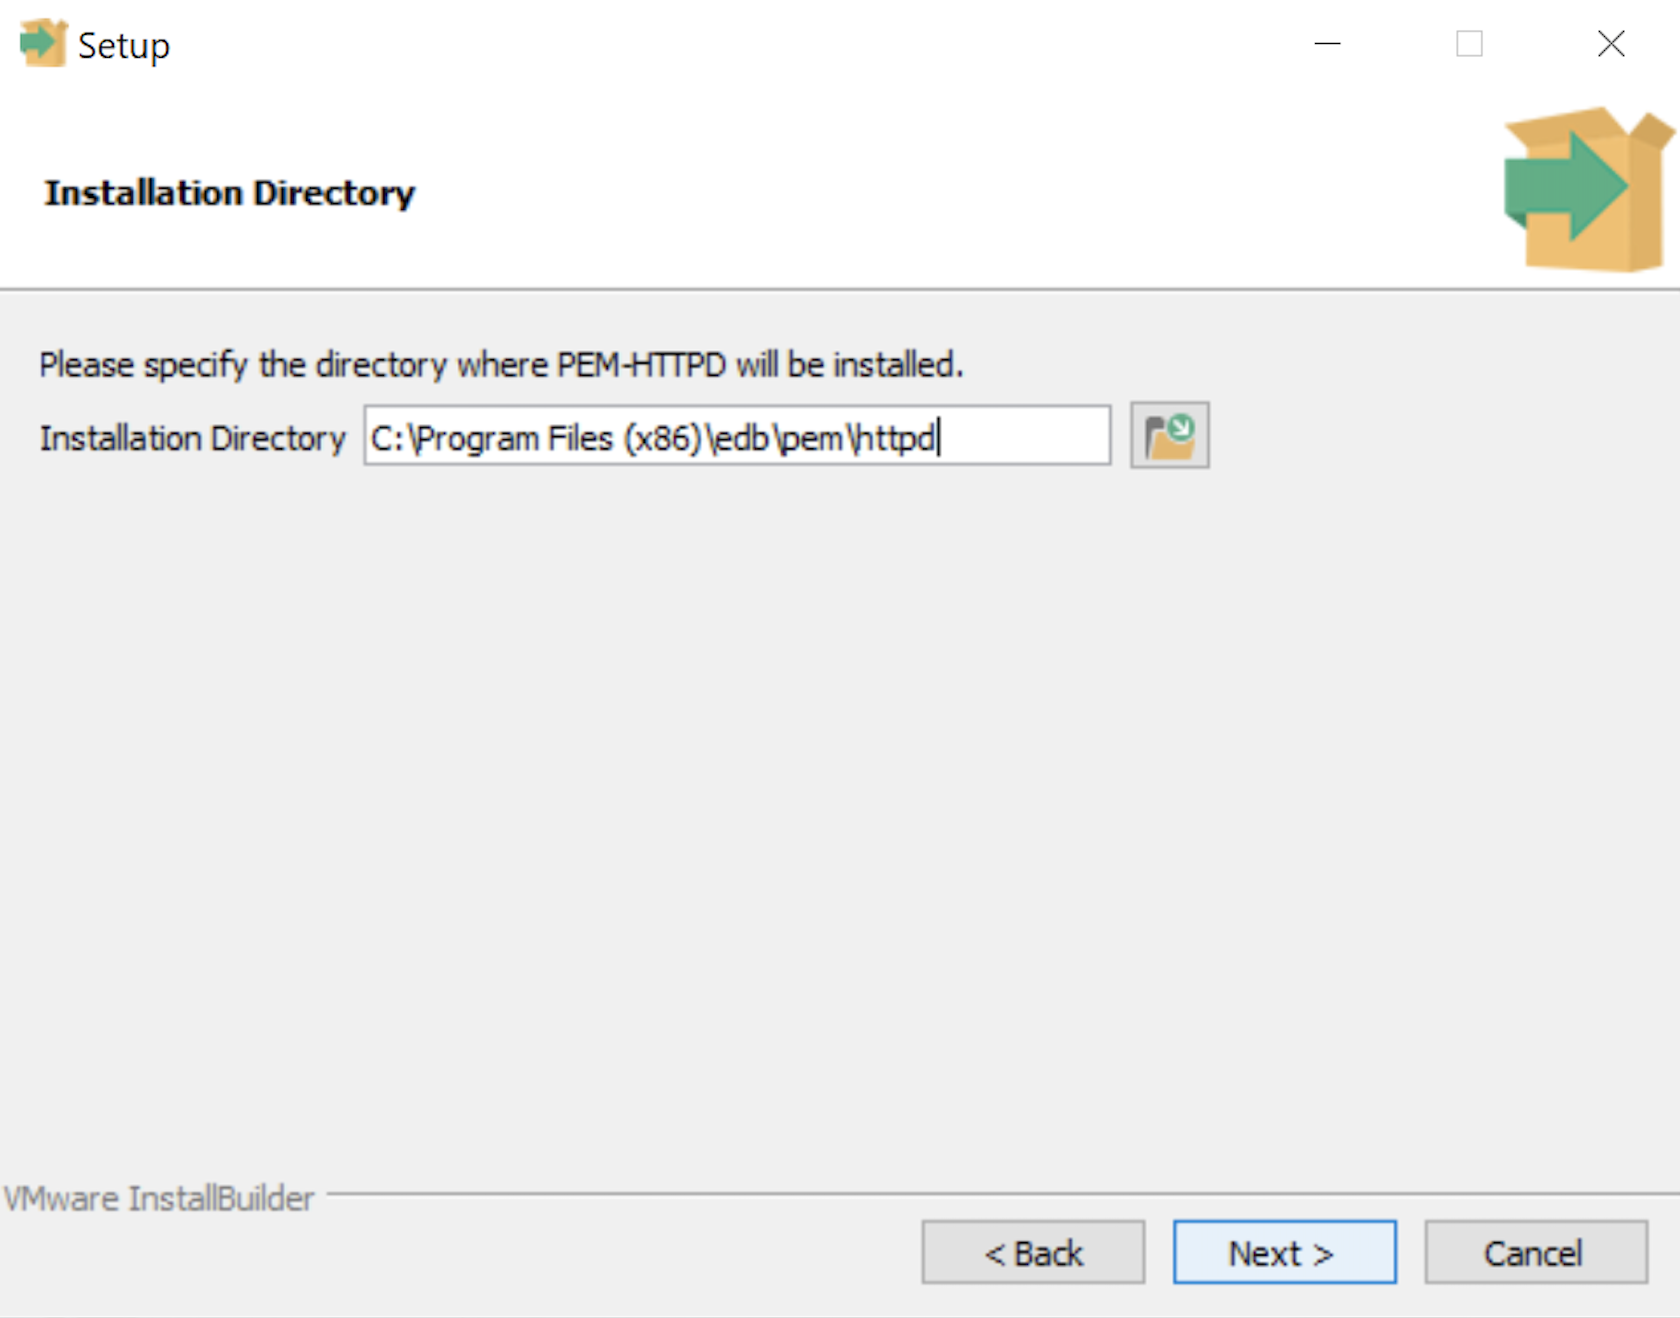
- The Installation Directory dialog prompts you for an installation directory. The default directory is C:\Program Files (x86)\edb\pem\httpd and you should use it because that’s where Windows 10 puts 64-bit libraries. Click the Next button to continue.

- The Setup dialog lets you select the port number for the HTTP listener. Port 8080 is the standard port for an HTTP listener, and ports 8081, 8082, and so forth are used when you have more than one HTTP listener on a single server or workstation. Click the Next button to continue.
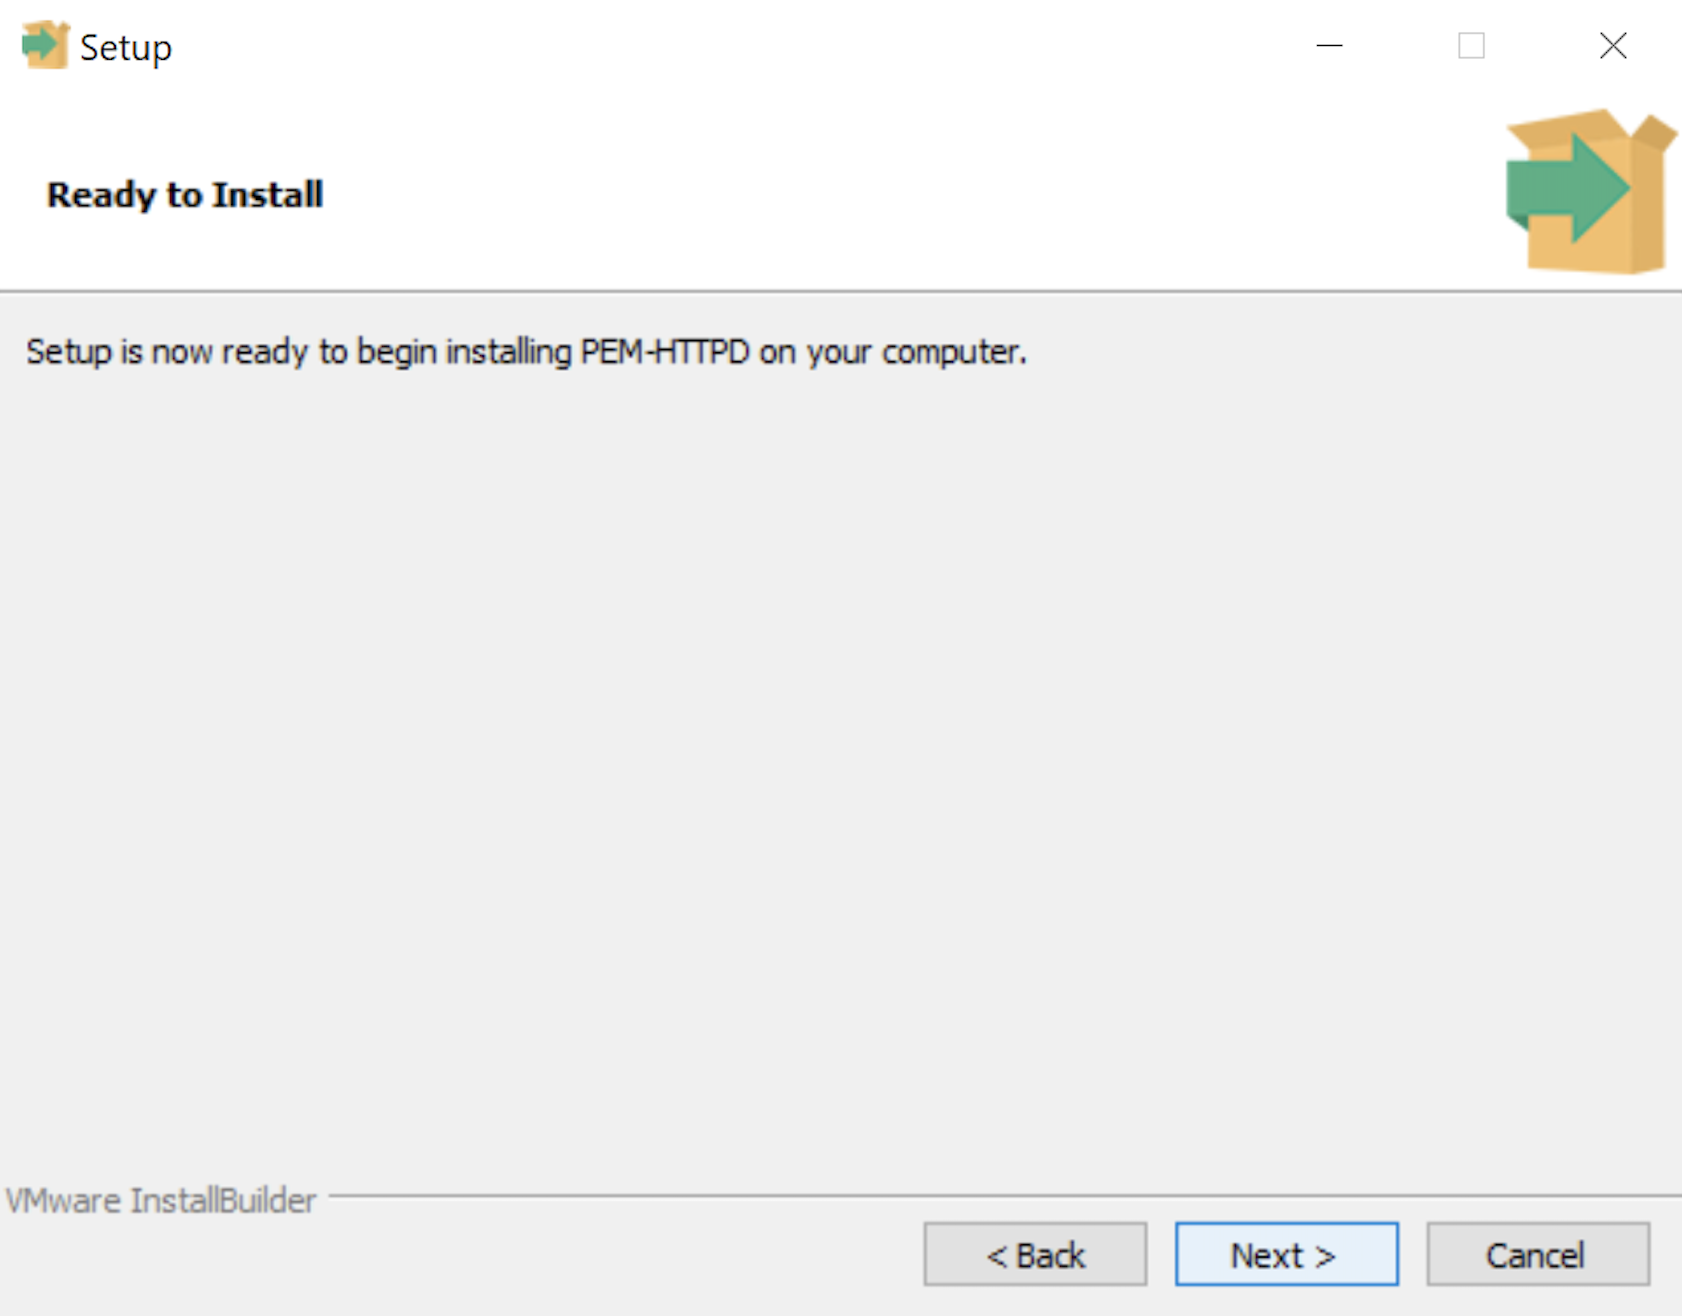
- The Ready to Install dialog lets you pause before you install the software. Click the Next button to continue.
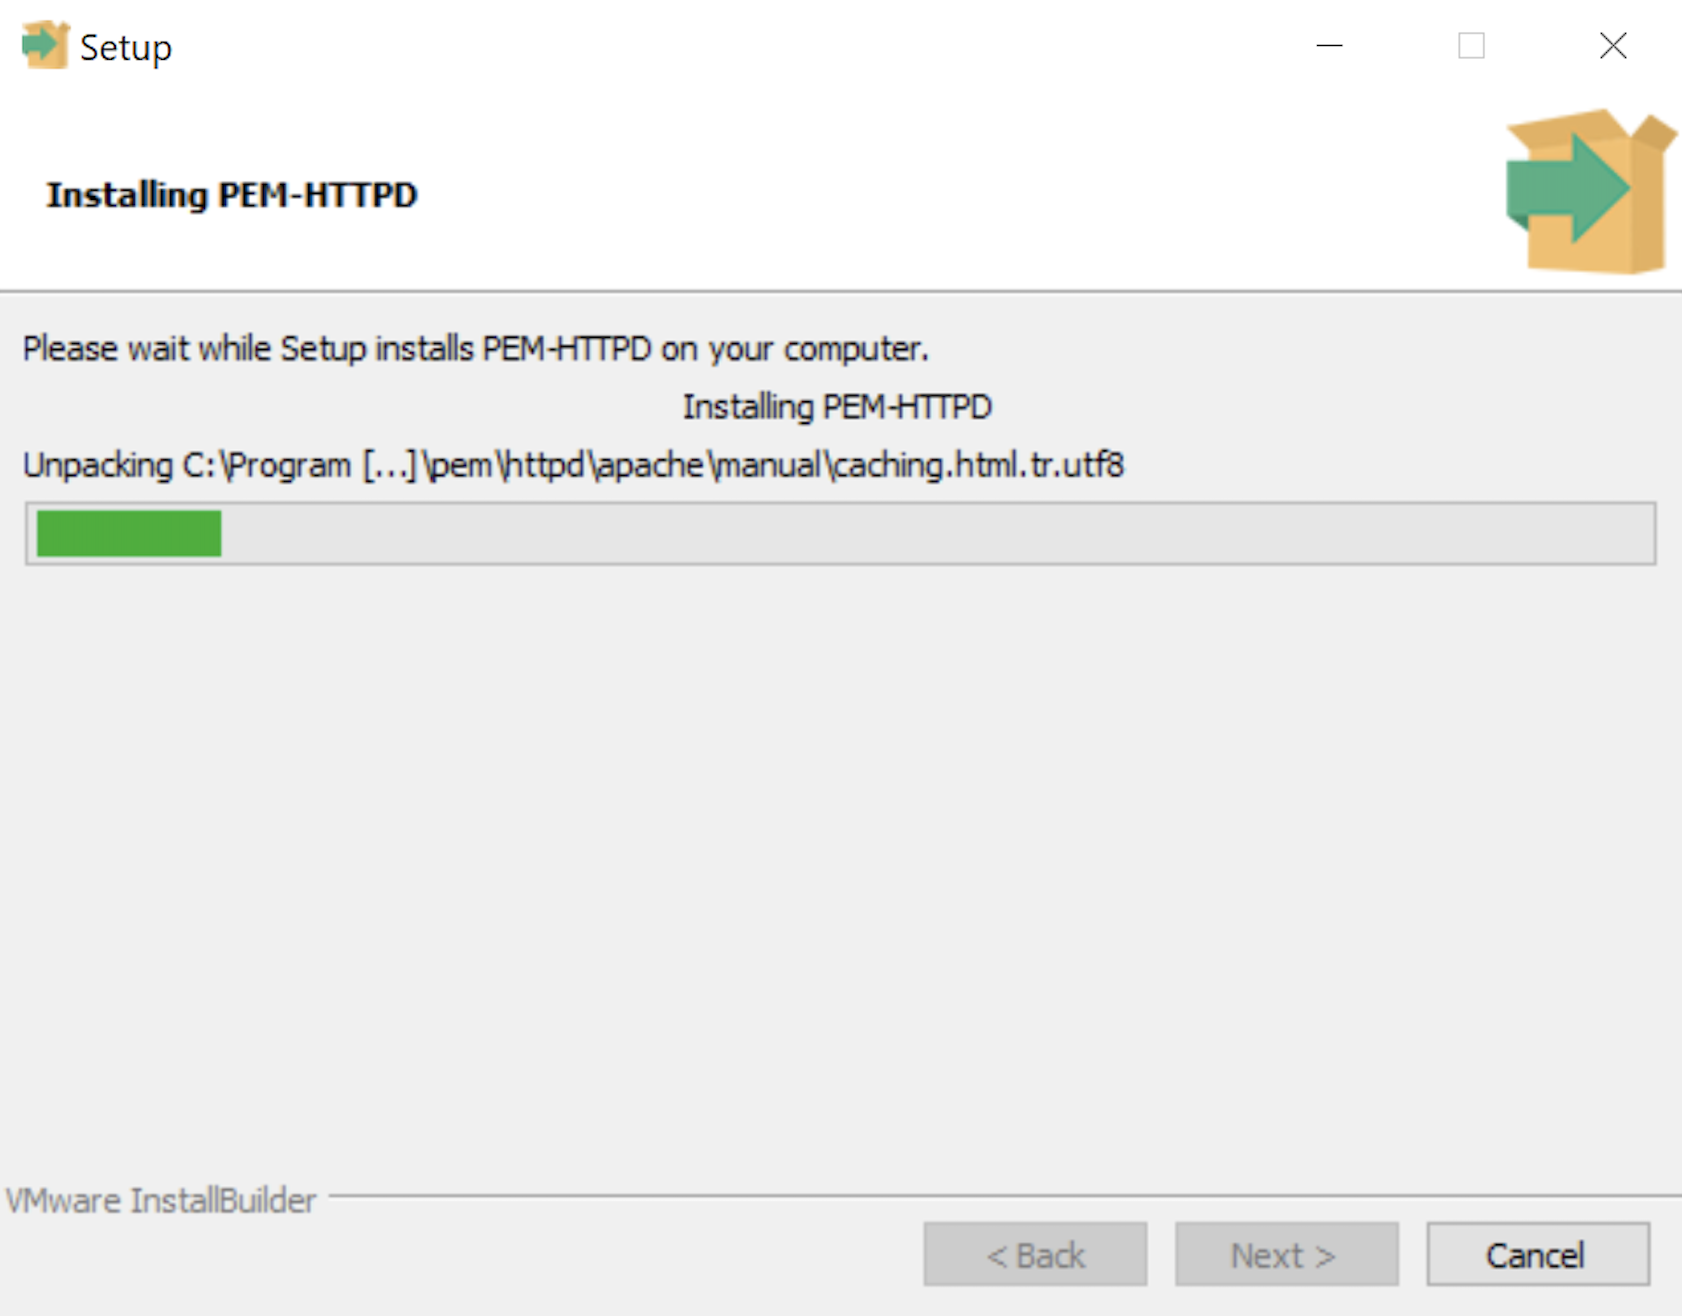
- The Installing dialog is a progress bar that will take several minutes to complete. When the progress bar completes, click the Next button when it becomes available to continue.
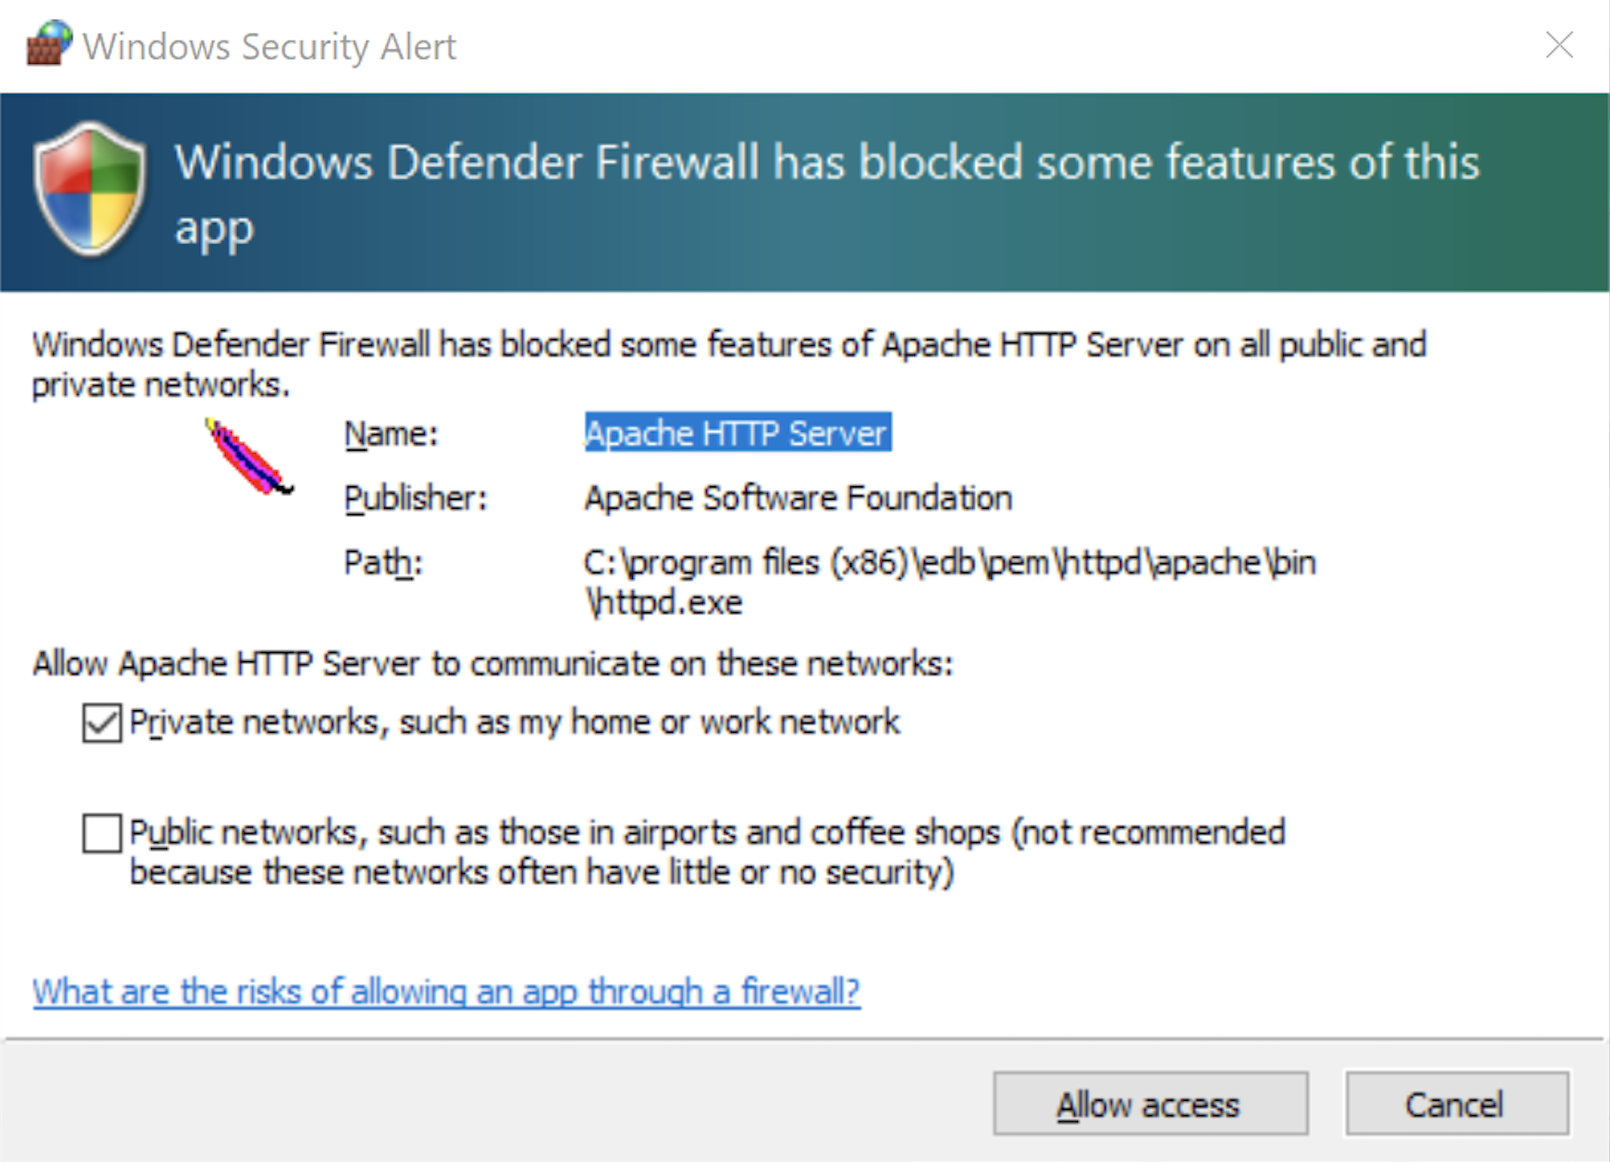
- The Windows Security Alert dialog asks you to allow the Apache HTTP Server to use port 8080. Click the Private networks, such as my home or work network checkbox and then the Allow access button to continue.
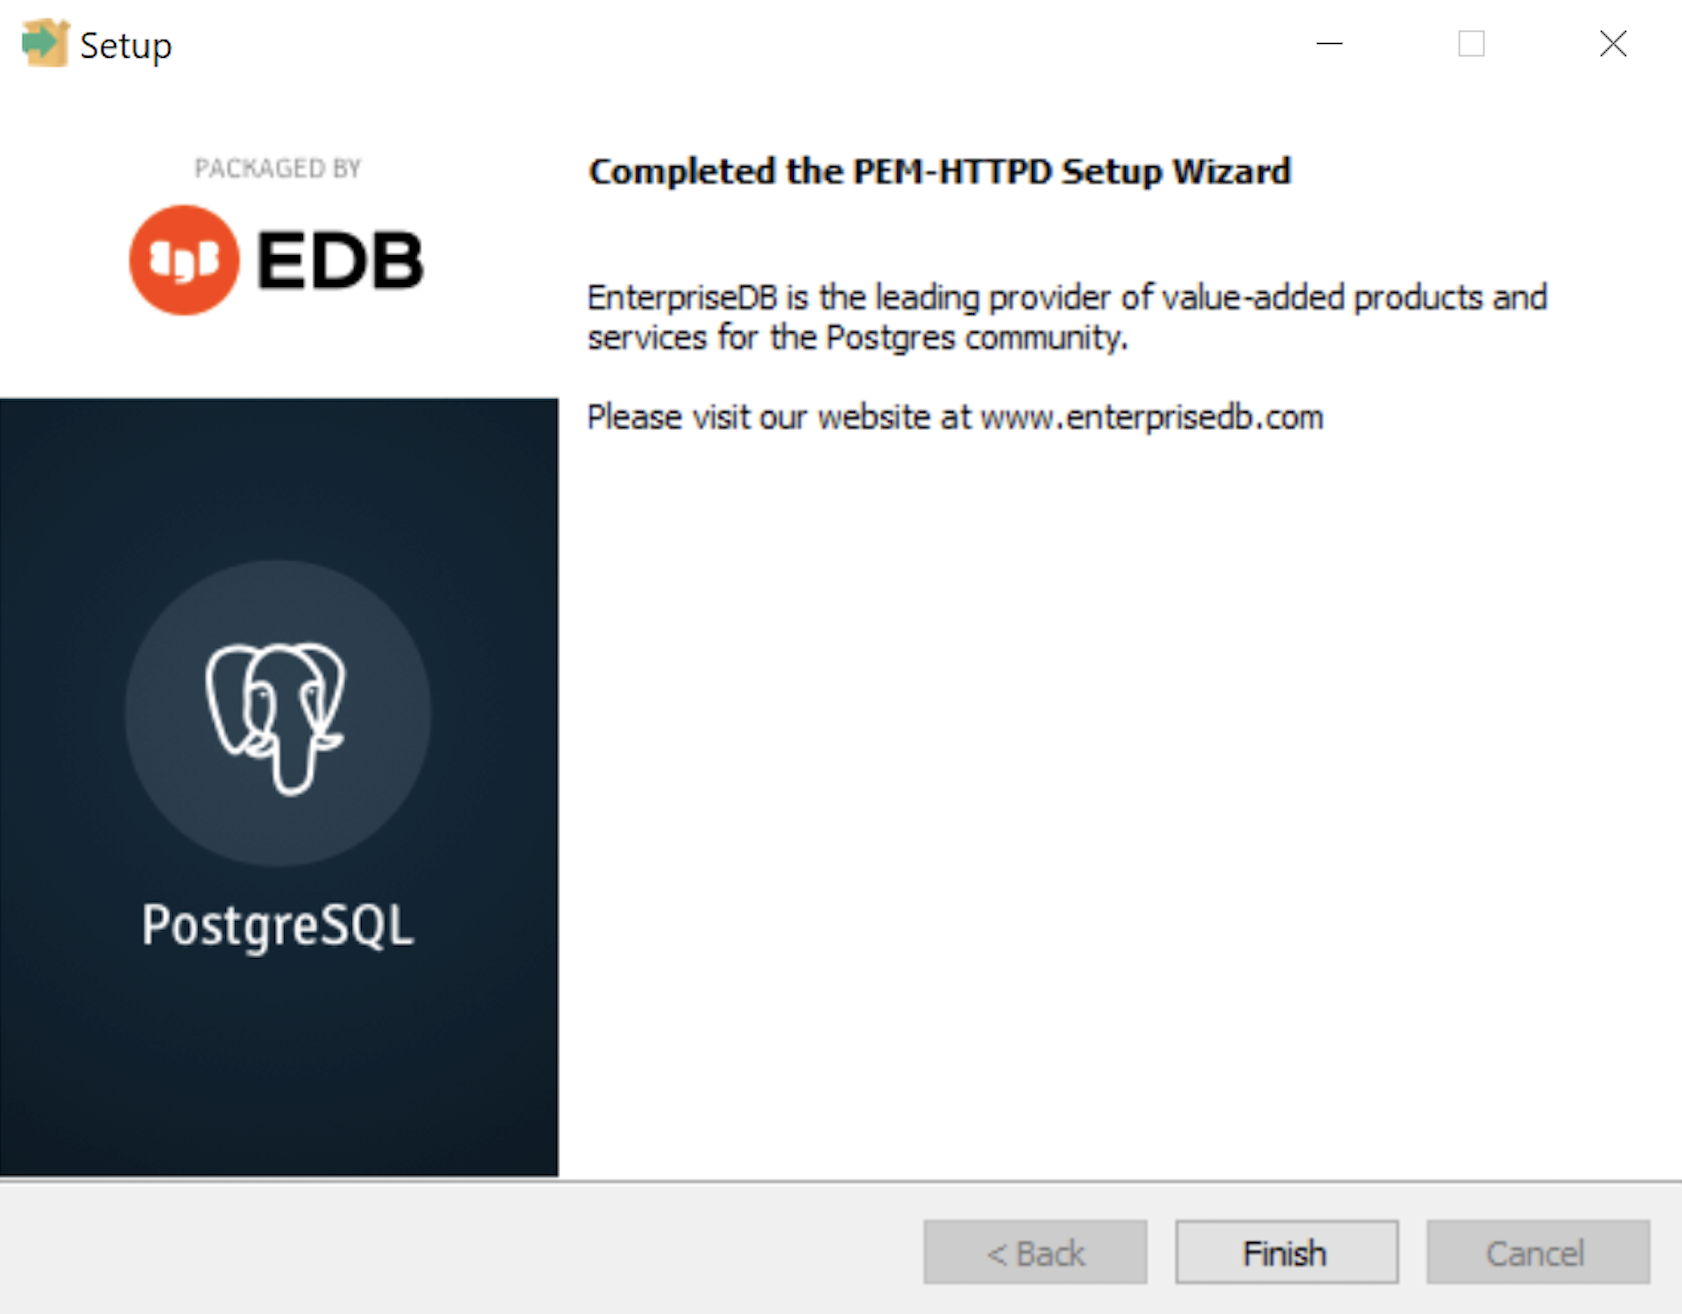
- The Setup dialog advises that you have completed the installation of the PEM-HTTPD Setup Wizard. Click the Finish button to continue.
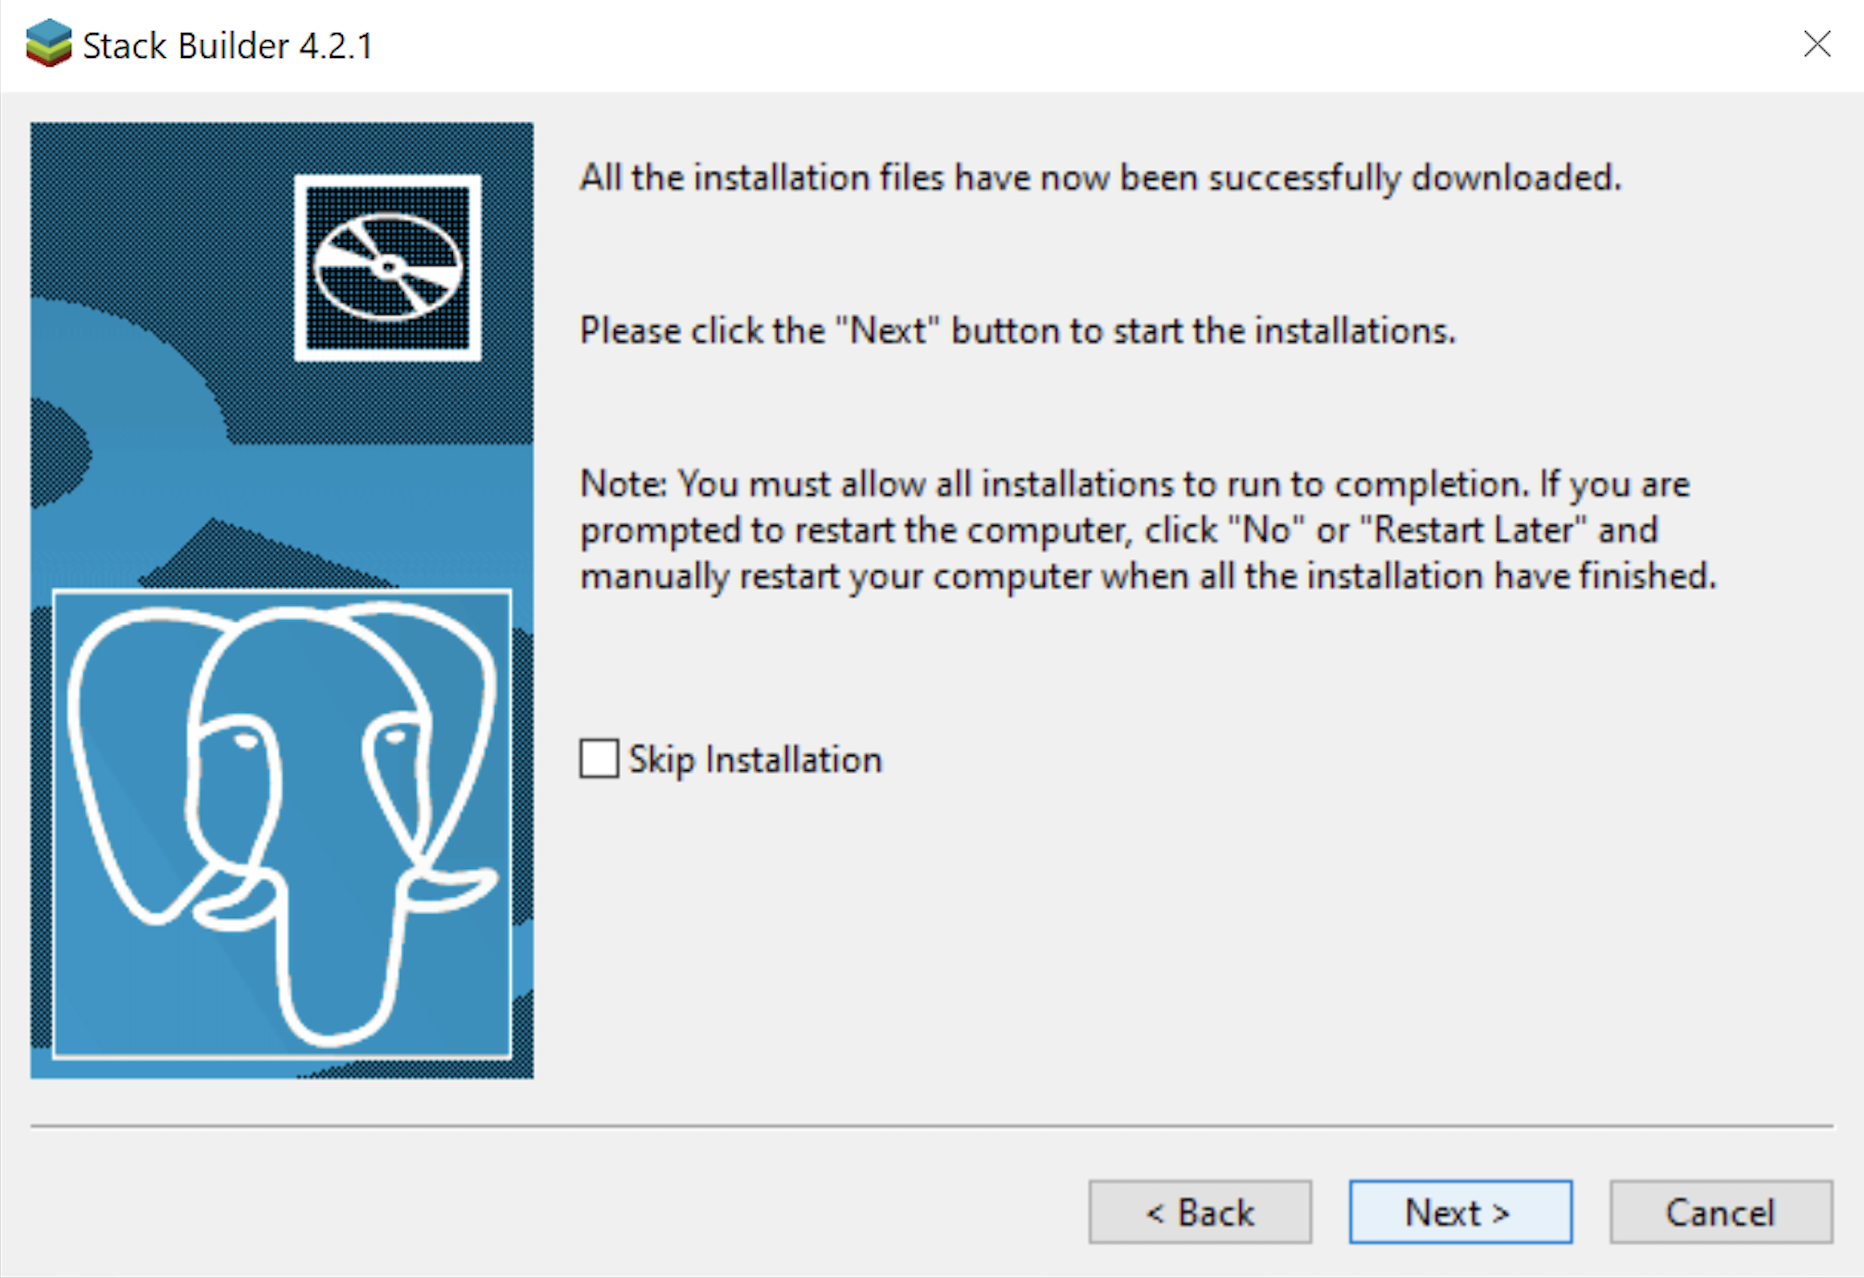
- The Stack Builder dialog advises you that all four database drivers – Npgsql, pgJDBC, psqlODBC, psqlODBC are downloaded and ready to install. Click the Next button to continue.

- The Installation Directory dialog prompts you for an installation directory. The default directory is C:\Program Files (x86)\PostgreSQL\Npgsql and you should use it because that’s where Windows 10 puts 64-bit libraries and the subdirectory meets the standard installation convention for Microsoft .Net libraries. Click the Next button to continue.
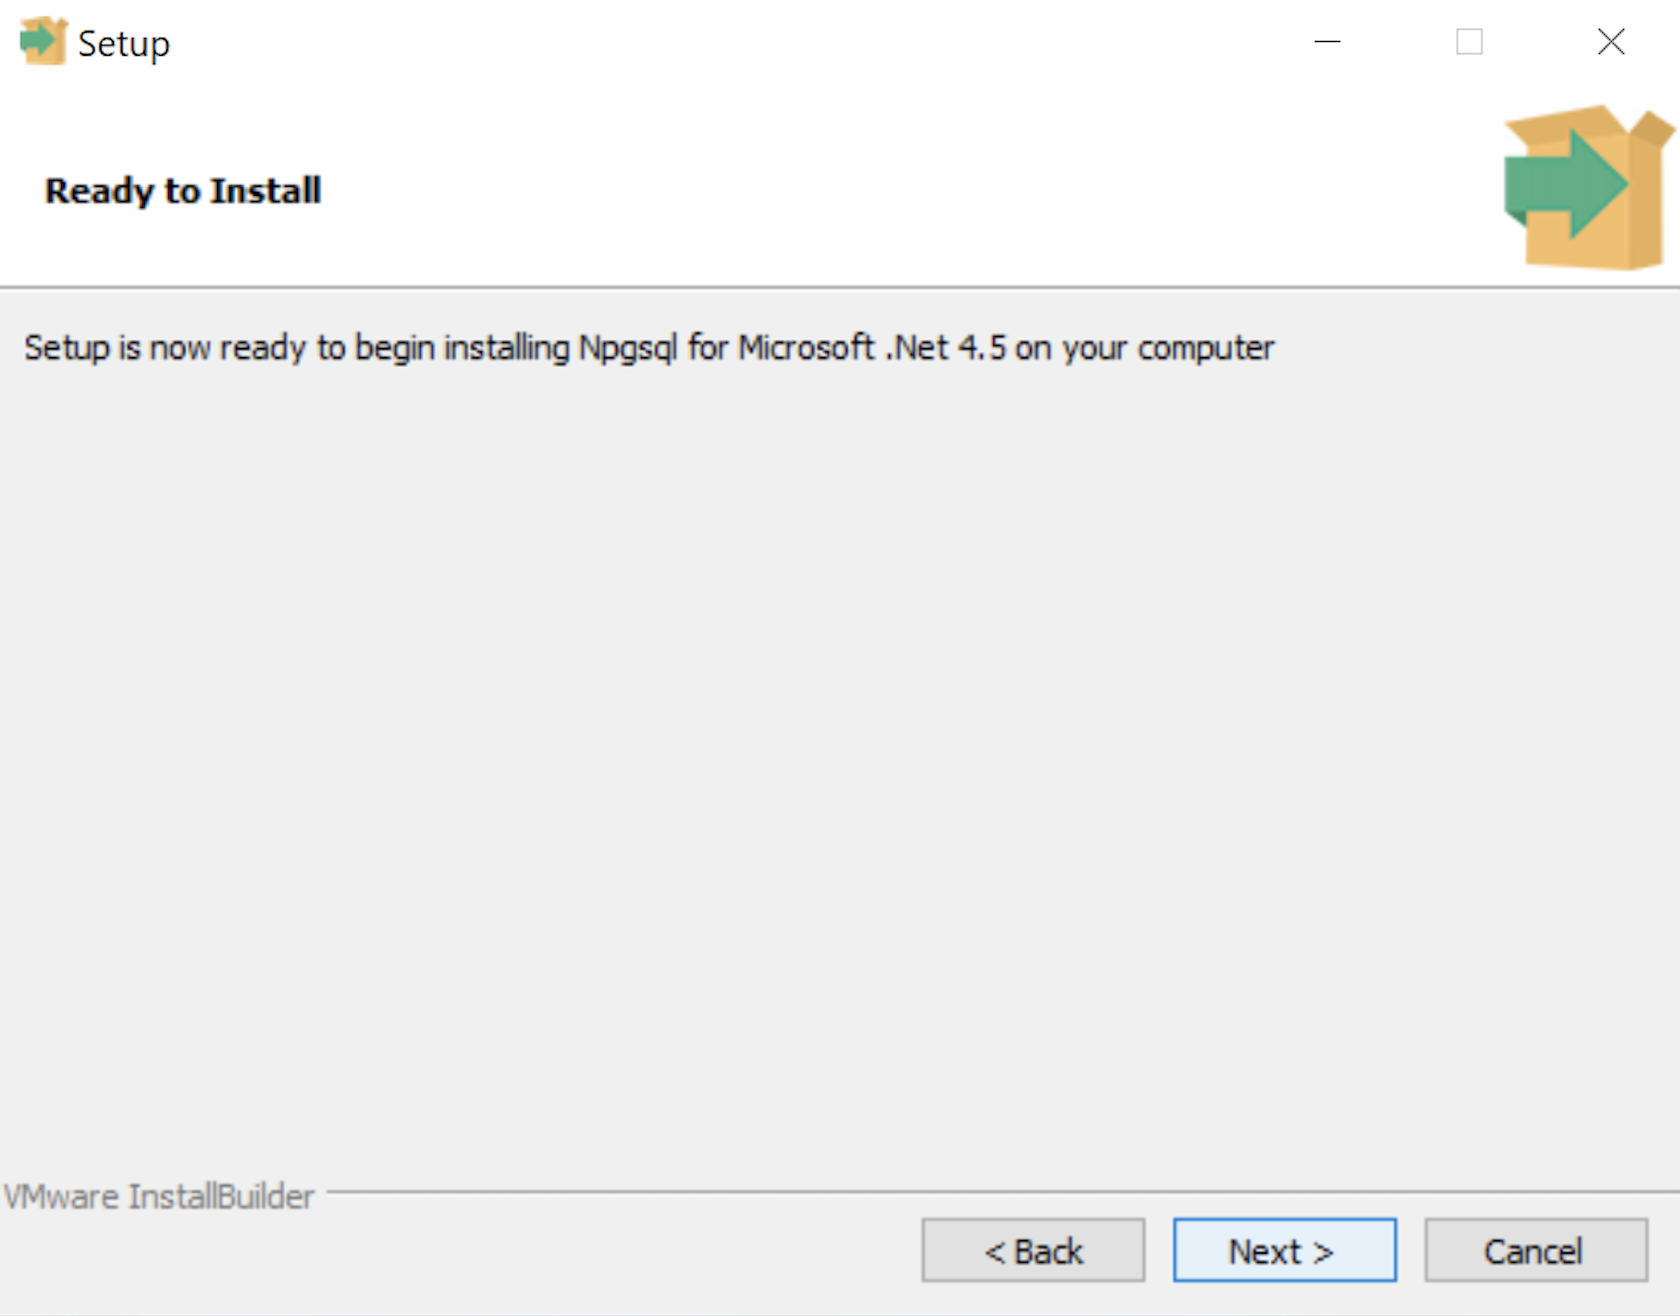
- The Ready to Install dialog lets you pause before you install the Npgsql software for Microsoft .Net. Click the Next button to continue.
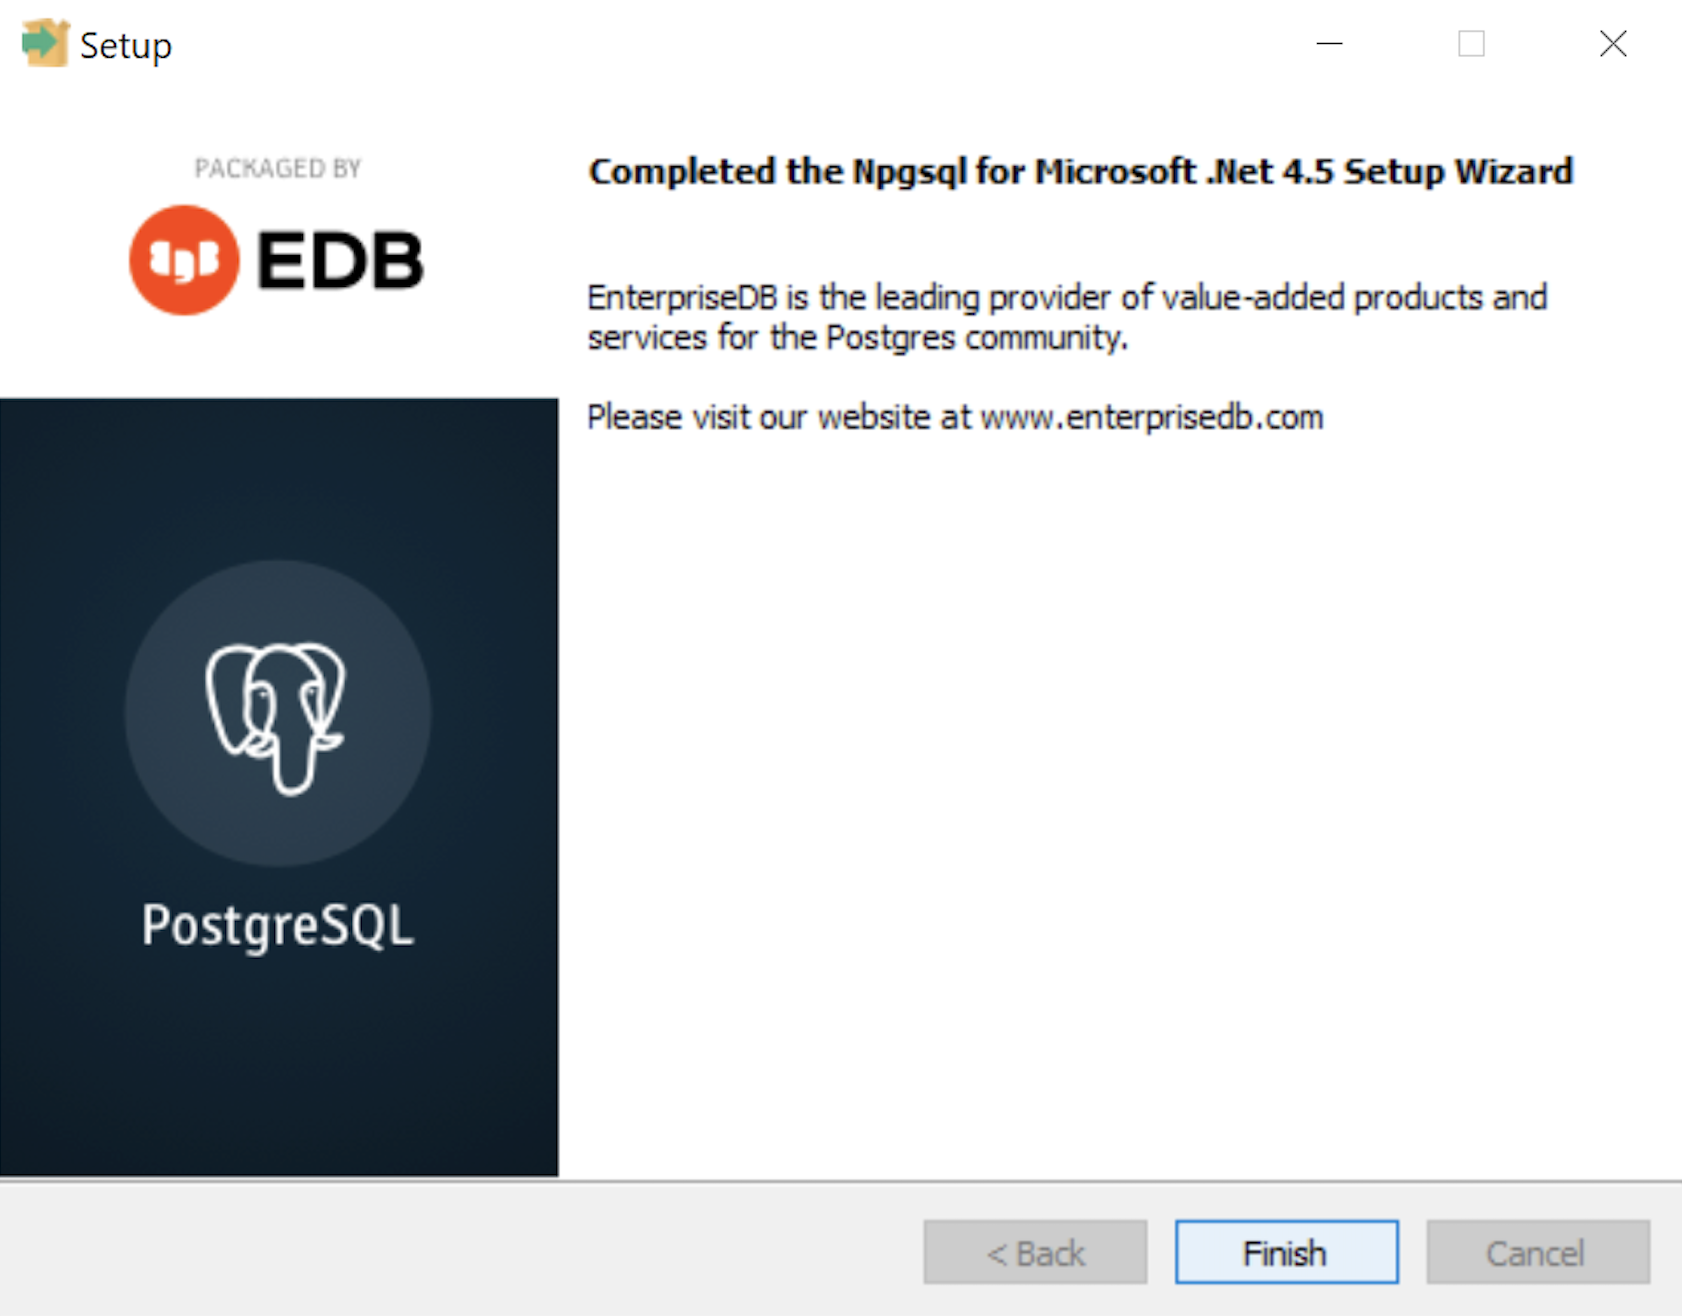
- The Setup dialog advises that you have completed the installation of npgsql driver for Microsoft .Net. Click the Finish button to continue.
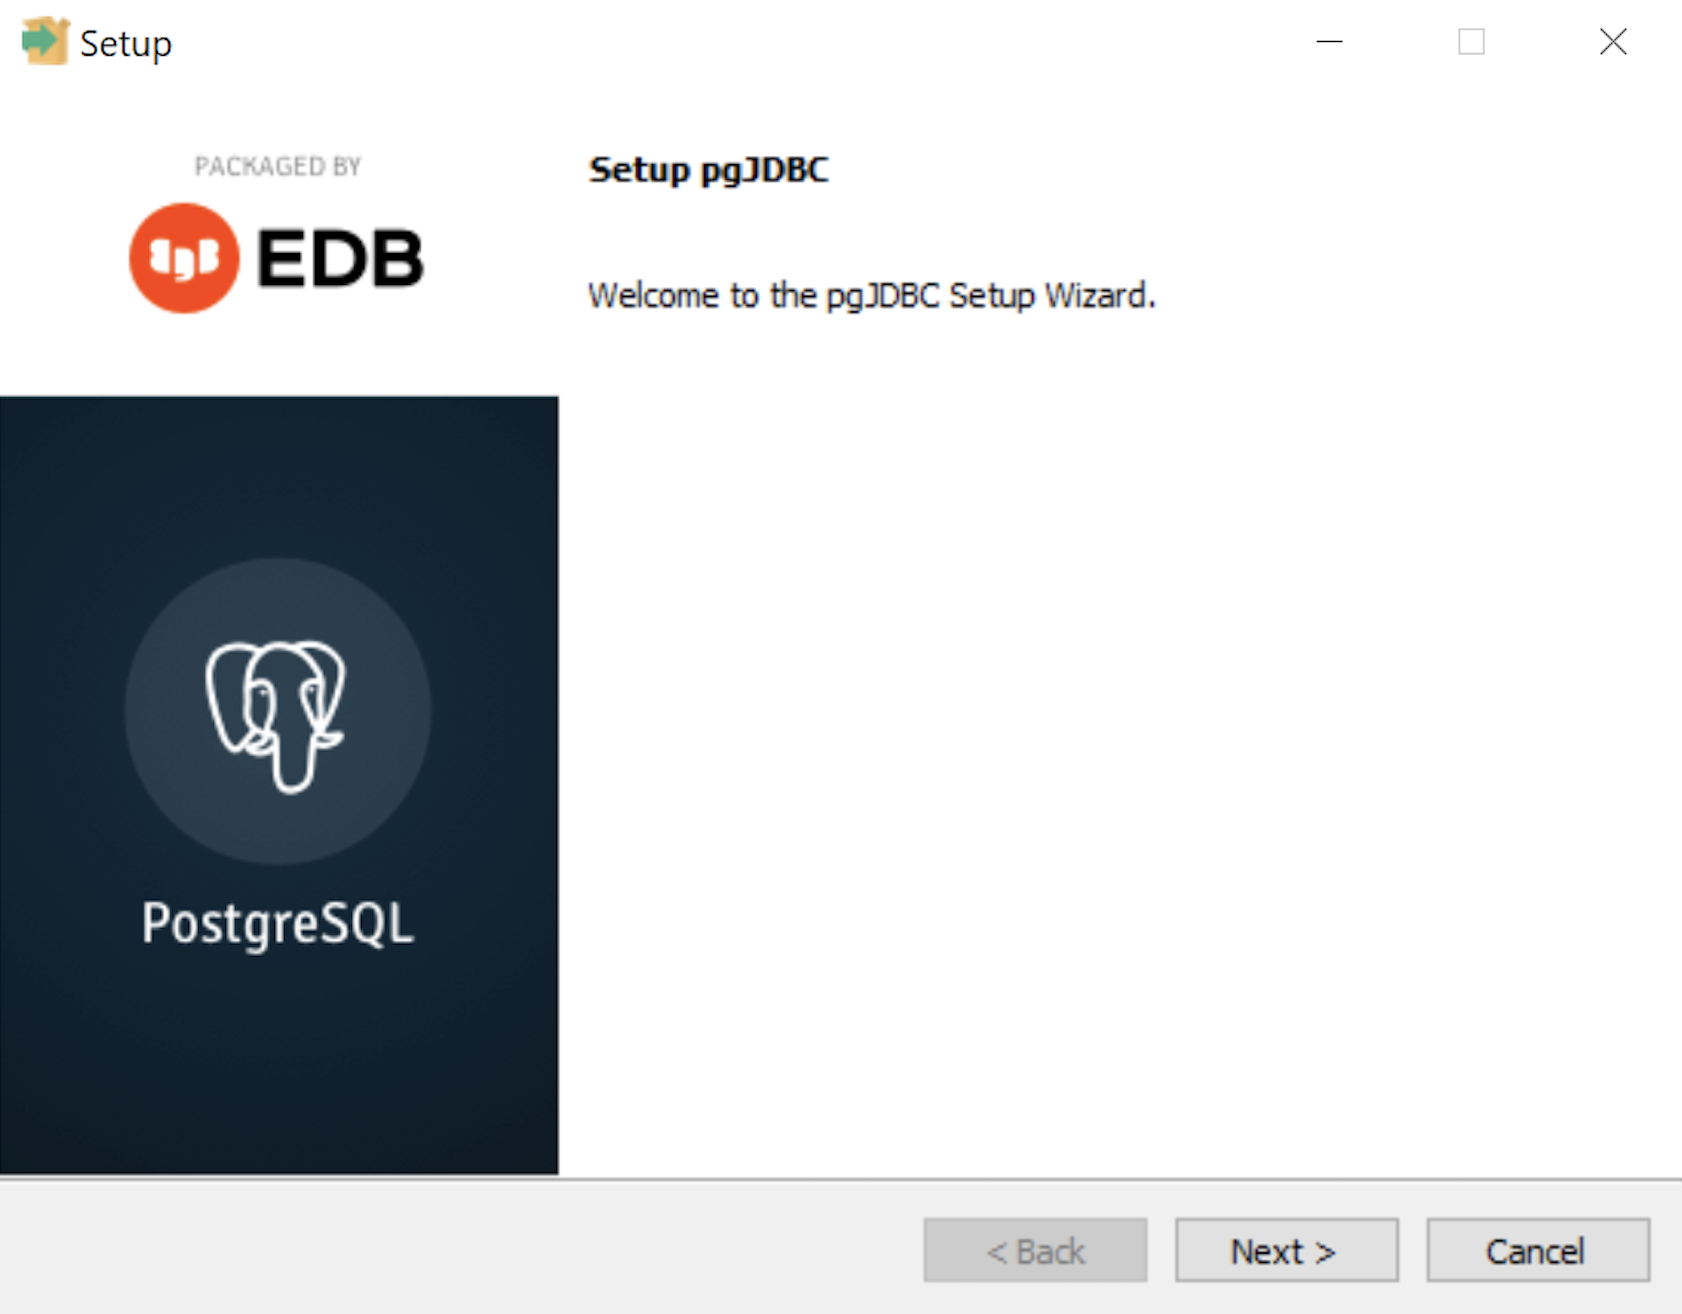
- The Setup dialog advises that you are installing the pgJDBC diver Setup Wizard. Click the Next button to continue.
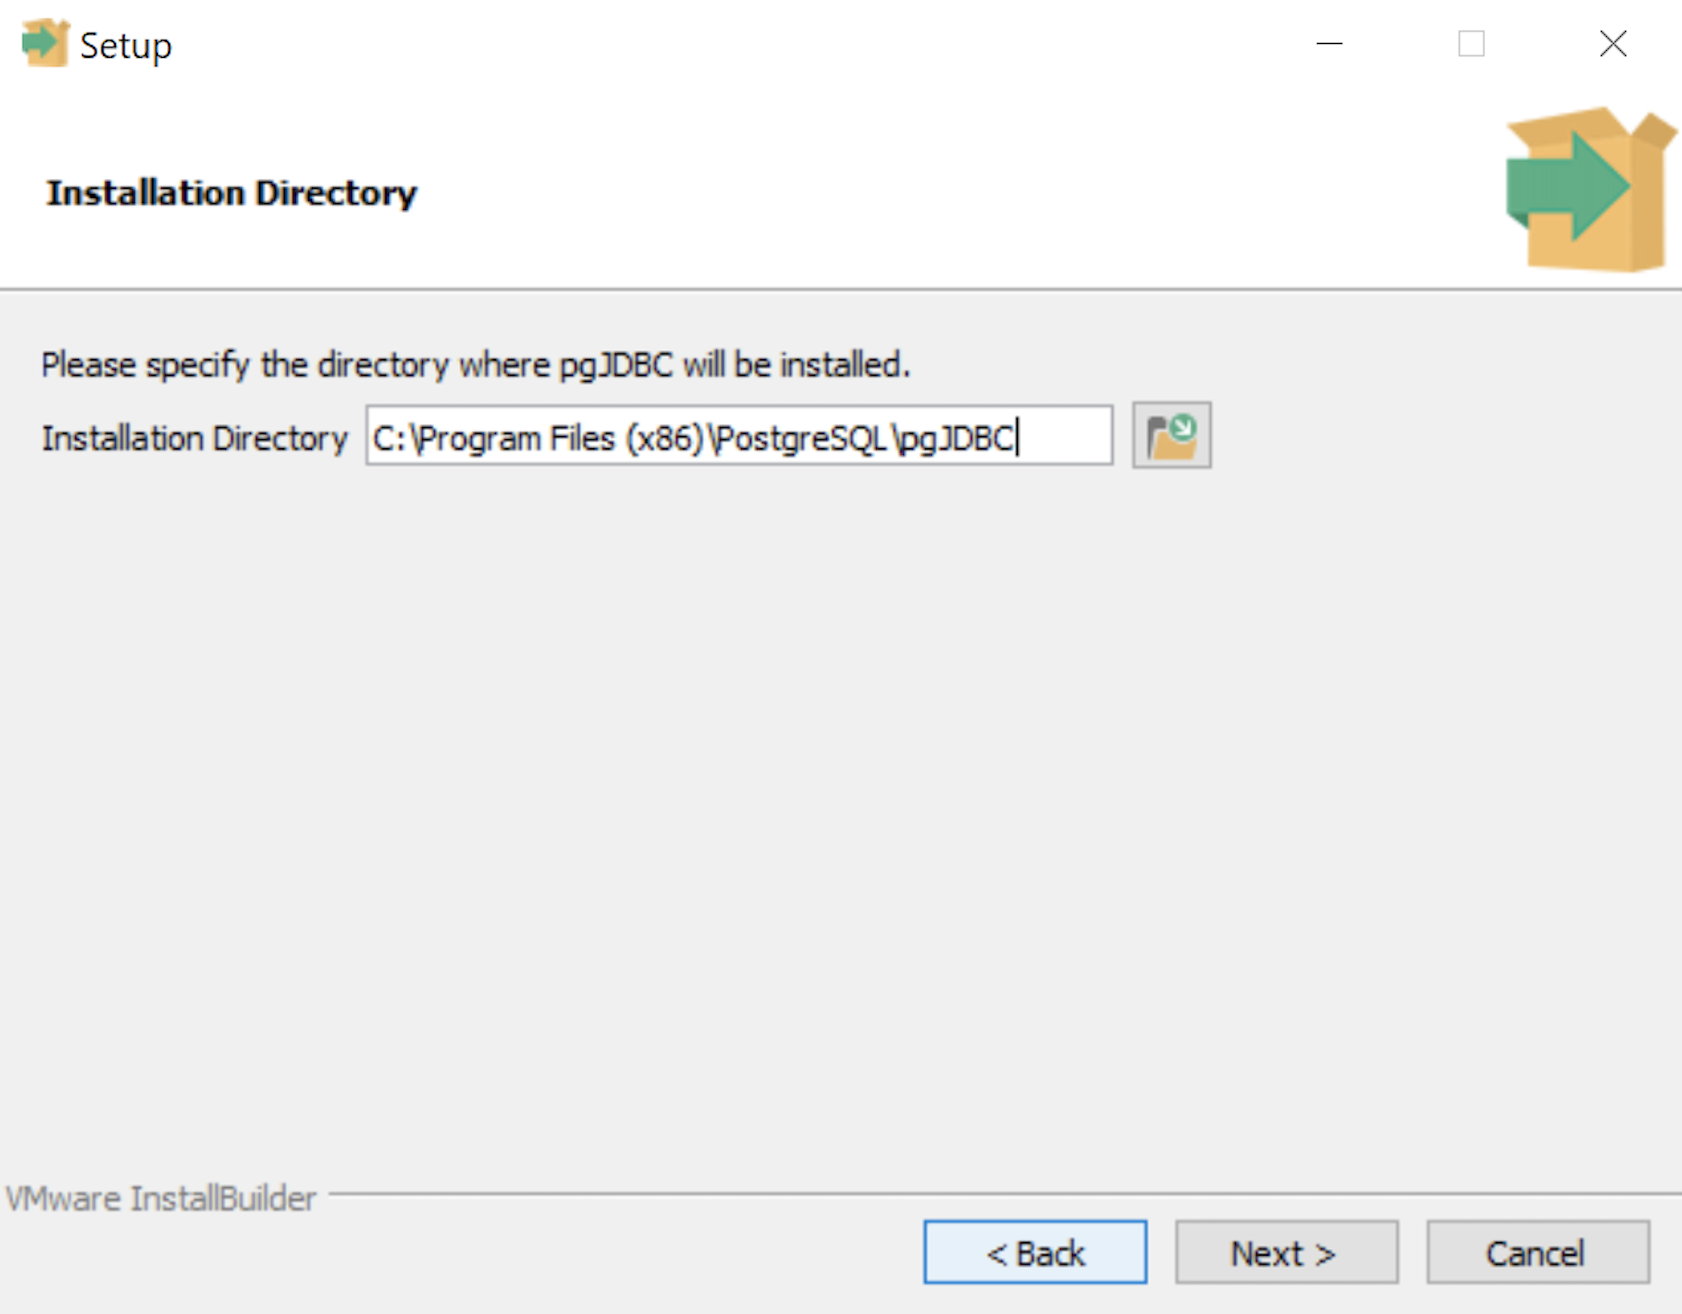
- The Installation Directory dialog prompts you for an installation directory. The default directory is C:\Program Files (x86)\PostgreSQL\pgJDBC and you should use it because that’s where Windows 10 puts 64-bit libraries and the subdirectory meets the standard installation convention for libraries. Click the Next button to continue.

- The Ready to Install dialog lets you pause before you install the pgJDBC software. Click the Next button to continue.
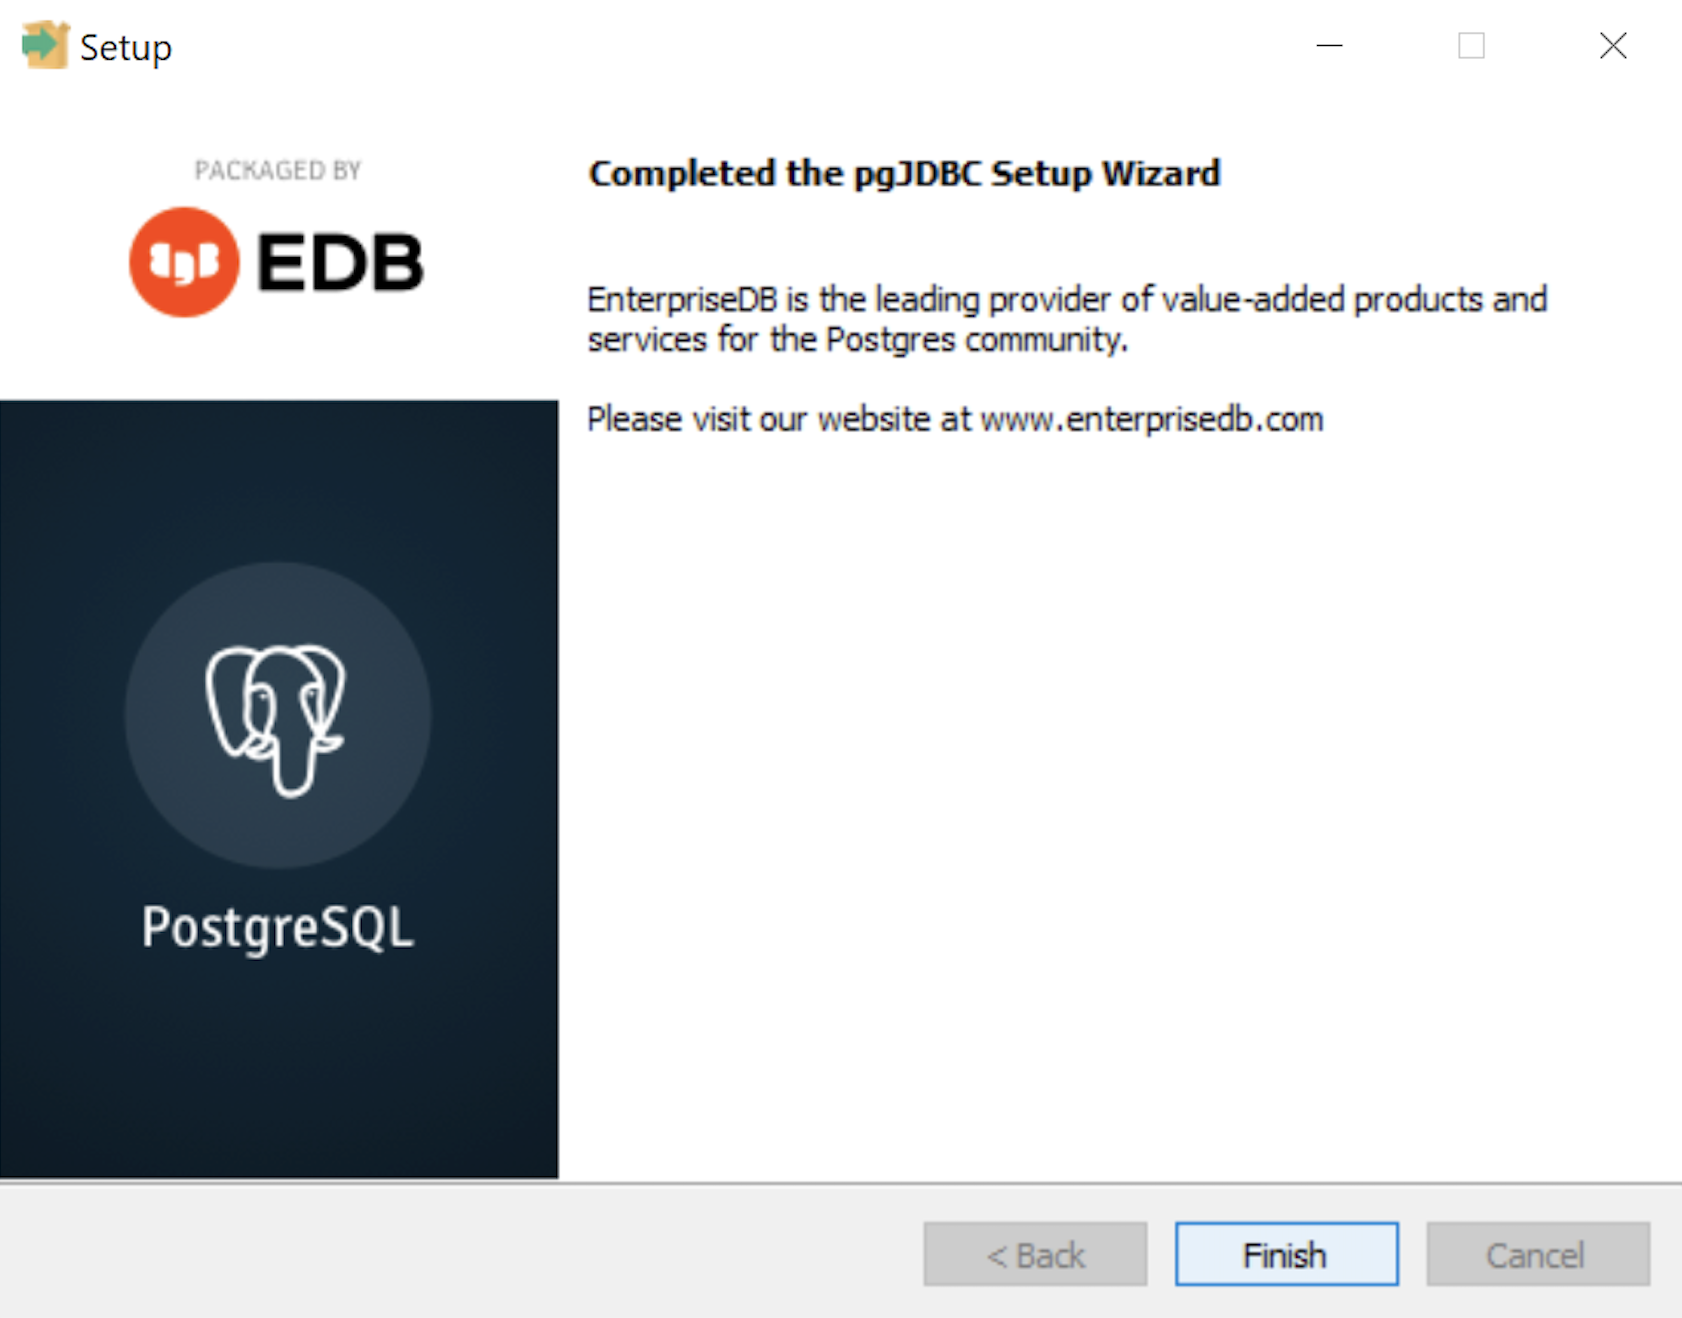
- The Setup dialog advises that you have completed the installation of pgJDBC driver. Click the Finish button to continue.
- The Advisory Message pgAdmin is Starting dialog is really telling you to be patient. It can take a couple minutes to launch pgAdmin.
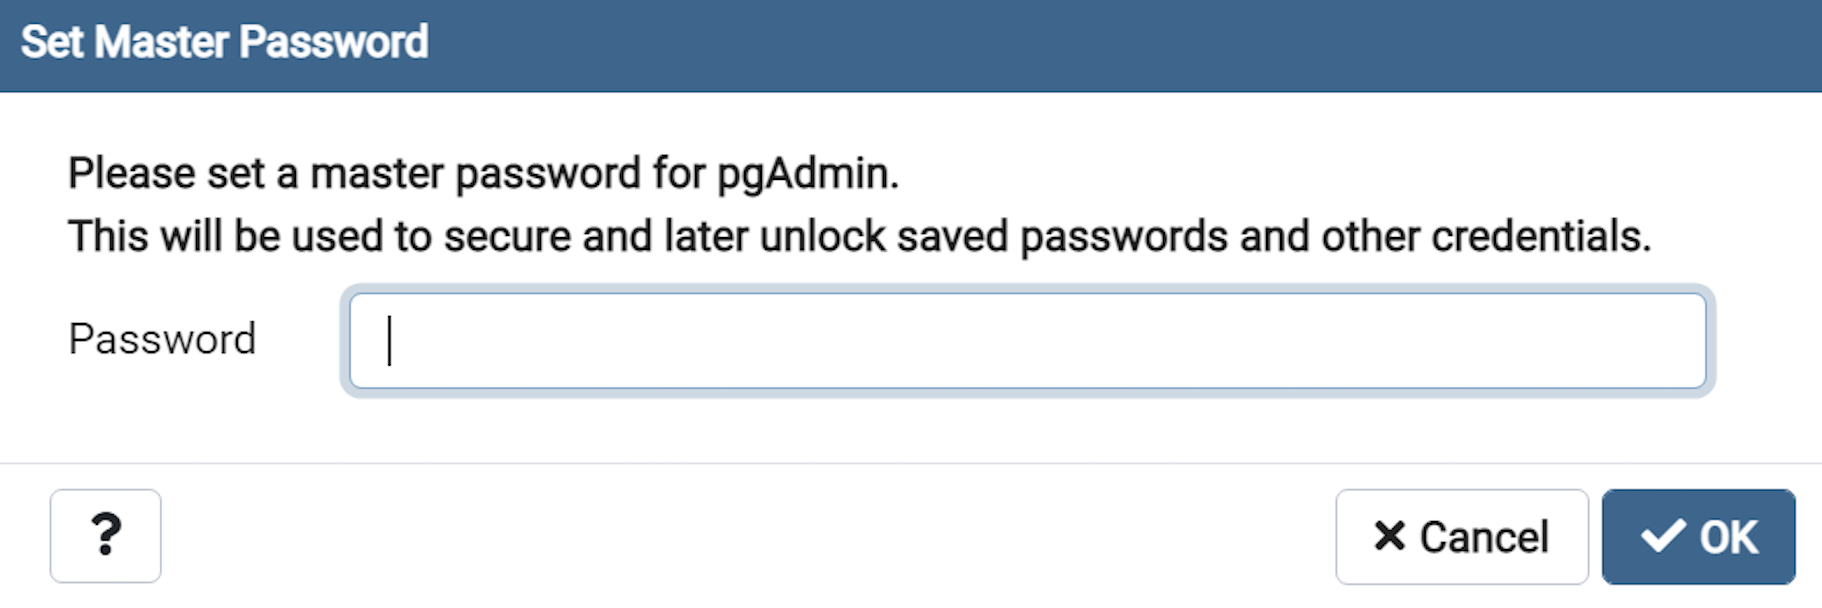
- The Password dialog prompts you for the pgAdmin superuser password. In a development system for your local computer, you may want to use something straightforward like cangetin. Click the Next button to continue.
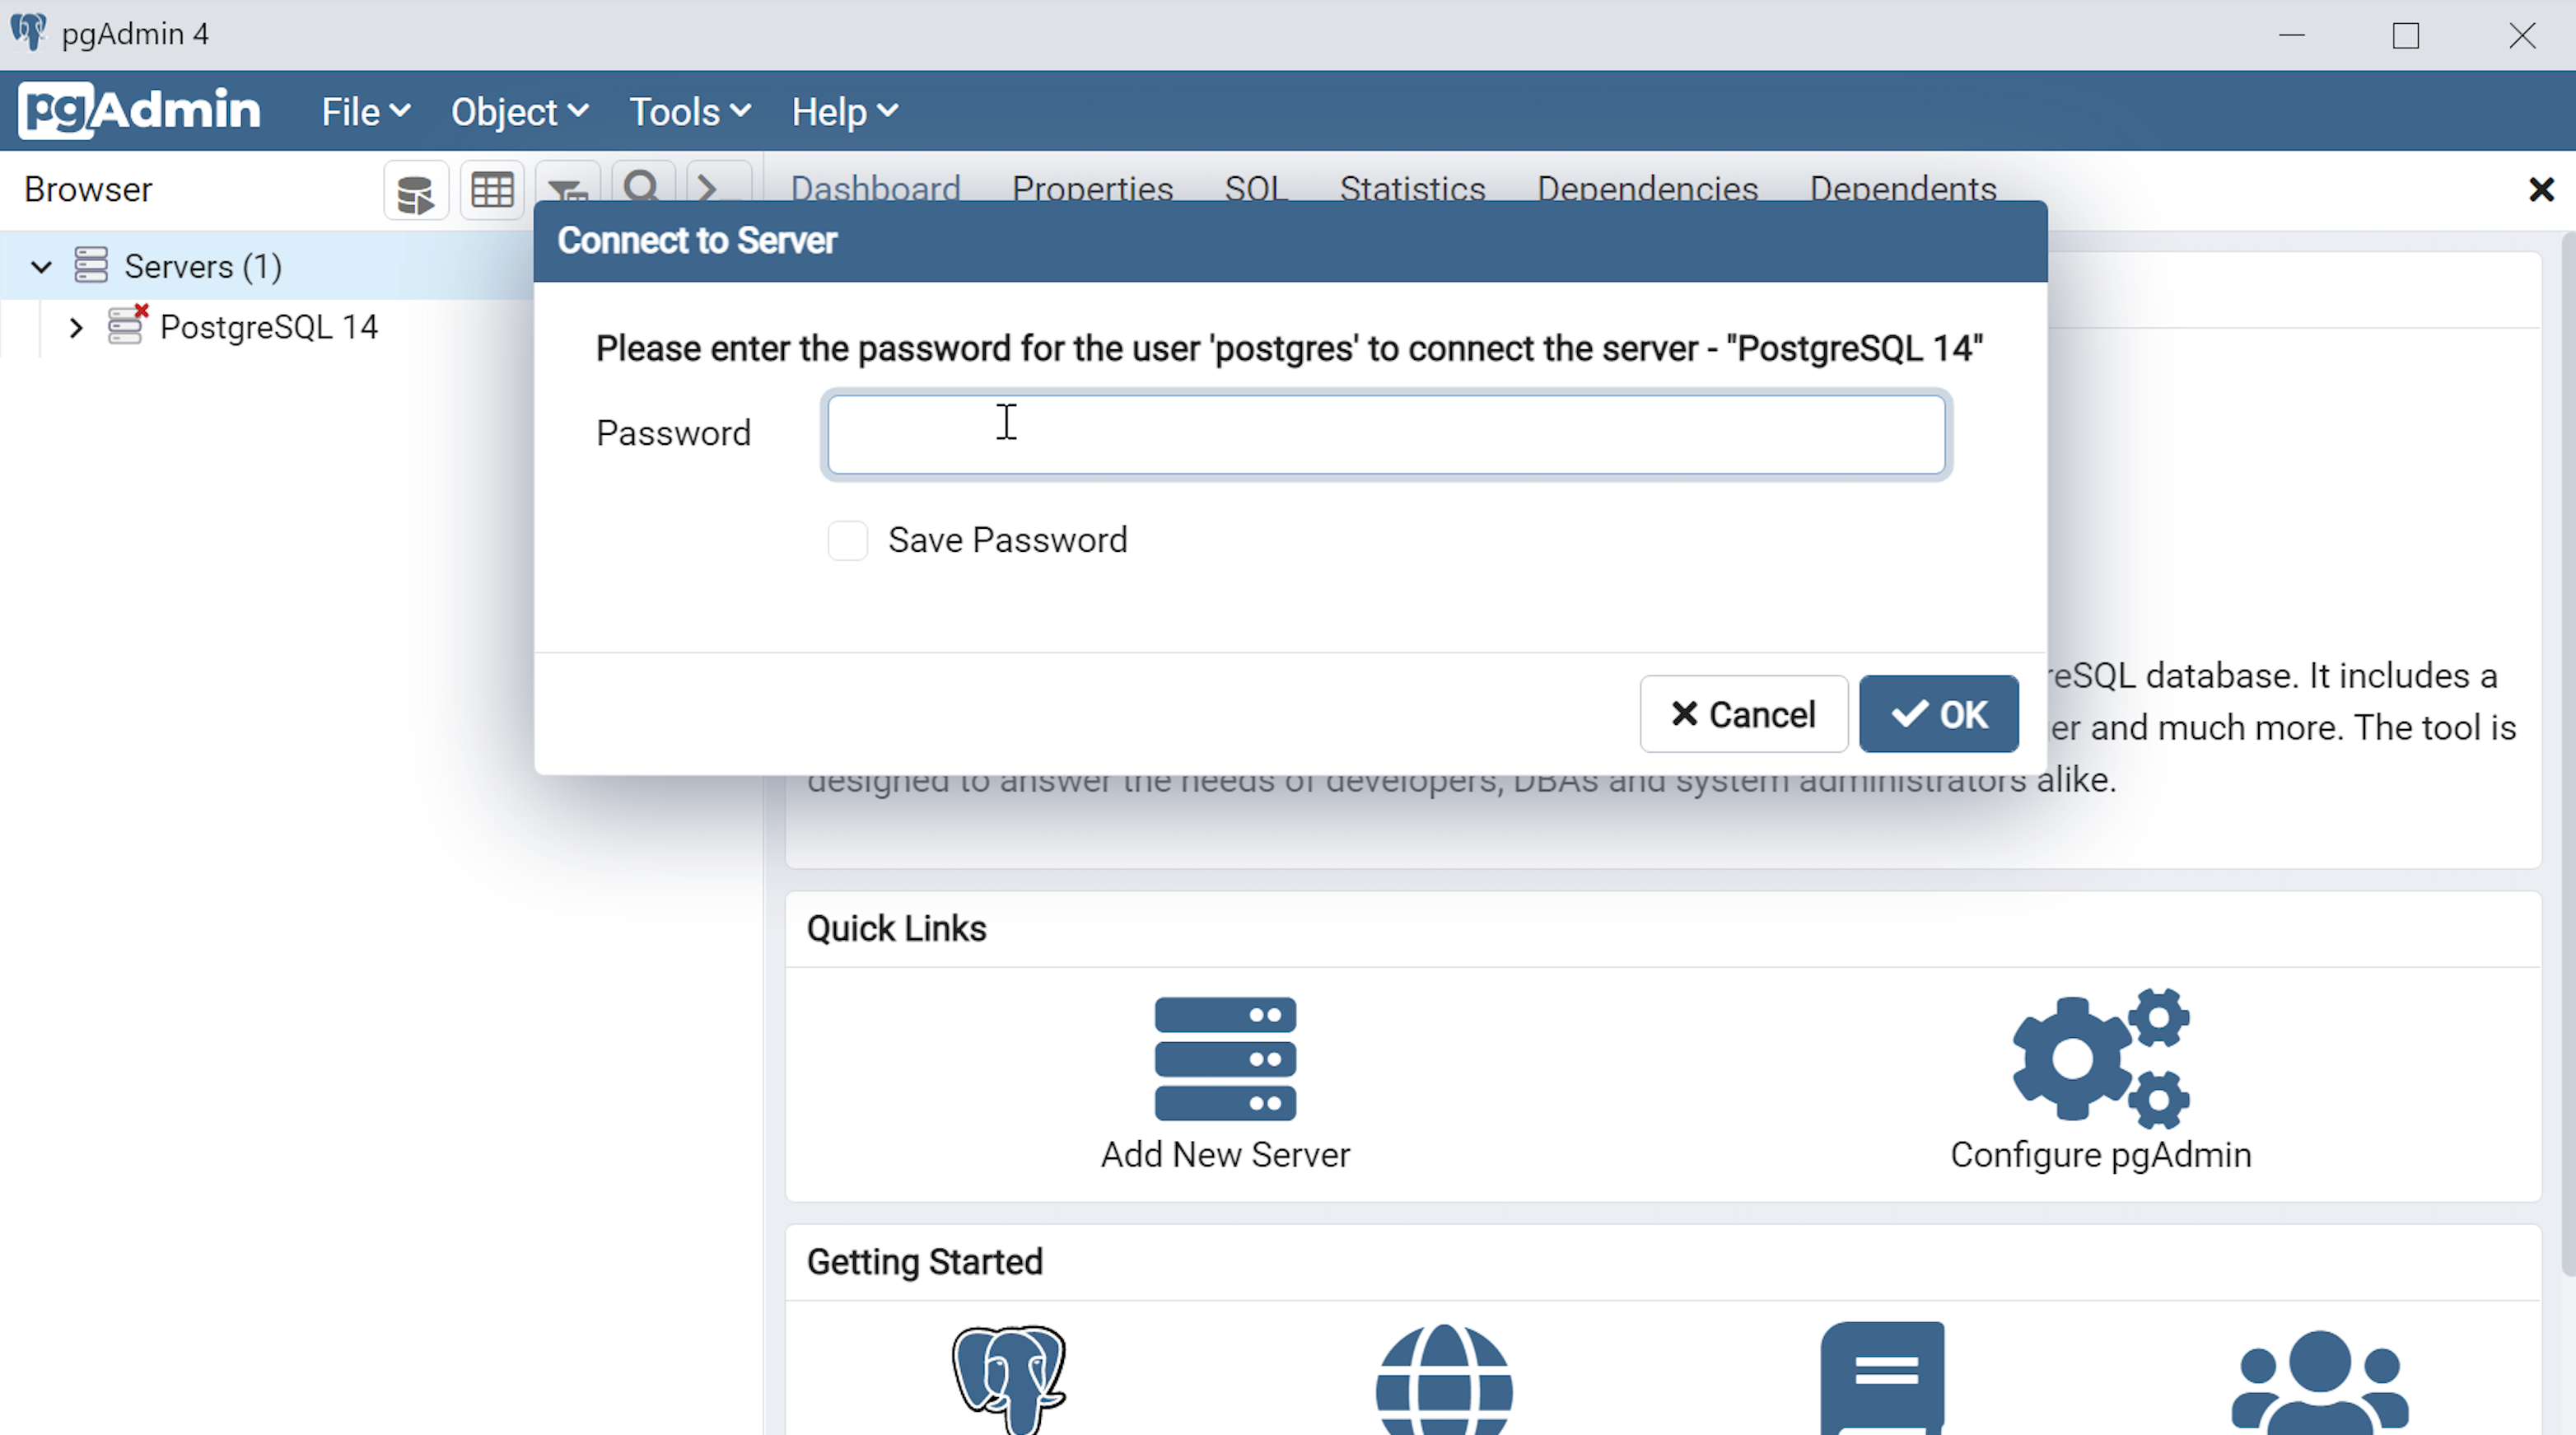
- Enter your password from the earlier step and click the OK button.
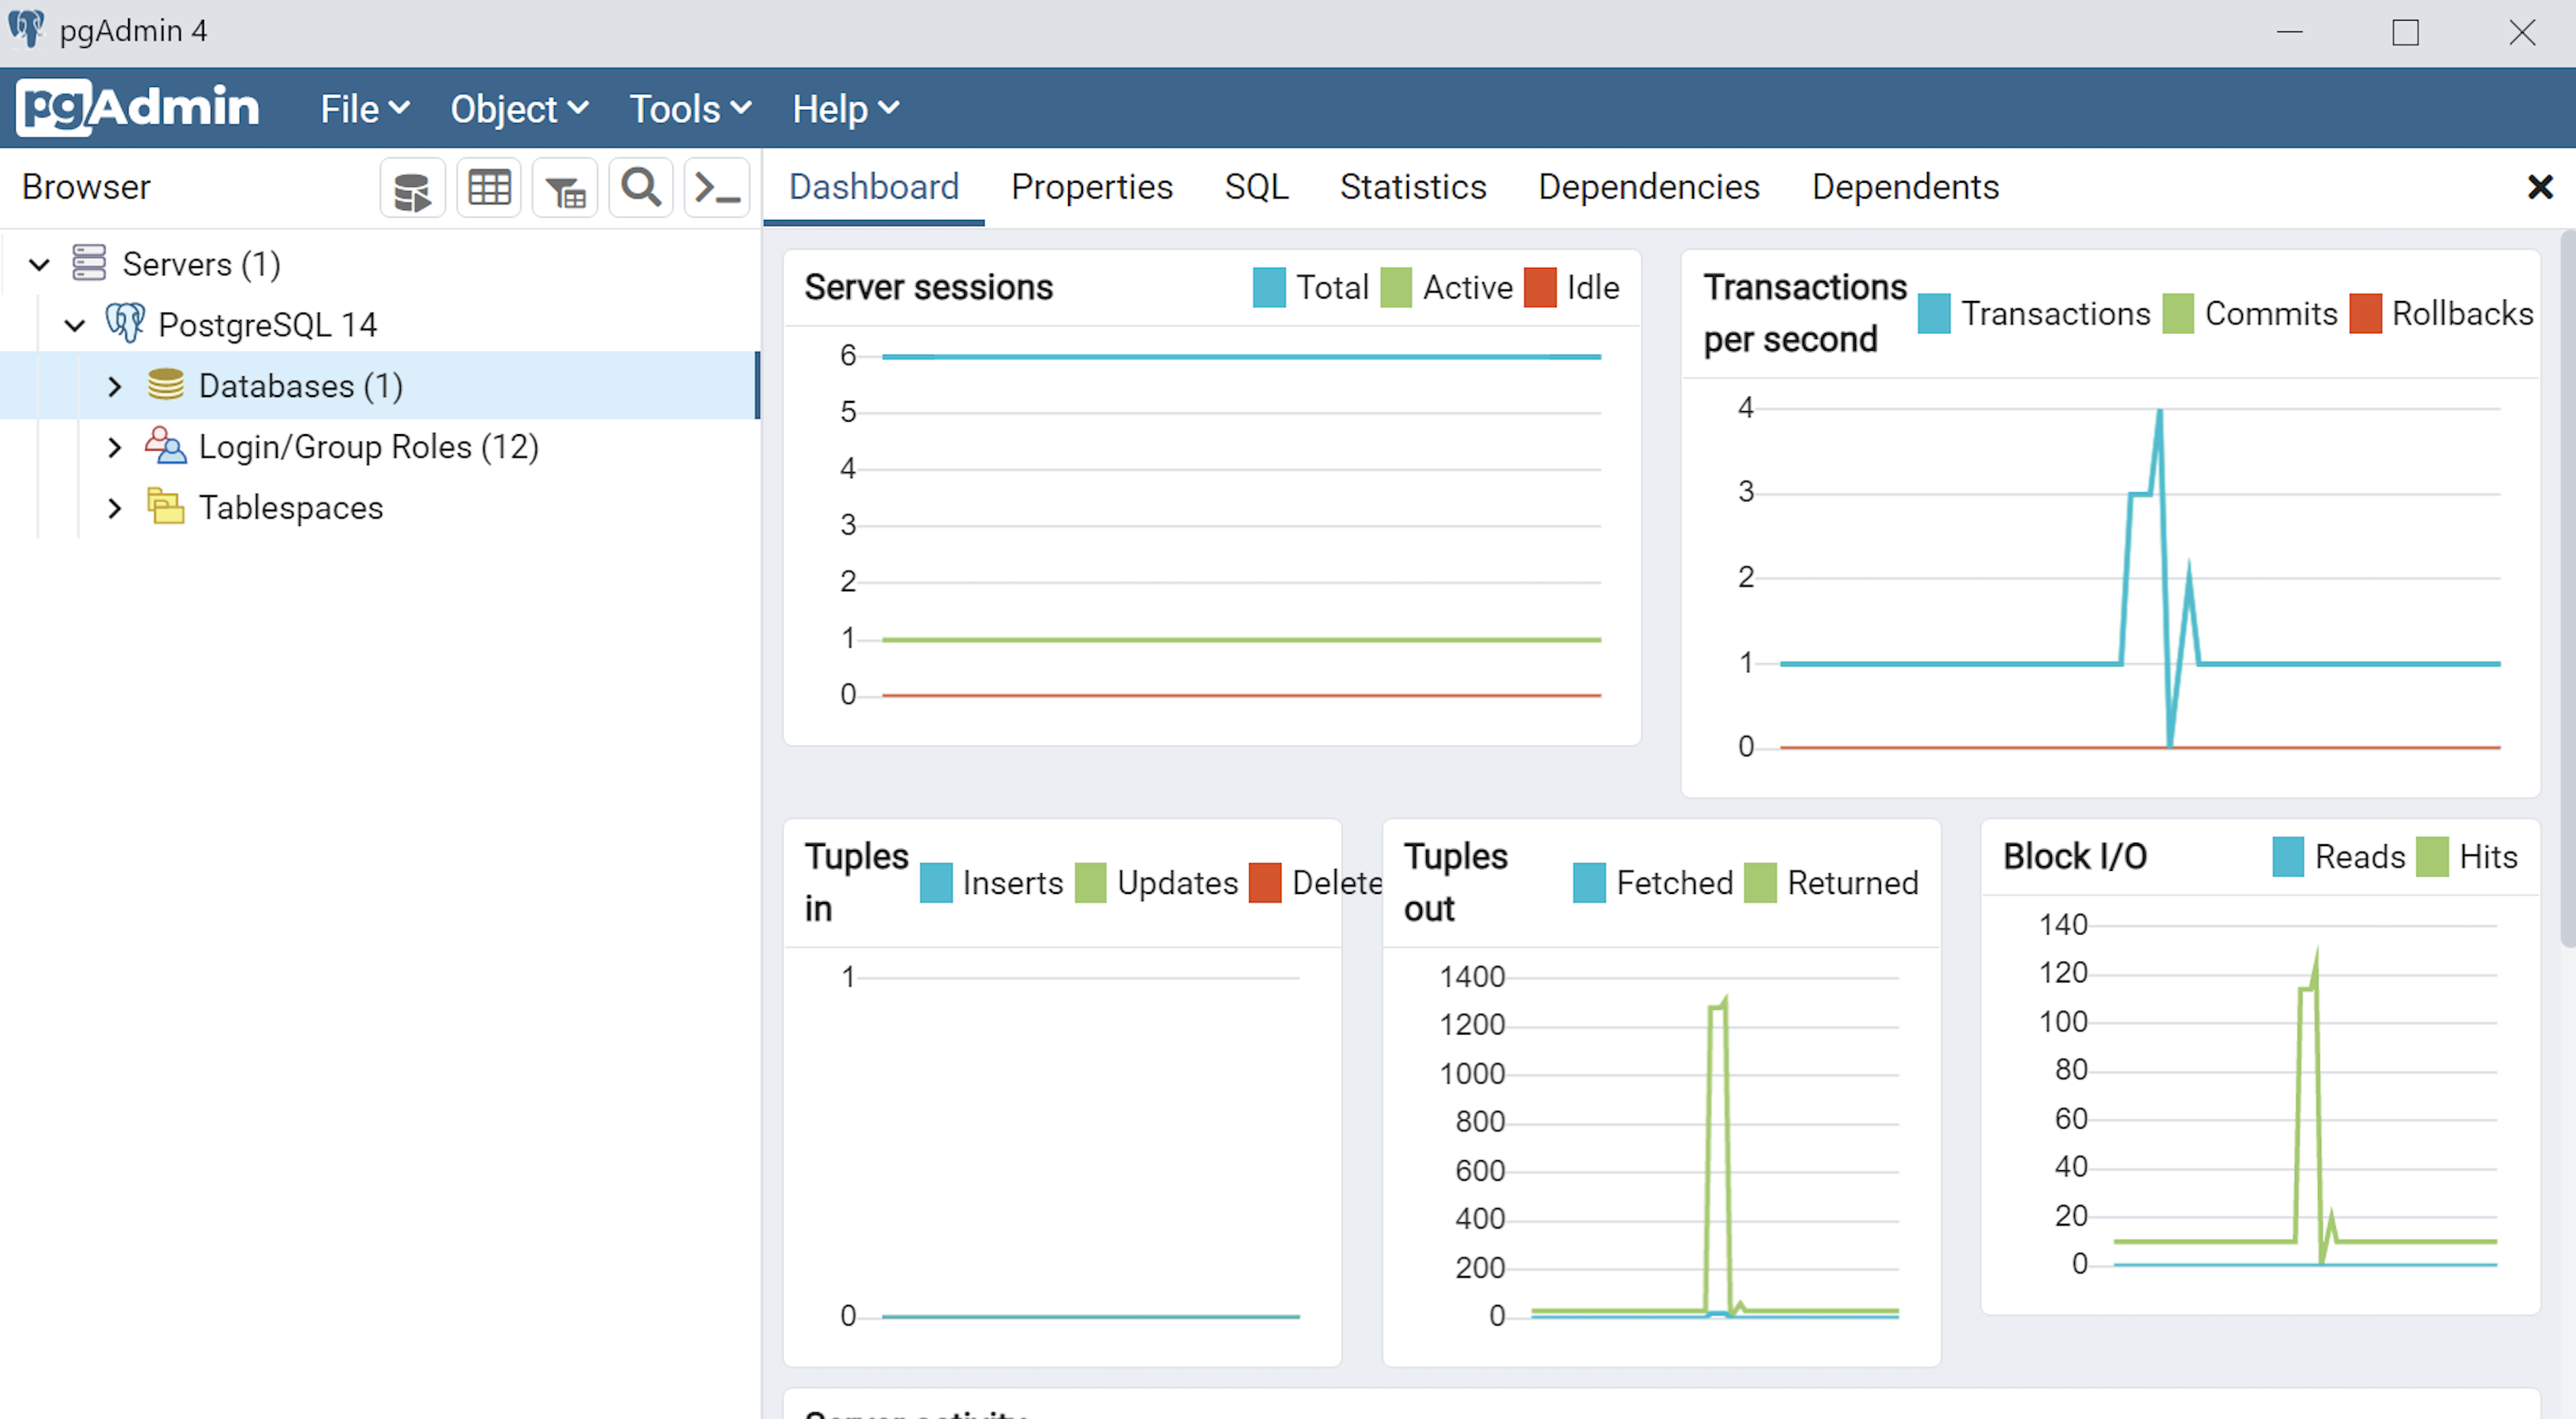
- This is the pgAdmin console. You should see one database and tweleve login/group roles.
The foregoing walked you through the installation of PostgreSQL, the connector libraries and pgAdmin utility. Next, you have to make it real with configuration, which sets up the tablespace, database, and connectivity. I hope it helps those who would like to see the installation steps.
