AlmaLinux Installation
These are the instructions for installing AlmaLinux 9 on MacOS Intel with VMware. It’s broken into three parts: Configuration, Installation, and Setup.
You should download the current or desired older version of AlmaLinux from the website. It’s a good idea to install it in a source directory or folder.
You need to launch VMware, click the File menu option and then the New menu option before you can configure, install, and setup AlmaLinux. It will show you the following dialog.
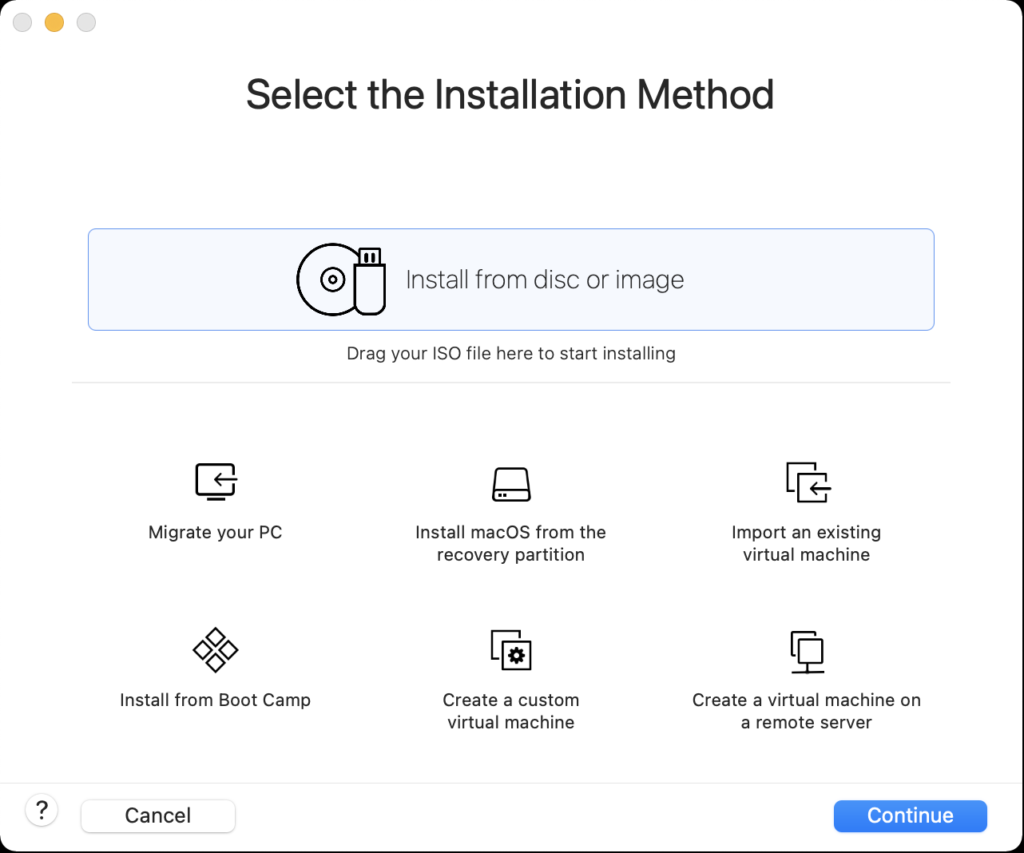
Use the Finder to drag the AlmaLinux-9-latest-x86_64-dvd.iso file on to the Install from disc or image to begin the configuration process.
Configuration

- The first thing you need to do is configure the VMware container. You click on the wrench icon in the menu bar that lets you edit the hardware settings for this virtual machine. This opens the general settings dialog.
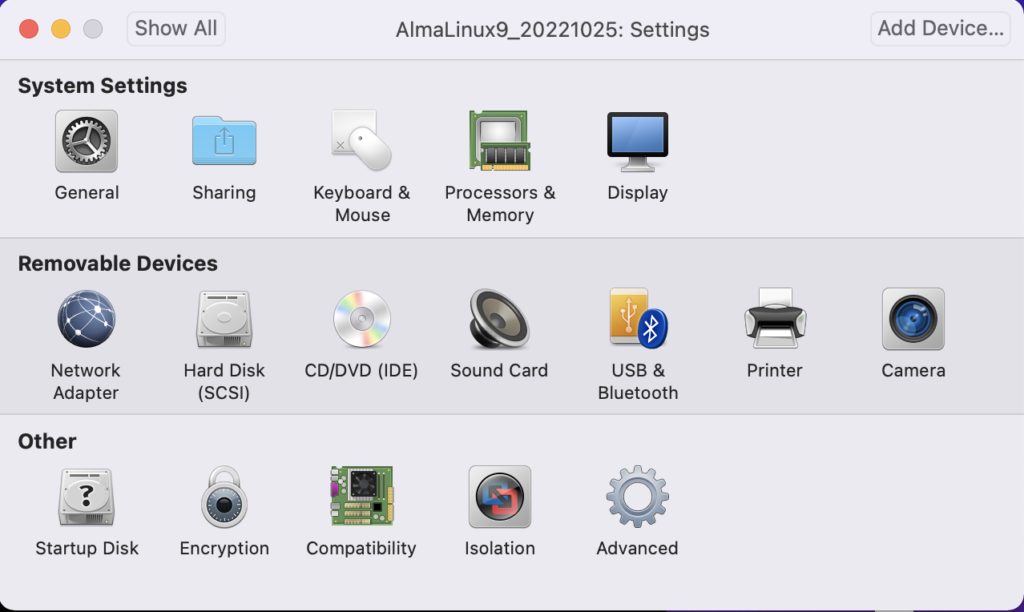
- The General System Settings dialog lets you will configure the isolation properties for “drag and drop” and “copy and paste”, and define the network adapter.
![]()
- Click on the Isolation menu option from the General System Settings dialog, and enable “Drag adn Drop” and “Copy and Paste” checkboxes. Then, return to the General System Settings dialog/li>
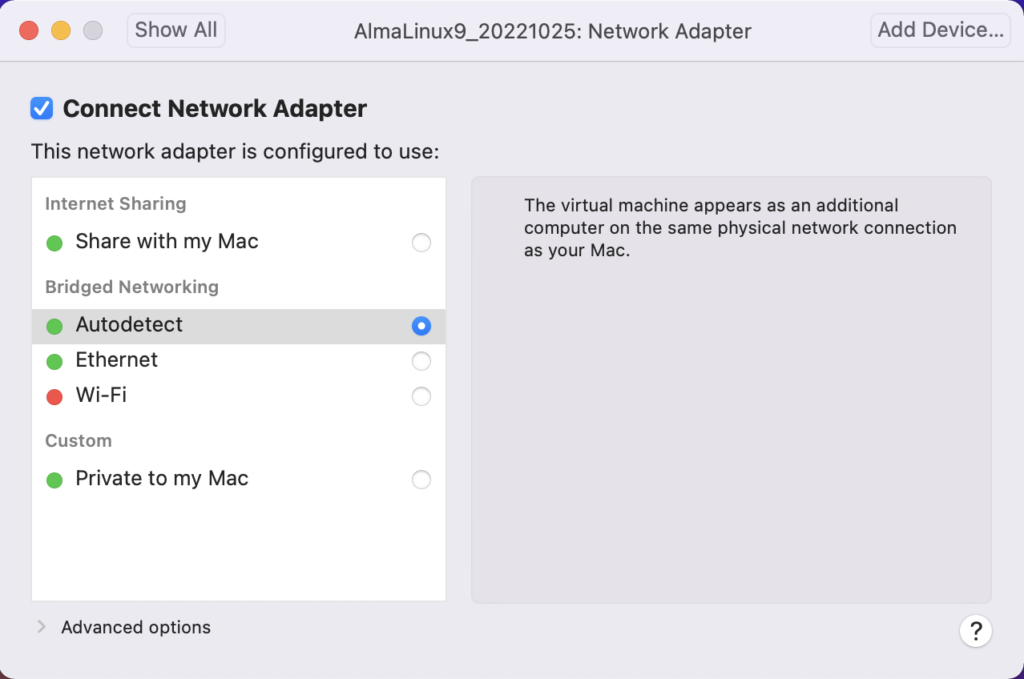
- Click on the Network Adapter menu option from the General System Settings dialog, and click the “Autodetect” checkbox. Then, return to the General System Settings dialog.
Installation
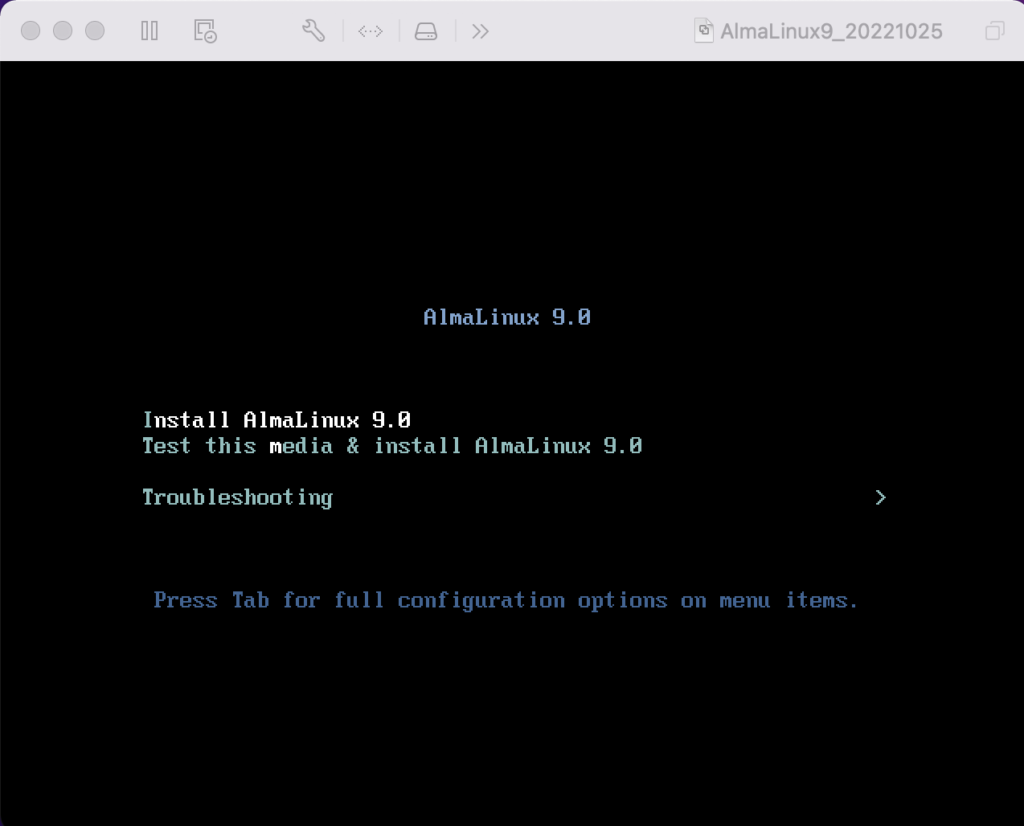
- The first the install asks you to do is type an I for install or T for test. Generally, you can skip the test if this is a copied file rather than DVD.
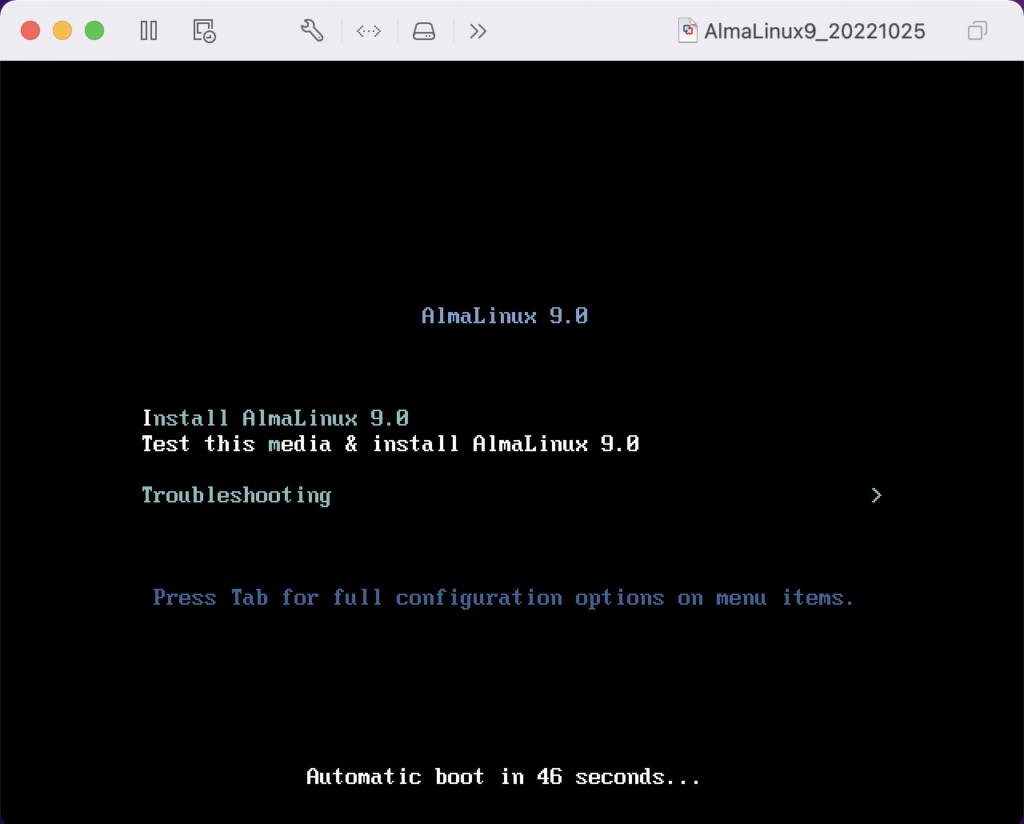
- Click the Tab key to configure the target installation or Enter key to skip the automatic boot delay.

- Choose the installation language and click the Continue button.
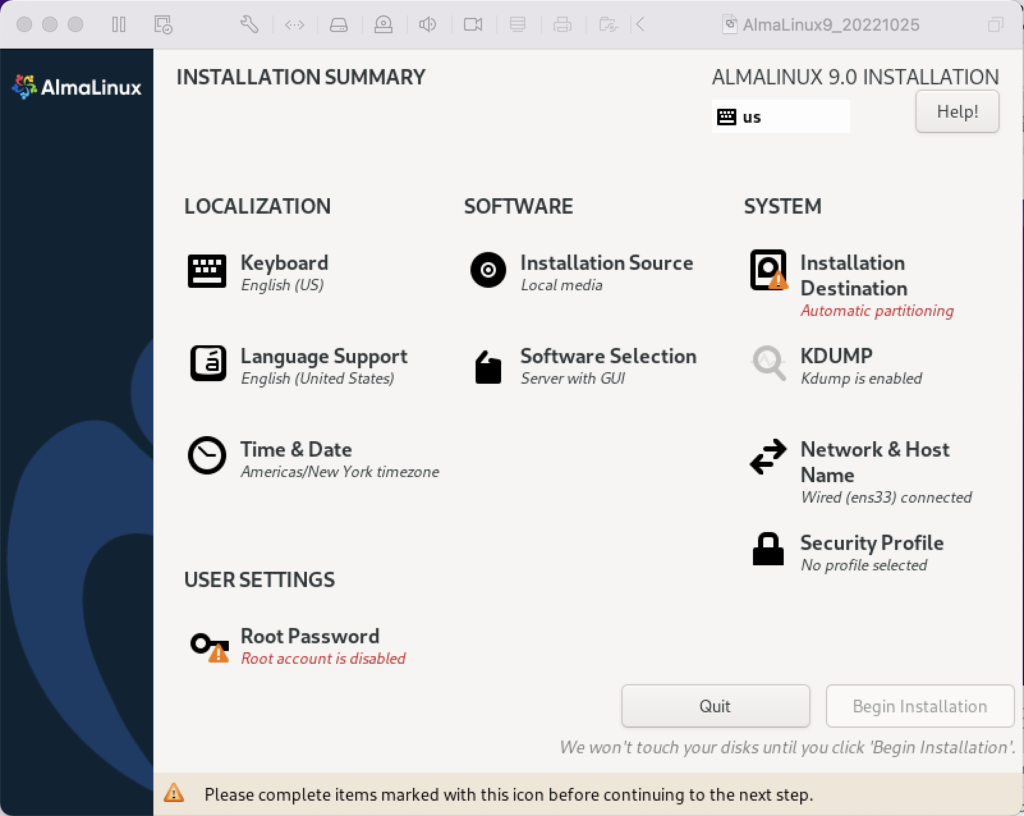
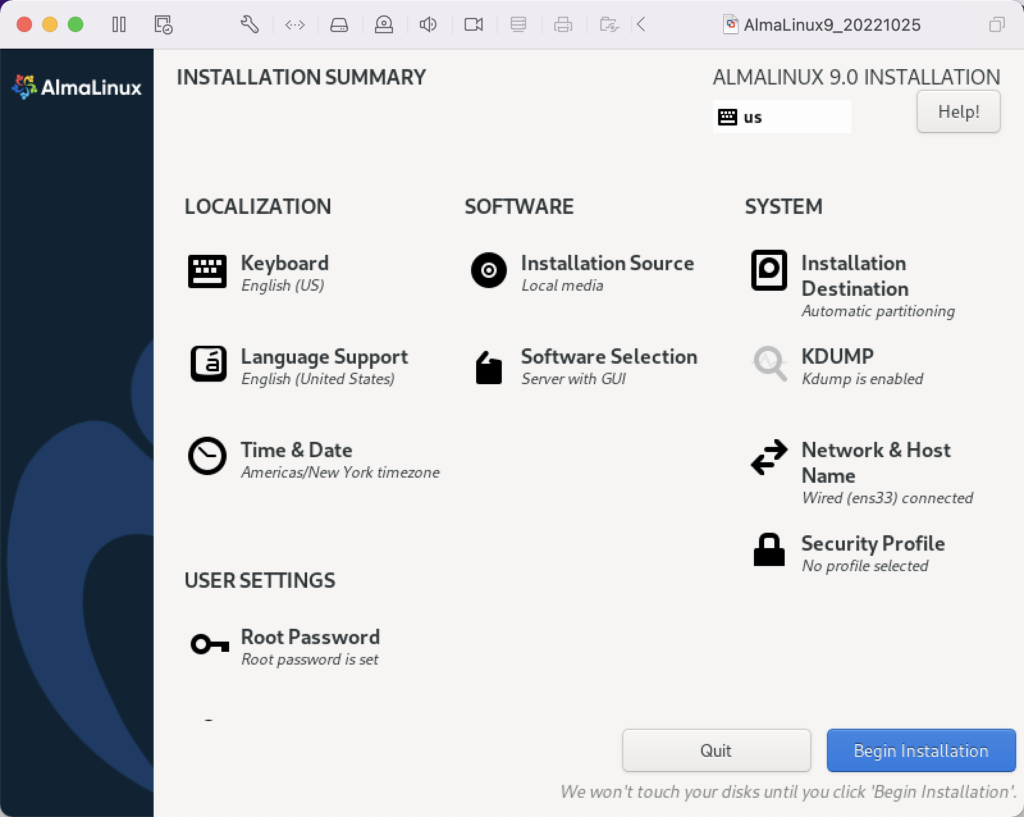
- The Installation Summary dialog lets you fix anything with a warning message orange triangle. Fix the Root Password first by clicking on the text.
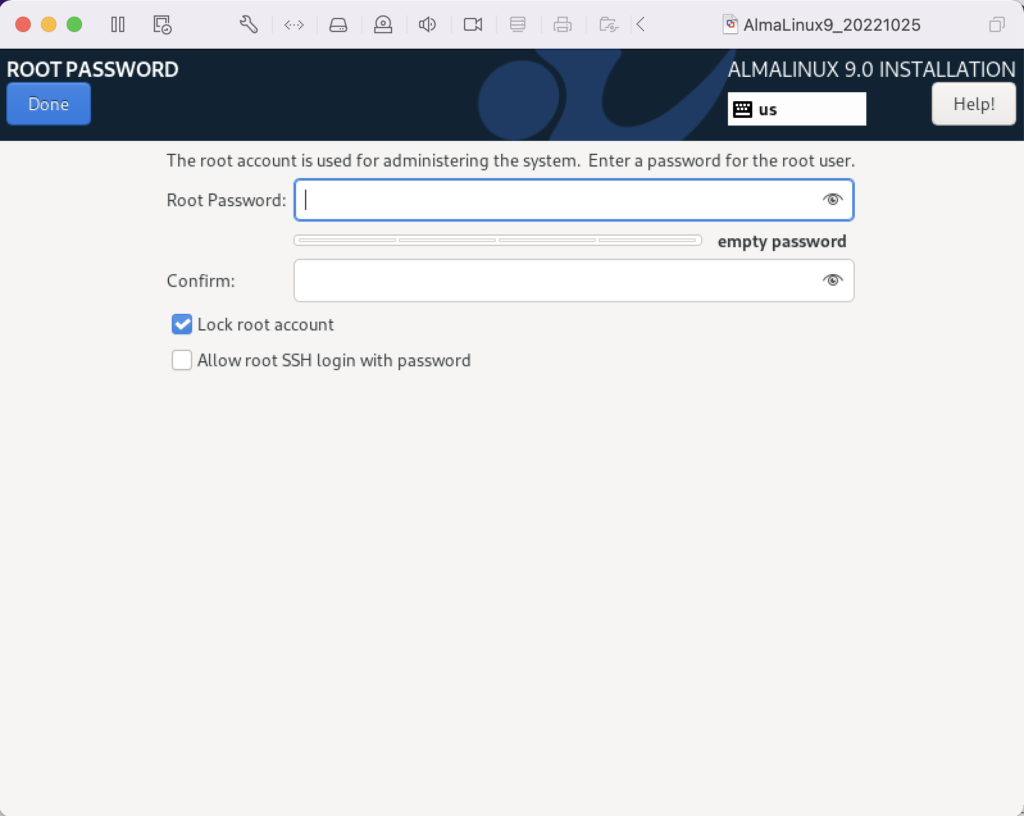
- Enter the Root Password twice, click the Lock root account checkbox to unselect it, and click the Allow root SSH login with password checkbox to enable it.

- Click the Done button to complete setting the root password.

- After fixing the root password, click on the Installation Destination item to change the default partition.
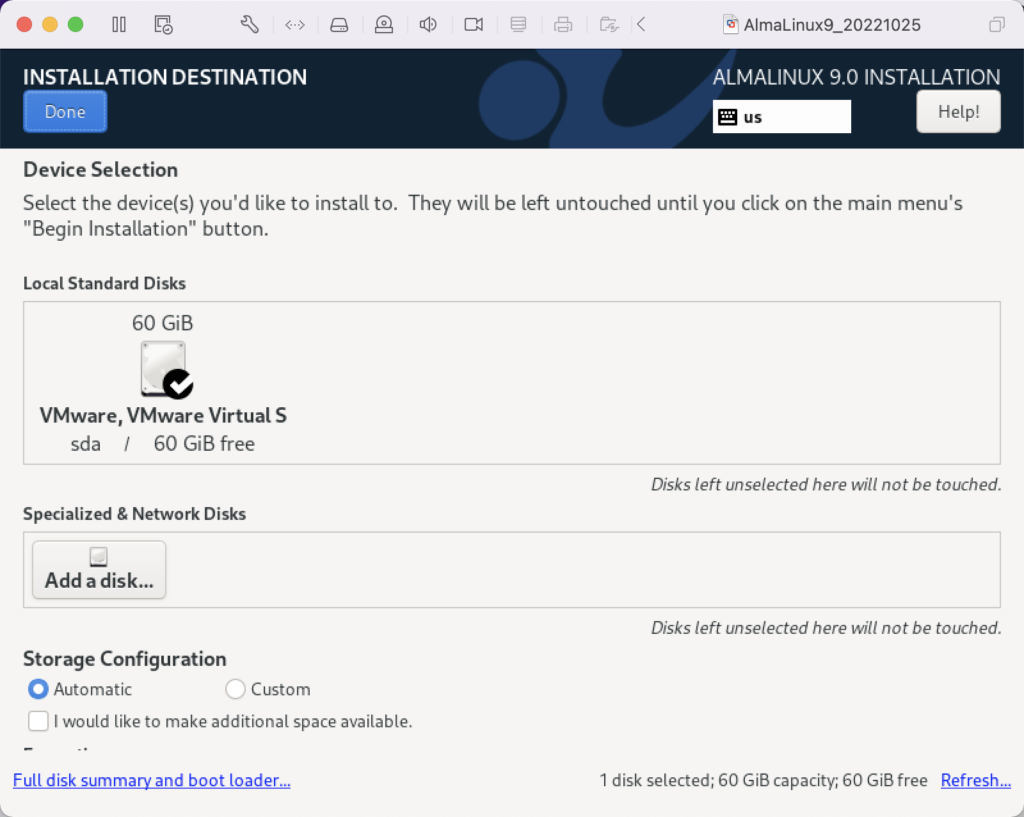
- Click the Done button to accept the initial size of the VM partition.
- Click the Software Selection element to add software components to the default installation.
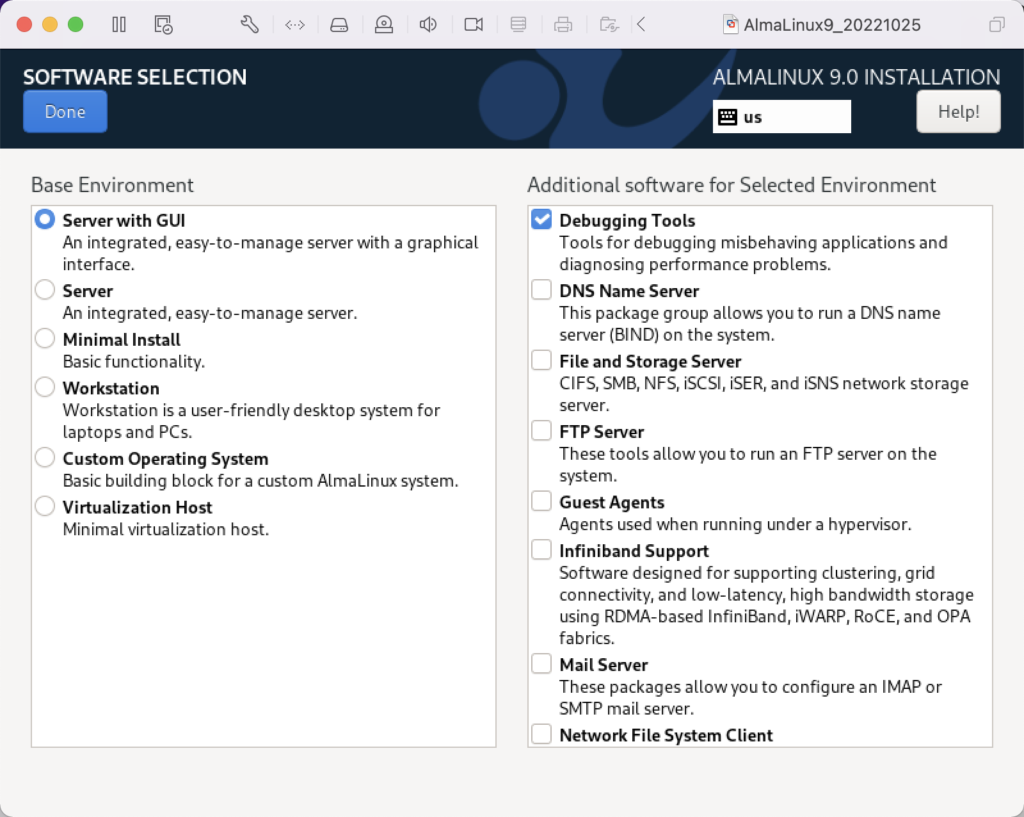
- Click the checkboxes for the following additional software:
- Debugging Tools
- Performance Tools
- Remote Desktop Clients
- Remote Management for Linux
- Legacy UNIX Compatibility
- Console Internet Tools
- Development Tools
- .NET Development
- Graphical Administration Tools
- System Tools
Click the Done button to accept the added software elements.
- Click the Begin Installation button to begin the installation of AlmaLinux.
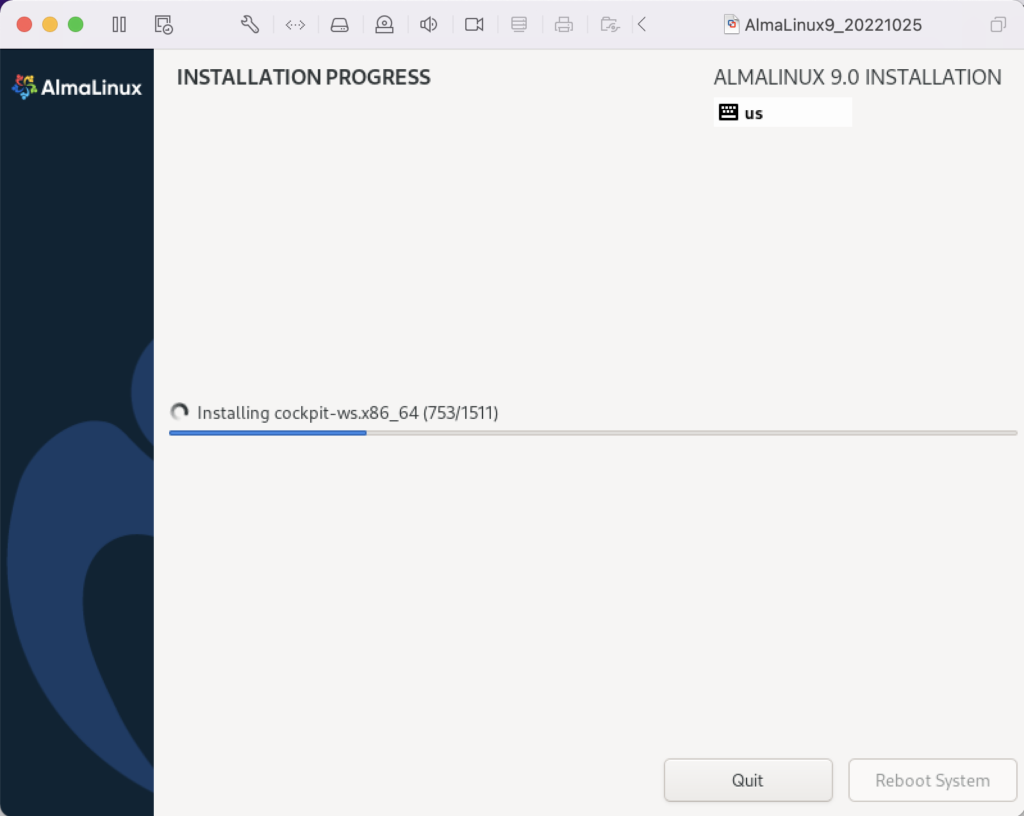
- The Installing Progress dialog will show a progress bar for several minutes.
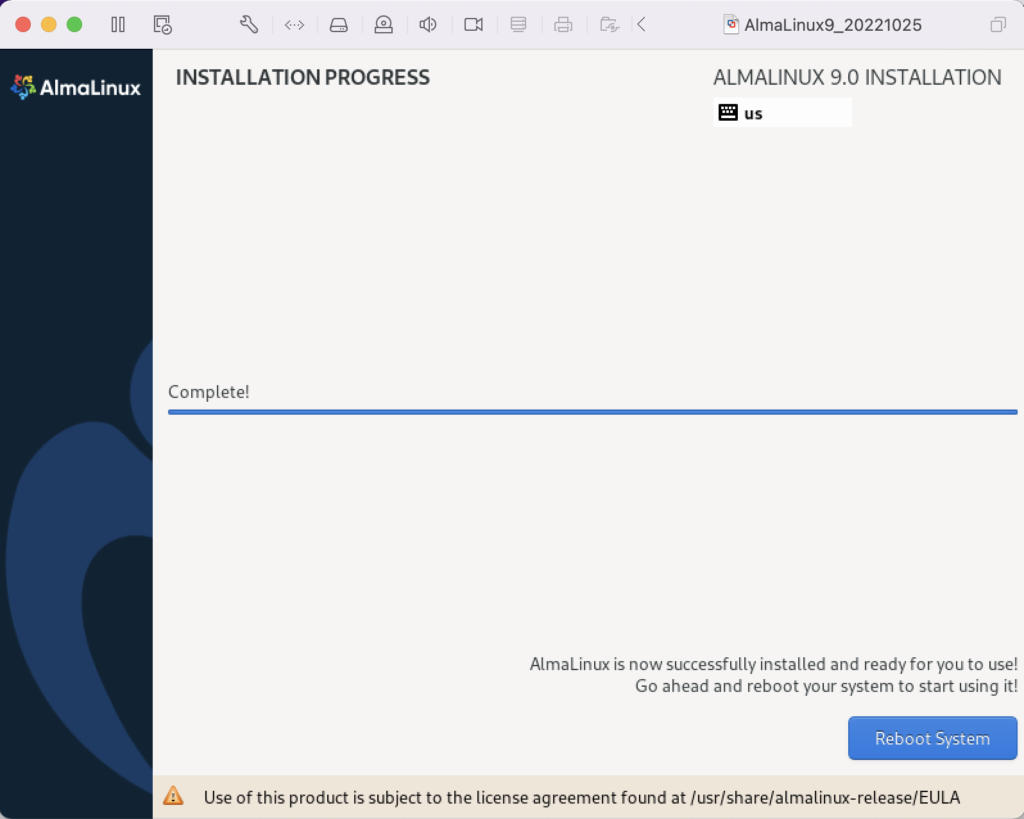
- The Installing Progress dialog eventually completes, and you click the Reboot System button to complete the installation.
Setup
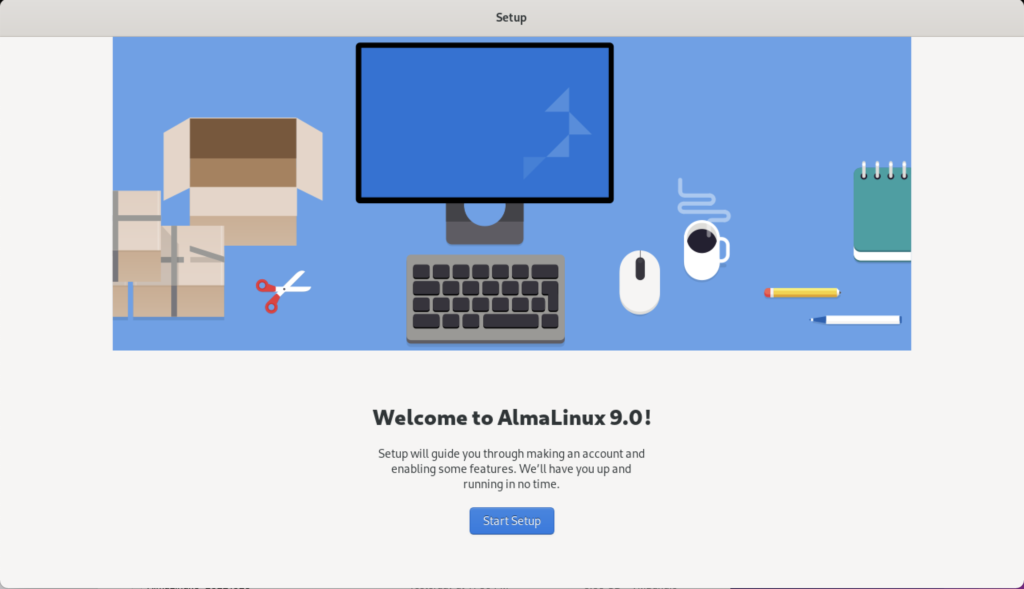
- The Welcome to AlmaLinux page begins the set up of the operating systems.
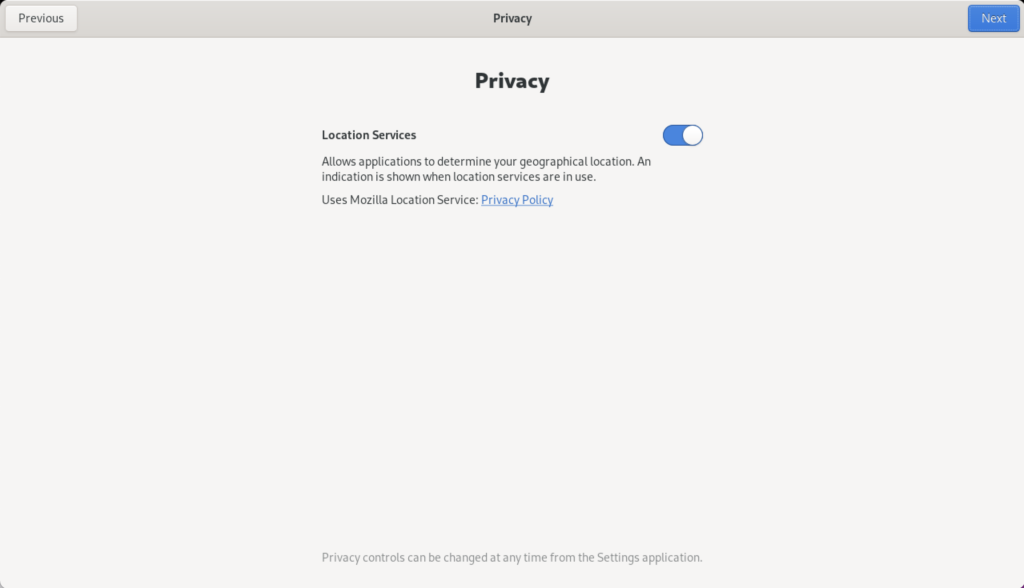
- Click the Slide to disable location services.
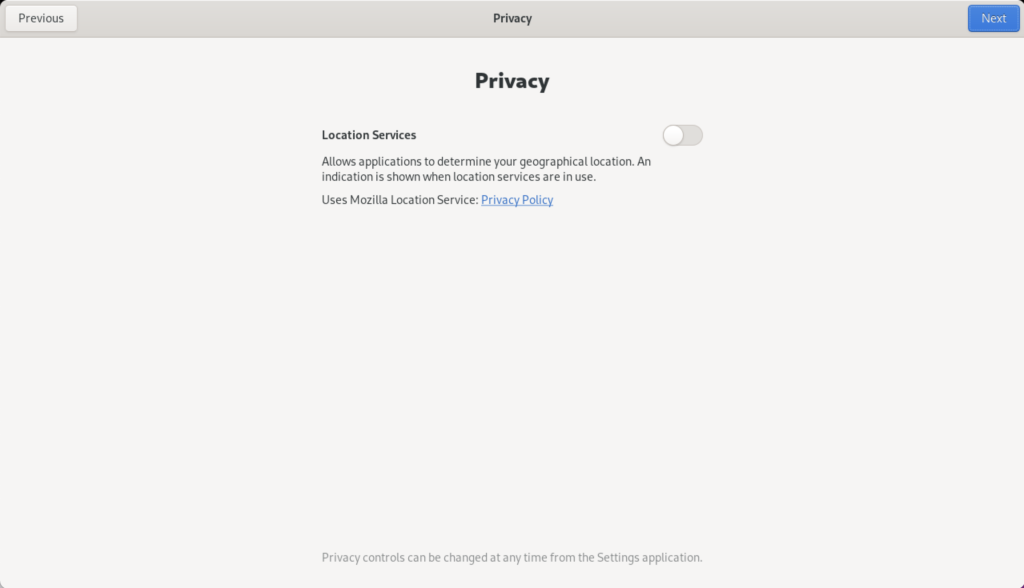
- After clicking the Slide location services are disabled.

- The Online Account dialog lets you connect your email, online calendar, contacts, documents, and photos. You click the Skip button to avoid setting up any of the online accounts.

- The About You dialog lets you enter user account with sudoer privileges.
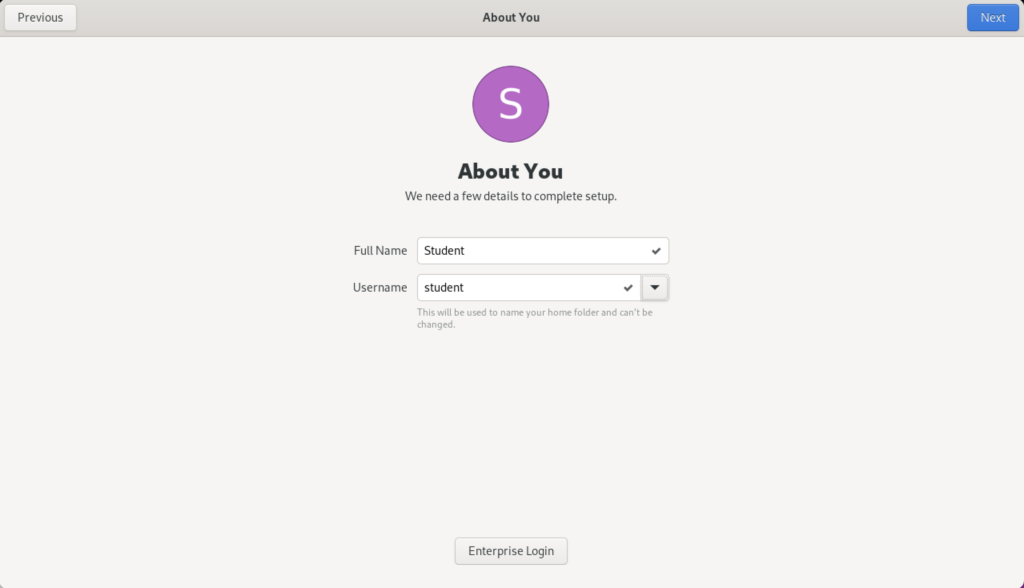
- The About You dialog enters a title case user’s name and a lowercase user’s name.
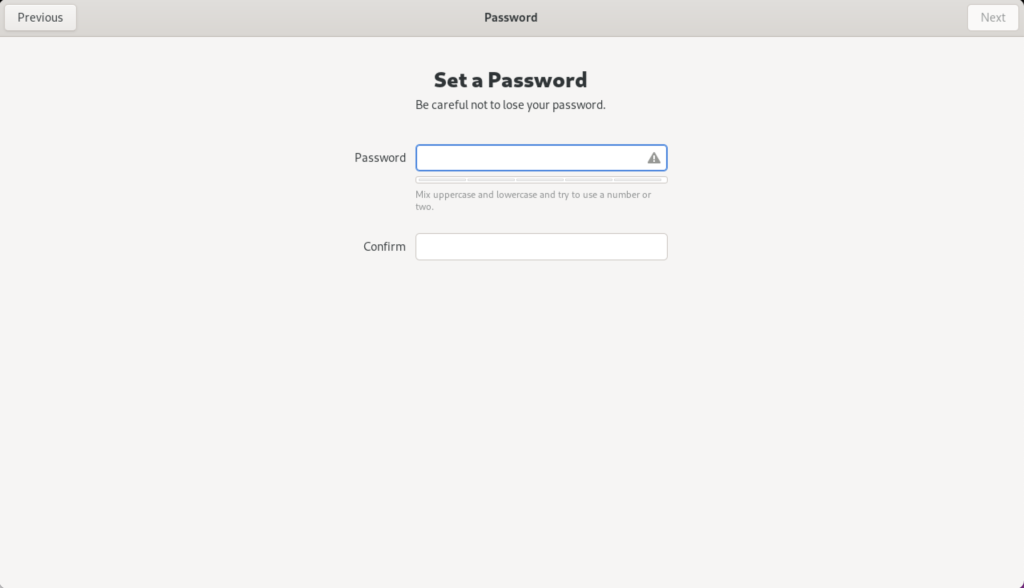
- The Password dialog lets you enter a case sensitive password.
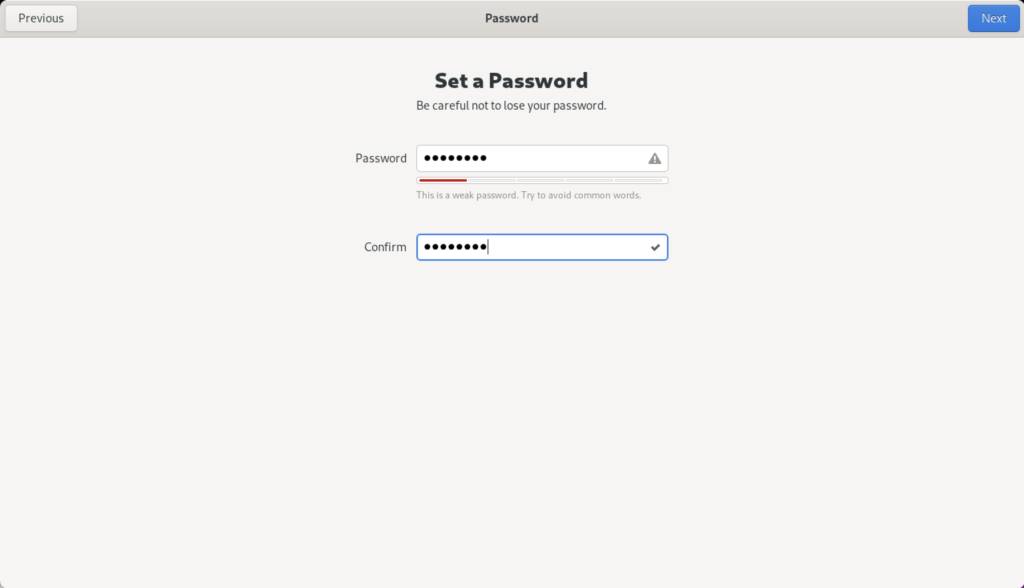
- The Password dialog displays the entry of the passwords as dots.
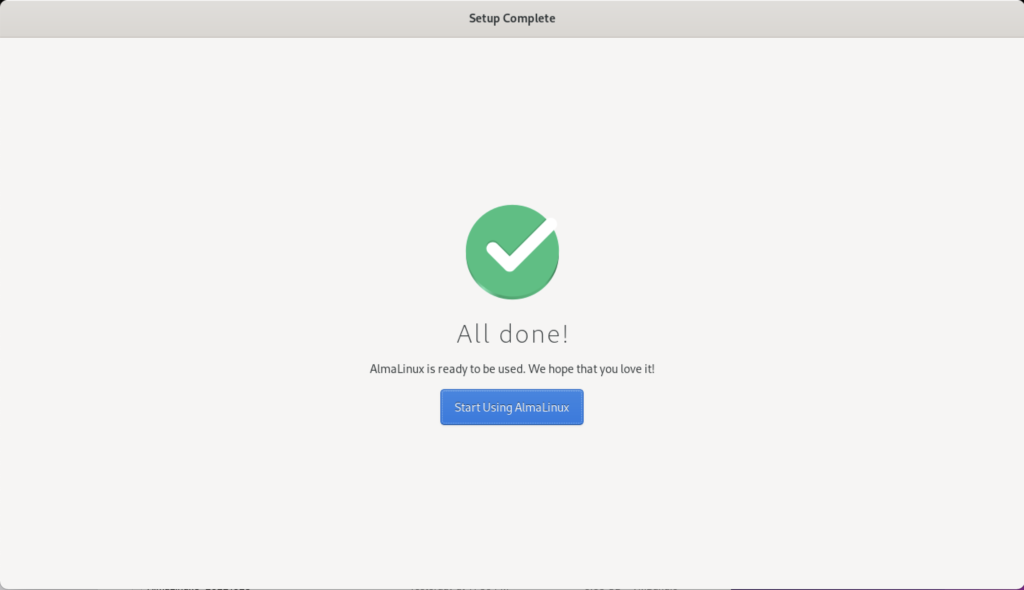
- The Setup Complete dialog leaves you to click the Start Using AlmaLinux button to complete the setup.

- The blank image page displays until you click on it.
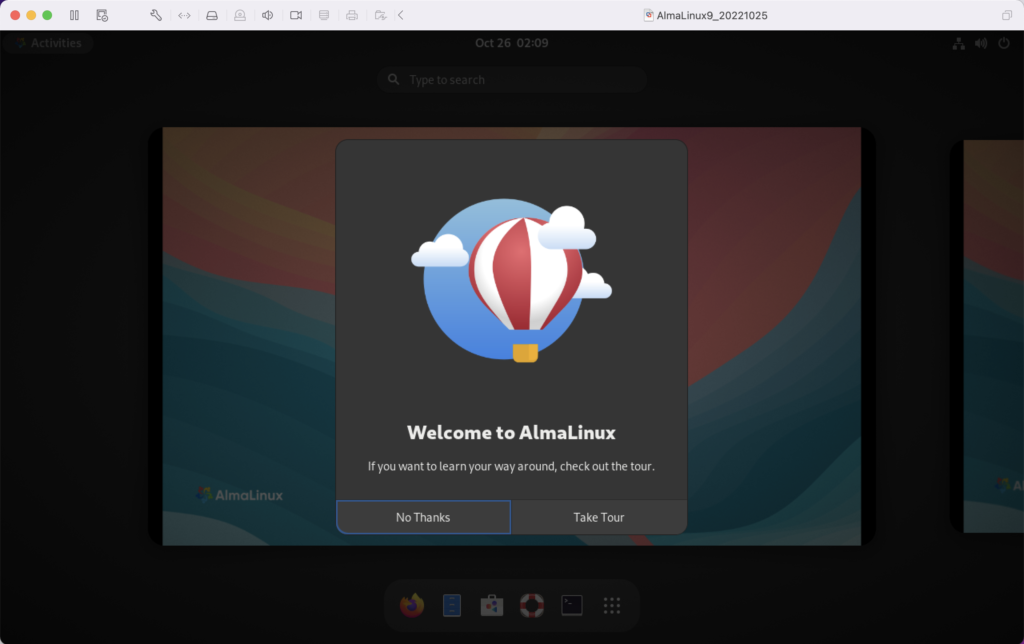
- The Welcome to AlmaLinux dialog invites you to take a tour or decline it. Click the No Thanks button to decline the tour.
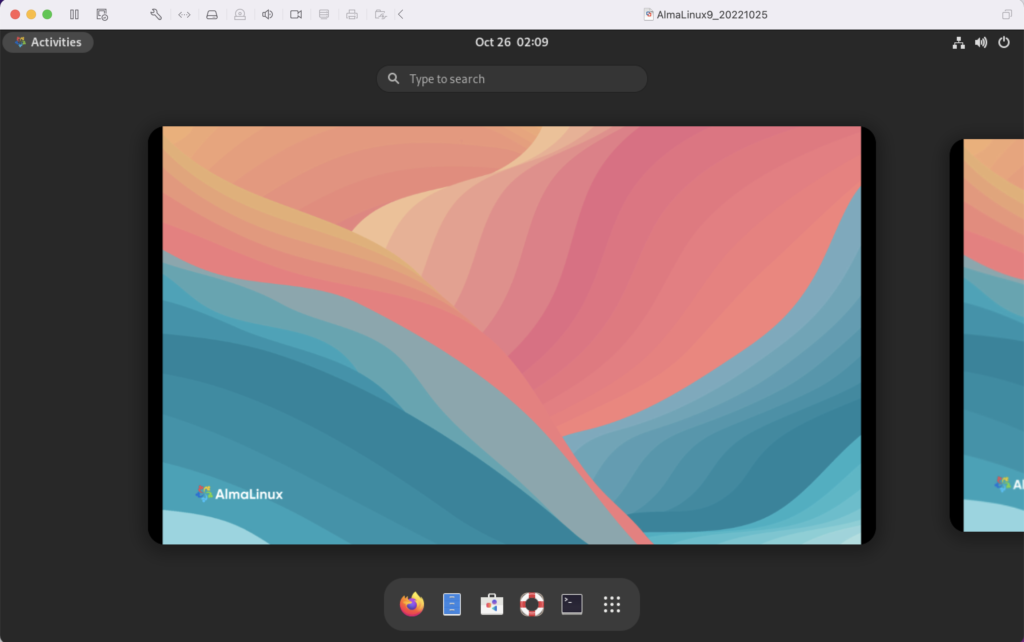
- After declining the tour, it displays the core AlmaLinux screen.
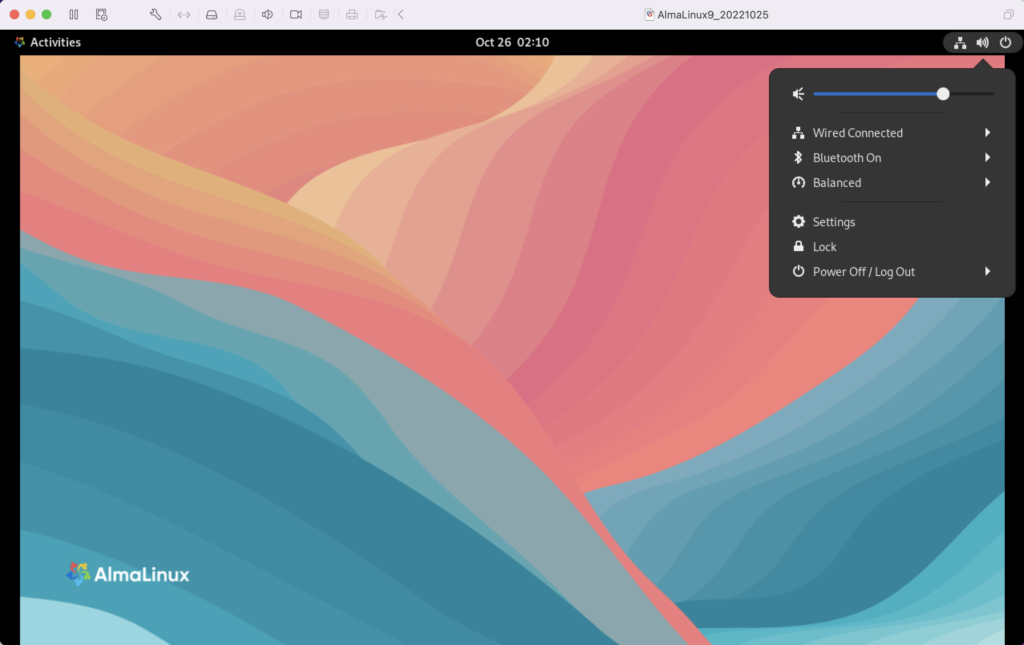
- Rebooting the system is necessary to complete the installation. Click on the circle icon on the right to begin the process to restart or shutdown the operating system. Click on the Power Off / Log Out dropdown to continue.
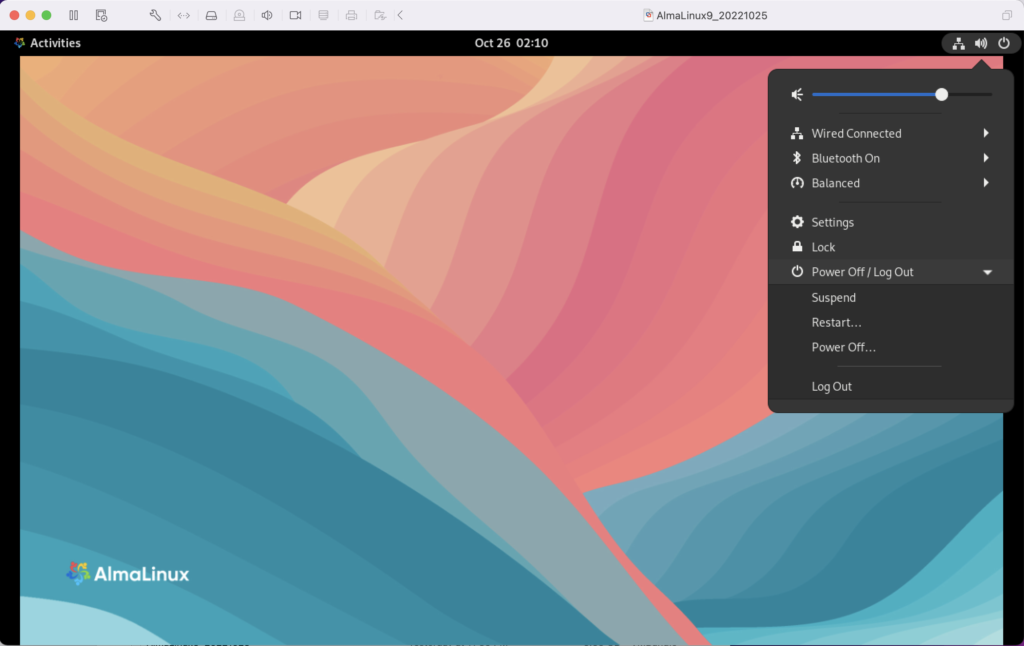
- Click the Restart… menu option to restart the operating system.

- Click the Restart… menu option to confirm the restart of the operating system.
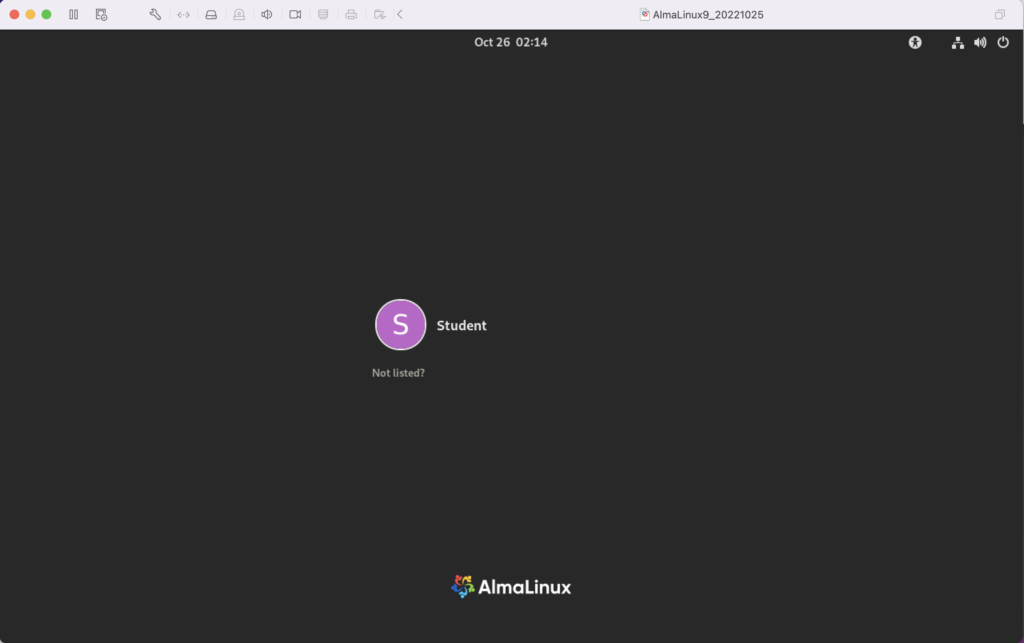
- Click the Student icon to get prompted for a password.
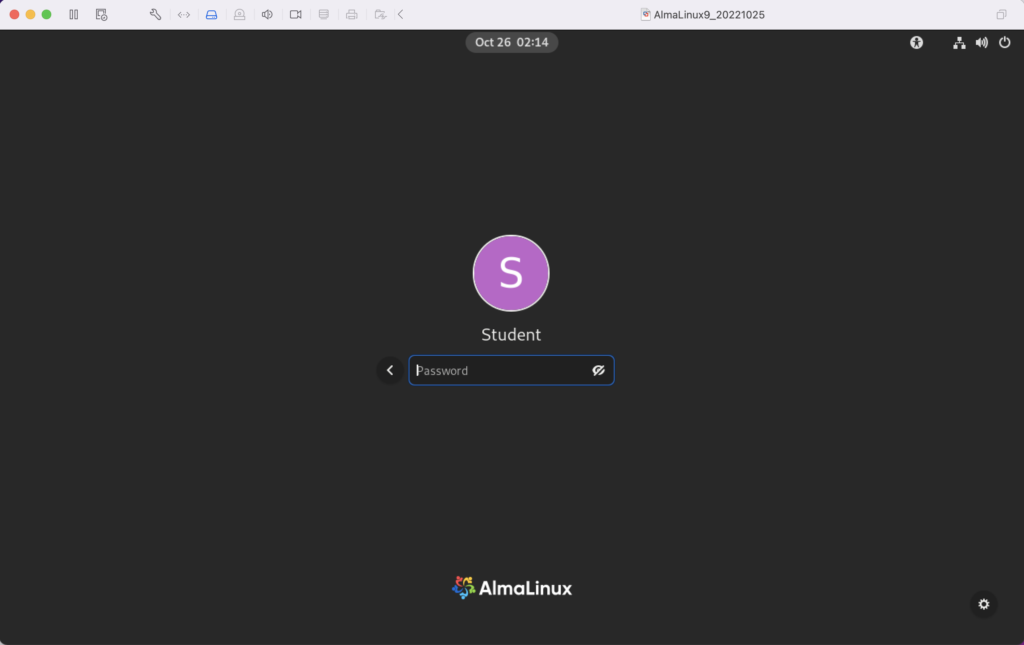
- Enter the Student password to connect to the AlmaLinux operating system.

- This displays the standard working interface for the AlmaLinux operating system.
