Ubuntu Next.js Install
You begin by setting up Node with its version manager. You can do this in a Terminal shell with the following command:
curl -o- https://raw.githubusercontent.com/nvm-sh/nvm/v0.39.1/install.sh | bash |
After running that command, you should reboot your system. Then, open a new Terminal session and start NVM with this command in your home directory:
nvm install --lts |
Display detailed console log →
Installing latest LTS version. Downloading and installing node v20.11.0... Downloading https://nodejs.org/dist/v20.11.0/node-v20.11.0-linux-x64.tar.xz... ######################################################################### 100.0% Computing checksum with sha256sum Checksums matched! Now using node v20.11.0 (npm v10.2.4) Creating default alias: default -> lts/* (-> v20.11.0) |
After installing Node, create a new Next.js application to test if everything is working. Create a blog-app application with the following command in the Ubuntu bash shell session:
npx create-next-app@latest blog-app |
It produces a small console log and asks you complete interactive responses as shown:
Need to install the following packages:
create-next-app@14.0.4
Ok to proceed? (y) y
✔ Would you like to use TypeScript? … No / Yes
✔ Would you like to use ESLint? … No / Yes
✔ Would you like to use Tailwind CSS? … No / Yes
✔ Would you like to use `src/` directory? … No / Yes
✔ Would you like to use App Router? (recommended) … No / Yes
✔ Would you like to customize the default import alias (@/*)? … No / Yes
Creating a new Next.js app in /home/student/blog-app.
Display detailed console log →
Using npm. Initializing project with template: app-tw Installing dependencies: - react - react-dom - next Installing devDependencies: - typescript - @types/node - @types/react - @types/react-dom - autoprefixer - postcss - tailwindcss - eslint - eslint-config-next added 362 packages, and audited 363 packages in 25s 128 packages are looking for funding run `npm fund` for details found 0 vulnerabilities Success! Created blog-app at /home/student/blog-app npm notice npm notice New minor version of npm available! 10.2.4 -> 10.3.0 npm notice Changelog: https://github.com/npm/cli/releases/tag/v10.3.0 npm notice Run npm install -g npm@10.3.0 to update! npm notice |
Now, you can launch the application from the command-line interface (CLI):
npm run dev & |
Display detailed console log →
> blog-app@0.1.0 dev > next dev ▲ Next.js 14.0.4 - Local: http://localhost:3000 Attention: Next.js now collects completely anonymous telemetry regarding usage. This information is used to shape Next.js' roadmap and prioritize features. You can learn more, including how to opt-out if you'd not like to participate in this anonymous program, by visiting the following URL: https://nextjs.org/telemetry ✓ Ready in 1937ms ○ Compiling / ... ✓ Compiled / in 14.9s (500 modules) ✓ Compiled in 597ms (235 modules) ○ Compiling /favicon.ico ... ✓ Compiled /favicon.ico in 2.1s (505 modules) |
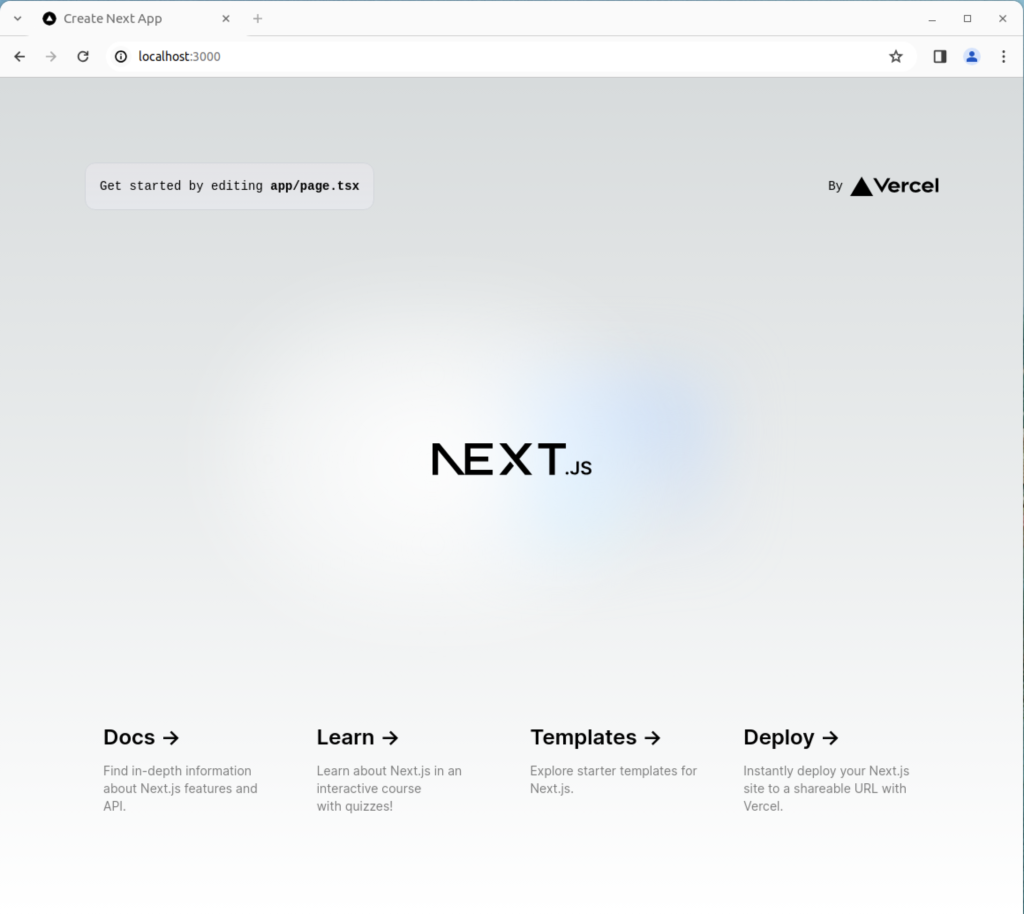
You can view the running application by using the following URL in a local browser:
http://localhost:3000 |
It should render the following web application:
As always, I hope this helps those curious about new things and who need a set of instructions.
