Archive for the ‘Microsoft Windows 10’ Category
PostgreSQL Arrays
If you’re wondering about this post, it shows the basic array of a set of integers and strings before showing you how to create nested tables of data in PostgreSQL. By the way, they’re not called nested tables in PostgreSQL, like they are in Oracle but perform like their Oracle cousins.
Let’s create a table with an auto-incrementing column and two arrays, one array of integers and another of strings:
-- Conditionally drop the demo table. DROP TABLE IF EXISTS demo; -- Create the test table. CREATE TABLE demo ( demo_id serial , demo_number integer[5] , demo_string varchar(5)[7]); |
You can insert test values like this:
INSERT INTO demo (demo_number, demo_string) VALUES ( array[1,2,3,4,5] , array['One','Two','Three','Four','Five','Six','Seven']); |
Then, you can query them with this unnest function, like:
SELECT unnest(demo_number) AS numbers , unnest(demo_string) AS strings FROM demo; |
It returns:
 numbers | strings
---------+---------
 1       | One
 2       | Two
 3       | Three
 4       | Four
 5       | Five
         | Six
         | Seven
(7 rows) |
You may note that the two arrays are asymmetrical. It only becomes an issue when you navigate the result in a PL/pgSQL cursor or imperative programming language, like Python.
Now, let’s do something more interesting like work with a composite user-defined type, like the player structure. You would create the composite user-defined type with this syntax:
-- Conditionally drop the player type. DROP TYPE IF EXISTS player; -- Create the player type. CREATE TYPE player AS ( player_no integer , player_name varchar(24) , player_position varchar(14) , ab integer , r integer , h integer , bb integer , rbi integer ); |
You can create a world_series table that include a players column that uses an array of player type, like
-- Conditionally drop the world_series table. DROP TABLE IF EXISTS world_series; -- Create the player type. CREATE TABLE world_series ( world_series_id serial , team varchar(24) , players player[30] , game_no integer , year integer ); |
If you’re familiar with the Oracle Database, you’d have to specify a tested table in the syntax. Fortunately, PostgreSQL doesn’t require that.
Insert two rows with the following statement:
INSERT INTO world_series ( team , players , game_no , year ) VALUES ('San Francisco Giants' , array[(24,'Willie Mayes','Center Fielder',5,0,1,0,0)::player ,(5,'Tom Haller','Catcher',4,1,2,0,2)::player] , 4 , 1962 ); |
You can append to the array with the following syntax. A former student and I have a disagreement on whether this is shown in the PostgreSQL 8.15.4 Modifying Array documentation. I believe it can be inferred from the document and he doesn’t believe so. Anyway, here’s how you add an element to an existing array in a table with the UPDATE statement:
UPDATE world_series SET players = (SELECT array_append(players,(7,'Henry Kuenn','Right Fielder',3,0,0,1,0)::player) FROM world_series) WHERE team = 'San Francisco Giants' AND year = 1962 AND game_no = 4; |
Like Oracle’s nested tables, PostgreSQL’s arrays of composite user-defined types requires writing a PL/pgSQL function. I’ll try to add one of those shortly in another blog entry to show you how to edit and replace entries in stored arrays of composite user-defined types.
You can query the unnested rows and get a return set like a Python tuple with the following query:
SELECT unnest(players) AS player_list FROM world_series WHERE team = 'San Francisco Giants' AND year = 1962 AND game_no = 4; |
It returns the three rows from the players array:
player_list ---------------------------------------------- (24,"Willie Mayes","Center Field",5,0,1,0,0) (5,"Tom Haller",Catcher,4,1,2,0,2) (7,"Henry Kuenn","Right Fielde",3,0,0,1,0) (3 rows) |
It returns the data set in entry-order. If we step outside of the standard 8.15 Arrays PostgreSQL Documentation, you can do much more with arrays (or nested tables). The balance of this example demonstrates some new syntax that helps you achieve constructive outcomes in PostgreSQL.
You can use a Common Table Expression (CTE) to get the columnar display of the player composite user-defined type. This type of solution is beyond the standard , like:
WITH list AS (SELECT unnest(players) AS row_result FROM world_series WHERE team = 'San Francisco Giants' AND year = 1962 AND game_no = 4) SELECT (row_result).player_name , (row_result).player_no , (row_result).player_position FROM list; |
If you’re unfamiliar with accessing composite user-defined types, I wrote a post on that 7 years ago. You can find the older blog entry PostgreSQL Composites on my blog.
It returns only the three requested columns of the player composite user-defined type:
player_name | player_no | player_position --------------+-----------+----------------- Willie Mayes | 24 | Center Fielder Tom Haller | 5 | Catcher Henry Kuenn | 7 | Right Fielder (3 rows) |
You should note that the data is presented in an entry-ordered manner when unnested alone in the SELECT-list. That behavior changes when the SELECT-list includes non-array data.
The easiest way to display data from the non-array and array columns is to list them inside the SELECT-list of the CTE, like:
WITH list AS (SELECT game_no AS game , year , unnest(players) AS row_result FROM world_series WHERE team = 'San Francisco Giants' AND year = 1962 AND game_no = 4) SELECT game , year , (row_result).player_name , (row_result).player_no , (row_result).player_position FROM list; |
It returns an ordered set of unnested rows when you include non-array columns, like:
 game | year | player_name  | player_no | player_position
------+------+--------------+-----------+-----------------
    4 | 1962 | Henry Kuenn  |         7 | Right Fielder
    4 | 1962 | Tom Haller   |         5 | Catcher
    4 | 1962 | Willie Mayes |        24 | Center Fielder
(3 rows) |
While you can join the world_series table to the unnested array rows (returned as a derived table, its a bad idea. The mechanics to do it require you to return the primary key column in the same SELECT-list of the CTE. Then, you join the CTE list to the world_series table by using the world_series_id primary key.
However, there is no advantage to an inner join approach and it imposes unnecessary processing on the database server. The odd rationale that I heard when I noticed somebody was using a CTE to base-table join was: “That’s necessary so they could use column aliases for the non-array columns.” That’s not true because you can use the aliases inside the CTE, as shown above when game is an alias to the game_no column.
As always, I hope this helps those looking to solve a problem in PostgreSQL.
Drop Overloaded Routine
In October 2019, I wrote a post with anonymous block programs to drop tables, sequences, routines, and triggers. Two weeks later, I wrote another post to drop all overloaded routines. However, I recognized the other day that I should have written a function that let you target which function or procedure you want to drop.
The older code only let you drop all of your functions or procedures. That was overkill when you’re working on new functions or procedures.
This post provides a utility for those writing functions and procedures in a public schema of any database in a PostgreSQL installation. It is designed to drop functions or procedures from the public schema.
The code follows below:
1 2 3 4 5 6 7 8 9 10 11 12 13 14 15 16 17 18 19 20 21 22 23 24 25 26 27 28 29 30 31 32 33 34 35 36 37 38 39 40 41 42 43 44 45 46 47 48 49 50 51 52 53 54 55 56 57 58 59 60 61 62 63 64 65 66 67 68 69 70 71 72 73 74 75 76 77 78 79 80 81 82 83 84 85 86 87 88 89 90 91 92 93 94 95 96 97 98 99 100 101 102 103 104 | CREATE OR REPLACE FUNCTION drop_routine( IN pv_routine_name VARCHAR(64) , IN pv_routine_type VARCHAR(64)) RETURNS INTEGER AS $$ DECLARE /* Declare the current catalog. */ lv_local_catalog VARCHAR(64) := current_database(); /* Declare return type variable. */ lv_retval INTEGER := 1; /* Manage data dictionary case mechanics: ====================================== routine_name is always in lowercase. routine_type is always in uppercase. */ lv_routine_name VARCHAR(64) := LOWER(pv_routine_name); lv_routine_type VARCHAR(64) := UPPER(pv_routine_type); /* Declare an indefinite length string for SQL statement. */ sql VARCHAR; /* Declare variables to manage cursor return values. */ row RECORD; arg VARCHAR; /* Declare parameter list. */ list VARCHAR; /* Declare a routine cursor. */ routine_cursor CURSOR( cv_routine_name VARCHAR , cv_routine_type VARCHAR ) FOR SELECT r.routine_name , r.specific_name , r.routine_type FROM information_schema.routines r WHERE r.specific_catalog = current_database() AND r.routine_schema = 'public' AND r.routine_type = cv_routine_type AND r.routine_name = cv_routine_name; /* Declare a parameter cursor. */ parameter_cursor CURSOR( cv_specific_name VARCHAR ) FOR SELECT args.data_type FROM information_schema.parameters args WHERE args.specific_catalog = current_database() AND args.specific_schema = 'public' AND args.specific_name = cv_specific_name; BEGIN /* Open the cursor. */ OPEN routine_cursor(lv_routine_name, lv_routine_type); <<row_loop>> LOOP /* Fetch table names. */ FETCH routine_cursor INTO row; /* Exit when no more records are found. */ EXIT row_loop WHEN NOT FOUND; /* Initialize parameter list. */ list := '('; /* Open the parameter cursor. */ OPEN parameter_cursor(row.specific_name::varchar); <<parameter_loop>> LOOP FETCH parameter_cursor INTO arg; /* Exit the parameter loop. */ EXIT parameter_loop WHEN NOT FOUND; /* Add parameter and delimit more than one parameter with a comma. */ IF LENGTH(list) > 1 THEN list := CONCAT(list,',',arg); ELSE list := CONCAT(list,arg); END IF; END LOOP; /* Close the parameter list. */ list := CONCAT(list,')'); /* Close the parameter cursor. */ CLOSE parameter_cursor; /* Concatenate together a DDL to drop the table with prejudice. */ sql := 'DROP '||row.routine_type||' IF EXISTS '||row.routine_name||list; /* Execute the DDL statement. */ EXECUTE sql; /* Assign success flag of 0. */ lv_retval := 0; END LOOP; /* Close the routine_cursor. */ CLOSE routine_cursor; /* Return the output text variable. */ RETURN lv_retval; END $$ LANGUAGE plpgsql; |
If you now create a series of hello overloaded functions, like:
CREATE OR REPLACE FUNCTION hello() RETURNS text AS $$ DECLARE output VARCHAR; BEGIN SELECT 'Hello World!' INTO output; RETURN output; END $$ LANGUAGE plpgsql; CREATE OR REPLACE FUNCTION hello(whom text) RETURNS text AS $$ DECLARE output VARCHAR; BEGIN SELECT CONCAT('Hello ',whom,'!') INTO output; RETURN output; END $$ LANGUAGE plpgsql; CREATE OR REPLACE FUNCTION hello(id int, whom text) RETURNS text AS $$ DECLARE output VARCHAR; BEGIN SELECT CONCAT('[',id,'] Hello ',whom,'!') INTO output; RETURN output; END $$ LANGUAGE plpgsql; |
After you create the overloaded functions, you can query their status from the information_schema.routines table in the data dictionary:
SELECT routine_name , specific_name , routine_type FROM information_schema.routines WHERE specific_catalog = current_setting('videodb.catalog_name') AND routine_schema = 'public' AND routine_name = 'hello'; |
Which shows you the three versions of the hello function:
routine_name | specific_name | routine_type --------------+---------------+-------------- hello | hello_18100 | FUNCTION hello | hello_18101 | FUNCTION hello | hello_18102 | FUNCTION (3 rows) |
You can drop all versions of the hello functions by calling the drop_routine function:
SELECT CASE WHEN drop_routine('hello','function') = 0 THEN 'Success' ELSE 'Failure' END AS drop_routine; |
It returns the following:
drop_routine -------------- Success (1 row) |
As always, I hope this helps those looking for how to routinely test new functions and procedures.
PostgreSQL 14 Install
This post is a step-by-step install guide to PostgreSQL 14 on Windows 10. It sometimes makes me curious that folks want a summary of screen shots from a Microsoftw Software Installer (MSI) because they always appear to me as straightforward.
This walks you through installing PostgreSQL 14, EDS’s version of Apache, supplemental connection libraries, and pgAdmin4. You can find the post-installation steps in my earlier Configure PostgreSQL 14 post.
PostgreSQL Database 14 Installation Steps
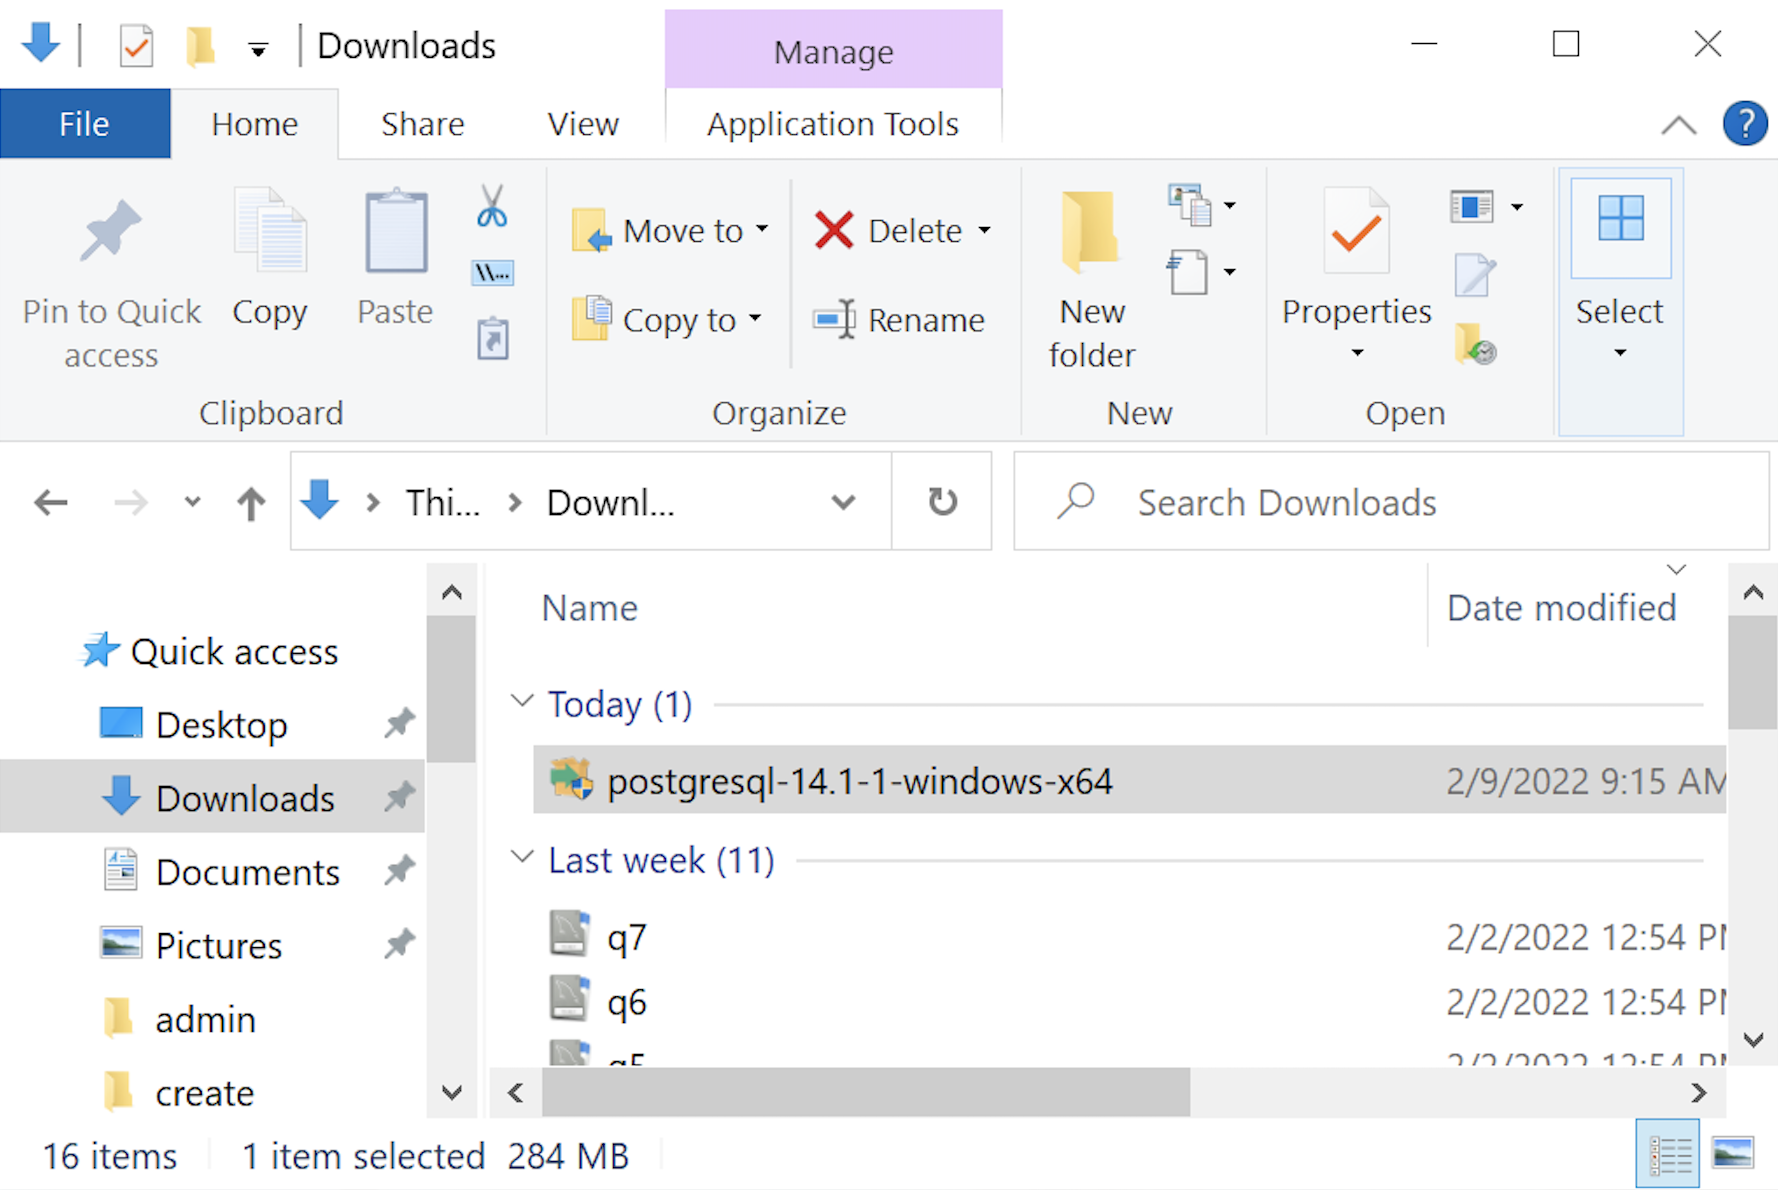
- The first thing you need to do is download the PostgreSQL MSI file, which should be in your C:\Users\username\Downloads directory. You can double-click on the MSI file.

- After double-clicking on the MSI file, you are prompted by User Account Control to allow the PostgreSQL MSI to make changes to your device. Clicking the Yes button is the only way forward.
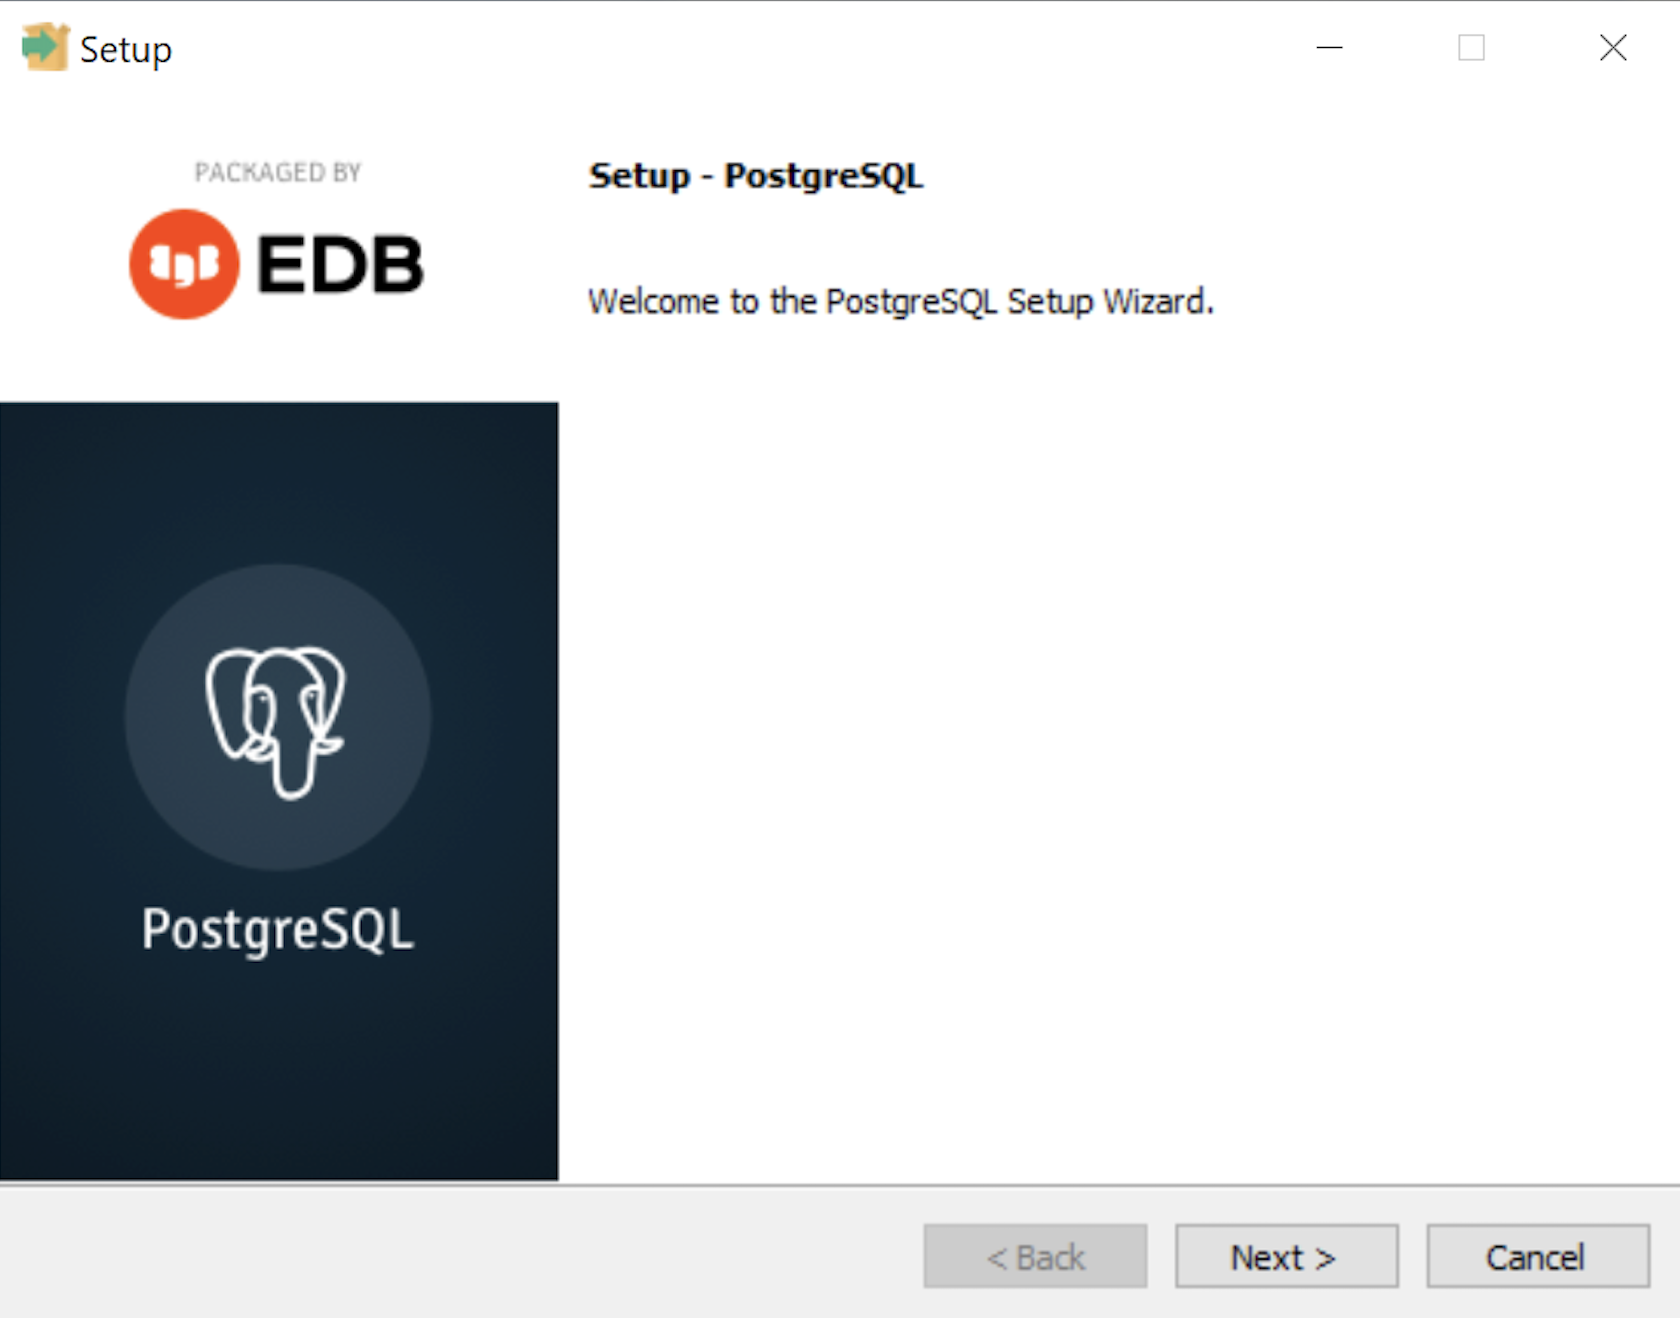
- The Setup – PostgreSQL dialog requires you click the Next button to proceed.
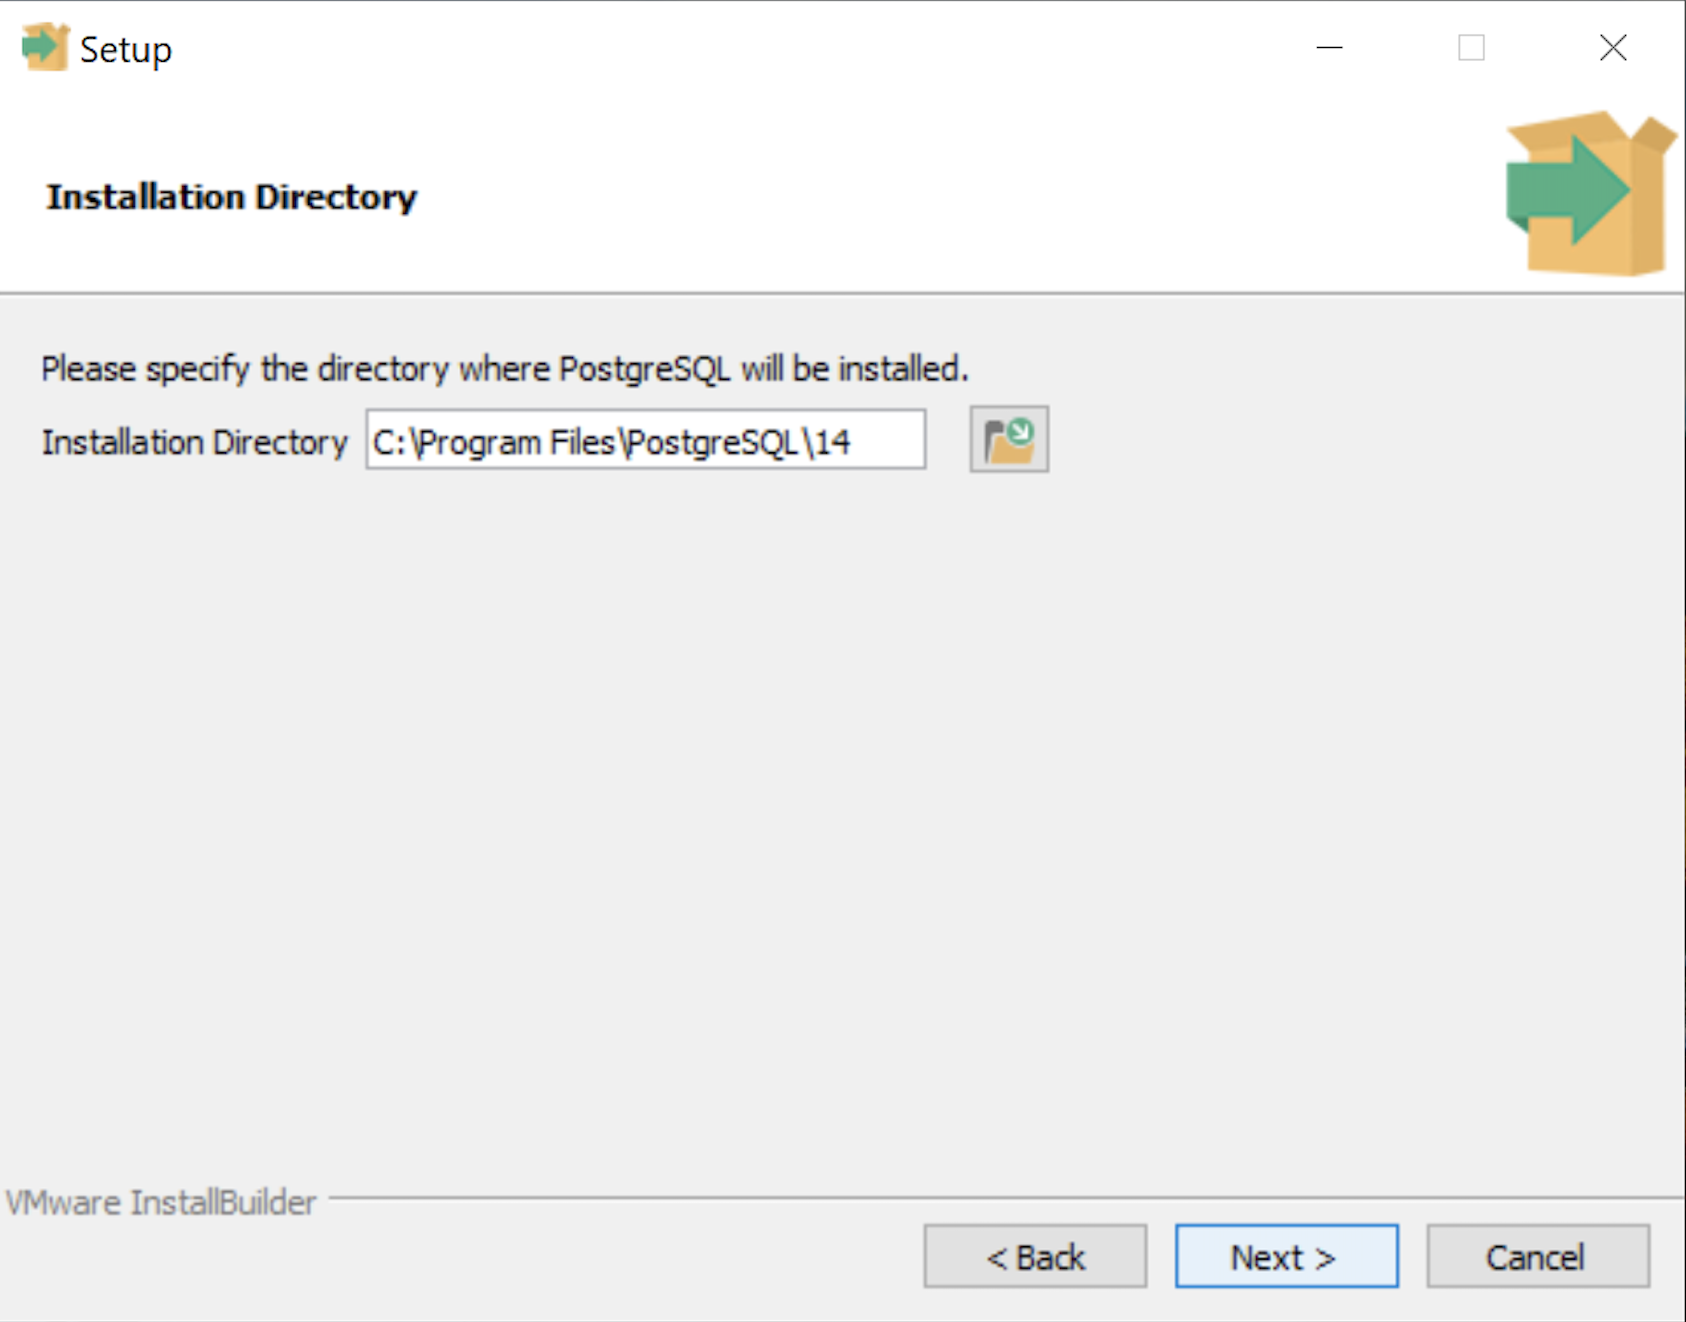
- The Installation Directory dialog prompts you for an installation directory. The default directory is C:\Program Files\PostgreSQL\14 and you should use it. Click the Next button to continue.
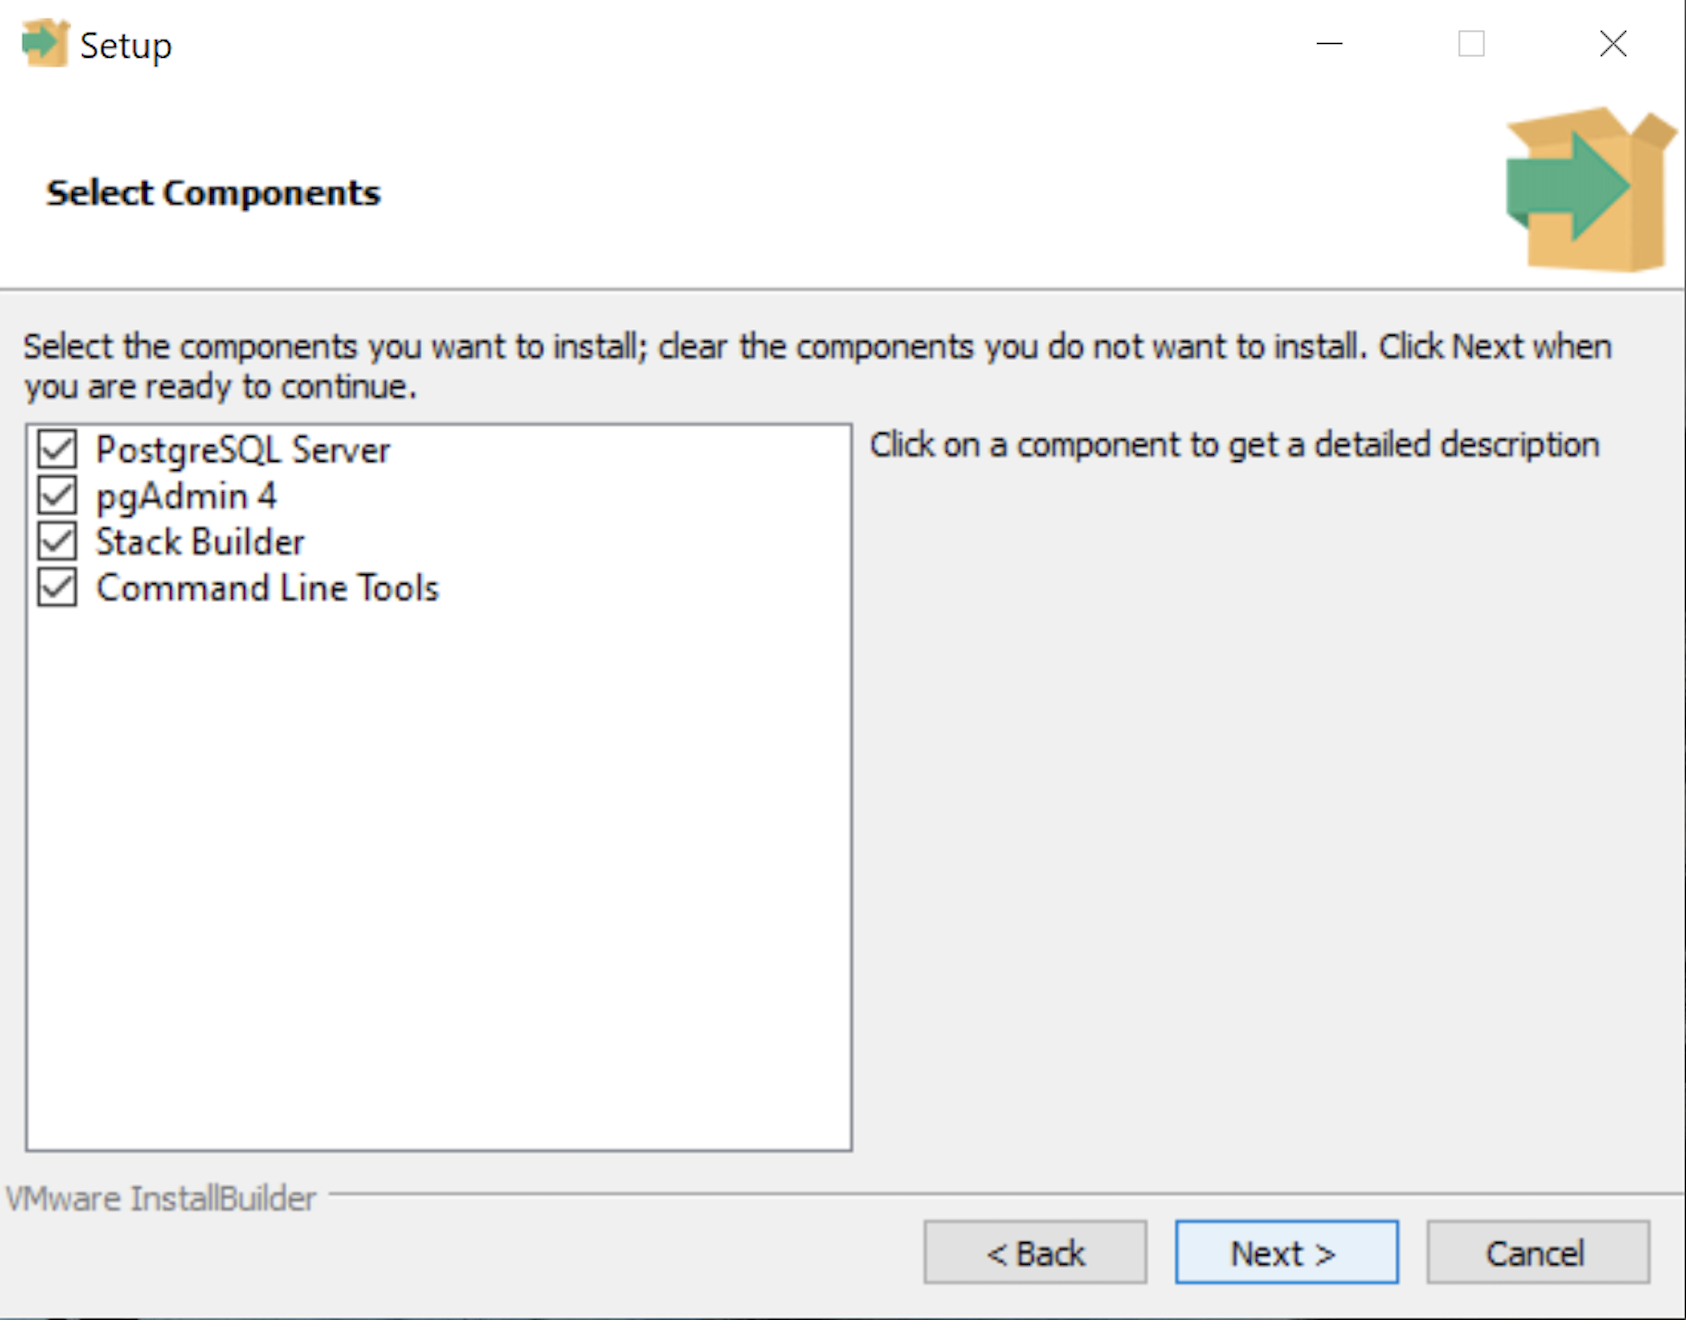
- The Select Components dialog prompts you to choose the products to install. You should choose all four – PostgreSQL Server, pgAdmin 4, Stack Builder, and Command Line Tools. Click the Next button to continue.
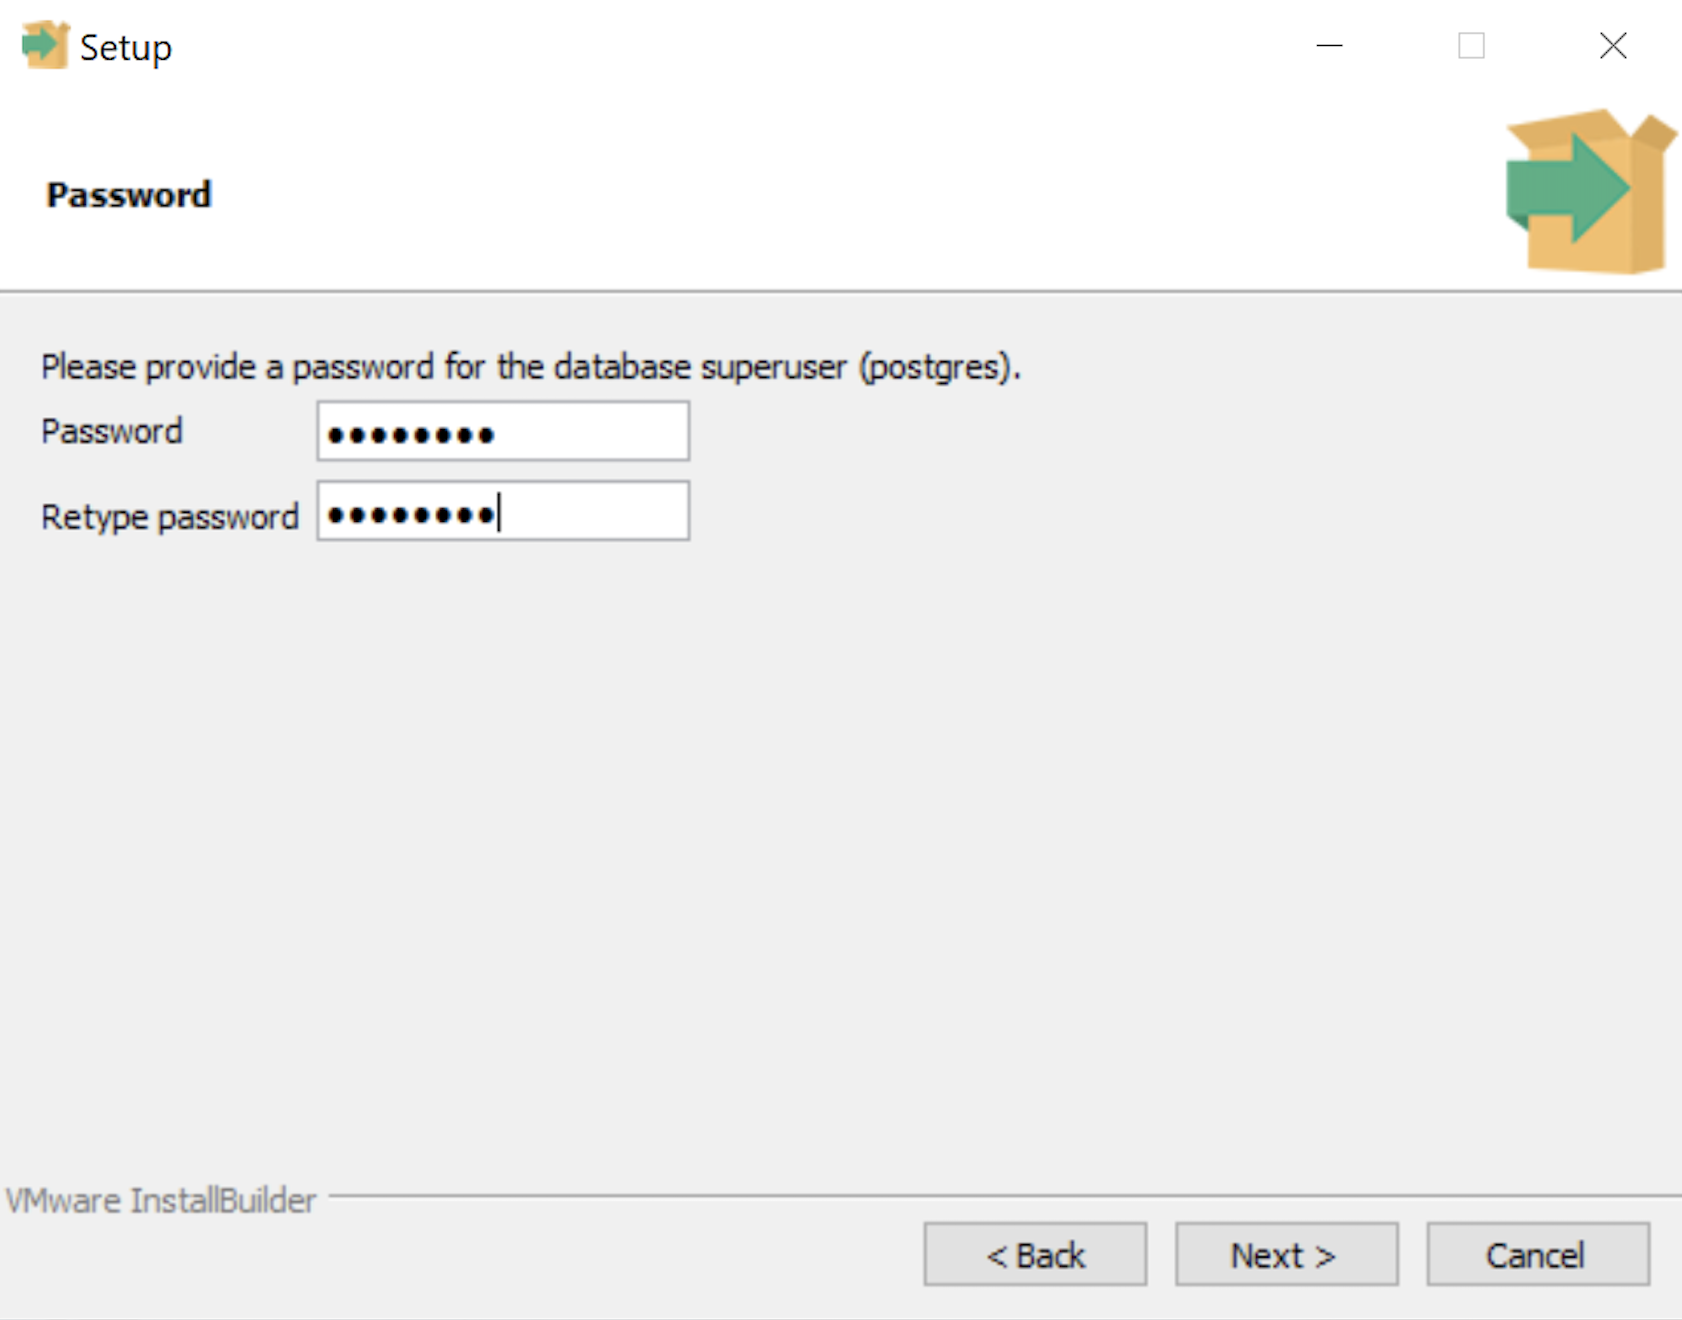
- The Password dialog prompts you for the PostgreSQL superuser password. In a development system for your local computer, you may want to use something straightforward like cangetin. Click the Next button to continue.
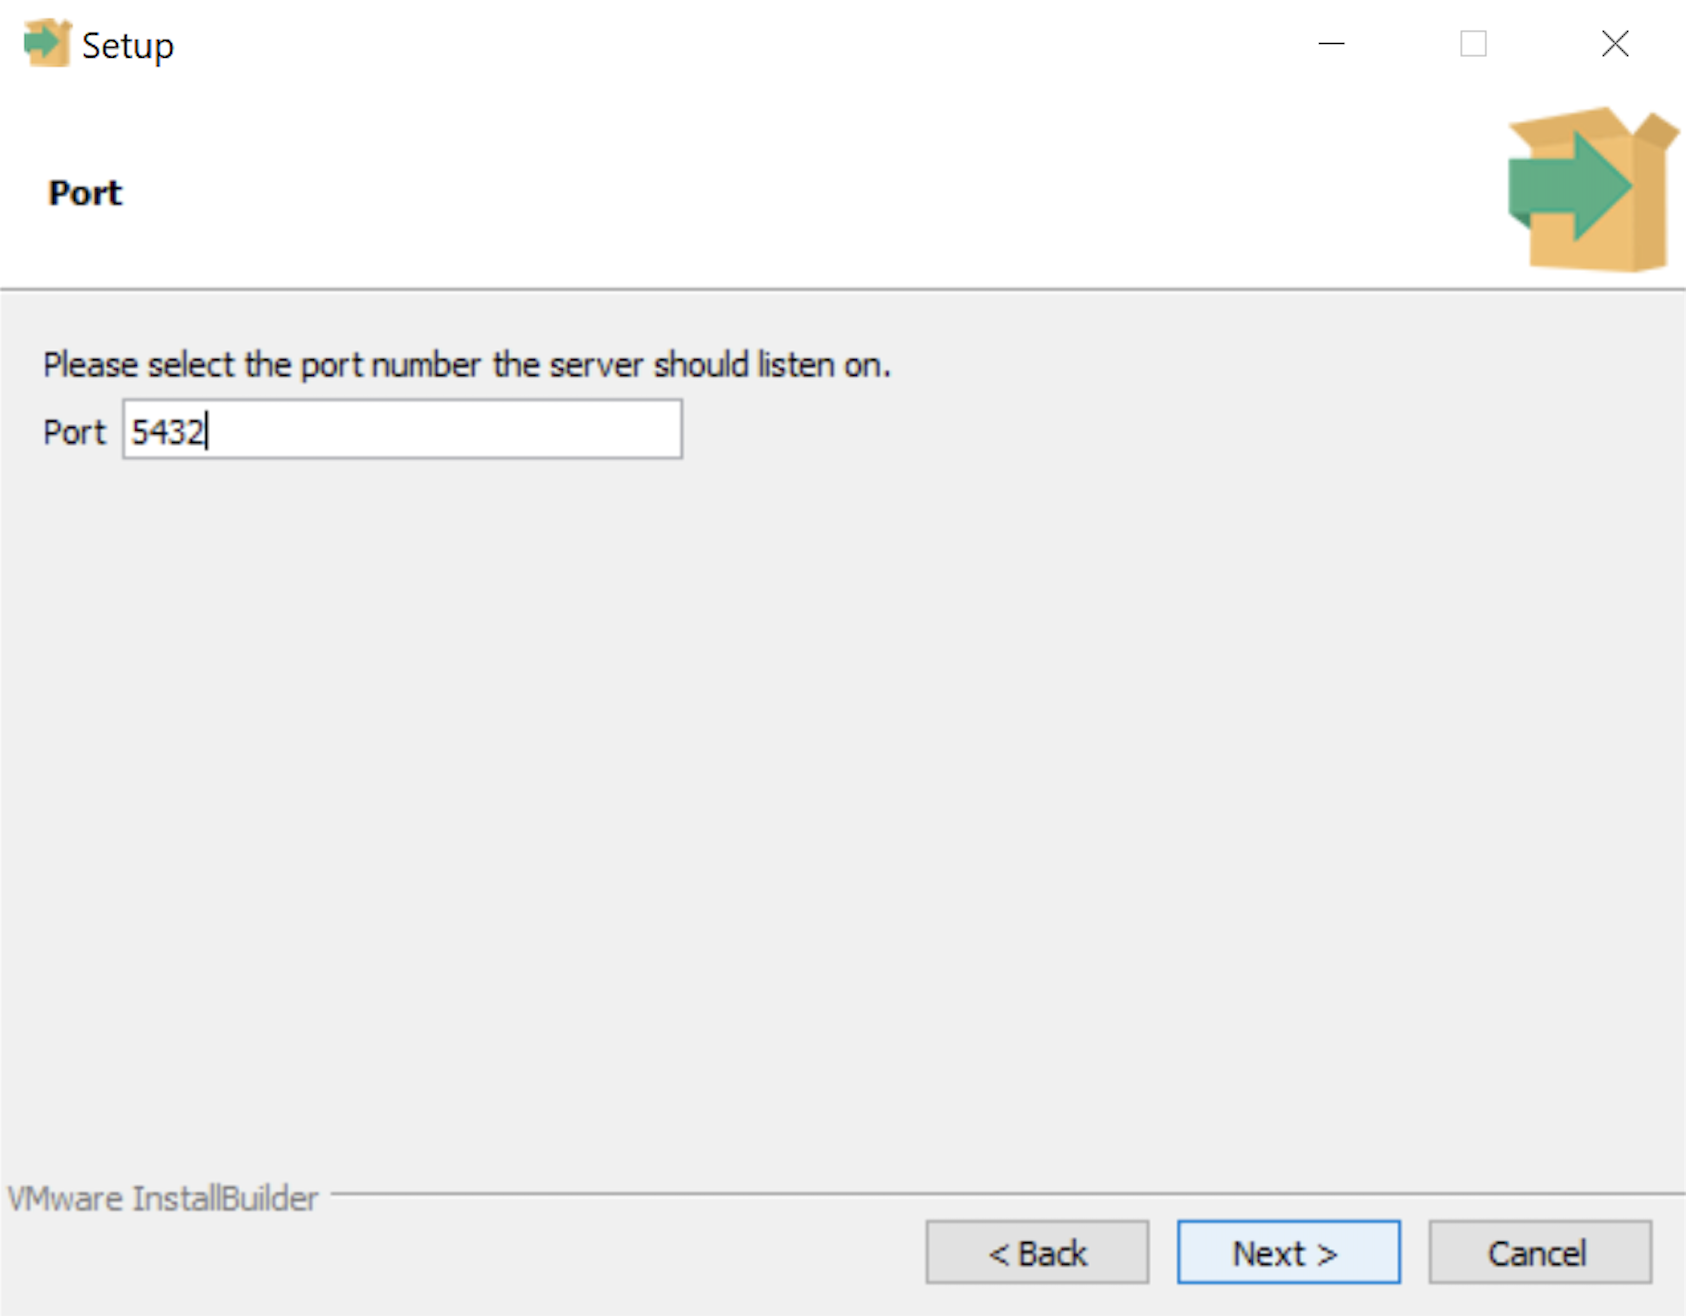
- The Setup dialog lets you select the port number for the PostgreSQL listener. Port 5432 is the standard port for a PostgreSQL database, and ports 5433 and 5434 are used sometimes. Click the Next button to continue.
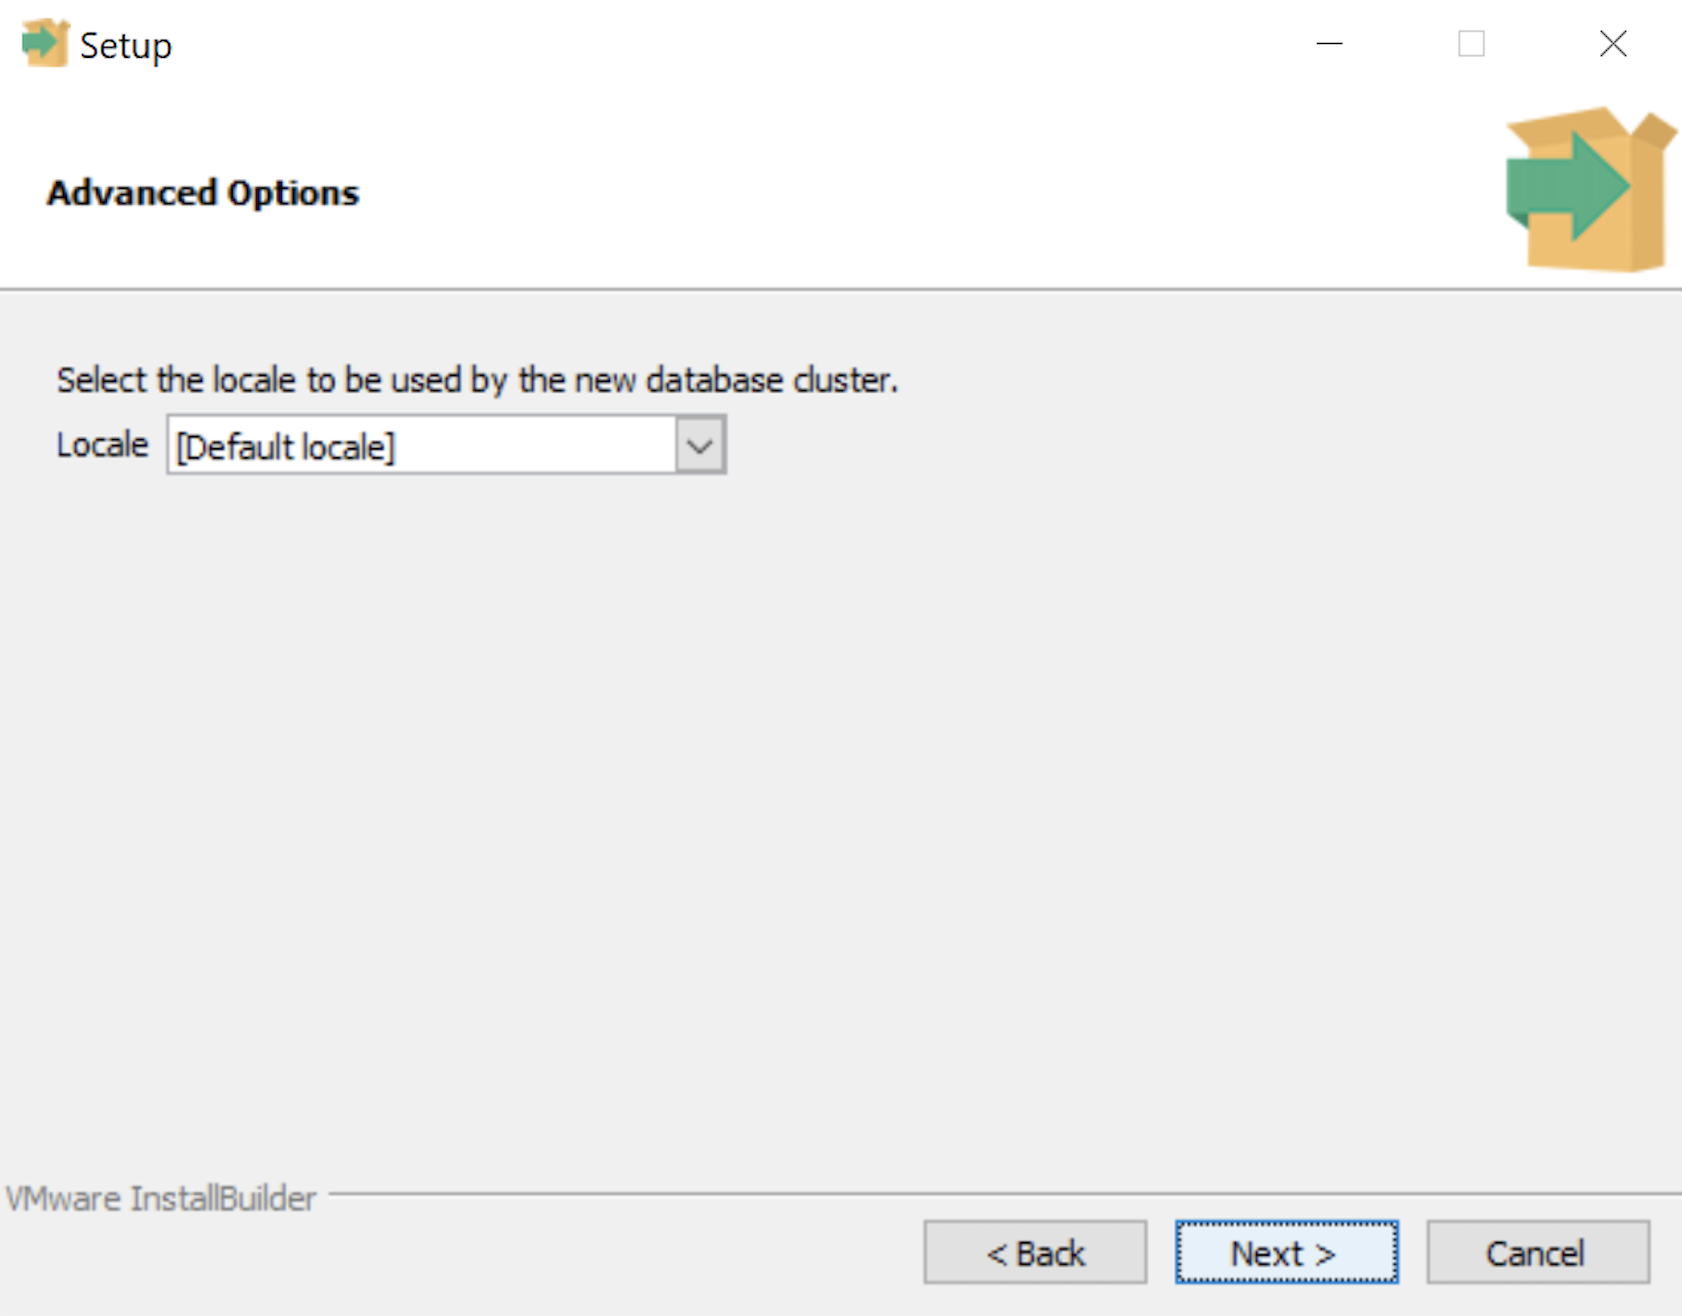
- The Advanced Options dialog lets you select the Locale for the database. As a rule for a development instance you should chose the Default locale. Click the Next button to continue.
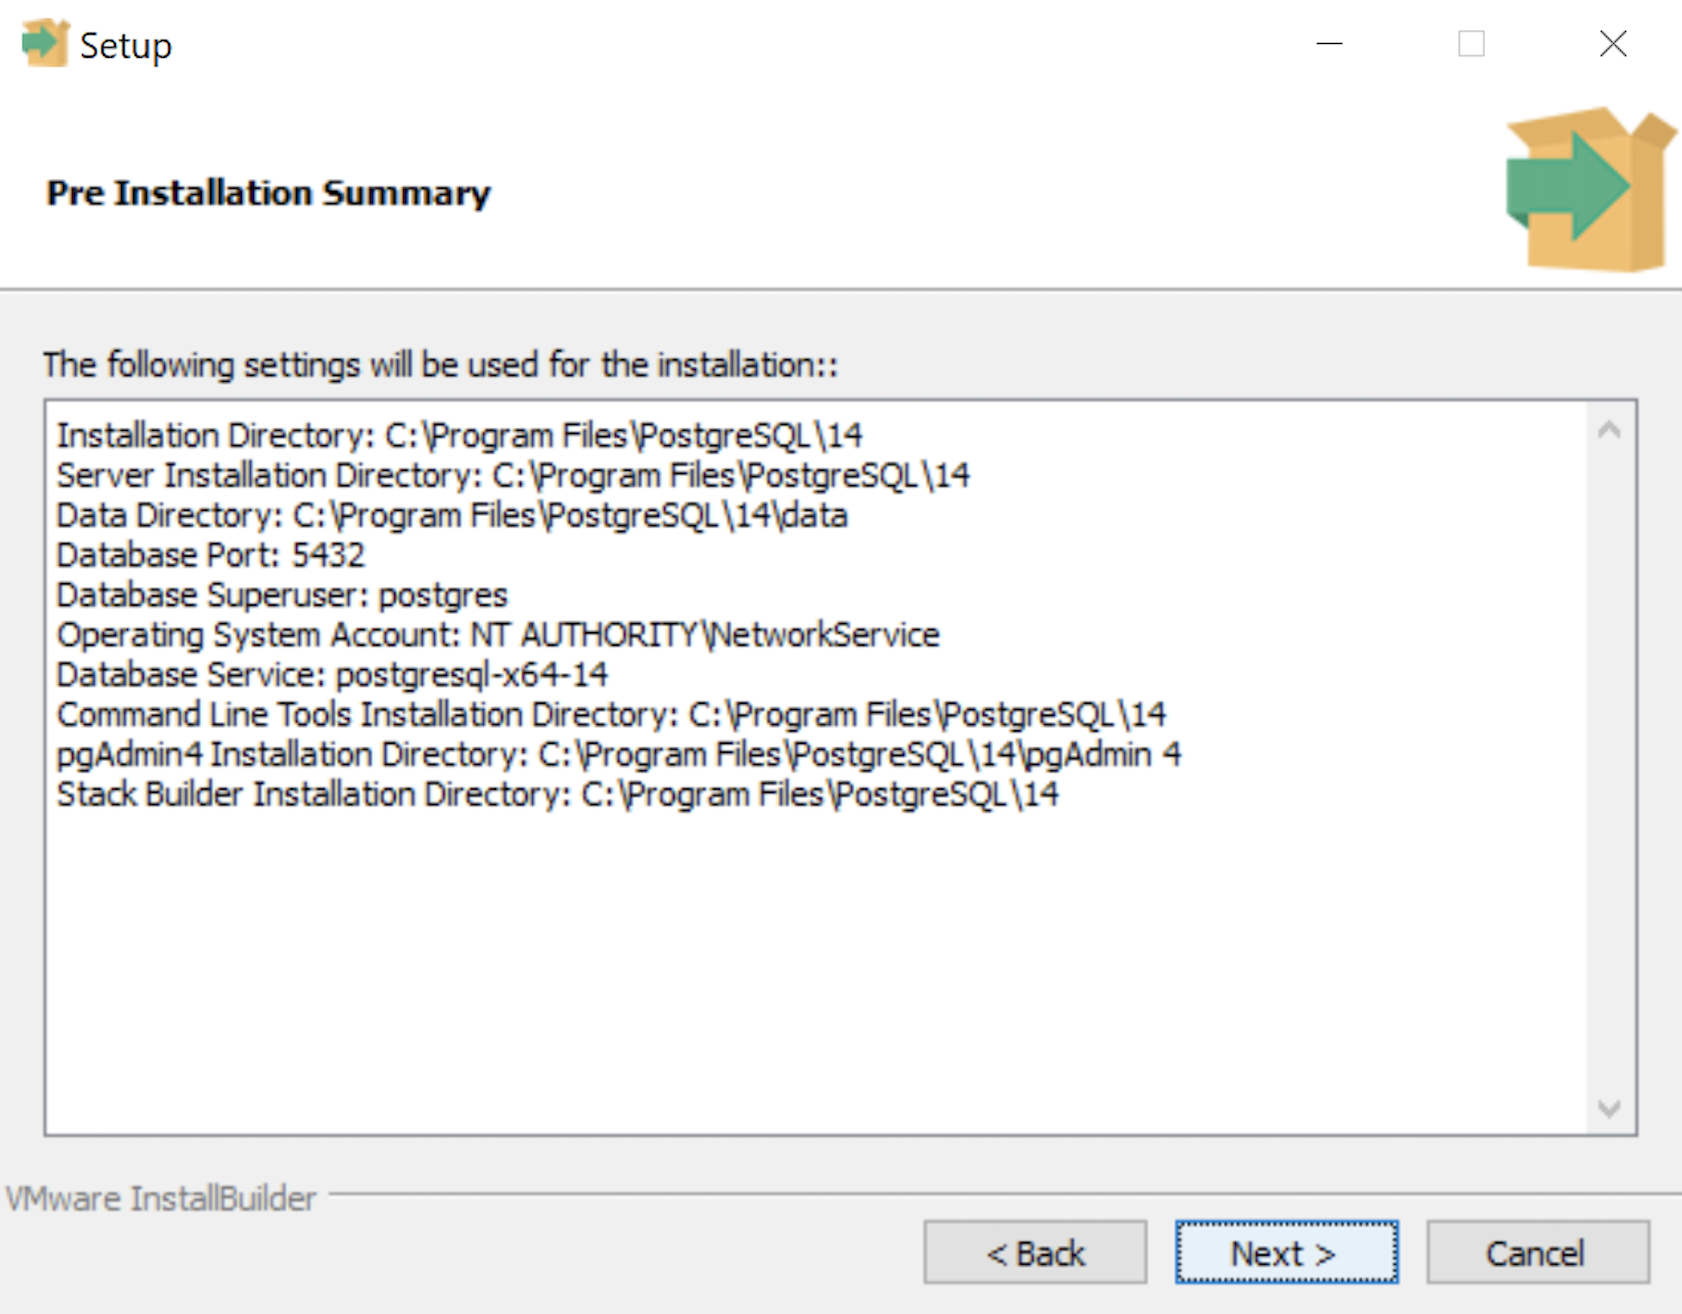
- The Pre Installation Summary dialog tells you what you’ve chosen to install. It gives you a chance to verify what you are installing. Click the Next button to continue.
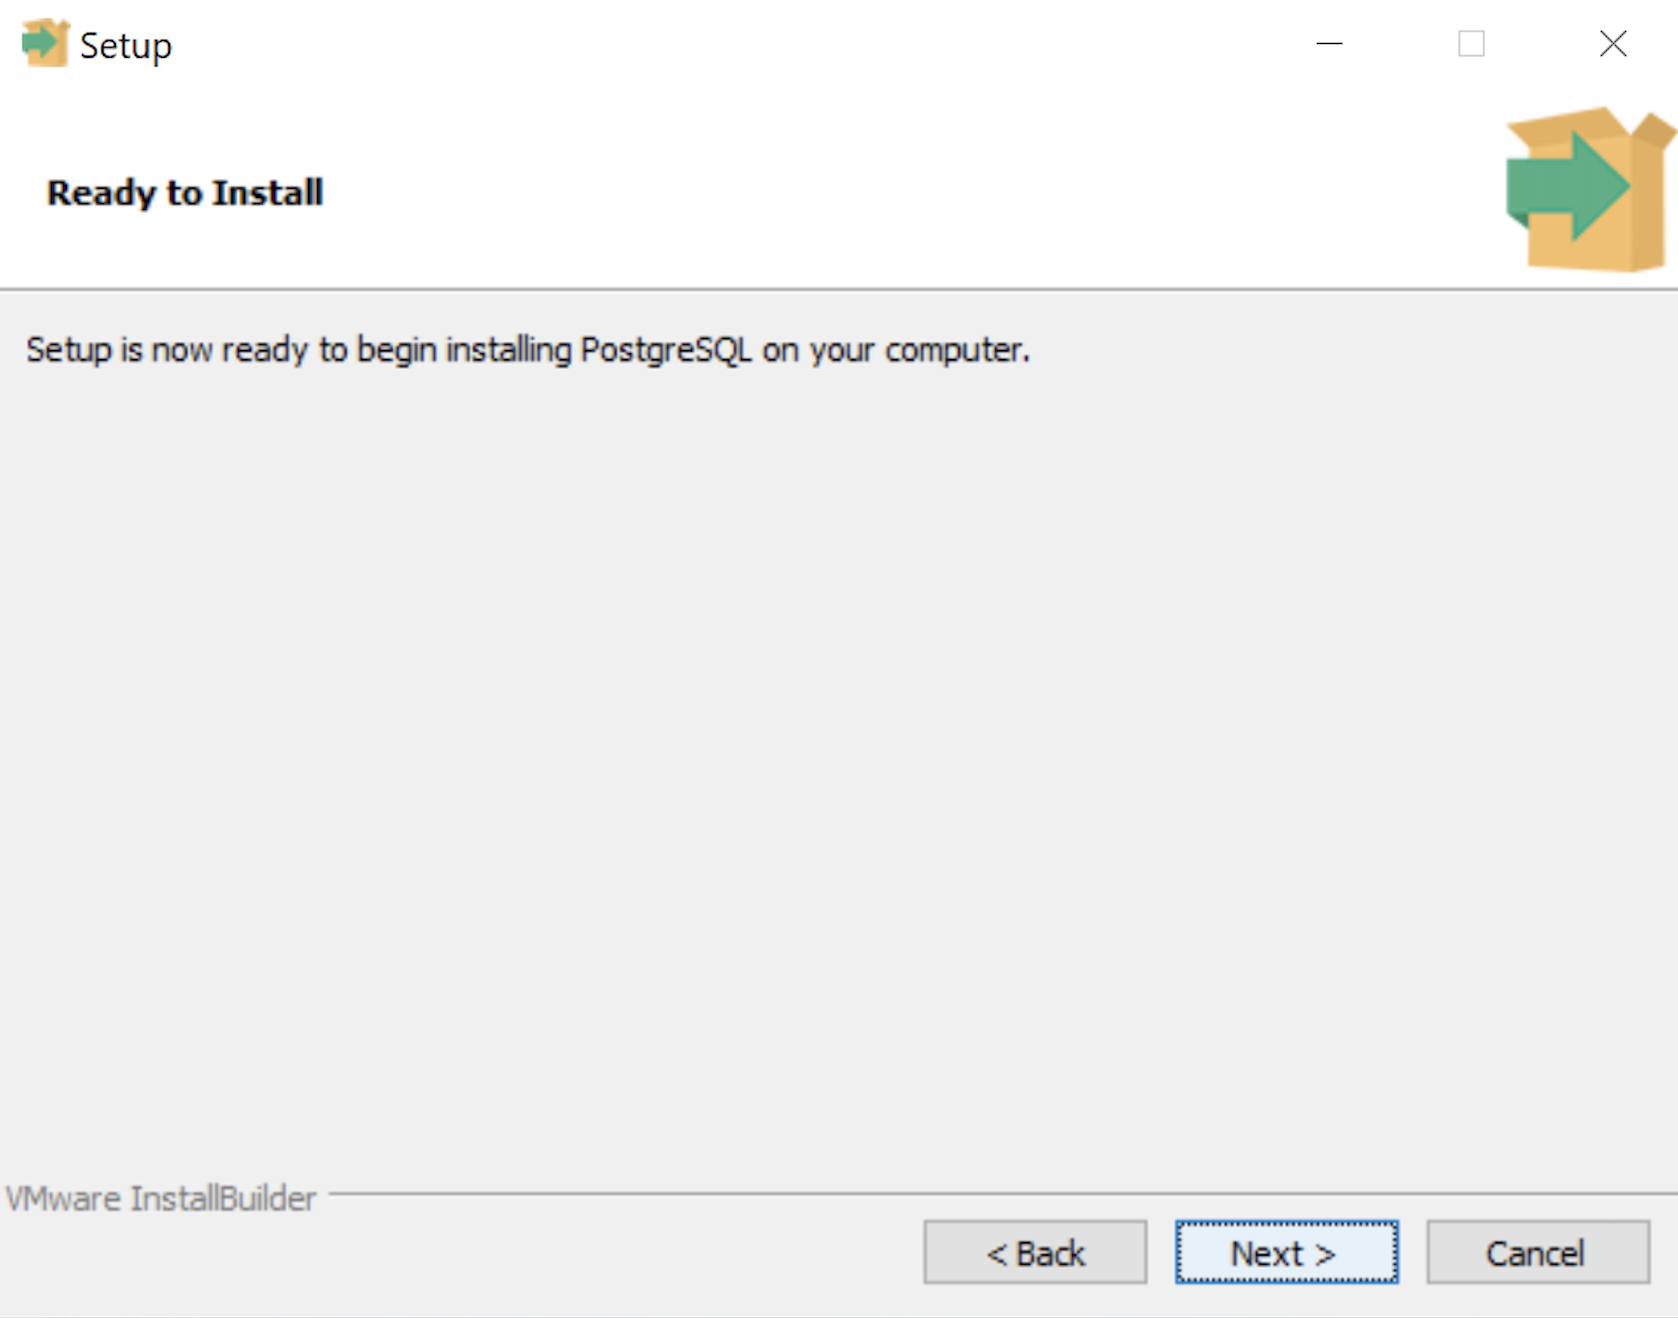
- The Ready to Install dialog lets you pause before you install the software. Click the Next button to continue.
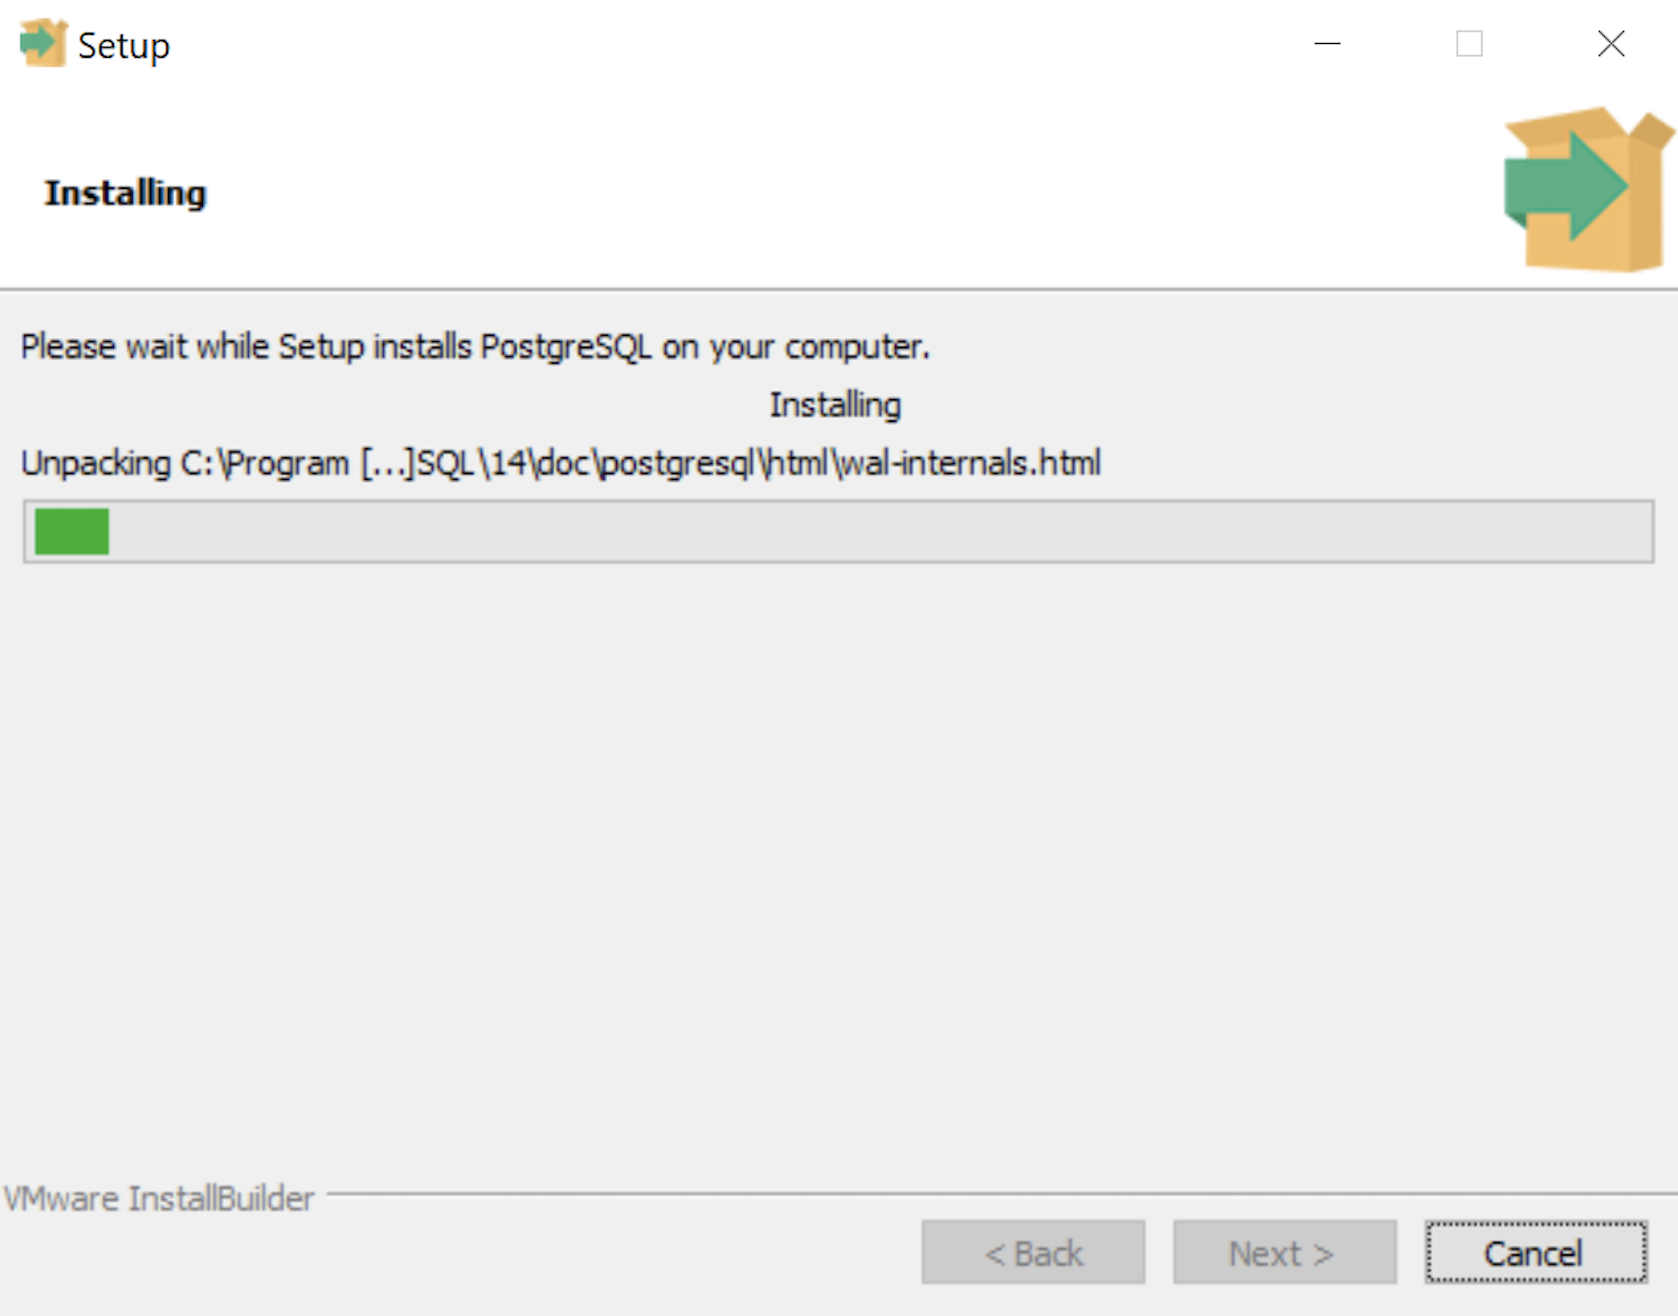
- The Installing dialog is a progress bar that will take several minutes to complete. When the progress bar completes, click the Next button to continue.
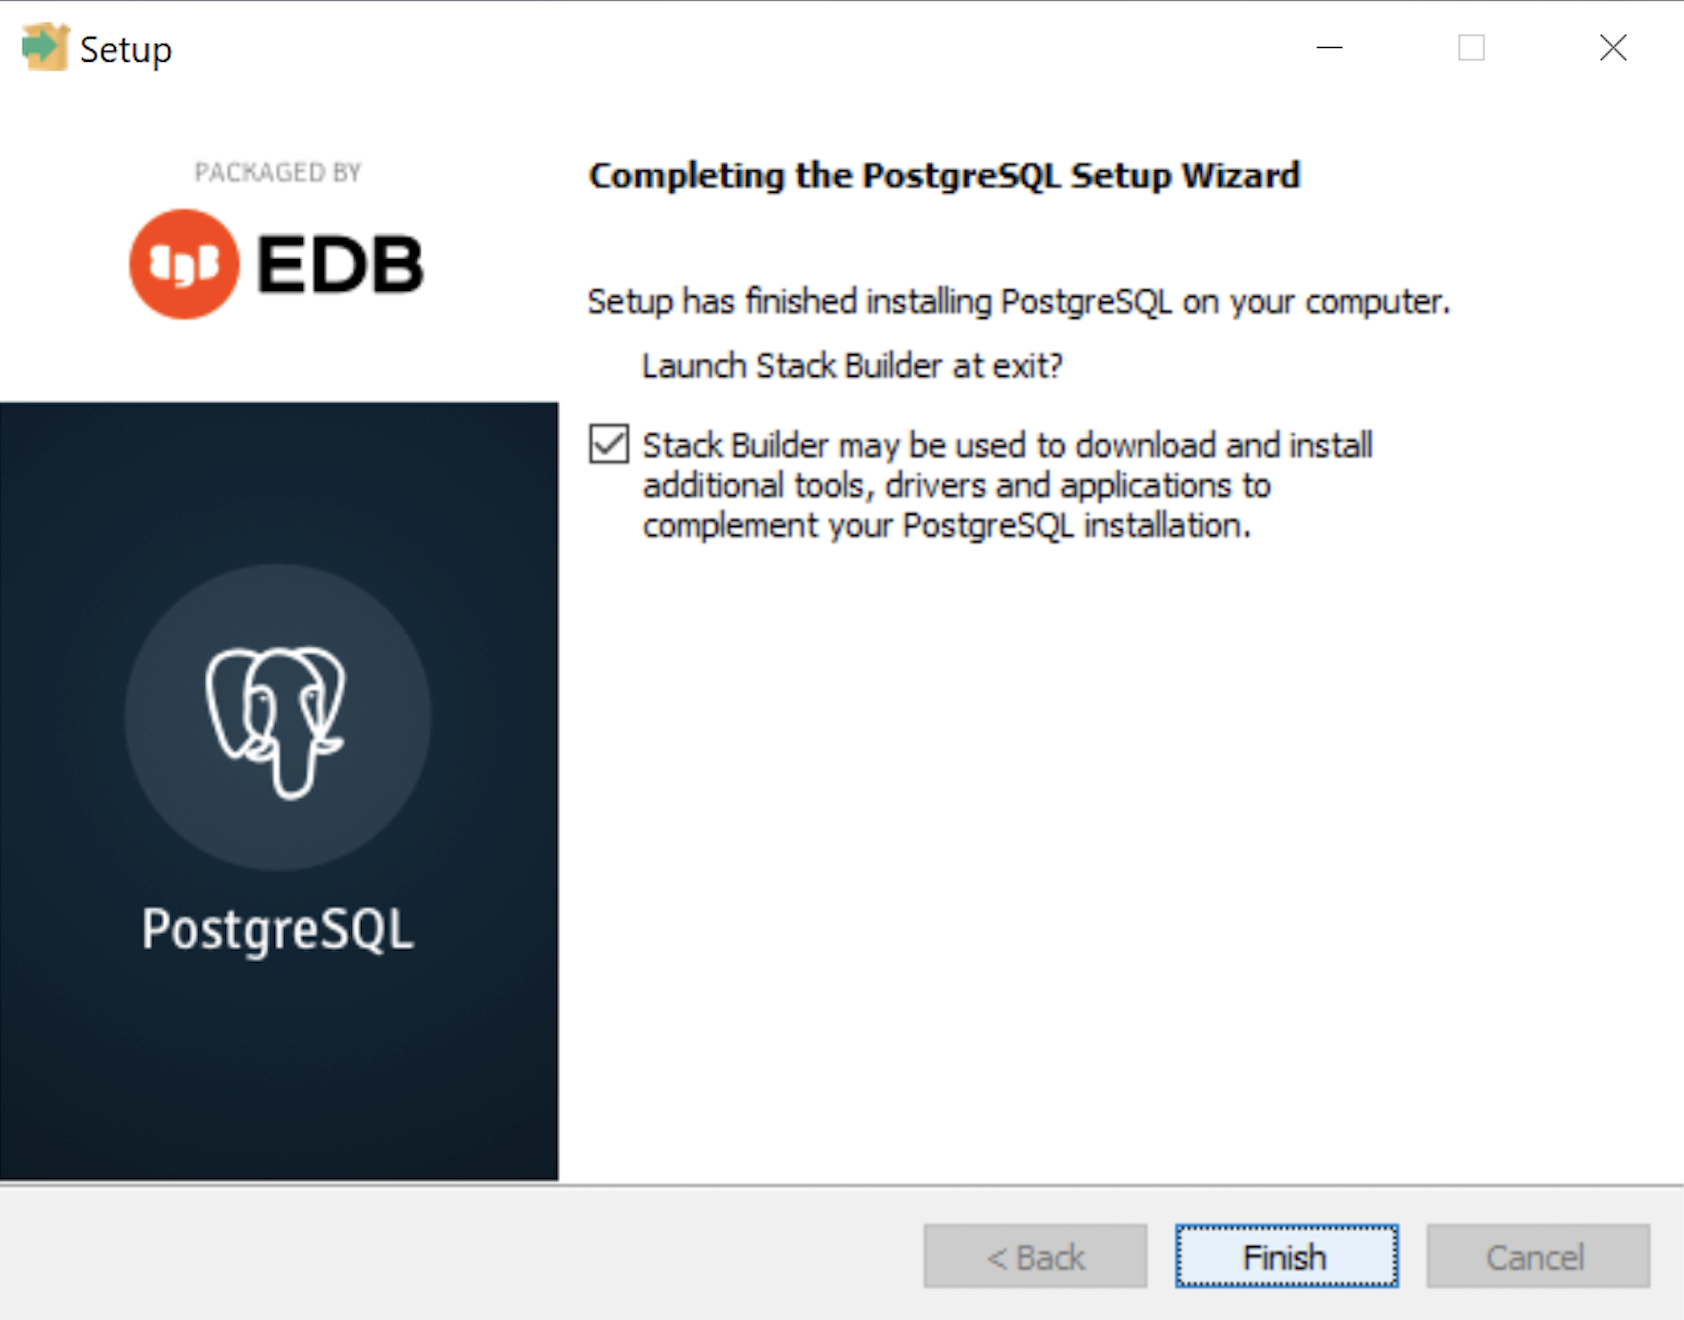
- The Completing the PostgreSQL Setup Wizard dialog tells you that the installation is complete. Click the Finish button to complete the PostgreSQL installation.
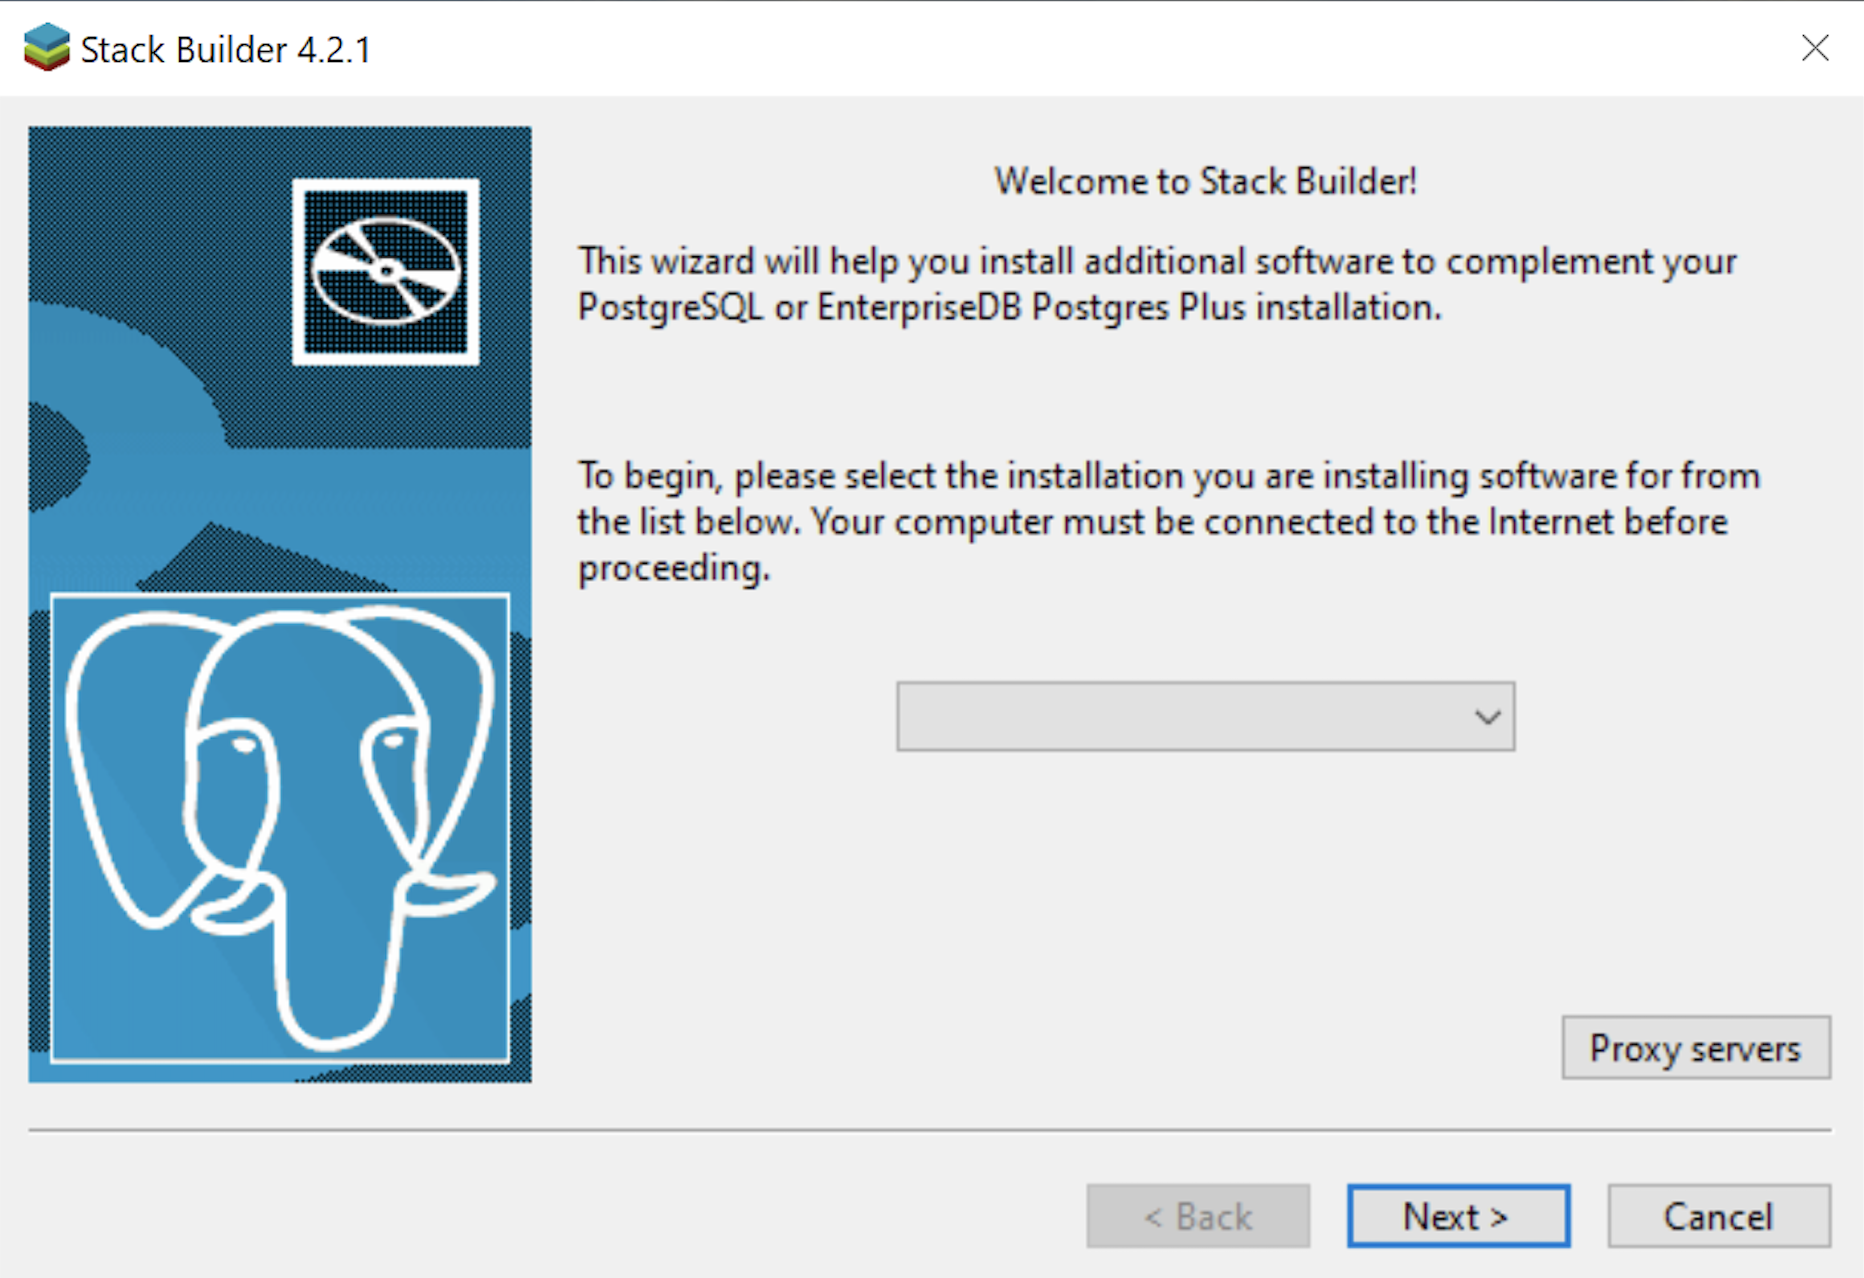
- The Welcome to Stack Builder! dialog lets you choose an installation from those on your computer to build a software stack. Click the drop down box to chose an installation.
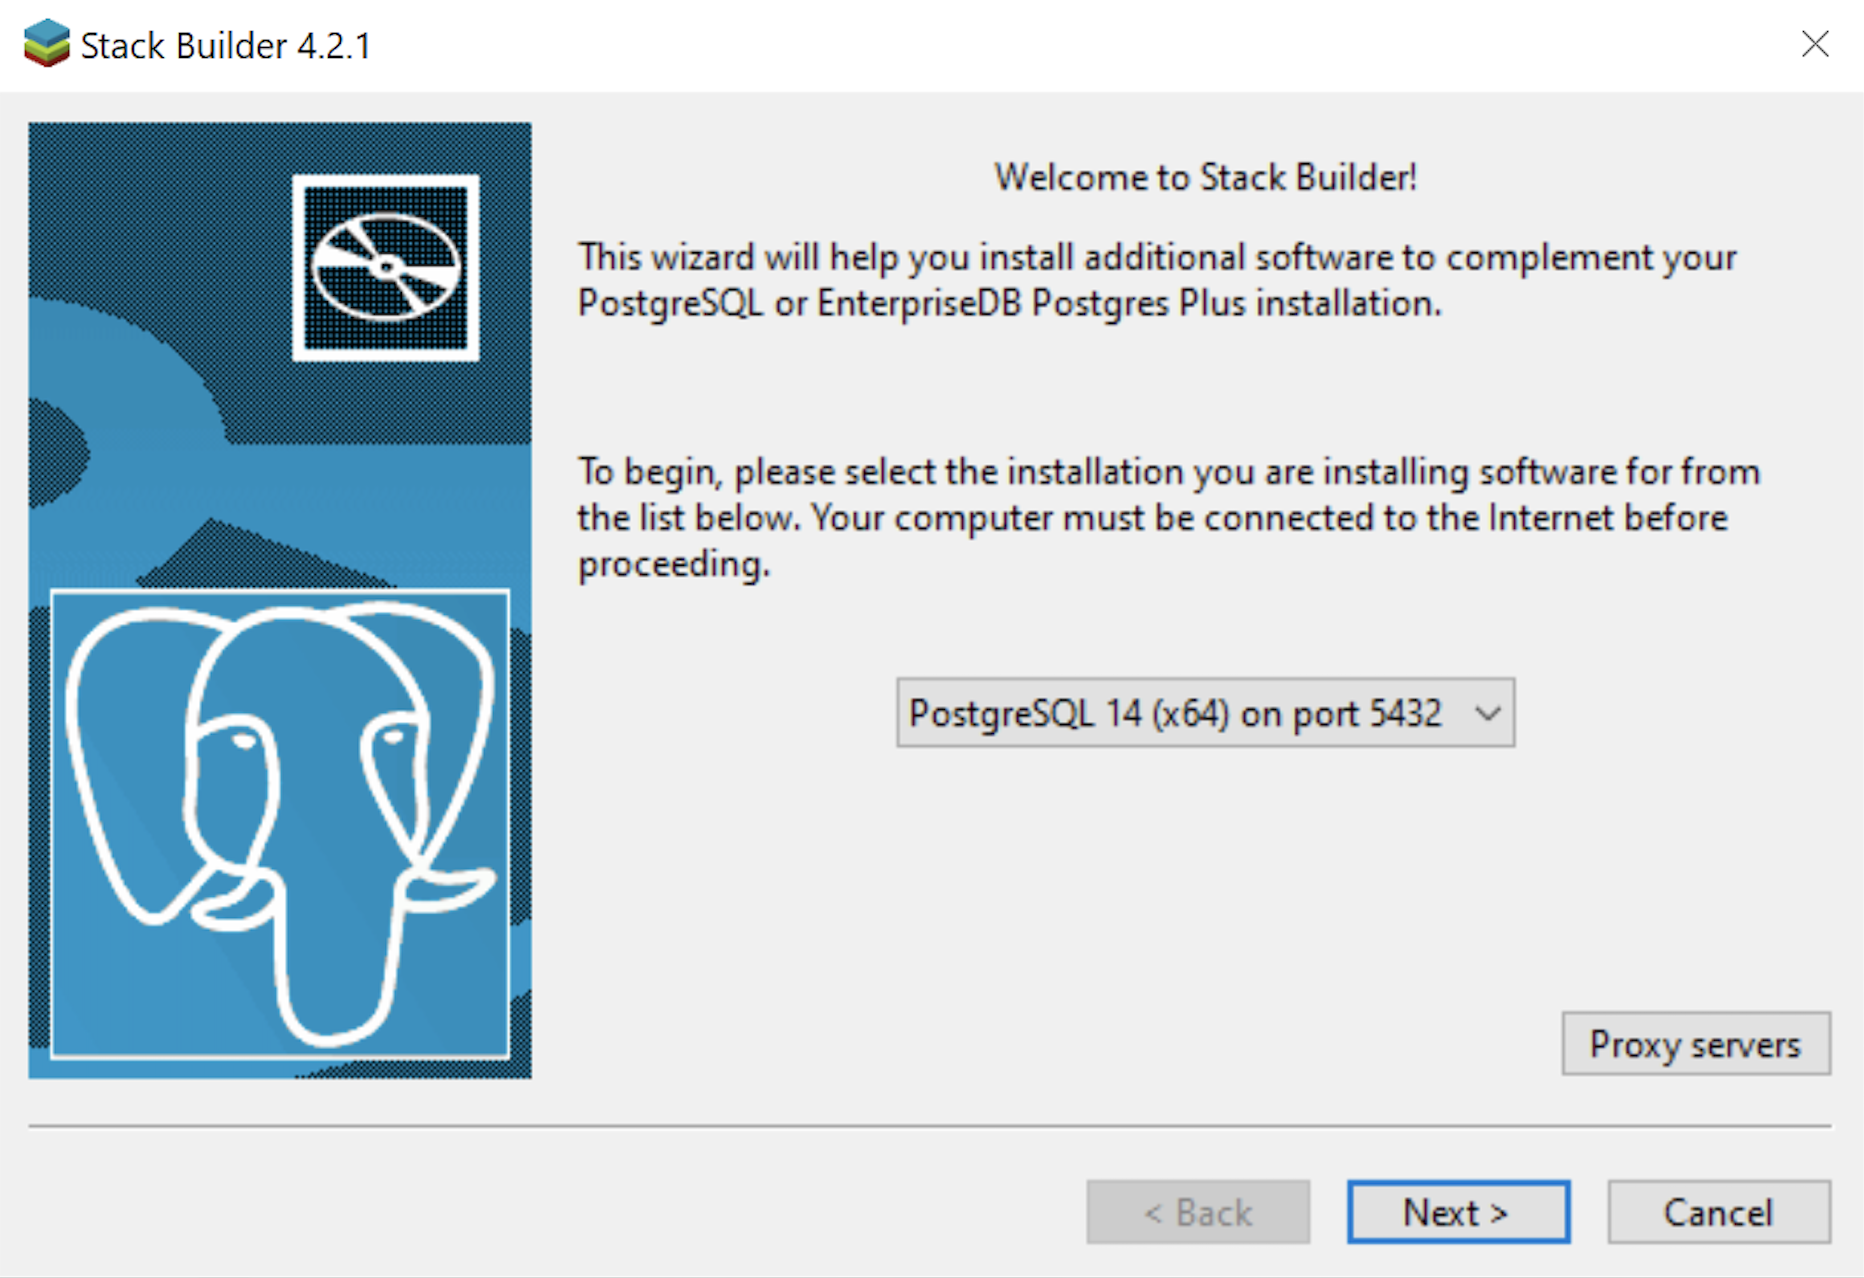
- The second copy of the Welcome to Stack Builder! dialog shows the choice of the PostgreSQL installation you just completed. Click on the Next button to continue.
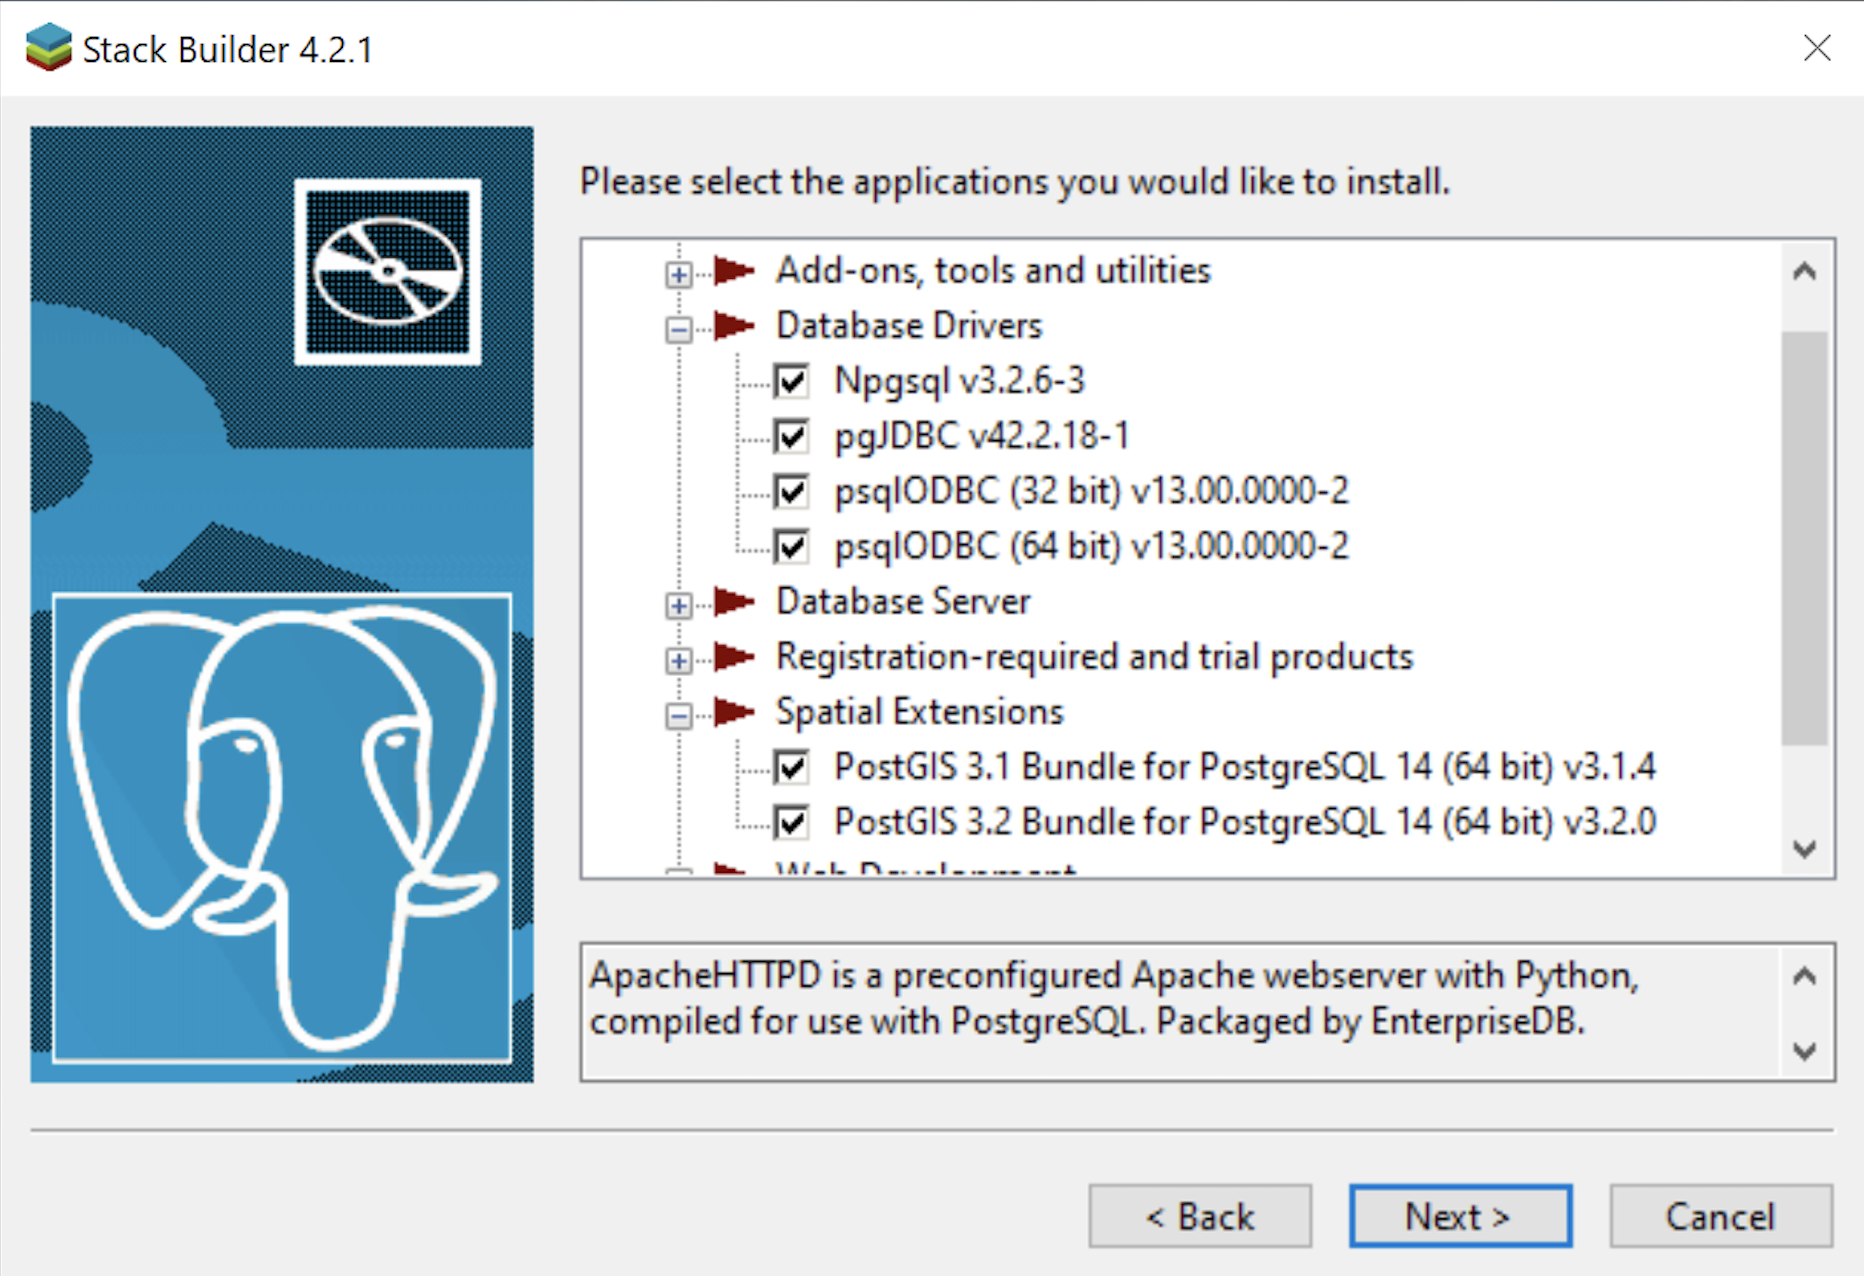
- The Stack Builder dialog prompts you to choose the products to install. You should choose all four database drivers – Npgsql, pgJDBC, psqlODBC, psqlODBC; and the PostGIS 3.1 and PostGIS 3.2 Bundles for PostgreSQL. Then, click the Next button to continue.
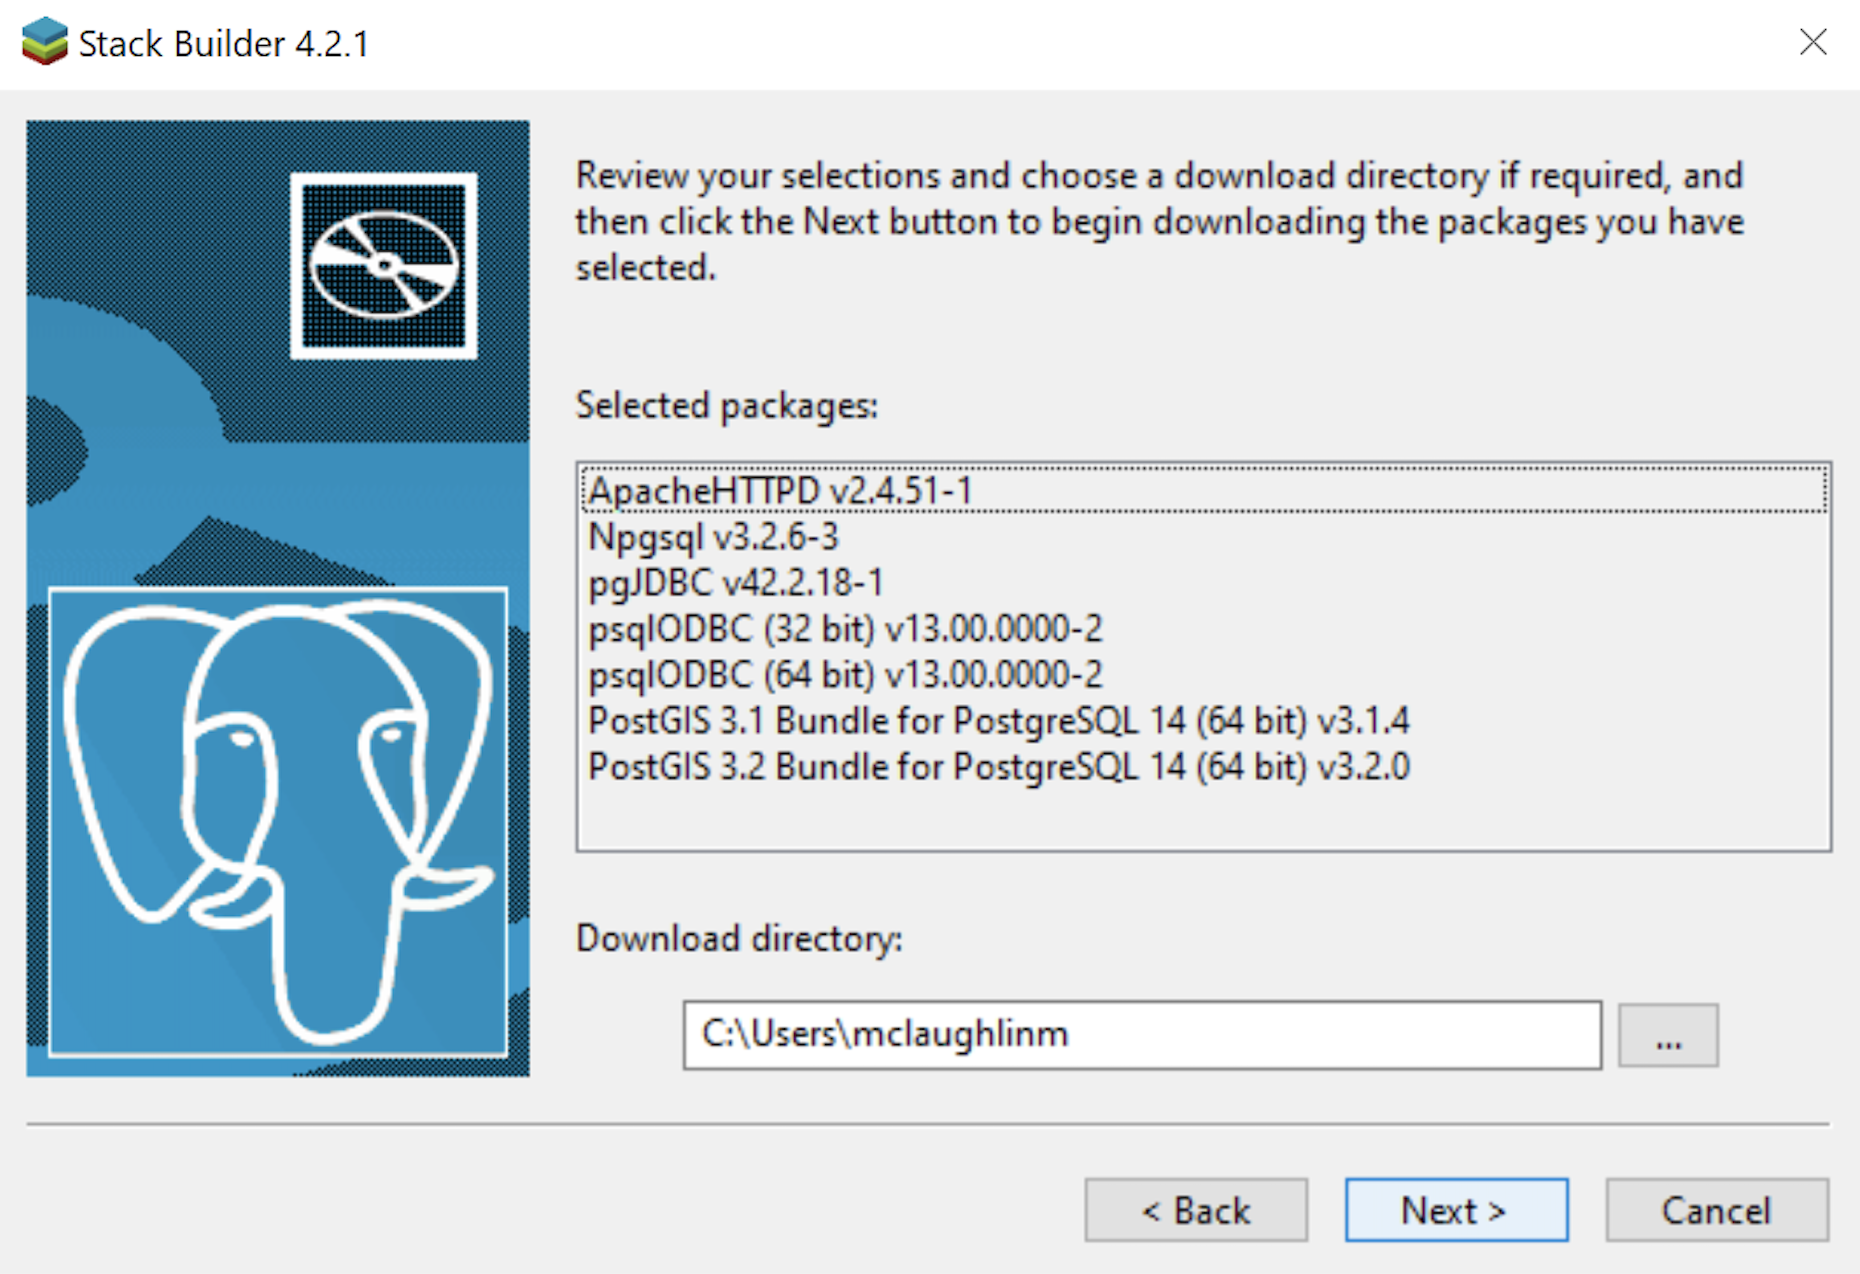
- The Stack Builder dialog shows you the products you will install. You should choose all four database drivers – Npgsql, pgJDBC, psqlODBC, psqlODBC; and the PostGIS 3.1 and PostGIS 3.2 Bundles for PostgreSQL. Click the Next button to continue.
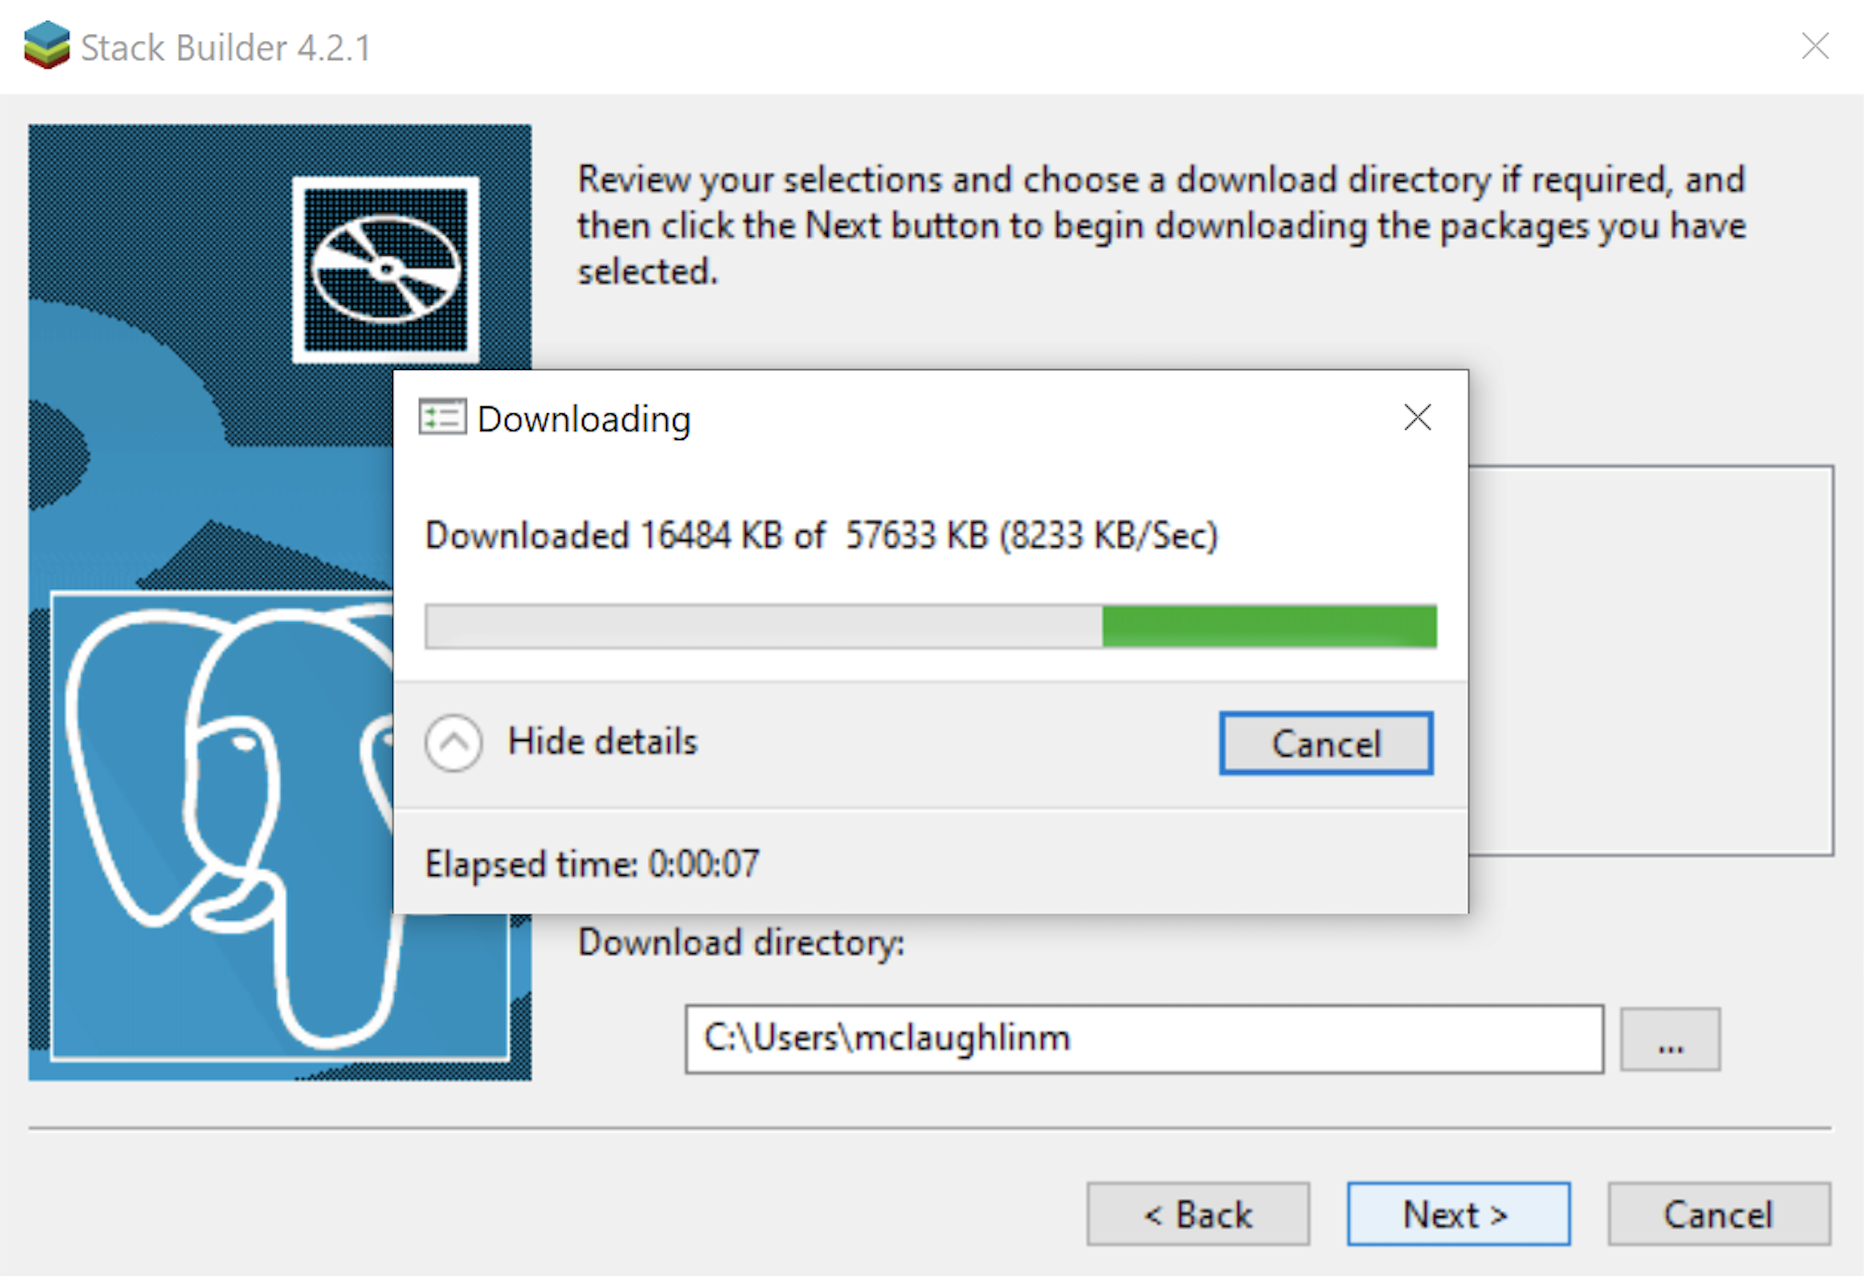
- The Stack Builder dialog shows a download progress bar subdialog, which may take some time to complete. The Stack Builder dialog’s Progress Bar automatically advances to the next dialog box.
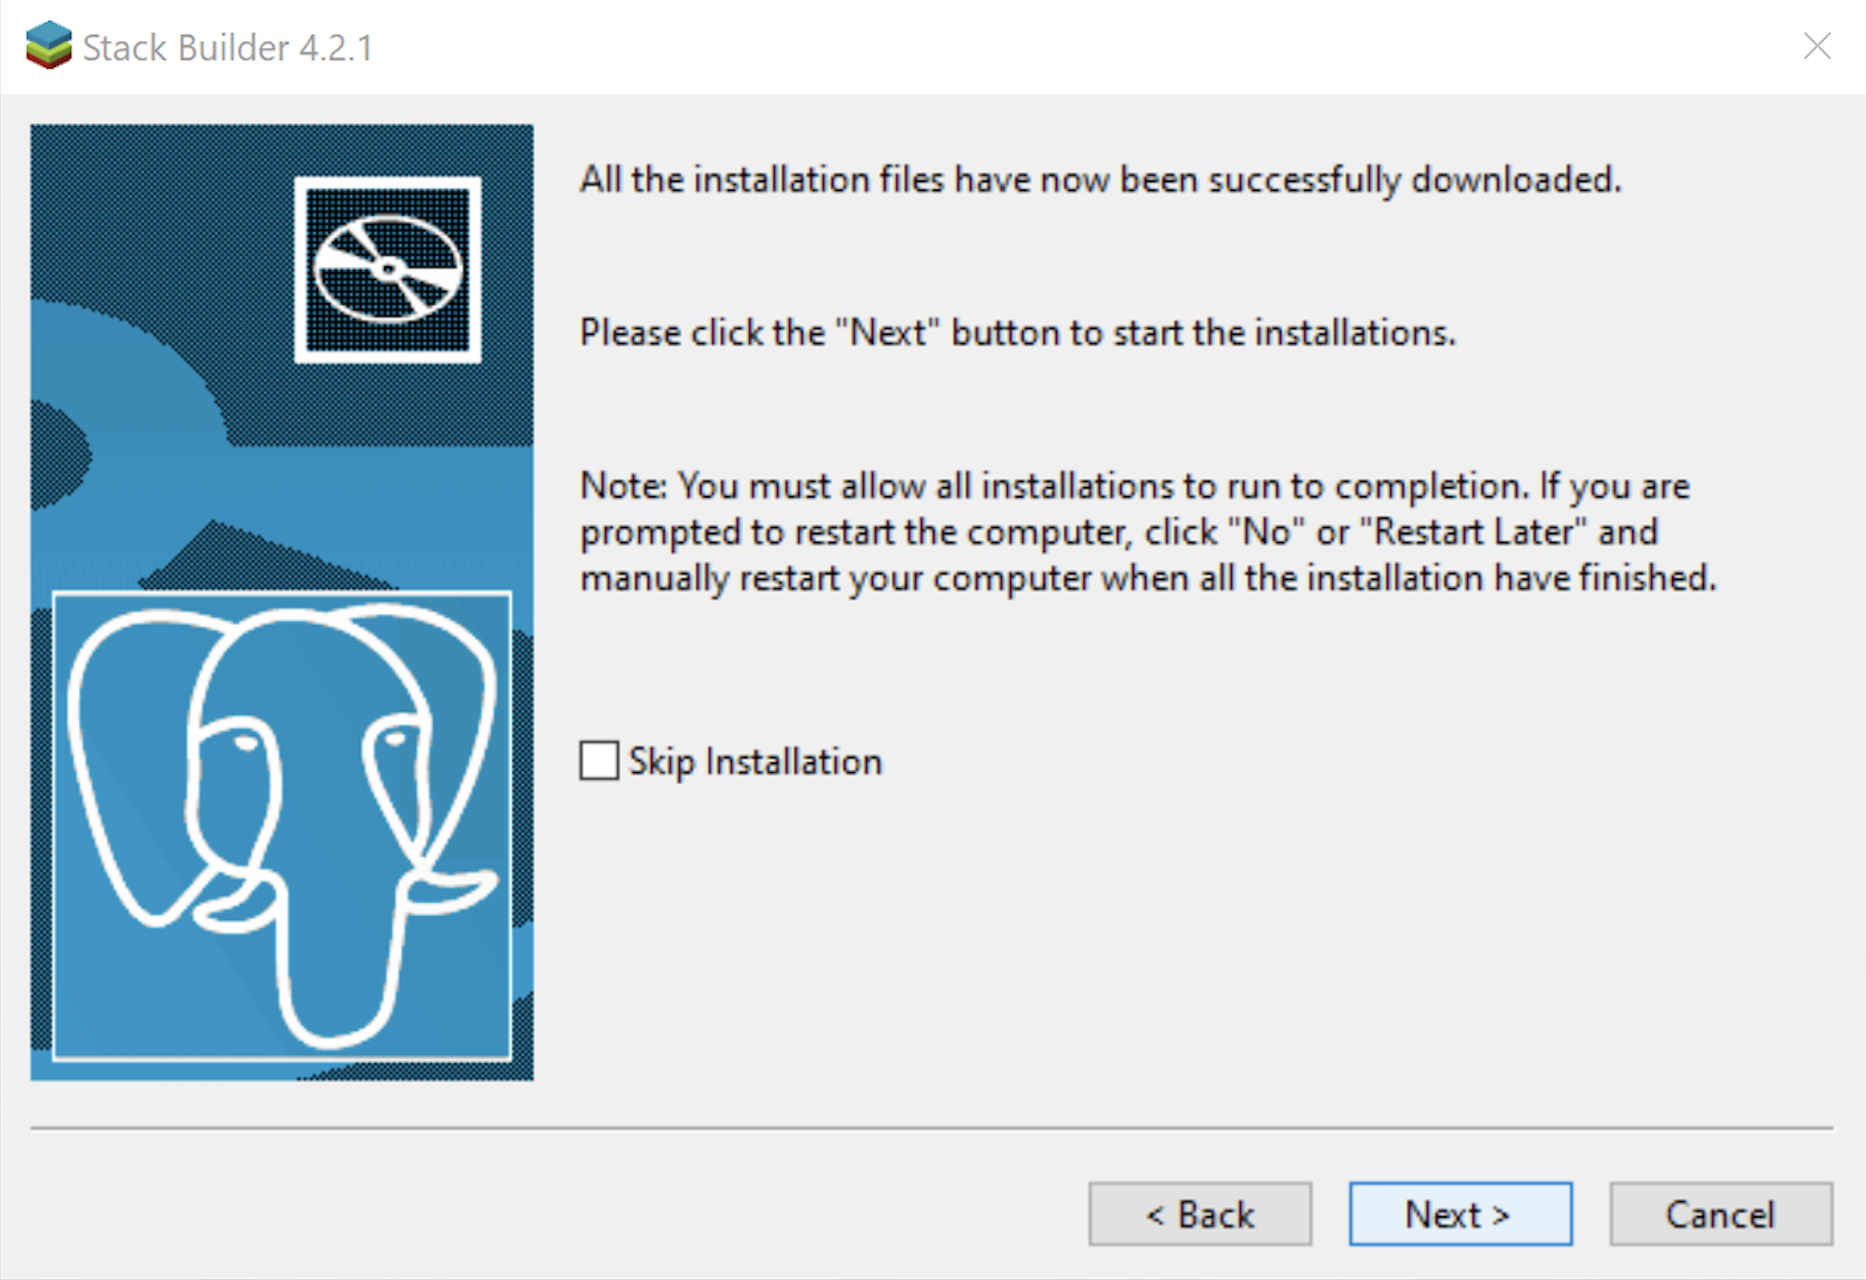
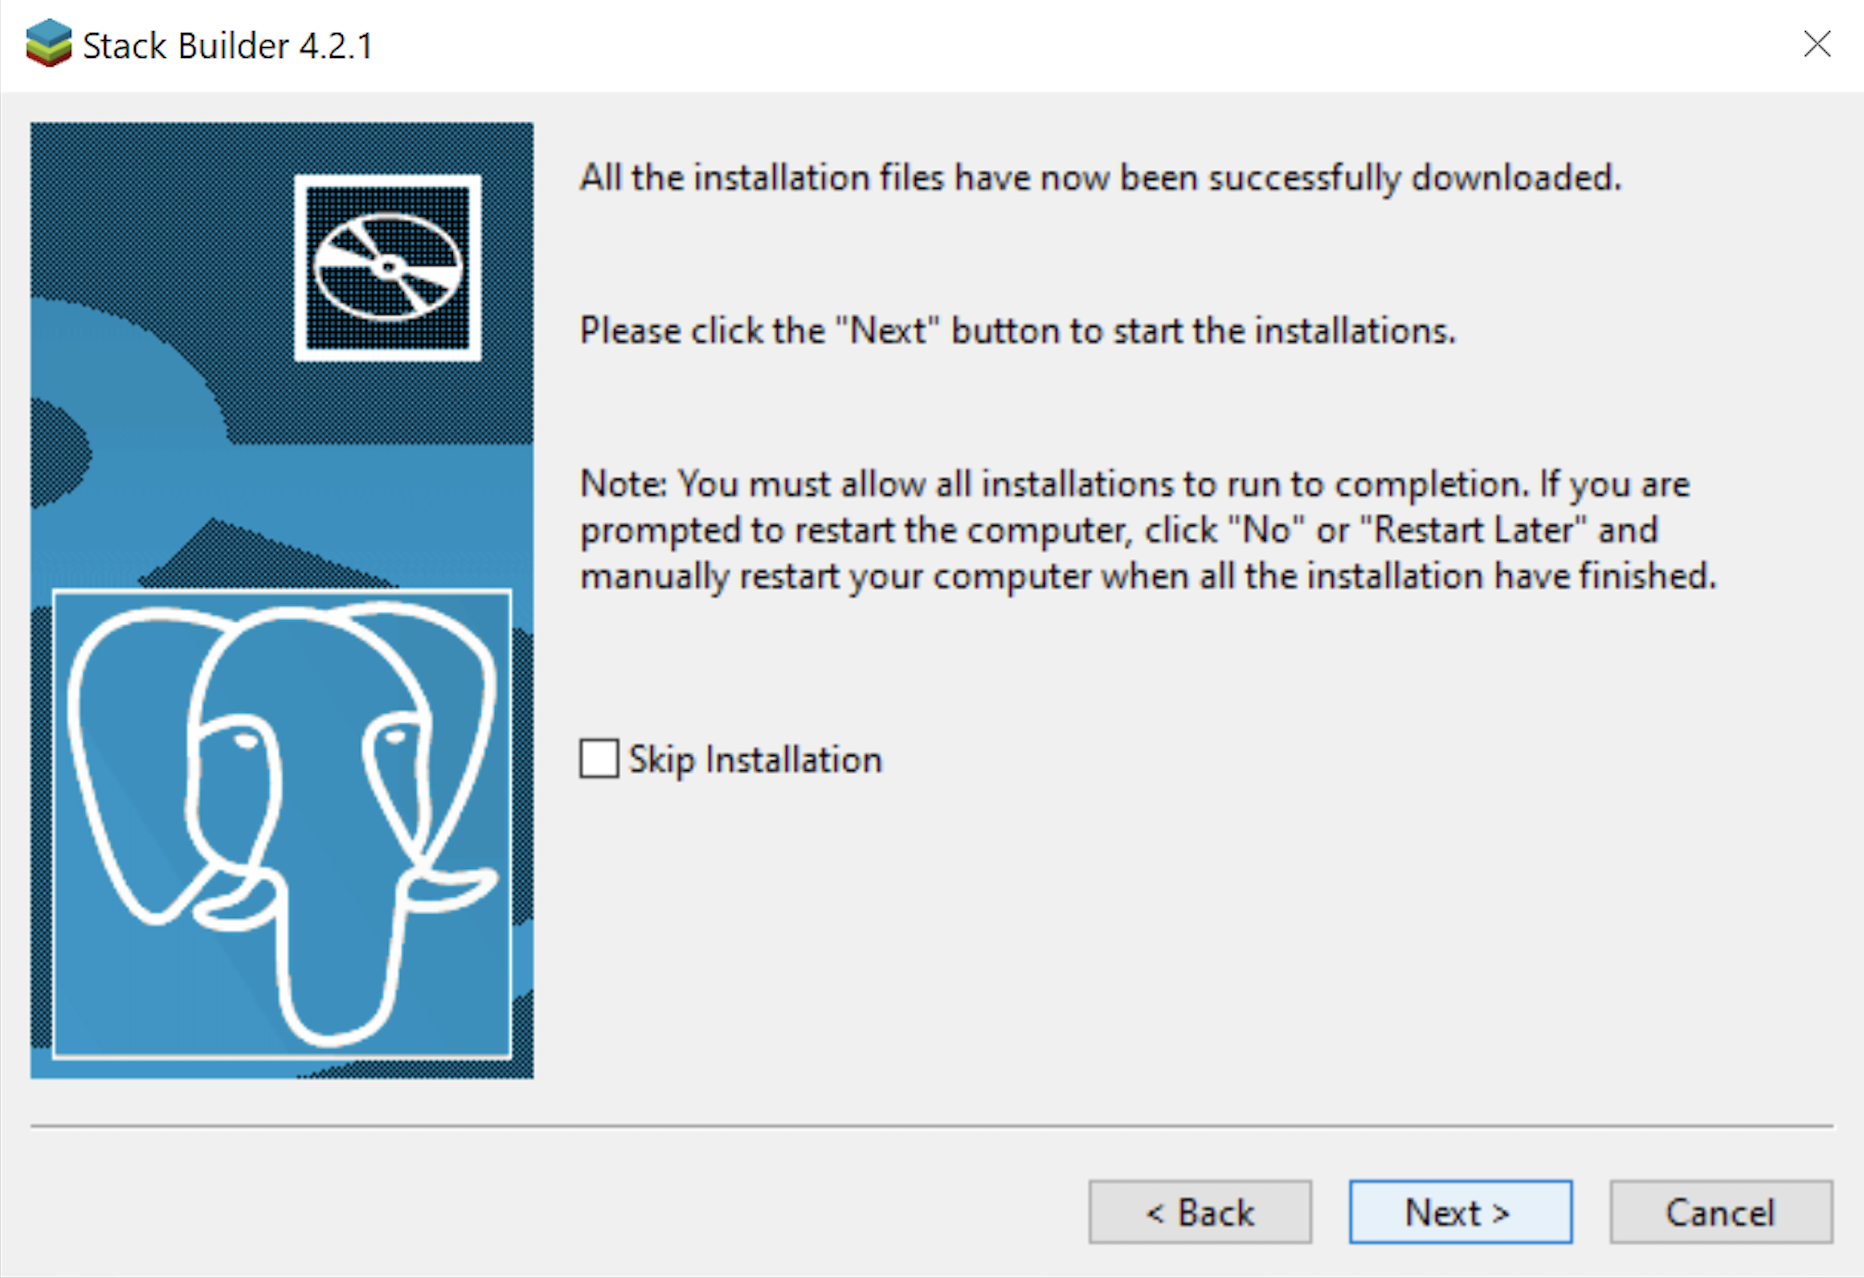
- The Stack Builder dialog tells you the products you downloaded. Click the Next button to continue the developer stack.
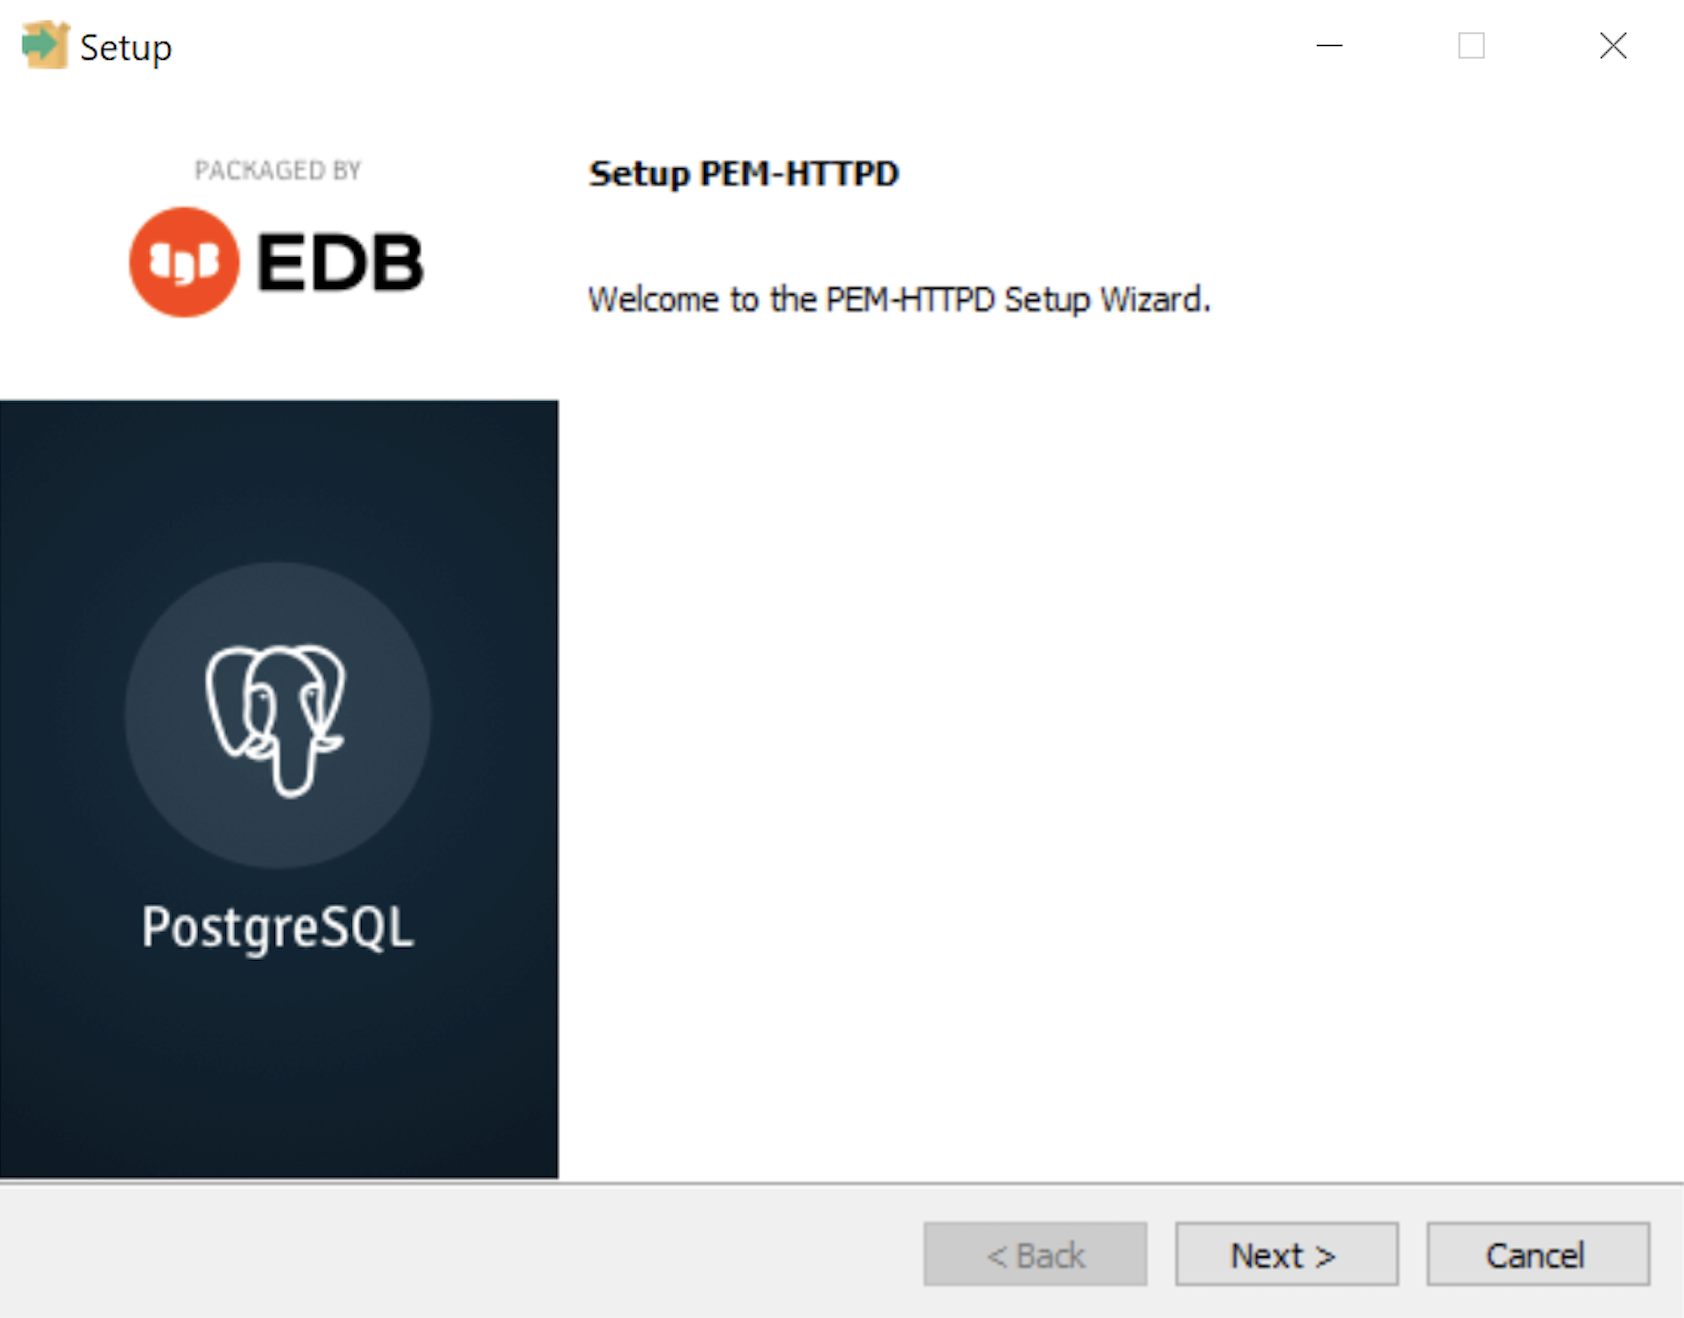
- The Setup dialog advises that you are installing the PEM-HTTPD Setup Wizard. Click the Next button to continue.
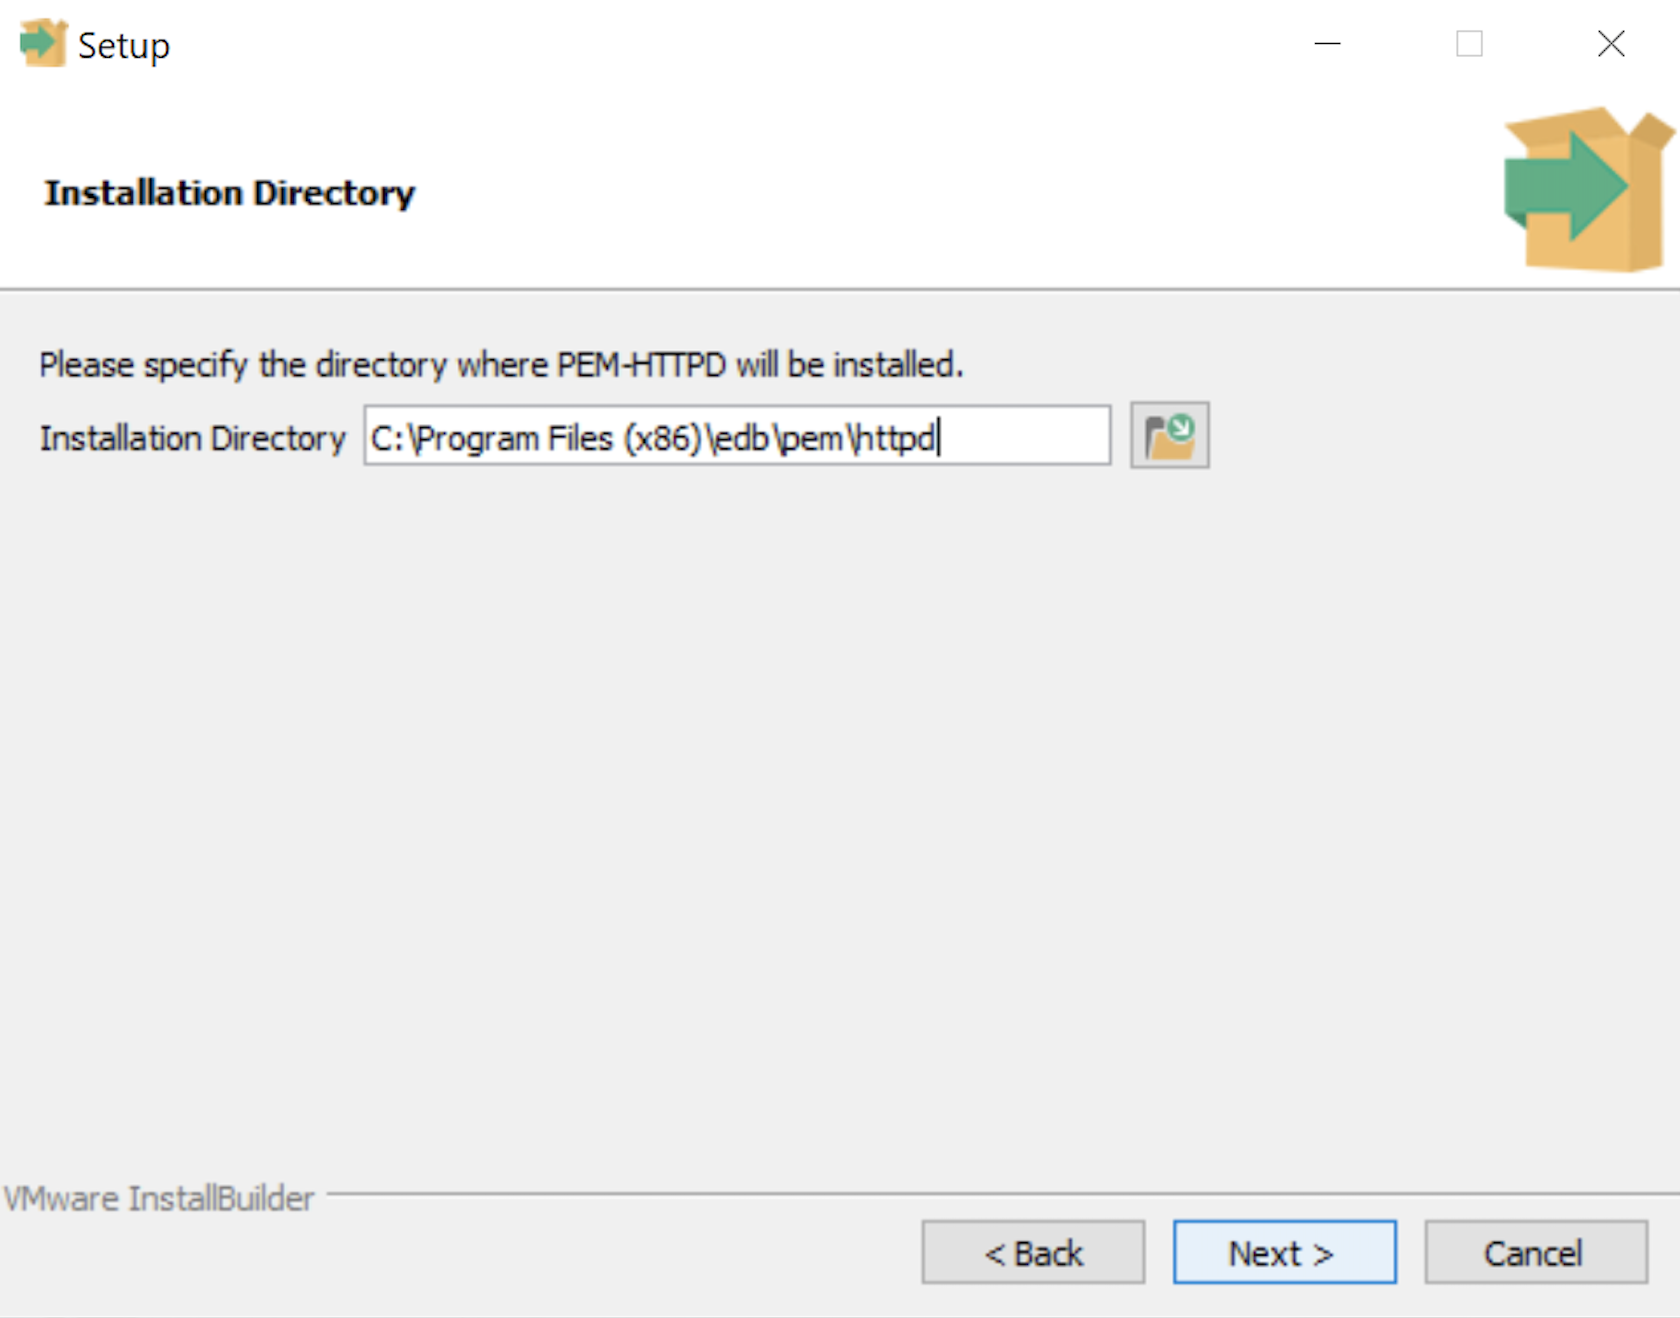
- The Installation Directory dialog prompts you for an installation directory. The default directory is C:\Program Files (x86)\edb\pem\httpd and you should use it because that’s where Windows 10 puts 64-bit libraries. Click the Next button to continue.

- The Setup dialog lets you select the port number for the HTTP listener. Port 8080 is the standard port for an HTTP listener, and ports 8081, 8082, and so forth are used when you have more than one HTTP listener on a single server or workstation. Click the Next button to continue.
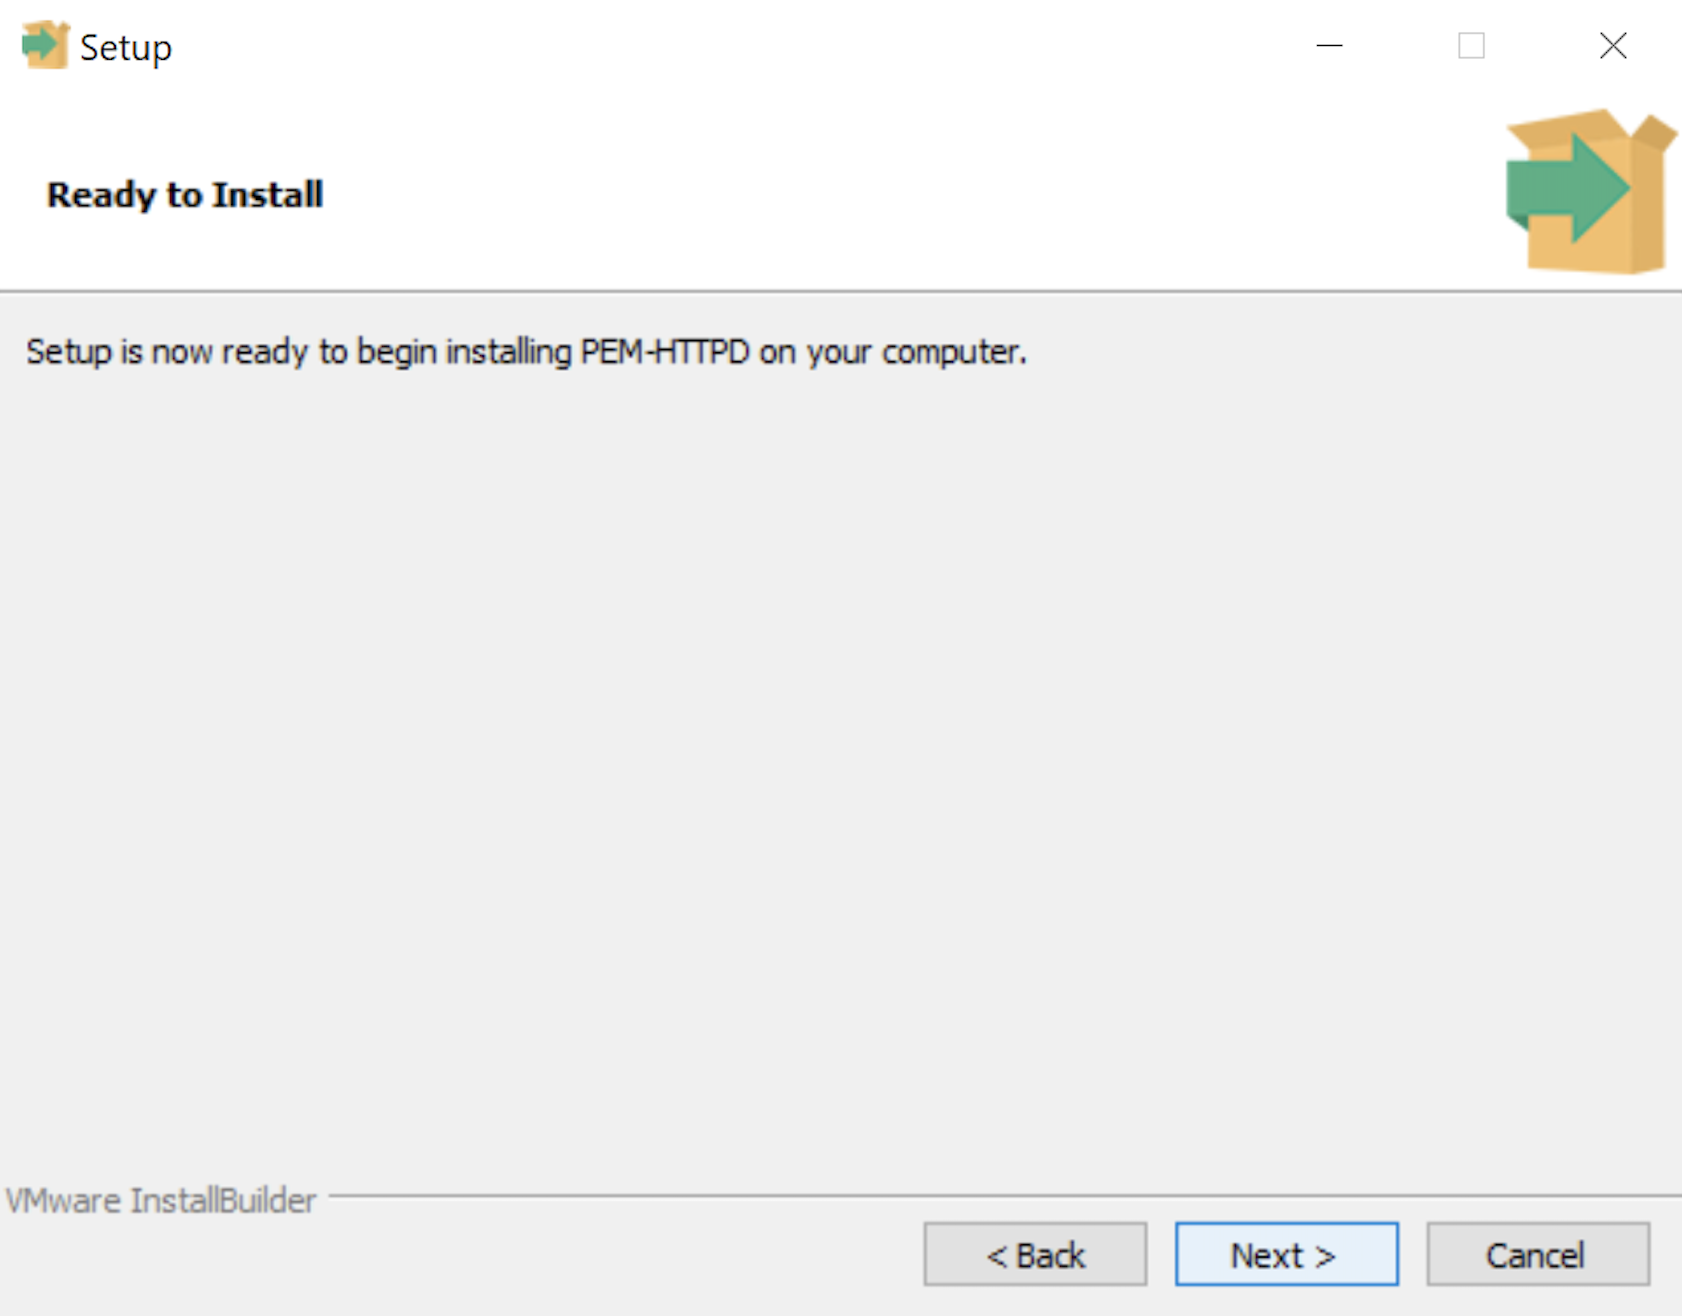
- The Ready to Install dialog lets you pause before you install the software. Click the Next button to continue.
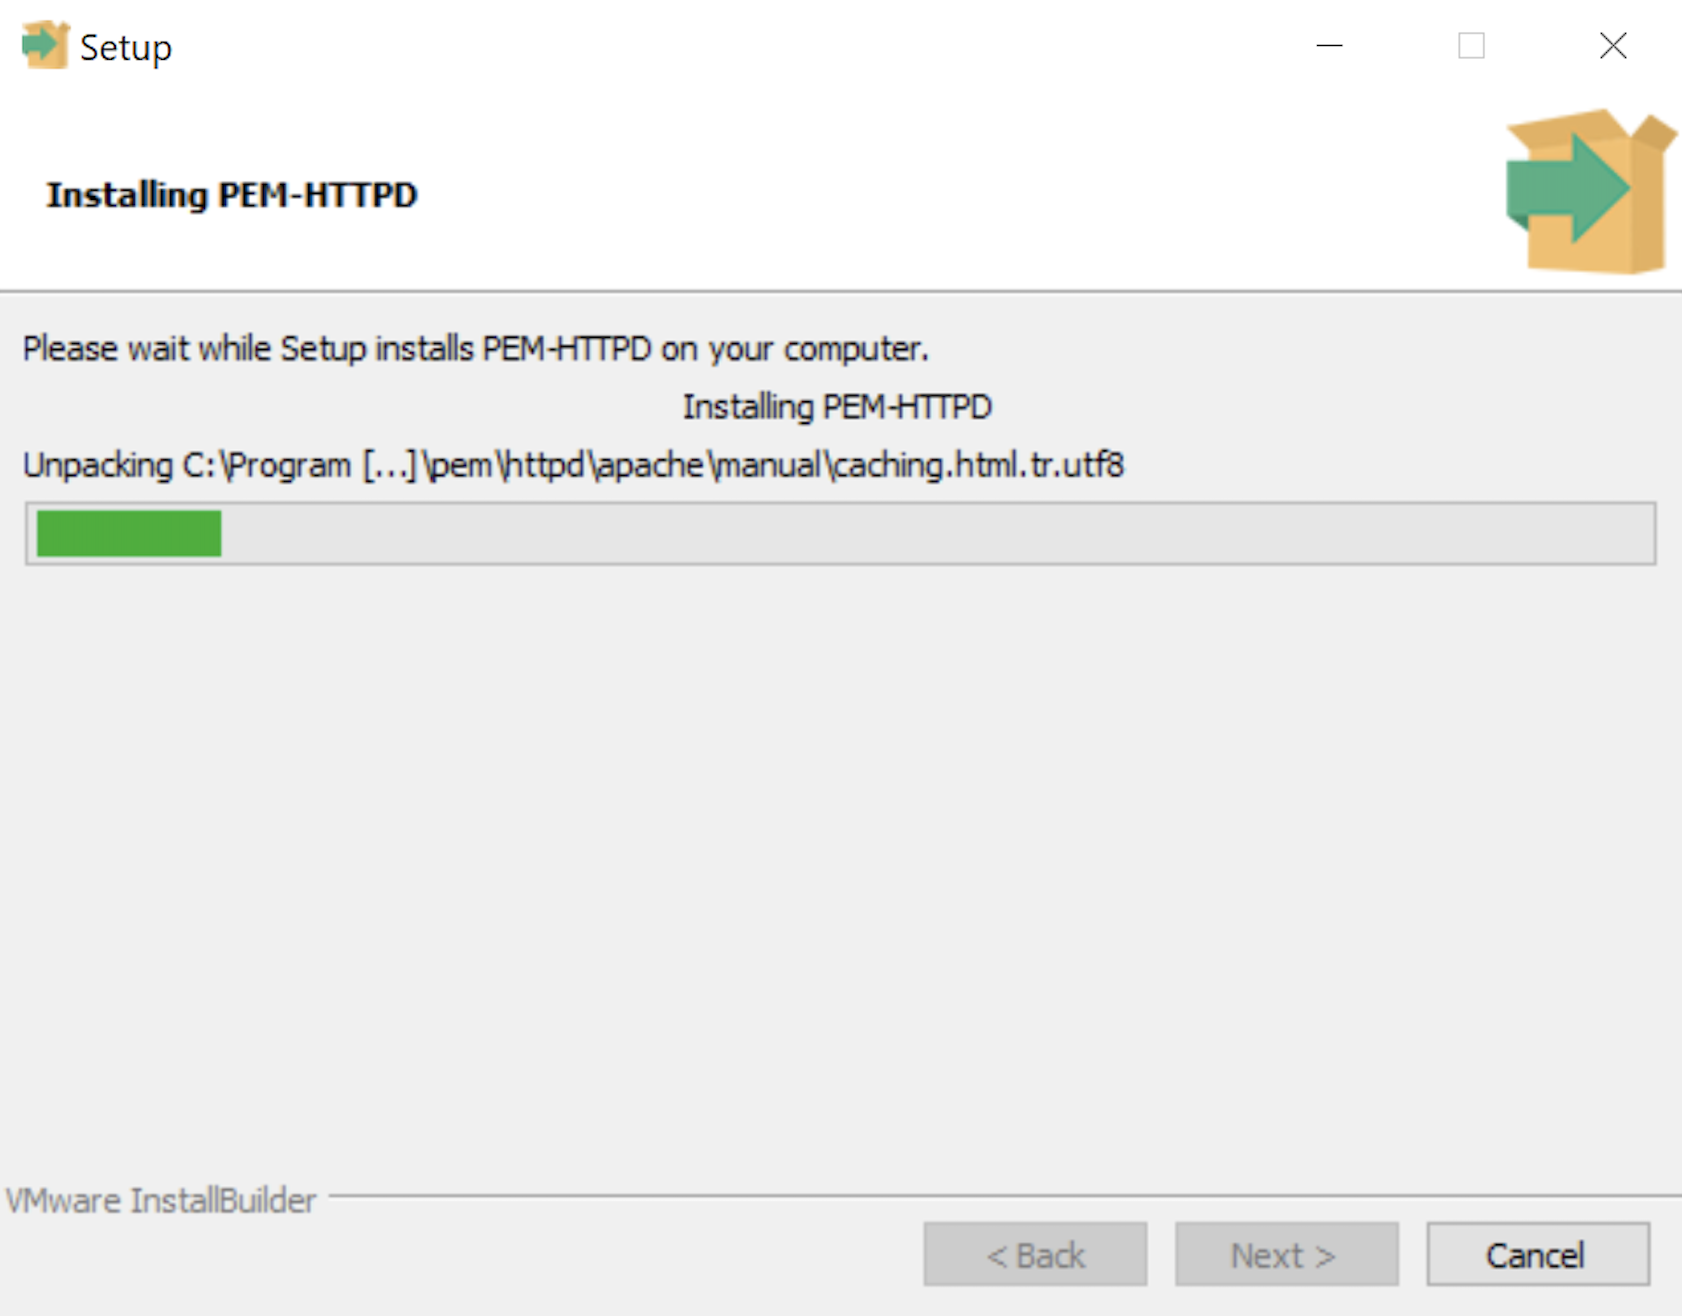
- The Installing dialog is a progress bar that will take several minutes to complete. When the progress bar completes, click the Next button when it becomes available to continue.
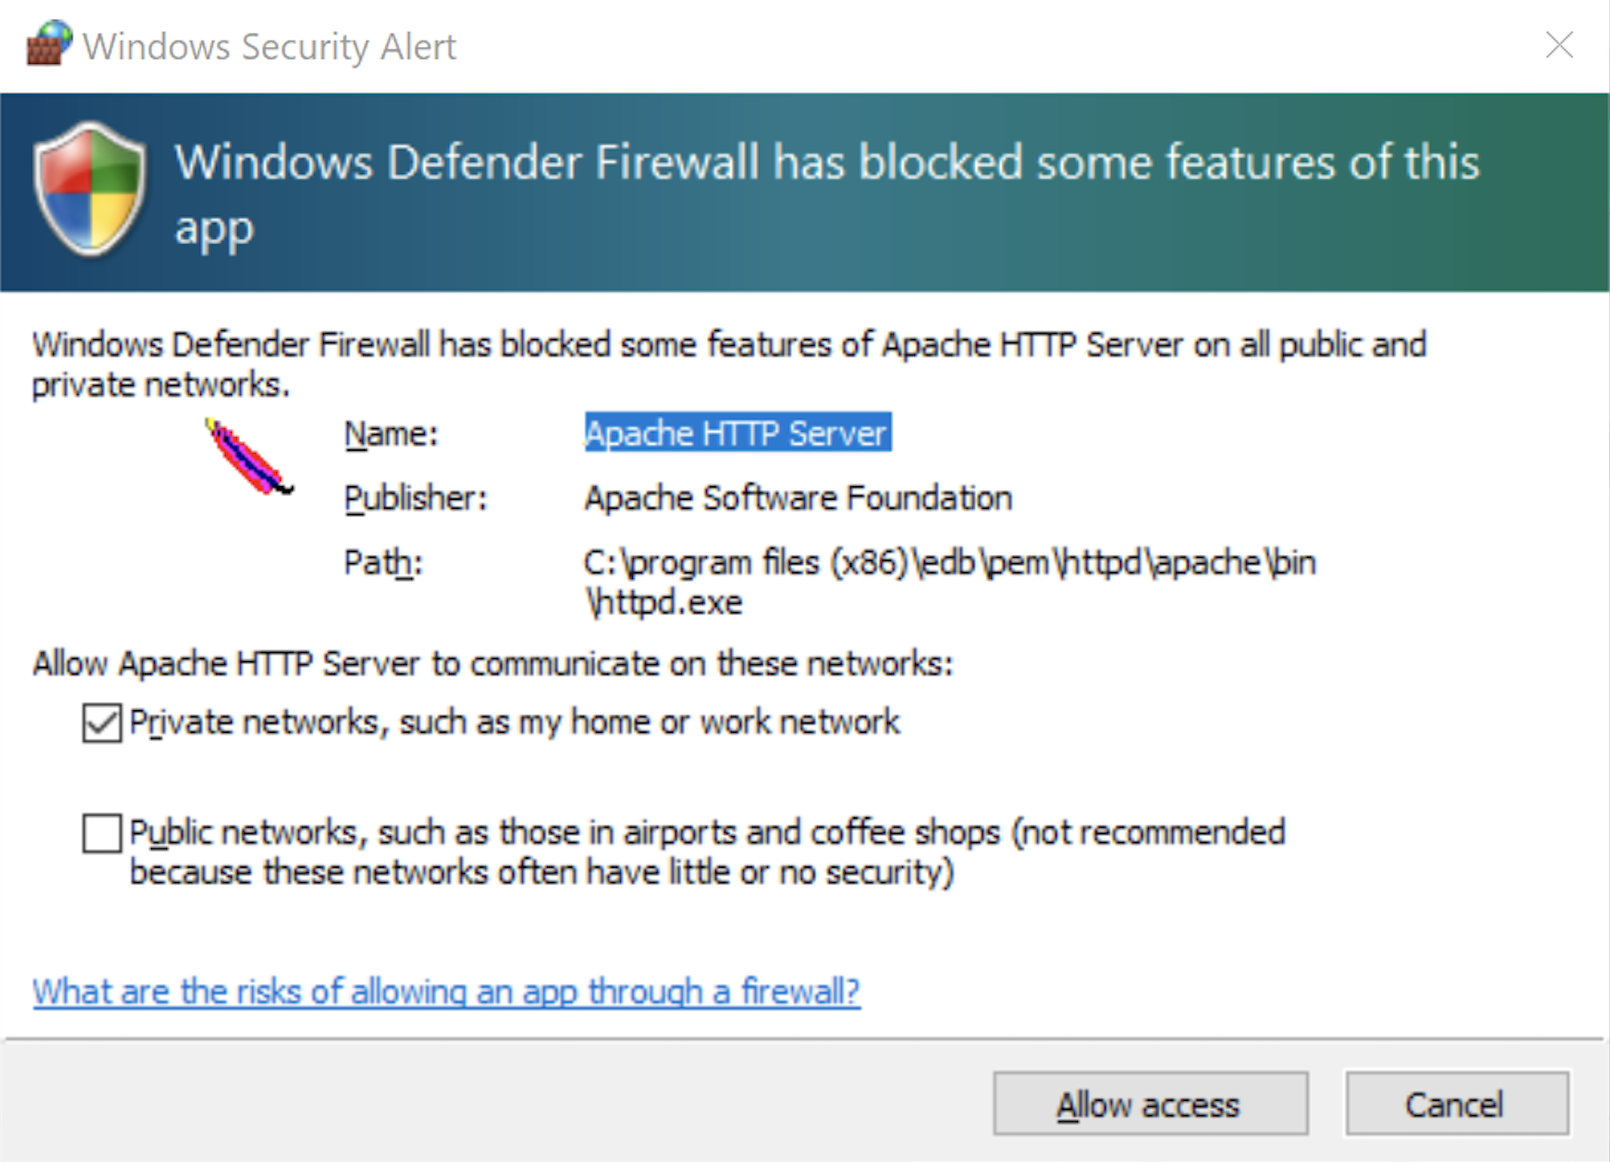
- The Windows Security Alert dialog asks you to allow the Apache HTTP Server to use port 8080. Click the Private networks, such as my home or work network checkbox and then the Allow access button to continue.
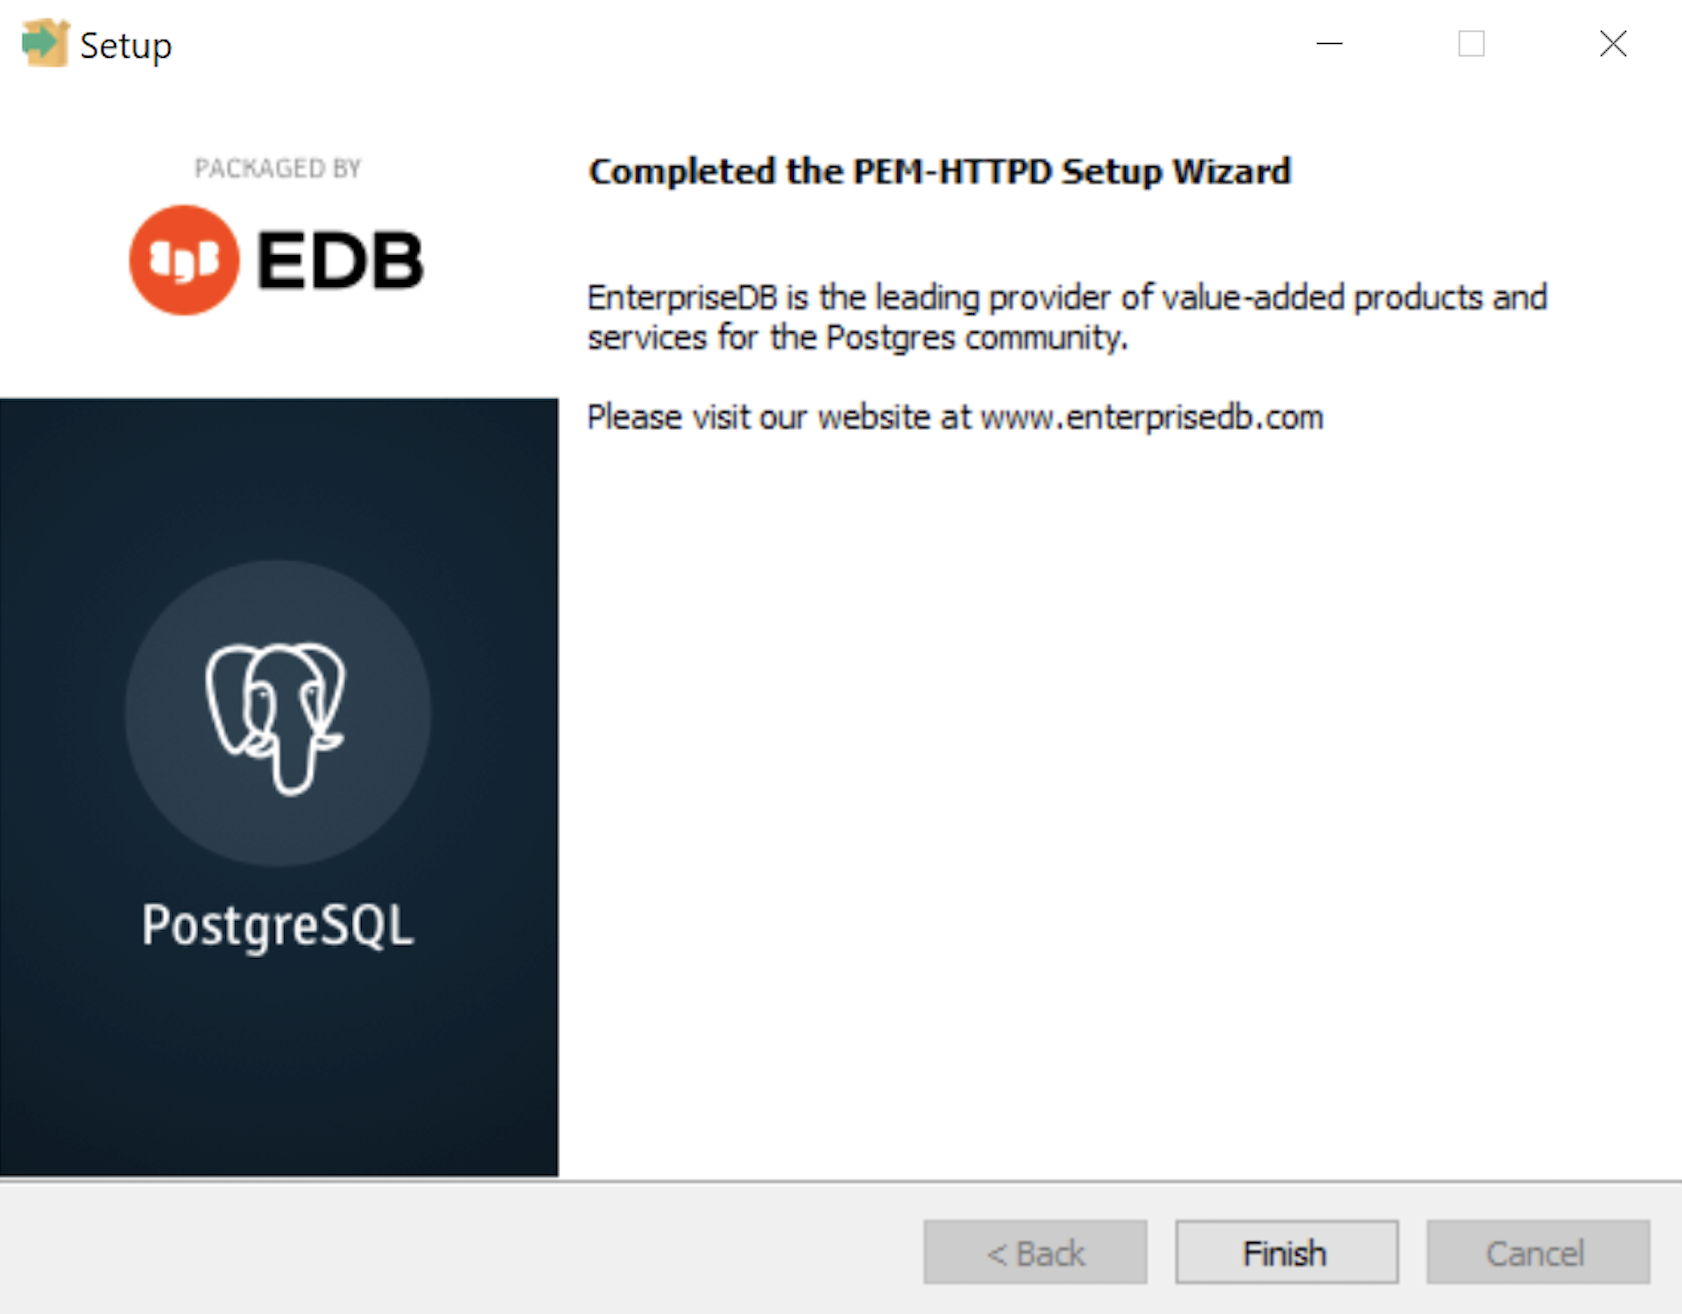
- The Setup dialog advises that you have completed the installation of the PEM-HTTPD Setup Wizard. Click the Finish button to continue.
- The Stack Builder dialog advises you that all four database drivers – Npgsql, pgJDBC, psqlODBC, psqlODBC are downloaded and ready to install. Click the Next button to continue.

- The Installation Directory dialog prompts you for an installation directory. The default directory is C:\Program Files (x86)\PostgreSQL\Npgsql and you should use it because that’s where Windows 10 puts 64-bit libraries and the subdirectory meets the standard installation convention for Microsoft .Net libraries. Click the Next button to continue.
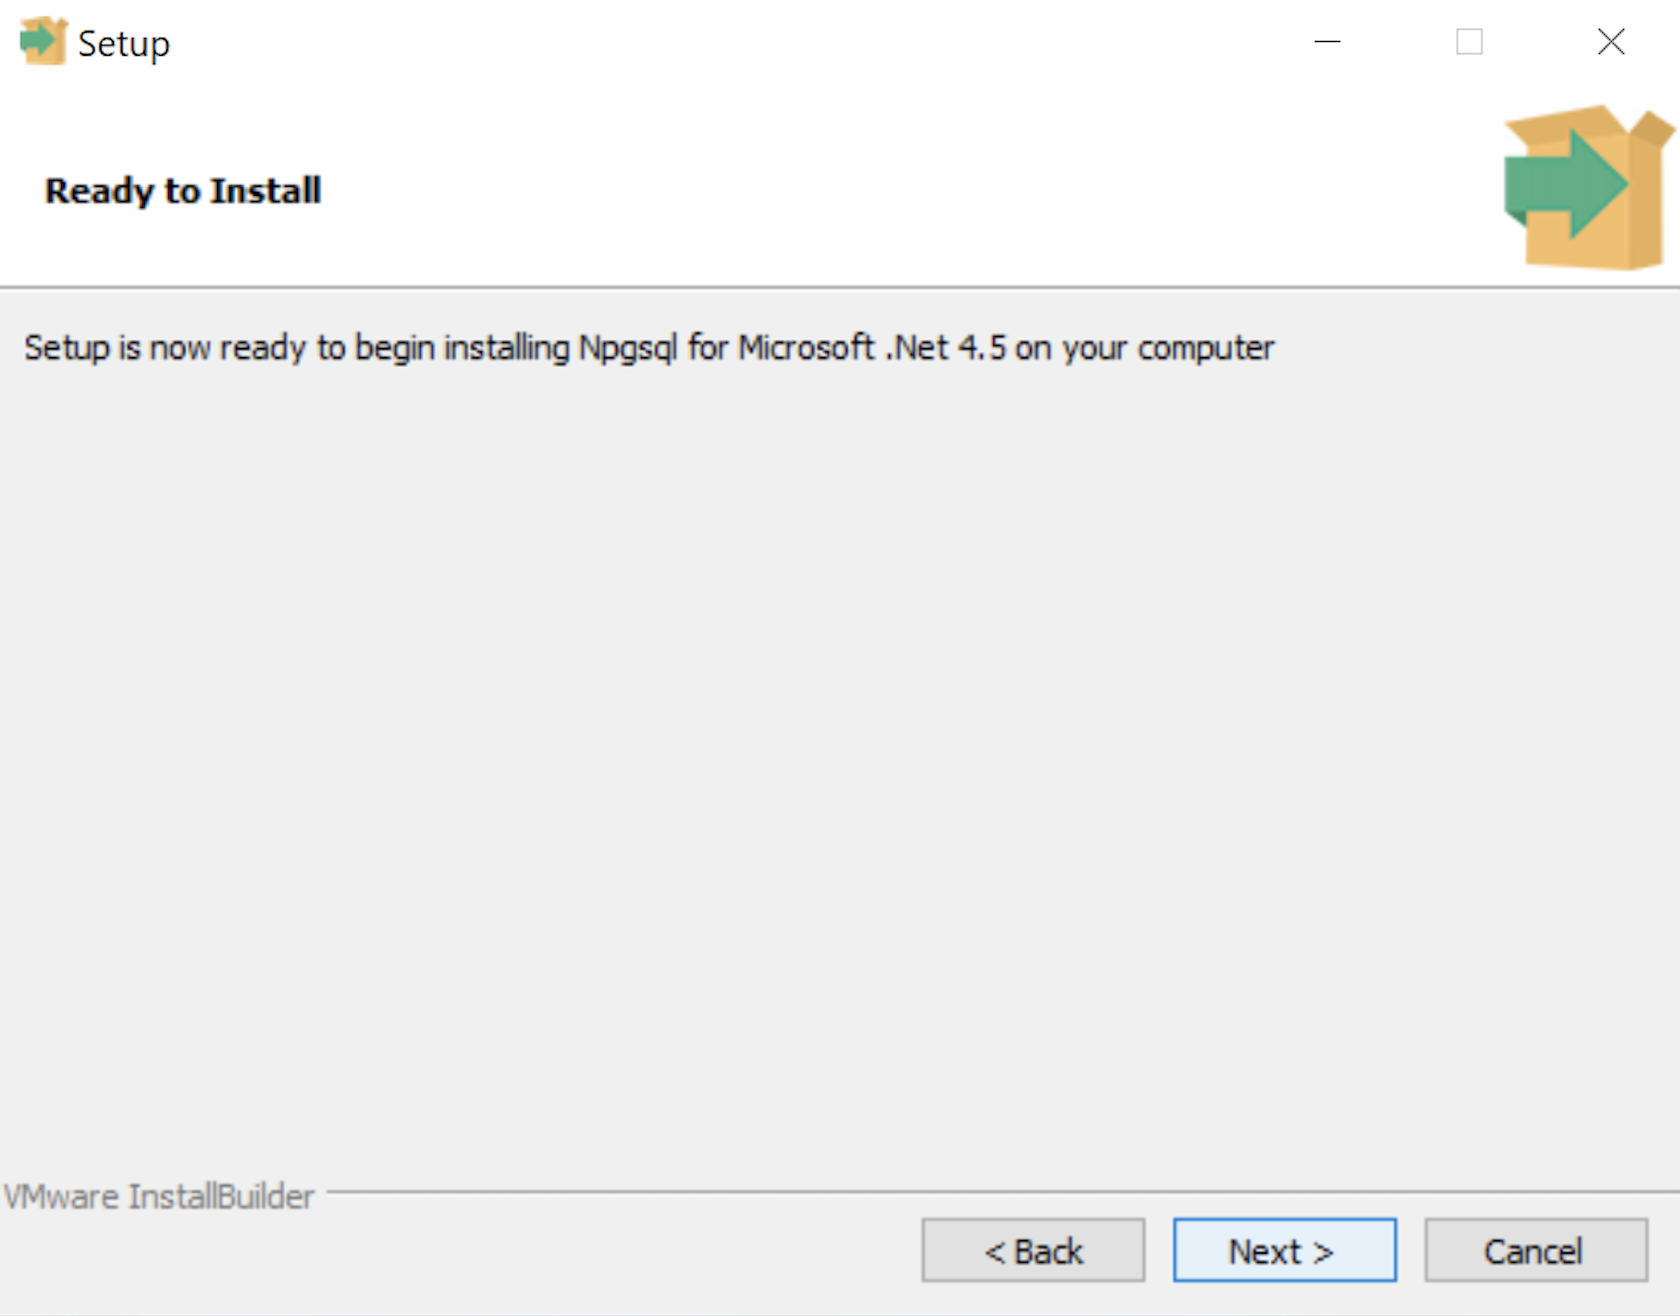
- The Ready to Install dialog lets you pause before you install the Npgsql software for Microsoft .Net. Click the Next button to continue.
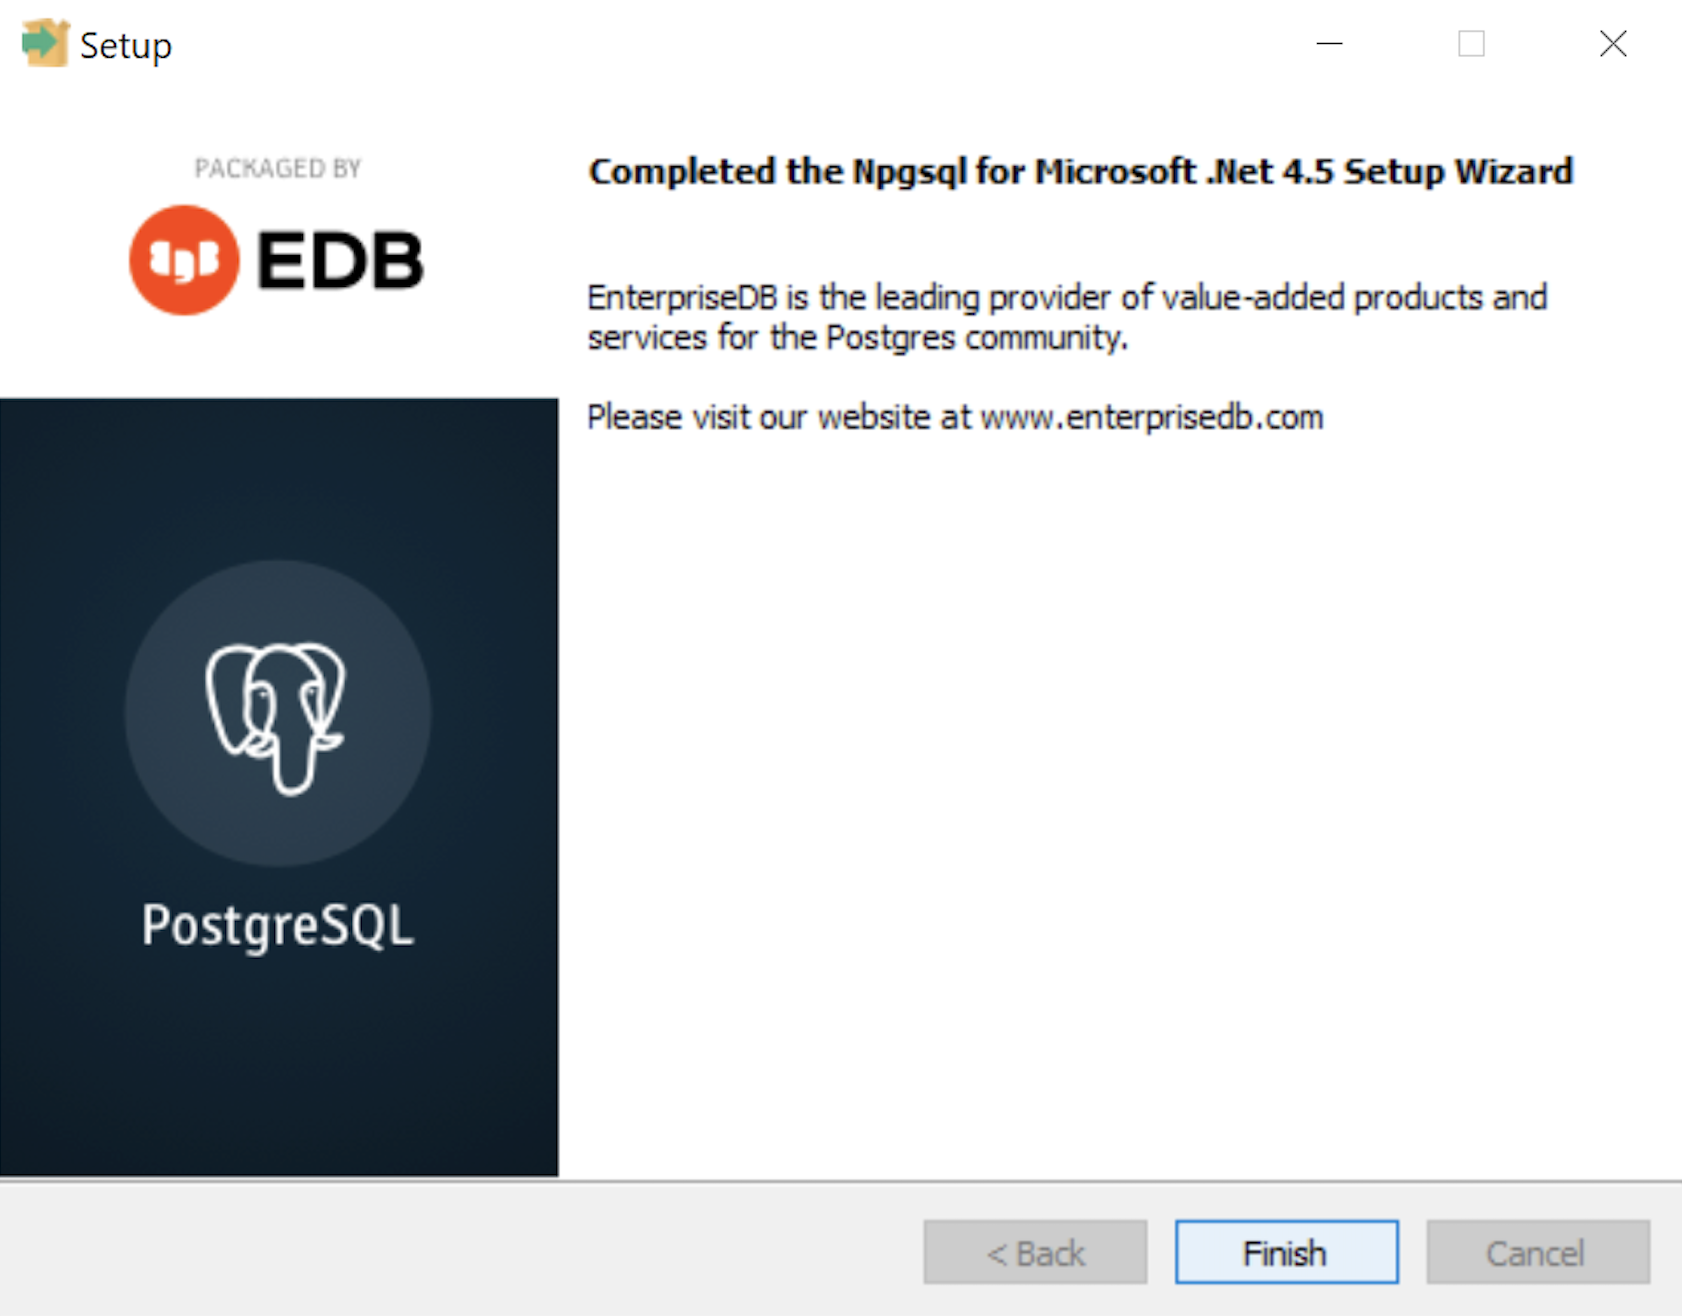
- The Setup dialog advises that you have completed the installation of npgsql driver for Microsoft .Net. Click the Finish button to continue.
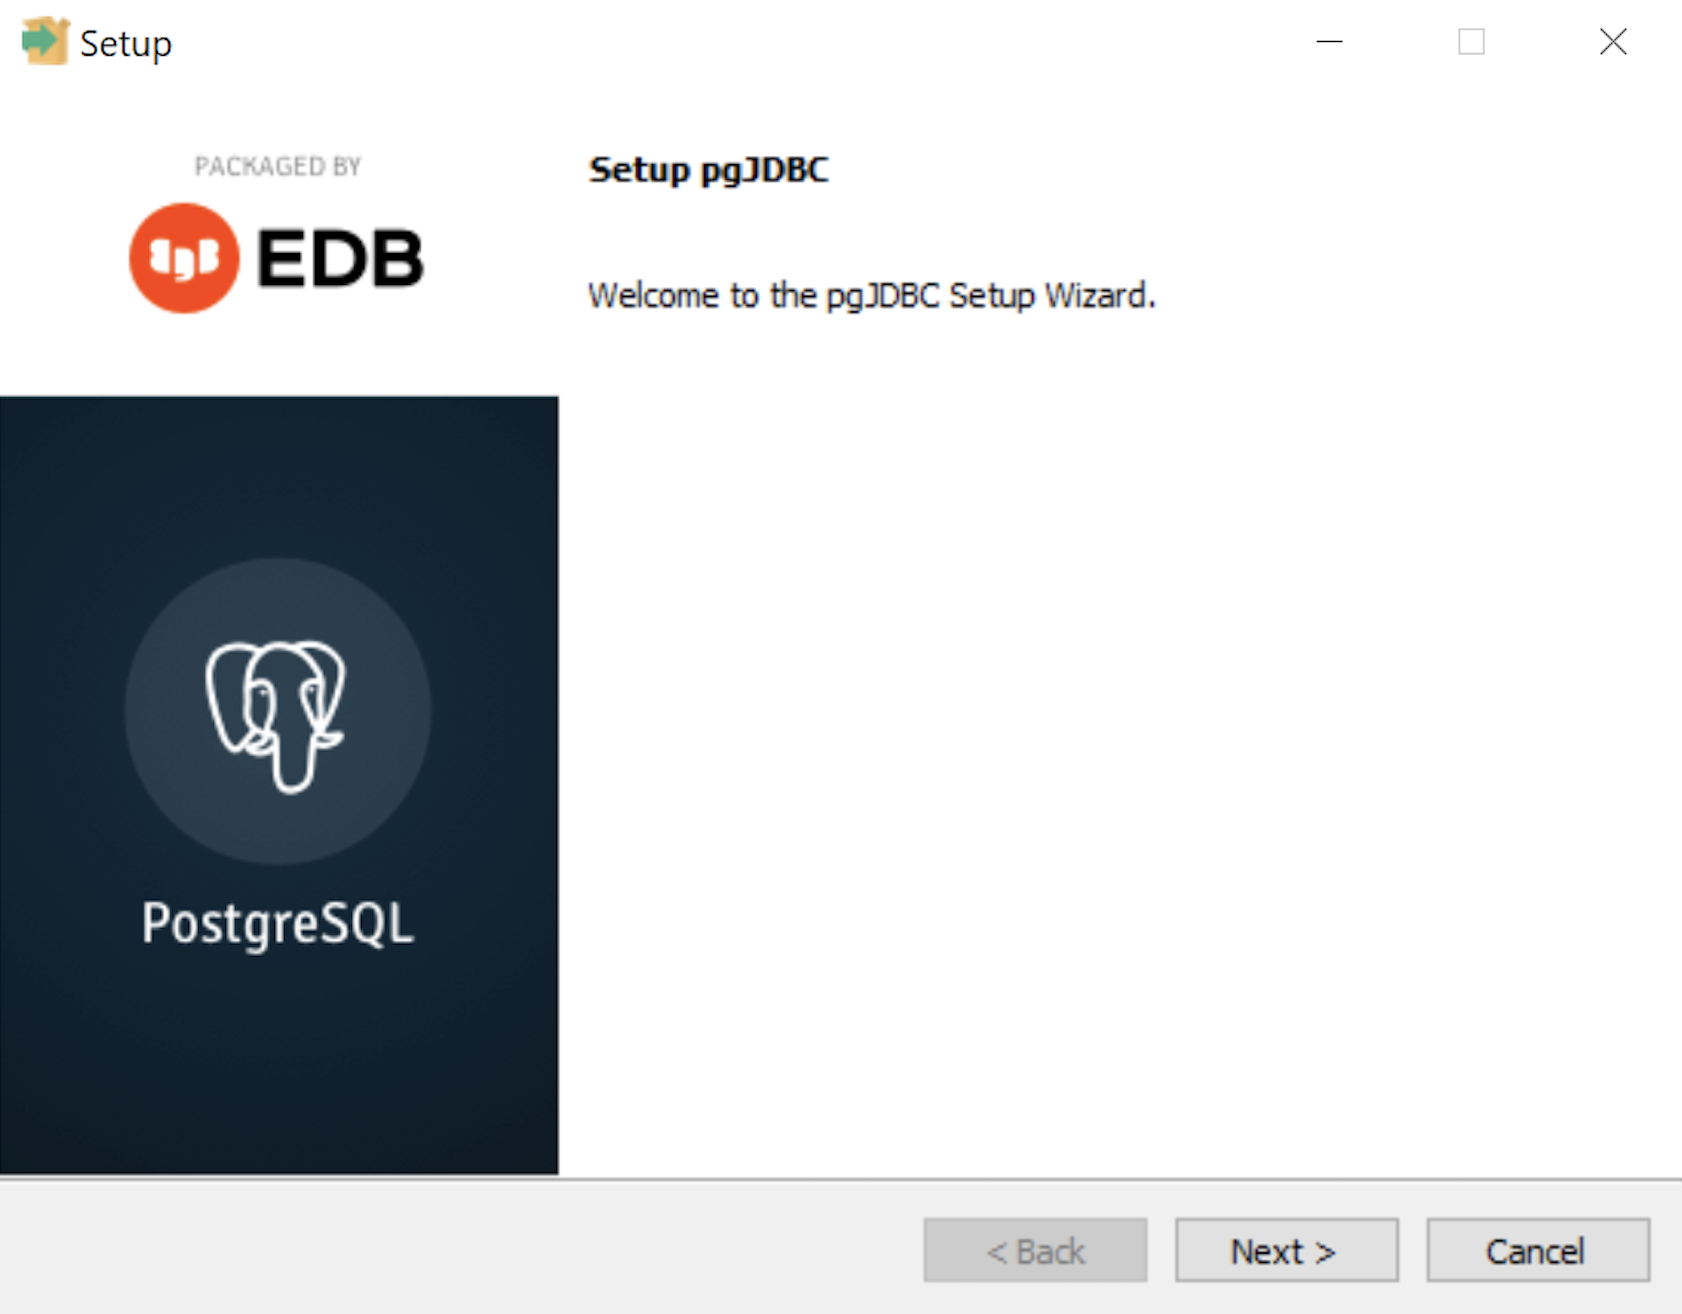
- The Setup dialog advises that you are installing the pgJDBC diver Setup Wizard. Click the Next button to continue.
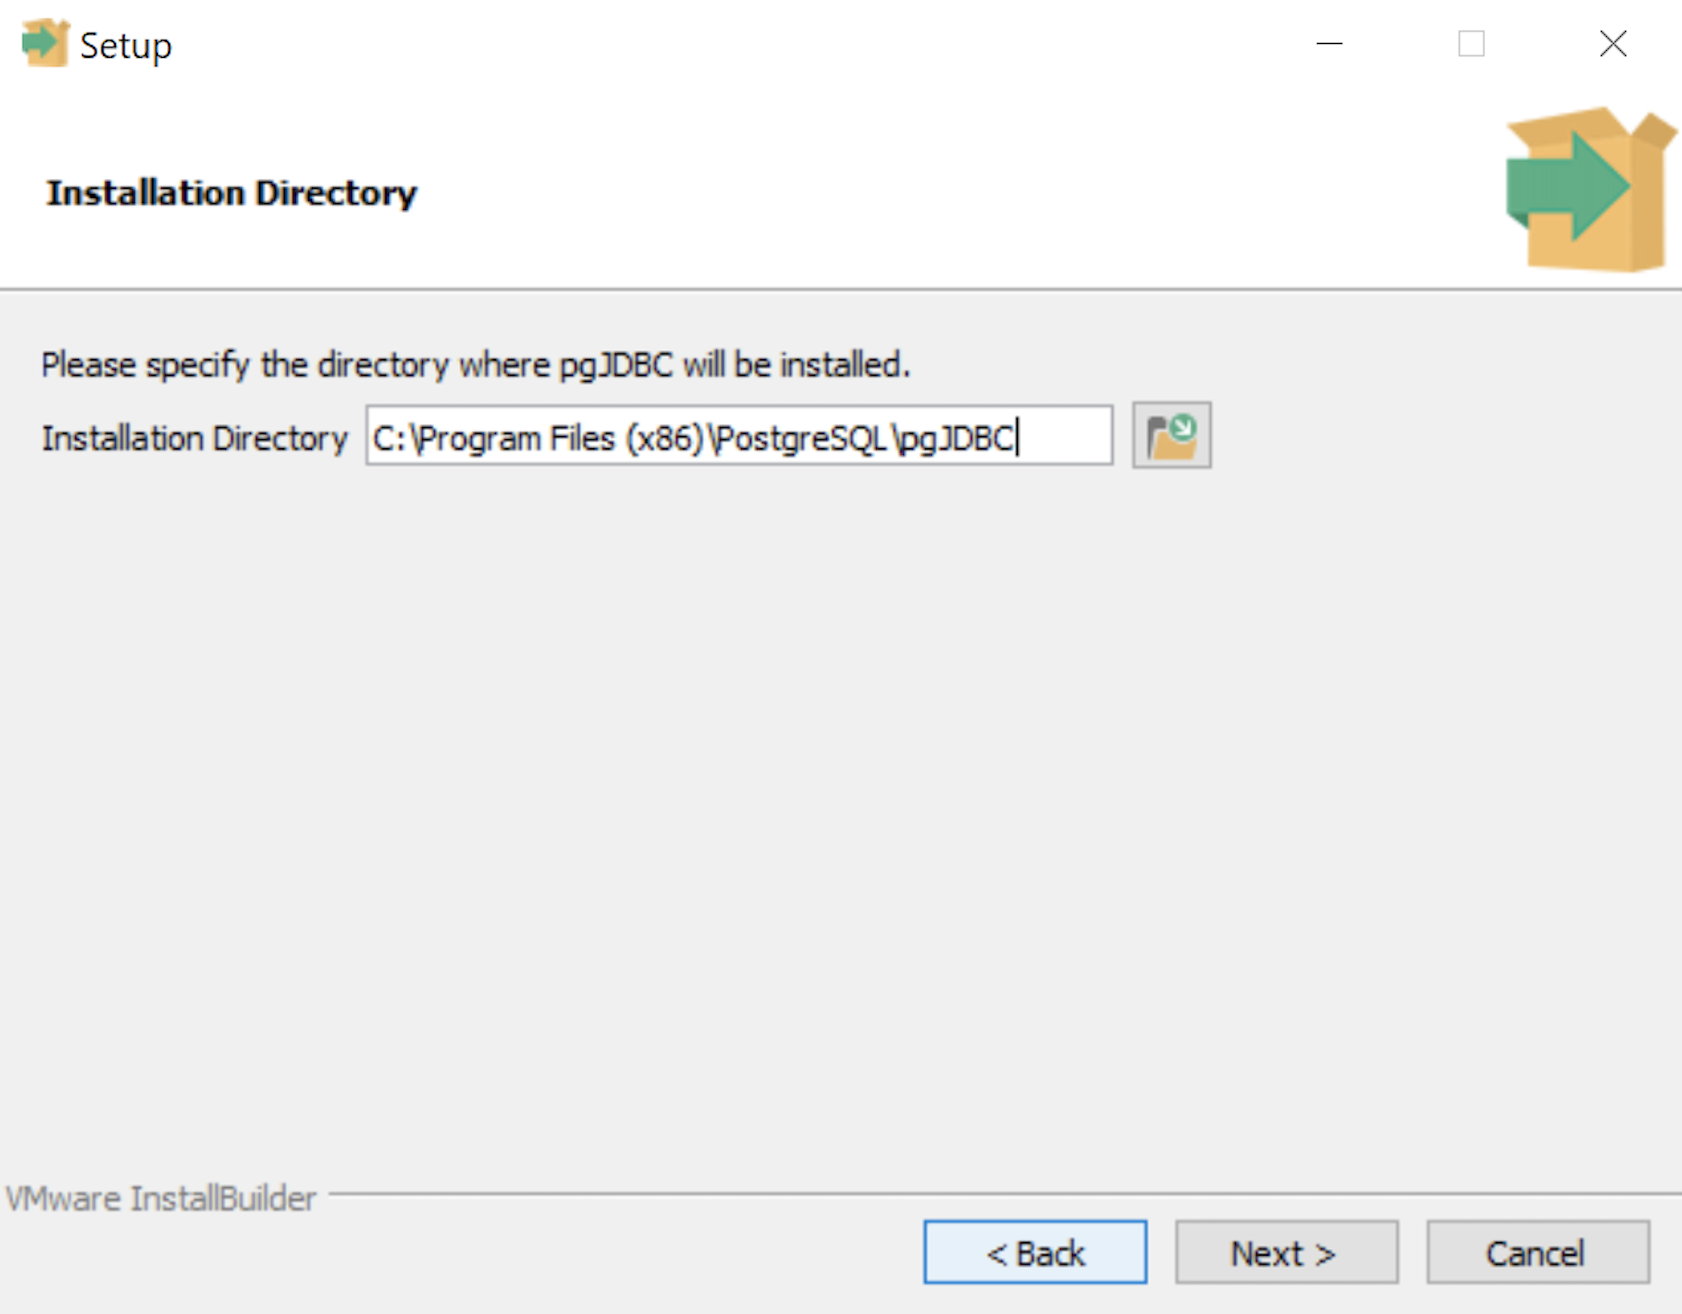
- The Installation Directory dialog prompts you for an installation directory. The default directory is C:\Program Files (x86)\PostgreSQL\pgJDBC and you should use it because that’s where Windows 10 puts 64-bit libraries and the subdirectory meets the standard installation convention for libraries. Click the Next button to continue.

- The Ready to Install dialog lets you pause before you install the pgJDBC software. Click the Next button to continue.
- The Setup dialog advises that you have completed the installation of pgJDBC driver. Click the Finish button to continue.
- The Advisory Message pgAdmin is Starting dialog is really telling you to be patient. It can take a couple minutes to launch pgAdmin.
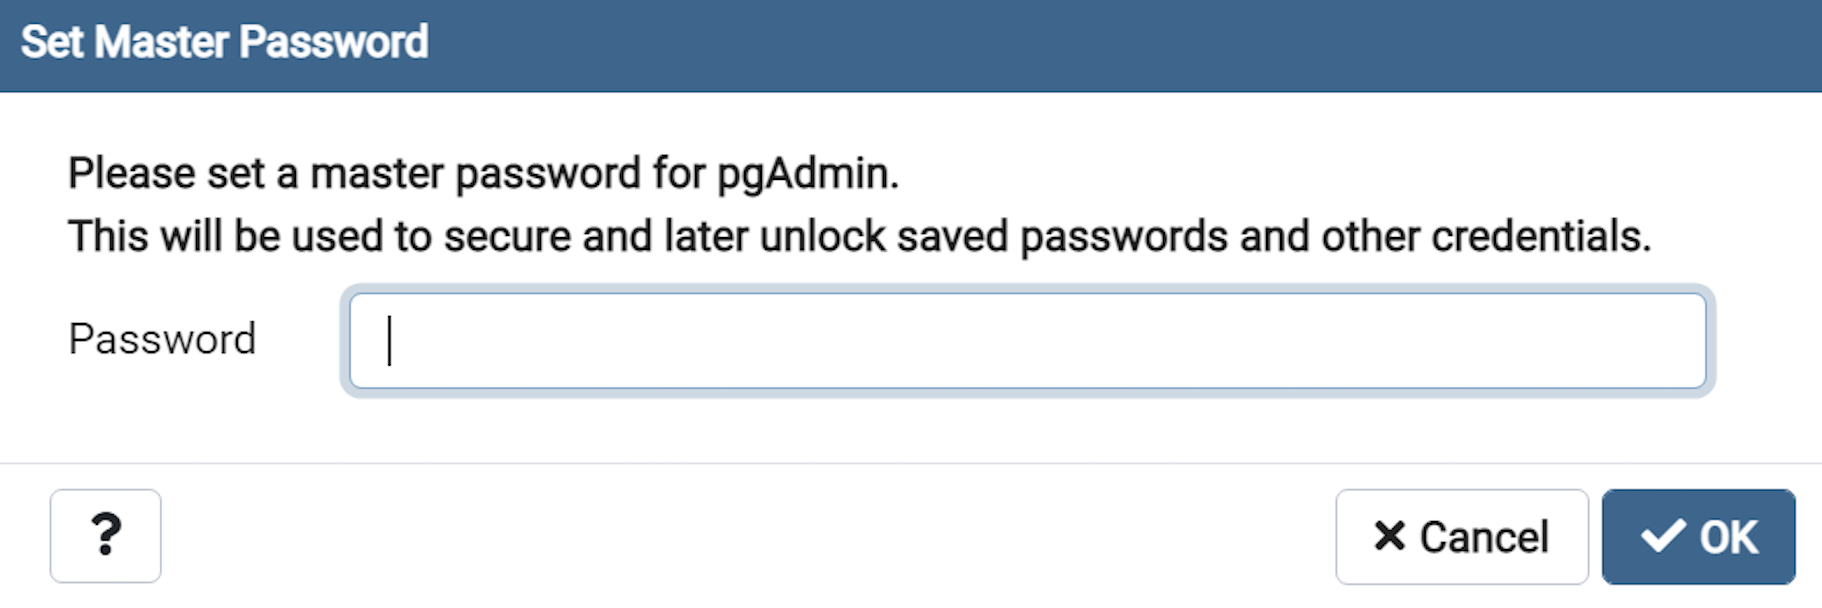
- The Password dialog prompts you for the pgAdmin superuser password. In a development system for your local computer, you may want to use something straightforward like cangetin. Click the Next button to continue.
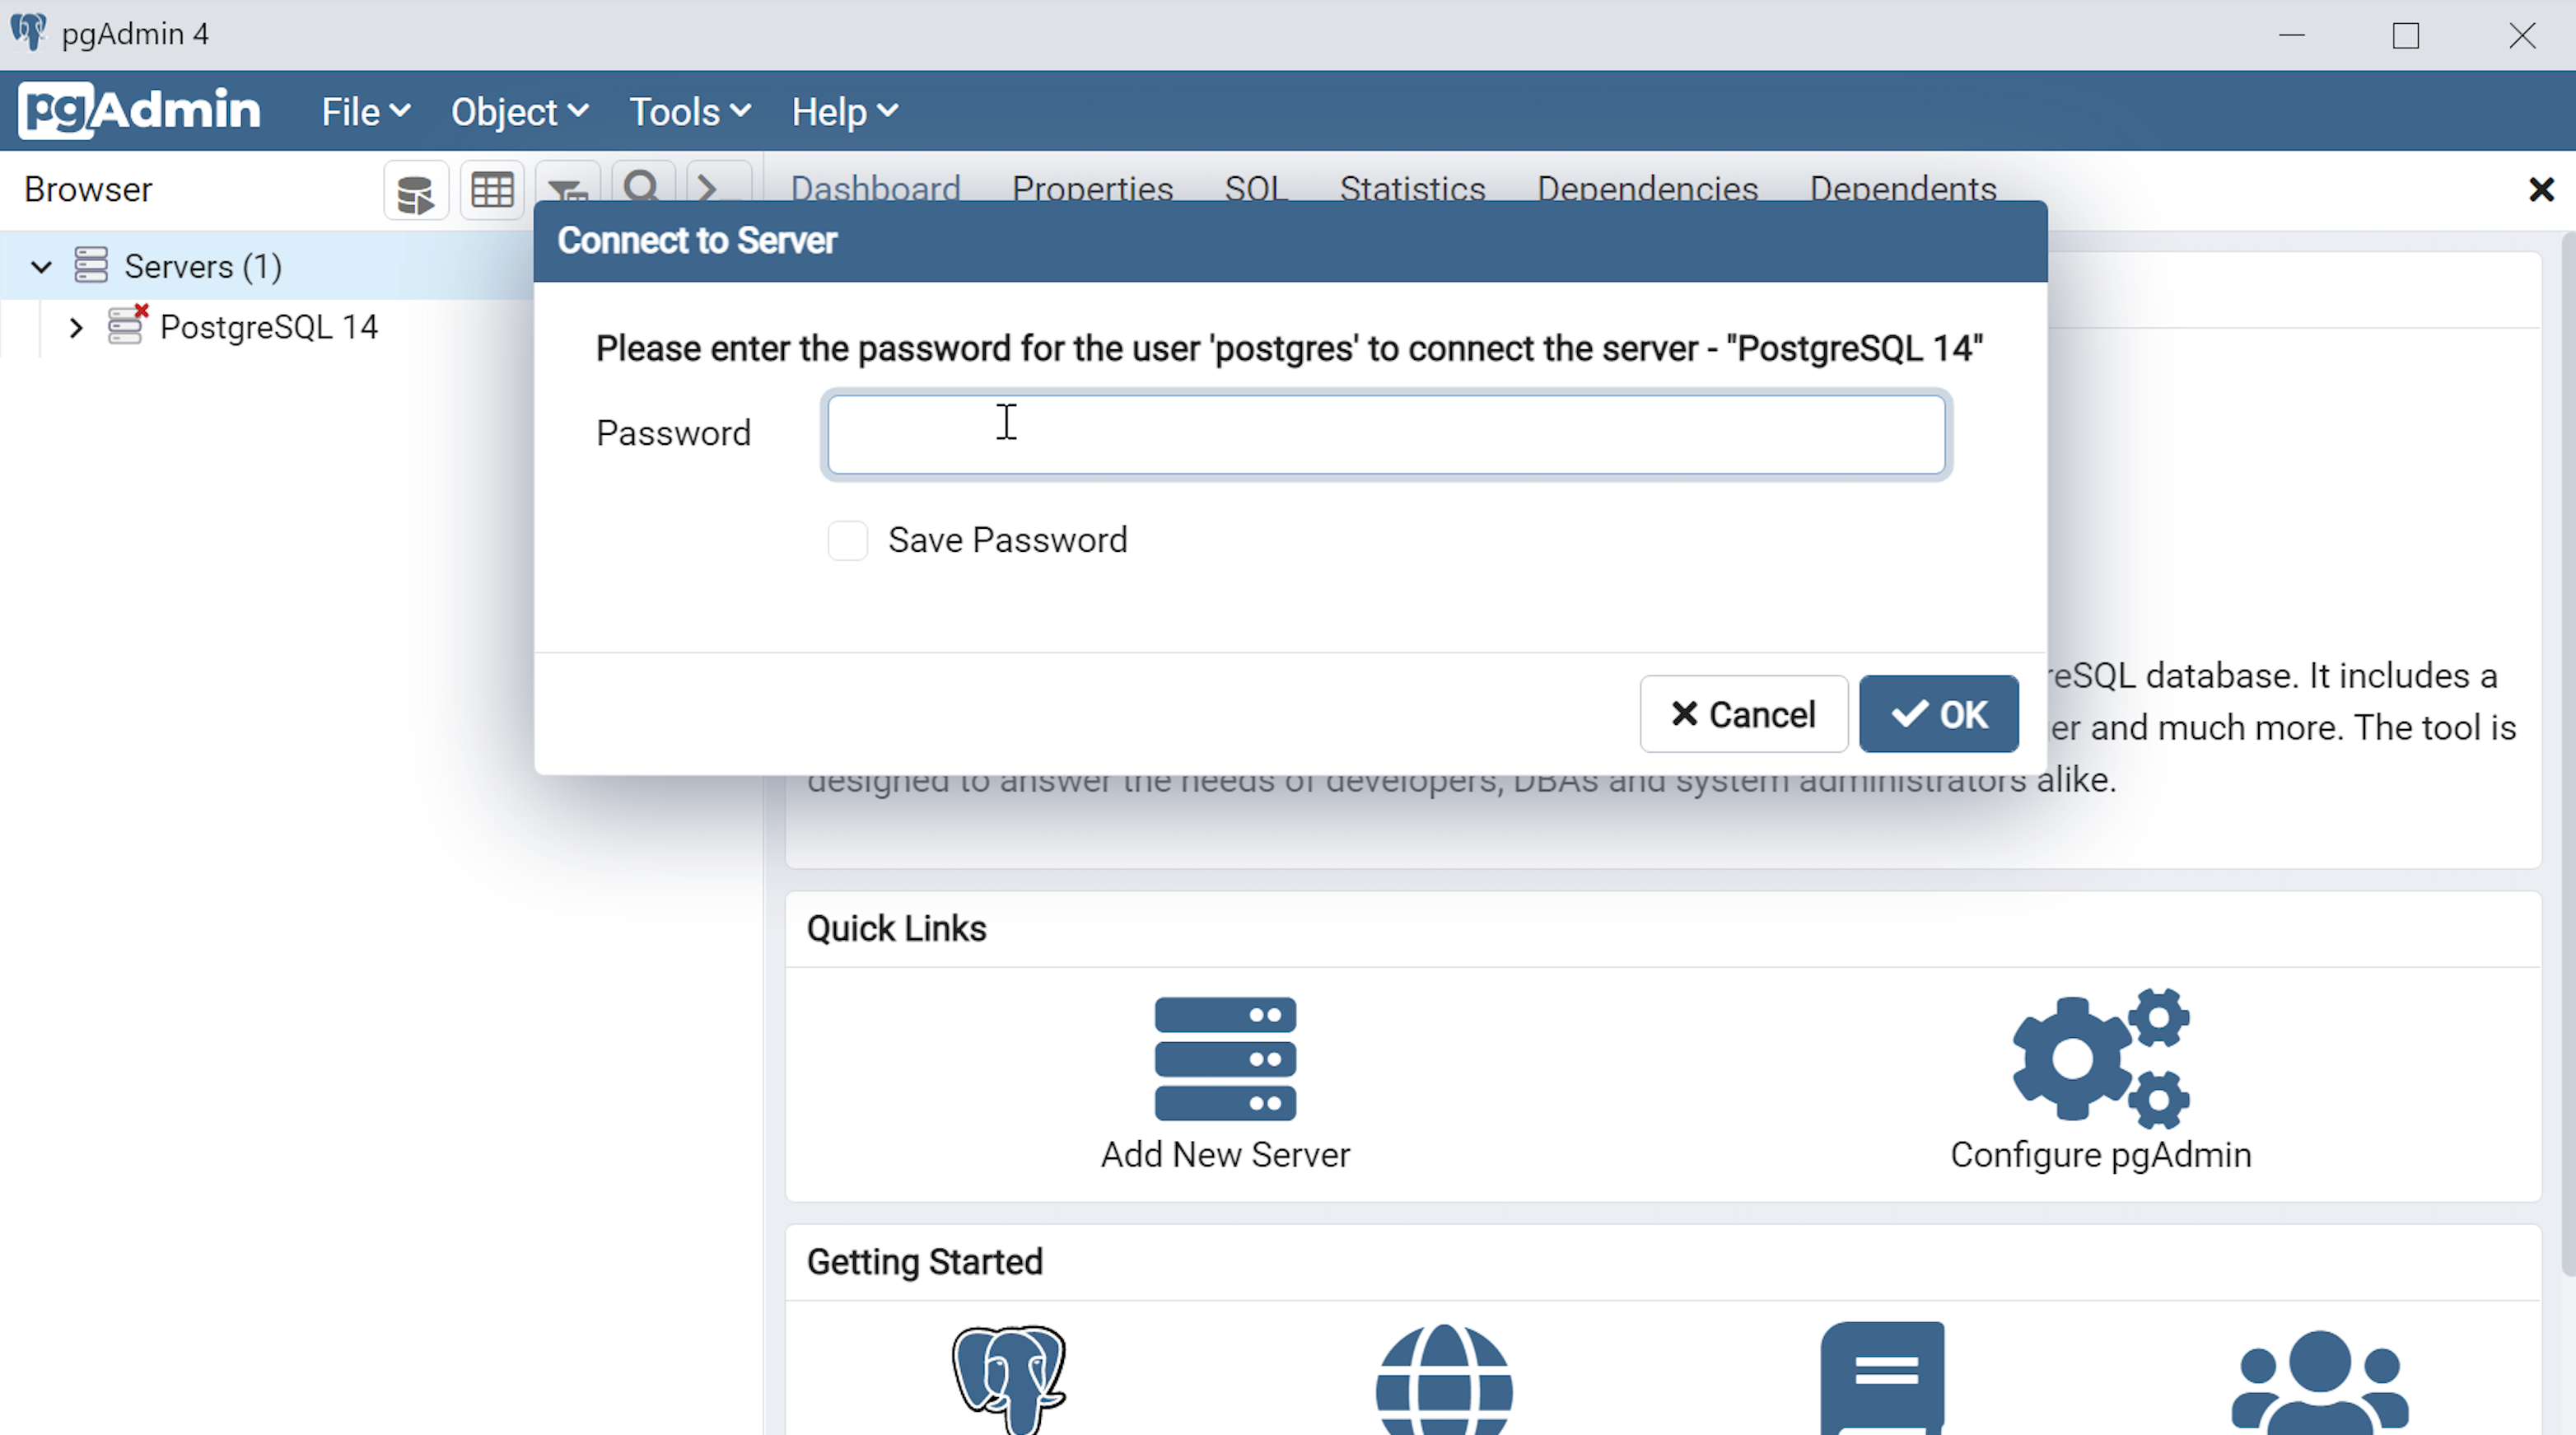
- Enter your password from the earlier step and click the OK button.
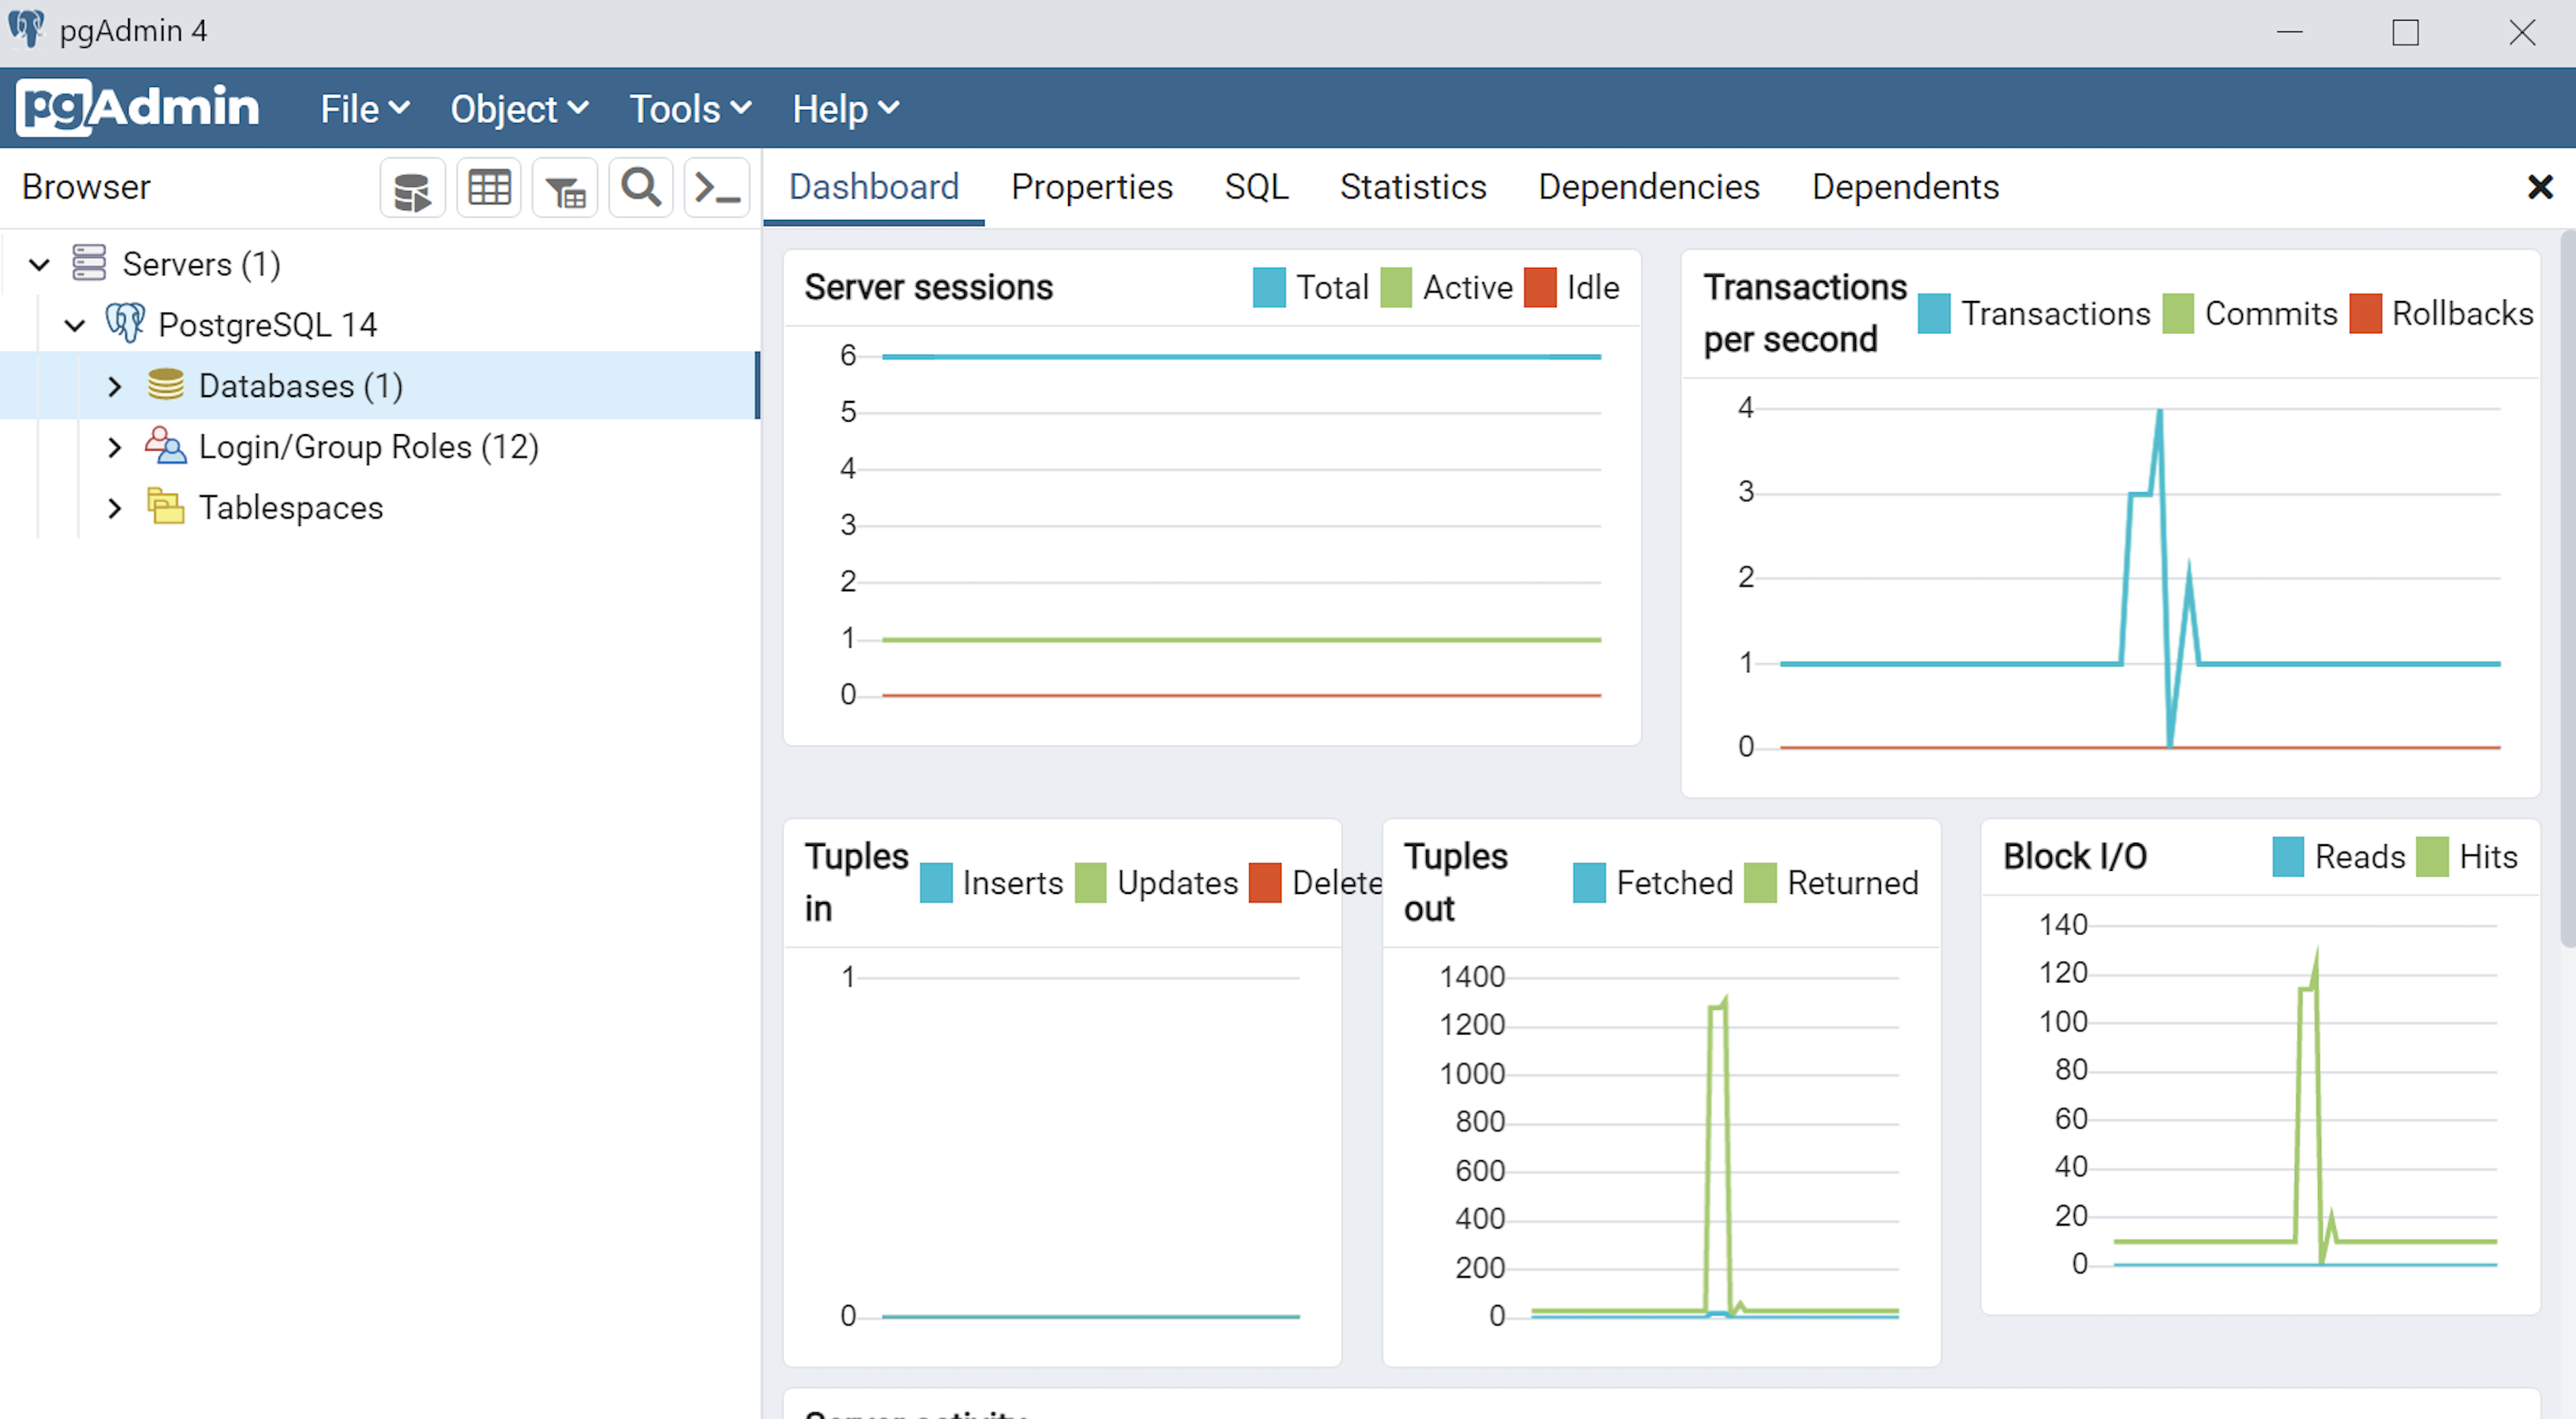
- This is the pgAdmin console. You should see one database and tweleve login/group roles.
The foregoing walked you through the installation of PostgreSQL, the connector libraries and pgAdmin utility. Next, you have to make it real with configuration, which sets up the tablespace, database, and connectivity. I hope it helps those who would like to see the installation steps.
MySQL Connect Dialog
About a month ago, I published how you can connect to MySQL with a small form. One suggestion, or lets promote it to a request, from that post was: “Nice, but how do you create a reusable library for the MySQL Connection Dialog box?”
That was a good question but I couldn’t get back until now to write a new blog post. This reusable MySQL connection dialog lets you remove MySQL connection data from the command-line history. This post also shows you how to create and test a Powershell Module.

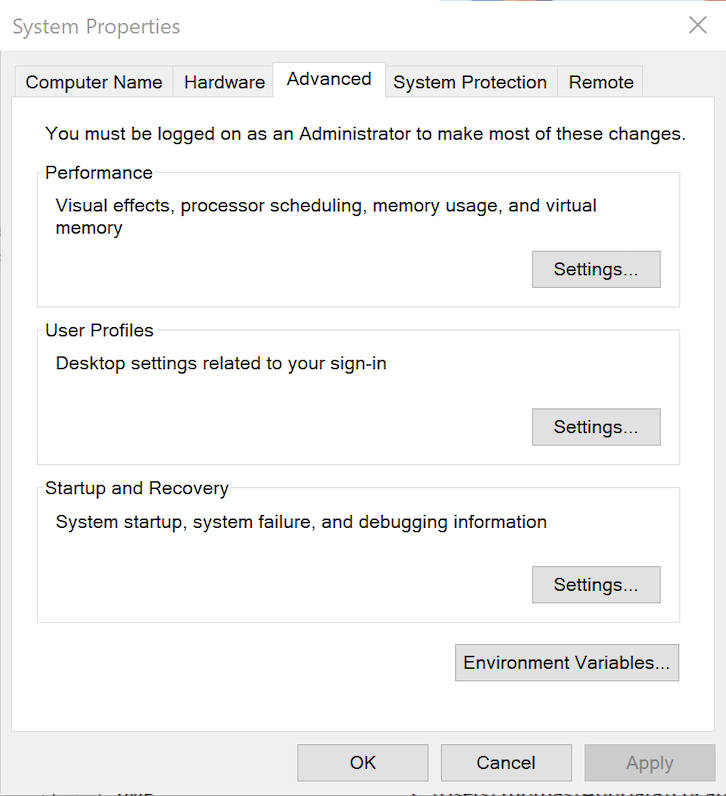
The first step to create a module requires that you set the proper %PSModulePath% environment variable. If you fail to do that, you can put it into a default PowerShell module location but that’s not too effective for testing. You launch the System Properties dialog and click the Environment Variables button:
Then, you edit the PSModulePath environment variable in the bottom list of environment variables and add a new path to the PSModulePath. My development path in this example is:
C:\Data\cit225\mysql\ps\mod |
I named the file the same as the function Get-Credentials.psm1 consistent with the Microsoft instructions for creating a PowerShell module and their instructions for Pascal case name with an approved verb and singular noun.
Below is the code for the Get-Credentials.psm1 file:
function Get-Credentials { # Add libraries for form components. Add-Type -AssemblyName System.Windows.Forms Add-Type -AssemblyName System.Drawing # Define a user credential form. $form = New-Object System.Windows.Forms.Form $form.Text = 'User Credential Form' $form.Size = New-Object System.Drawing.Size(300,240) $form.StartPosition = 'CenterScreen' # Define a button and assign it and its controls to a form. $loginButton = New-Object System.Windows.Forms.Button $loginButton.Location = New-Object System.Drawing.Point(60,160) $loginButton.Size = New-Object System.Drawing.Size(75,23) $loginButton.Text = 'Login' $loginButton.DialogResult = [System.Windows.Forms.DialogResult]::OK $form.AcceptButton = $loginButton $form.Controls.Add($loginButton) # Define a button and assign it and its controls to a form. $cancelButton = New-Object System.Windows.Forms.Button $cancelButton.Location = New-Object System.Drawing.Point(155,160) $cancelButton.Size = New-Object System.Drawing.Size(75,23) $cancelButton.Text = 'Cancel' $cancelButton.DialogResult = [System.Windows.Forms.DialogResult]::Cancel $form.CancelButton = $cancelButton $form.Controls.Add($cancelButton) # Define a label and assign it and its controls to a form. $userLabel = New-Object System.Windows.Forms.Label $userLabel.Location = New-Object System.Drawing.Point(30,15) $userLabel.Size = New-Object System.Drawing.Size(100,20) $userLabel.Text = 'Enter User Name:' $form.Controls.Add($userLabel) # Define a TextBox and assign it and its controls to a form. $userTextBox = New-Object System.Windows.Forms.TextBox $userTextBox.Location = New-Object System.Drawing.Point(140,15) $userTextBox.Size = New-Object System.Drawing.Size(100,20) $form.Controls.Add($userTextBox) # Define a label and assign it and its controls to a form. $pwdLabel = New-Object System.Windows.Forms.Label $pwdLabel.Location = New-Object System.Drawing.Point(30,40) $pwdLabel.Size = New-Object System.Drawing.Size(100,20) $pwdLabel.Text = 'Enter Password:' $form.Controls.Add($pwdLabel) # Define a TextBox and assign it and its controls to a form. $pwdTextBox = New-Object System.Windows.Forms.TextBox $pwdTextBox.Location = New-Object System.Drawing.Point(140,40) $pwdTextBox.Size = New-Object System.Drawing.Size(100,20) $pwdTextBox.PasswordChar = "*" $form.Controls.Add($pwdTextBox) # Define a label and assign it and its controls to a form. $hostLabel = New-Object System.Windows.Forms.Label $hostLabel.Location = New-Object System.Drawing.Point(30,65) $hostLabel.Size = New-Object System.Drawing.Size(100,20) $hostLabel.Text = 'Enter Hostname:' $form.Controls.Add($hostLabel) # Define a TextBox and assign it and its controls to a form. $hostTextBox = New-Object System.Windows.Forms.TextBox $hostTextBox.Location = New-Object System.Drawing.Point(140,65) $hostTextBox.Size = New-Object System.Drawing.Size(100,20) $form.Controls.Add($hostTextBox) # Define a label and assign it and its controls to a form. $portLabel = New-Object System.Windows.Forms.Label $portLabel.Location = New-Object System.Drawing.Point(30,90) $portLabel.Size = New-Object System.Drawing.Size(100,20) $portLabel.Text = 'Enter Port #:' $form.Controls.Add($portLabel) # Define a TextBox and assign it and its controls to a form. $portTextBox = New-Object System.Windows.Forms.TextBox $portTextBox.Location = New-Object System.Drawing.Point(140,90) $portTextBox.Size = New-Object System.Drawing.Size(100,20) $form.Controls.Add($portTextBox) # Define a label and assign it and its controls to a form. $dbLabel = New-Object System.Windows.Forms.Label $dbLabel.Location = New-Object System.Drawing.Point(30,115) $dbLabel.Size = New-Object System.Drawing.Size(100,20) $dbLabel.Text = 'Enter DB Name:' $form.Controls.Add($dbLabel) # Define a TextBox and assign it and its controls to a form. $dbTextBox = New-Object System.Windows.Forms.TextBox $dbTextBox.Location = New-Object System.Drawing.Point(140,115) $dbTextBox.Size = New-Object System.Drawing.Size(100,20) $form.Controls.Add($dbTextBox) $form.Topmost = $true $form.Add_Shown({$userTextBox.Select()}) $result = $form.ShowDialog() if ($result -eq [System.Windows.Forms.DialogResult]::OK) { # Assign inputs to connection variables. $uid = $userTextBox.Text $pwd = $pwdTextBox.Text $server = $hostTextBox.Text $port= $portTextBox.Text $dbName = $dbTextBox.Text # Declare connection string. $credentials = 'server=' + $server + ';port=' + $port + ';uid=' + $uid + ';pwd=' + $pwd + ';database=' + $dbName } else { $credentials = $null } return $credentials } |
You must create a Get-Connection directory in your C:\Data\cit225\mysql\ps\mod directory that you added to the PSModulePath. Then, you must put your module code in the Get-Connection subdirectory as the Get-Connection.psm1 module file.
The test.ps1 script imports the Get-Credentials.psm1 PowerShell module, launches the MySQL Connection Dialog form and returns the connection string. The test.ps1 code is:
# Import your custom module. Import-Module Get-Credentials # Test the Get-Credentials function. if (($credentials = Get-Credentials) -ne $undefinedVariable) { Write-Host($credentials) } |
You can test it from the local any directory with the following command-line:
powershell .\test.ps1 |
It should print something like this to the console:
server=localhost;port=3306;uid=student;pwd=student;database=studentdb |
If you got this far, that’s great! You’re ready to test a connection to the MySQL database. Before you do that, you should create the same avenger table I used in the initial post and insert the same or some additional data. Connect to the any of your test databases and rung the following code to create the avenger table and nine rows of data.
-- Create the avenger table. CREATE TABLE db_connect ( db_connect_id INT UNSIGNED PRIMARY KEY AUTO_INCREMENT , version VARCHAR(10) , user VARCHAR(24) , db_name VARCHAR(10)); -- Seed the avenger table with data. INSERT INTO avenger ( first_name, last_name, avenger ) VALUES ('Anthony', 'Stark', 'Iron Man') ,('Thor', 'Odinson', 'God of Thunder') ,('Steven', 'Rogers', 'Captain America') ,('Bruce', 'Banner', 'Hulk') ,('Clinton', 'Barton', 'Hawkeye') ,('Natasha', 'Romanoff', 'Black Widow') ,('Peter', 'Parker', 'Spiderman') ,('Steven', 'Strange', 'Dr. Strange') ,('Scott', 'Lange', 'Ant-man'); |
Now, let’s promote our use-case test.ps1 script to a testQuery.ps1 script, like:
# Import your custom module. Import-Module Get-Credentials # Test the Get-Credentials function. if (($credentials = Get-Credentials) -ne $undefinedVariable) { # Connect to the libaray MySQL.Data.dll Add-Type -Path 'C:\Program Files (x86)\MySQL\Connector NET 8.0\Assemblies\v4.5.2\MySql.Data.dll' # Create a MySQL Database connection variable that qualifies: # [Driver]@ConnectionString # ============================================================ # You can assign the connection string before using it or # while using it, which is what we do below by assigning # literal values for the following names: # - server=<ip_address> or 127.0.0.1 for localhost # - uid=<user_name> # - pwd=<password> # - port=<port#> or 3306 for default port # - database=<database_name> # ============================================================ $Connection = [MySql.Data.MySqlClient.MySqlConnection]@{ConnectionString=$credentials} $Connection.Open() # Define a MySQL Command Object for a non-query. $sqlCommand = New-Object MySql.Data.MySqlClient.MySqlCommand $sqlDataAdapter = New-Object MySql.Data.MySqlClient.MySqlDataAdapter $sqlDataSet = New-Object System.Data.DataSet # Assign the connection and command text to the MySQL command object. $sqlCommand.Connection = $Connection $sqlCommand.CommandText = 'SELECT CONCAT(first_name," ",last_name) AS full_name ' + ', avenger ' + 'FROM avenger' # Assign the connection and command text to the query method of # the data adapter object. $sqlDataAdapter.SelectCommand=$sqlCommand # Assign the tuples of data to a data set and return the number of rows fetched. $rowsFetched=$sqlDataAdapter.Fill($sqlDataSet, "data") # Print to console the data returned from the query. foreach($row in $sqlDataSet.tables[0]) { write-host "Avenger:" $row.avenger "is" $row.full_name } # Close the MySQL connection. $Connection.Close() } |
It should give you the MySQL Connection Dialog and with the correct credentials print the following to your console:
Avenger: Iron Man is Anthony Stark Avenger: God of Thunder is Thor Odinson Avenger: Captain America is Steven Rogers Avenger: Hulk is Bruce Banner Avenger: Hawkeye is Clinton Barton Avenger: Black Widow is Natasha Romanoff Avenger: Spiderman is Peter Parker Avenger: Dr. Strange is Steven Strange Avenger: Ant-man is Scott Lange |
As always, I hope this helps those looking to exploit technology.
Defrag Collections
One of the problems with Oracle’s Collection is there implementation of lists, which they call object tables. For example, you declare a collection like this:
CREATE OR REPLACE TYPE list IS TABLE OF VARCHAR2(10); / |
A table collection like the LIST table above is always initialized as a densely populated list. However, over time the list’s index may become sparse when an item is deleted from the collection. As a result, you have no guarantee of a dense index when you pass a table collection to a function. That leaves you with one of two options, and they are:
- Manage all collections as if they’re compromised in your PL/SQL blocks that receive a table collection as a parameter.
- Defrag indexes before passing them to other blocks.
The first option works but it means a bit more care must be taken with how your organization develops PL/SQL programs. The second option defrays a collection. It requires that you write a DEFRAG() function for each of your table collections. You should probably put them all in a package to keep track of them.
While one may think the function is as easy as assigning the old table collection to a new table collection, like:
1 2 3 4 5 6 7 8 9 10 11 12 13 | CREATE OR REPLACE FUNCTION defrag ( sparse LIST ) RETURN LIST IS /* Declare return collection. */ dense LIST := list(); BEGIN /* Mimic an iterator in the loop. */ dense := sparse; /* Return the densely populated collection. */ RETURN dense; END defrag; / |
Line 8 assign the sparse table collection to the dense table collection without any changes in the memory allocation or values of the table collection. Effectively, it does not defrag the contents of the table collection. The following DEFRAG() function does eliminate unused memory and reindexes the table collection:
1 2 3 4 5 6 7 8 9 10 11 12 13 14 15 16 17 18 19 20 | CREATE OR REPLACE FUNCTION defrag ( sparse LIST ) RETURN LIST IS /* Declare return collection. */ dense LIST := list(); /* Declare a current index variable. */ CURRENT NUMBER; BEGIN /* Mimic an iterator in the loop. */ CURRENT := sparse.FIRST; WHILE NOT (CURRENT > sparse.LAST) LOOP dense.EXTEND; dense(dense.COUNT) := sparse(CURRENT); CURRENT := sparse.NEXT(CURRENT); END LOOP; /* Return the densely populated collection. */ RETURN dense; END defrag; / |
You can test the DEFRAG() function with this anonymous PL/SQL block:
DECLARE /* Declare the collection. */ lv_list LIST := list('Moe','Shemp','Larry','Curly'); /* Declare a current index variable. */ CURRENT NUMBER; BEGIN /* Create a gap in the densely populated index. */ lv_list.DELETE(2); /* Mimic an iterator in the loop. */ CURRENT := lv_list.FIRST; WHILE NOT (CURRENT > lv_list.LAST) LOOP dbms_output.put_line('['||CURRENT||']['||lv_list(CURRENT)||']'); CURRENT := lv_list.NEXT(CURRENT); END LOOP; /* Print a line break. */ dbms_output.put_line('----------------------------------------'); /* Call defrag function. */ lv_list := defrag(lv_list); FOR i IN 1..lv_list.COUNT LOOP dbms_output.put_line('['||i||']['||lv_list(i)||']'); END LOOP; END; / |
which prints the before and after state of the defrayed table collection:
[1][Moe] [3][Larry] [4][Curly] ---------------------------------------- [1][Moe] [2][Larry] [3][Curly] |
As always, I hope this helps those trying to sort out a feature of PL/SQL. In this case, it’s a poorly documented feature of the language.
PL/SQL Mimic Iterator
There’s no formal iterator in PL/SQL but you do have the ability of navigating a list or array with Oracle’s Collection API. For example, the following navigates a sparsely indexed collection from the lowest to the highest index value while skipping a missing index value:
DECLARE /* Create a local table collection. */ TYPE list IS TABLE OF VARCHAR2(10); /* Declare the collection. */ lv_list LIST := list('Moe','Shemp','Larry','Curly'); /* Declare a current index variable. */ CURRENT NUMBER; BEGIN /* Create a gap in the densely populated index. */ lv_list.DELETE(2); /* Mimic an iterator in the loop. */ CURRENT := lv_list.FIRST; WHILE NOT (CURRENT > lv_list.LAST) LOOP dbms_output.put_line('['||CURRENT||']['||lv_list(CURRENT)||']'); CURRENT := lv_list.NEXT(CURRENT); END LOOP; END; / |
The next one, navigates a sparsely indexed collection from the highest to the lowest index value while skipping a missing index value:
DECLARE /* Create a local table collection. */ TYPE list IS TABLE OF VARCHAR2(10); /* Declare the collection. */ lv_list LIST := list('Moe','Shemp','Larry','Curly'); /* Declare a current index variable. */ CURRENT NUMBER; BEGIN /* Create a gap in the densely populated index. */ lv_list.DELETE(2); /* Mimic an iterator in the loop. */ CURRENT := lv_list.LAST; WHILE NOT (CURRENT < lv_list.FIRST) LOOP dbms_output.put_line('['||CURRENT||']['||lv_list(CURRENT)||']'); CURRENT := lv_list.PRIOR(CURRENT); END LOOP; END; / |
However, the next example is the most valuable because it applies to a PL/SQL associative array indexed by string values. You should note that the string indexes are organized in ascending order and assigned in the execution section of the program. This differs from the earlier examples where the values are assigned by constructors in the declaration section.
There’s no need to delete an element from the associative array because the string-based indexes are already sparsely constructed. A densely populated character index sequence is possible but not very useful, which is probably why there aren’t any examples of it.
Moreover, the following example is how you navigate a dictionary, which is known as an associative array in Oracle parlance (special words to describe PL/SQL structures). Unfortunately, associative arrays lack any utilities like Python’s key() method for dictionaries.
DECLARE /* Create a local associative array type. */ TYPE list IS TABLE OF VARCHAR2(10) INDEX BY VARCHAR2(10); /* Define a variable of the associative array type. */ lv_list LIST; -- := list('Moe','Shemp','Larry','Curly'); /* Declare a current index variable. */ CURRENT VARCHAR2(5); BEGIN /* Assign values to an associative array (PL/SQL structure). */ lv_list('One') := 'Moe'; lv_list('Two') := 'Shemp'; lv_list('Three') := 'Larry'; lv_list('Four') := 'Curly'; /* Mimic iterator. */ CURRENT := lv_list.FIRST; dbms_output.put_line('Debug '||CURRENT); WHILE NOT (CURRENT < lv_list.LAST) LOOP dbms_output.put_line('['||CURRENT||']['||lv_list(CURRENT)||']'); CURRENT := lv_list.NEXT(CURRENT); END LOOP; END; / |
As always, I hope this example helps somebody solve a real world problem.
MySQL+Credentials
The first tutorial supplementing the MySQL Connector/NET Developer Guide showed you how to connect and run static INSERT statement. It was a barebones PowerShell script with the MySQL Connector. This post shows you how to run a PowerShell script that uses a dynamic form to gather the MySQL credentials and then run a static query. Below is the MySQL Credentials form.

You enter the correct user name, password, hostname (or IP address), port, and database, like this:

Here’s the complete code for this staticQuery.ps1 PowerShell script:
# Add libraries for form components. Add-Type -AssemblyName System.Windows.Forms Add-Type -AssemblyName System.Drawing # Define a user credential form. $form = New-Object System.Windows.Forms.Form $form.Text = 'User Credential Form' $form.Size = New-Object System.Drawing.Size(300,240) $form.StartPosition = 'CenterScreen' # Define a button and assign it and its controls to a form. $loginButton = New-Object System.Windows.Forms.Button $loginButton.Location = New-Object System.Drawing.Point(60,160) $loginButton.Size = New-Object System.Drawing.Size(75,23) $loginButton.Text = 'Login' $loginButton.DialogResult = [System.Windows.Forms.DialogResult]::OK $form.AcceptButton = $loginButton $form.Controls.Add($loginButton) # Define a button and assign it and its controls to a form. $cancelButton = New-Object System.Windows.Forms.Button $cancelButton.Location = New-Object System.Drawing.Point(155,160) $cancelButton.Size = New-Object System.Drawing.Size(75,23) $cancelButton.Text = 'Cancel' $cancelButton.DialogResult = [System.Windows.Forms.DialogResult]::Cancel $form.CancelButton = $cancelButton $form.Controls.Add($cancelButton) # Define a label and assign it and its controls to a form. $userLabel = New-Object System.Windows.Forms.Label $userLabel.Location = New-Object System.Drawing.Point(30,15) $userLabel.Size = New-Object System.Drawing.Size(100,20) $userLabel.Text = 'Enter User Name:' $form.Controls.Add($userLabel) # Define a TextBox and assign it and its controls to a form. $userTextBox = New-Object System.Windows.Forms.TextBox $userTextBox.Location = New-Object System.Drawing.Point(140,15) $userTextBox.Size = New-Object System.Drawing.Size(100,20) $form.Controls.Add($userTextBox) # Define a label and assign it and its controls to a form. $pwdLabel = New-Object System.Windows.Forms.Label $pwdLabel.Location = New-Object System.Drawing.Point(30,40) $pwdLabel.Size = New-Object System.Drawing.Size(100,20) $pwdLabel.Text = 'Enter Password:' $form.Controls.Add($pwdLabel) # Define a TextBox and assign it and its controls to a form. $pwdTextBox = New-Object System.Windows.Forms.TextBox $pwdTextBox.Location = New-Object System.Drawing.Point(140,40) $pwdTextBox.Size = New-Object System.Drawing.Size(100,20) $pwdTextBox.PasswordChar = "*" $form.Controls.Add($pwdTextBox) # Define a label and assign it and its controls to a form. $hostLabel = New-Object System.Windows.Forms.Label $hostLabel.Location = New-Object System.Drawing.Point(30,65) $hostLabel.Size = New-Object System.Drawing.Size(100,20) $hostLabel.Text = 'Enter Hostname:' $form.Controls.Add($hostLabel) # Define a TextBox and assign it and its controls to a form. $hostTextBox = New-Object System.Windows.Forms.TextBox $hostTextBox.Location = New-Object System.Drawing.Point(140,65) $hostTextBox.Size = New-Object System.Drawing.Size(100,20) $form.Controls.Add($hostTextBox) # Define a label and assign it and its controls to a form. $portLabel = New-Object System.Windows.Forms.Label $portLabel.Location = New-Object System.Drawing.Point(30,90) $portLabel.Size = New-Object System.Drawing.Size(100,20) $portLabel.Text = 'Enter Port #:' $form.Controls.Add($portLabel) # Define a TextBox and assign it and its controls to a form. $portTextBox = New-Object System.Windows.Forms.TextBox $portTextBox.Location = New-Object System.Drawing.Point(140,90) $portTextBox.Size = New-Object System.Drawing.Size(100,20) $form.Controls.Add($portTextBox) # Define a label and assign it and its controls to a form. $dbLabel = New-Object System.Windows.Forms.Label $dbLabel.Location = New-Object System.Drawing.Point(30,115) $dbLabel.Size = New-Object System.Drawing.Size(100,20) $dbLabel.Text = 'Enter DB Name:' $form.Controls.Add($dbLabel) # Define a TextBox and assign it and its controls to a form. $dbTextBox = New-Object System.Windows.Forms.TextBox $dbTextBox.Location = New-Object System.Drawing.Point(140,115) $dbTextBox.Size = New-Object System.Drawing.Size(100,20) $form.Controls.Add($dbTextBox) $form.Topmost = $true $form.Add_Shown({$userTextBox.Select()}) $result = $form.ShowDialog() if ($result -eq [System.Windows.Forms.DialogResult]::OK) { # Assign inputs to connection variables. $uid = $userTextBox.Text $pwd = $pwdTextBox.Text $server = $hostTextBox.Text $port= $portTextBox.Text $dbName = $dbTextBox.Text # Declare connection string. $credentials = 'server=' + $server + ';port=' + $port + ';uid=' + $uid + ';pwd=' + $pwd + ';database=' + $dbName # Connect to the libaray MySQL.Data.dll Add-Type -Path 'C:\Program Files (x86)\MySQL\Connector NET 8.0\Assemblies\v4.5.2\MySql.Data.dll' # Create a MySQL Database connection variable that qualifies: # [Driver]@ConnectionString # ============================================================ # You can assign the connection string before using it or # while using it, which is what we do below by assigning # literal values for the following names: # - server=<ip_address> or 127.0.0.1 for localhost # - port=<port #> # - uid=<user_name> # - pwd=<password> # - database=<database_name> # ============================================================ $Connection = [MySql.Data.MySqlClient.MySqlConnection]@{ConnectionString=$credentials} $Connection.Open() # Define a MySQL Command Object for a non-query. $sqlCommand = New-Object MySql.Data.MySqlClient.MySqlCommand $sqlDataAdapter = New-Object MySql.Data.MySqlClient.MySqlDataAdapter $sqlDataSet = New-Object System.Data.DataSet # Assign the connection and command text to the MySQL command object. $sqlCommand.Connection = $Connection $sqlCommand.CommandText = 'SELECT CONCAT(first_name," ",last_name) AS full_name ' + ', avenger ' + 'FROM avenger' # Assign the connection and command text to the query method of # the data adapter object. $sqlDataAdapter.SelectCommand=$sqlCommand # Assign the tuples of data to a data set and return the number of rows fetched. $rowsFetched=$sqlDataAdapter.Fill($sqlDataSet, "data") # Print to console the data returned from the query. foreach($row in $sqlDataSet.tables[0]) { write-host "Avenger:" $row.avenger "is" $row.full_name } # Close the MySQL connection. $Connection.Close() } |
I created an avenger table and populated it with six rows of data:
-- Create the avenger table. CREATE TABLE db_connect ( db_connect_id INT UNSIGNED PRIMARY KEY AUTO_INCREMENT , version VARCHAR(10) , user VARCHAR(24) , db_name VARCHAR(10)); -- Seed the avenger table with data. INSERT INTO avenger ( first_name, last_name, avenger ) VALUES ('Anthony', 'Stark', 'Iron Man') ,('Thor', 'Odinson', 'God of Thunder') ,('Steven', 'Rogers', 'Captain America') ,('Bruce', 'Banner', 'Hulk') ,('Clinton', 'Barton', 'Hawkeye') ,('Natasha', 'Romanoff', 'Black Widow'); |
You run the staticQuery.ps1 PowerShell script from the Windows command shell with the following syntax:
powershell .\staticQuery.ps1 |
After running the staticQuery.ps1 PowerShell script, it writes the following to the local console but with minimal effort you can redirect it to a file:
Avenger: Iron Man is Anthony Stark Avenger: God of Thunder is Thor Odinson Avenger: Captain America is Steven Rogers Avenger: Hulk is Bruce Banner Avenger: Hawkeye is Clinton Barton Avenger: Black Widow is Natasha Romanoff |
As always, I hope this helps those looking to use this technology. My guess is the principal uses will be DevOps and Data Engineers.
MySQL+PowerShell
It was interesting to note that the MySQL Connector/NET Developer Guide doesn’t have any instructions for connecting to the MySQL database from Microsoft Powershell. I thought it would be helpful to write a couple demonstrations scripts, especially when a quick search didn’t find a set of easy to follow samples.
The connection process to MySQL with Powershell is easiest with a non-query, so I created a db_connect table into which I could write a row of data:
CREATE TABLE db_connect ( db_connect_id INT UNSIGNED PRIMARY KEY AUTO_INCREMENT , version VARCHAR(10) , user VARCHAR(24) , db_name VARCHAR(10)); |
The following insert.ps1 PowerShell script connects to the MySQL database with the NET 8.0 Connector (check here for the newer DSN ODBC approach), and inserts one row into the db_connect table:
# Connect to the libaray MySQL.Data.dll Add-Type -Path 'C:\Program Files (x86)\MySQL\Connector NET 8.0\Assemblies\v4.5.2\MySql.Data.dll' # Create a MySQL Database connection variable that qualifies: # [Driver]@ConnectionString # ============================================================ # You can assign the connection string before using it or # while using it, which is what we do below by assigning # literal values for the following names: # - server=<ip_address> or 127.0.0.1 for localhost # - uid=<user_name> # - pwd=<password> # - database=<database_name> # ============================================================ $Connection = [MySql.Data.MySqlClient.MySqlConnection]@{ConnectionString='server=127.0.0.1;uid=student;pwd=student;database=studentdb'} $Connection.Open() # Define a MySQL Command Object for a non-query. $sql = New-Object MySql.Data.MySqlClient.MySqlCommand $sql.Connection = $Connection $sql.CommandText = 'INSERT INTO db_connect (version, user, db_name)(SELECT version(), user(), database())' $sql.ExecuteNonQuery() # Close the MySQL connection. $Connection.Close() |
The ConnectionString above uses the standard local 127.0.0.1 IP address as the server location. You could just as easily use localhost as the server location if you’re testing on your own machine.
You run the insert.ps1 PowerShell script from the Windows command shell:
powershell .\insert.ps1 |
After running the insert.ps1 PowerShell script, you can connect to the studentdb database. Then, run the following query:
SELECT version AS "Version" , user AS "User" , db_name AS "Database" FROM db_connect; |
It displays:
+---------+-------------------+-----------+ | Version | User | Database | +---------+-------------------+-----------+ | 8.0.21 | student@localhost | studentdb | +---------+-------------------+-----------+ 1 row in set (0.01 sec) |
If you’re interested in writing a Connection Prompt dialog for PowerShell, the complete code is in this other blog post of mine. It also provides the instructions to put the code into a reusable PowerShell library. Also, if you’re interested in how to pass option flags and parameters I put that in this new blog post.
As always, I hope this helps those trying to use PowerShell as a scripting tool to insert, update, or delete data.
A twist on a java.security.AccessControlException
A twist or quirk on the Windows platform, I’m not sure. I was working on an internal Java library to delete external files when I encountered an ORA-29532. The error said that I needed to grant read file permissions but it really required read, write, and delete permissions. Worse yet, they’d already been granted.
Then, I remembered that this is the instance that I built before assigning a hostname in the C:\WINDOWS\system32\drivers\etc\hosts file. I’d blogged about it earlier, describing how to drop and recreate the Enterprise Manager. I had a hunch, and it worked.
I ran the following:
BEGIN DBMS_JAVA.GRANT_PERMISSION('SYSTEM' ,'SYS:java.net.SocketPermission' ,'<strong>hostname</strong><em></em>:1521' ,'connect,resolve'); END; / |
Then, I reconnected as the test user and everything worked fine. The full error received:
BEGIN delete_file(get_canonical_local_bfilename(:locator)); * ERROR AT line 1: ORA-29532: JAVA call terminated BY uncaught JAVA EXCEPTION: JAVA.security.AccessControlException: the Permission (JAVA.io.FilePermission C:\JavaDev\BFileFramework\HarryPotter1.png read) has NOT been granted TO PLSQL. The PL/SQL TO grant this IS dbms_java.grant_permission( 'PLSQL', 'SYS:java.io.FilePermission', 'C:\JavaDev\BFileFramework\HarryPotter1.png','read' ) ORA-06512: AT "PLSQL.DELETE_FILE", line 1 ORA-06512: AT line 1 |
You can get the full Java stack trace by two steps:
1. Call the DBMS_JAVA.SET_OUTPUT(2000000);
2. Set SERVEROUTPUT ON
