Archive for the ‘Uncategorized’ Category
Using Python’s getopt
A couple of my students wanted me to write a switch and parameter handler for Python scripts. I wrote it just to show them it’s possible but I also show them how to do it correctly with the Python getopt library, which was soft-deprecated in Python 3.13 and replaced by the Python argparse library. The debate is which one I show you first in the blog.
This is the getops.py script that uses Python’s getopt library. There is a small trick to the options and long options values. You append a colon (:) to the option when it has a value, and append an equal (=) to the long option when it has a value.
1 2 3 4 5 6 7 8 9 10 11 12 13 14 15 16 17 18 19 20 21 22 23 24 25 26 27 28 29 30 31 32 33 34 35 36 37 38 39 40 41 42 43 44 45 46 47 48 49 50 51 52 53 54 55 56 57 58 59 60 61 62 63 64 65 66 67 68 69 70 | #!/usr/bin/python # Import libraries. import getopt, sys import mysql.connector from mysql.connector import errorcode # Define local function. def help(): # Declare display string. display = \ """ Program Help +---------------+-------------+-------------------+ | -h --help | | Help switch. | | -o --output | output_file | Output file name. | | -q --query | query_file | Query file name. | | -v --verbose | | Verbose switch. | +---------------+-------------+-------------------+""" # Return string. return display # ============================================================ # Set local variables for switch and parameter placeholders. # ============================================================ display = False log = [] output_file = '' query_file = '' verbose = False opts = "ho:q:v" long_opts = ["help","output=","query=","verbose"] # ============================================================ # Capture argument list minus the program name. # ============================================================ args = sys.argv[1:] # ============================================================ # Use a try-except block. # ============================================================ try: # Assign the results of the getopt function. params, values = getopt.getopt(args, opts, long_opts) # Loop through the parameters. for curr_param, curr_value in params: if curr_param in ("-h","--help"): print(help()) elif curr_param in ("-o","--output"): output_file = curr_value elif curr_param in ("-q","--query"): query_file = curr_value elif curr_param in ("-v","--verbose"): verbose = True # Append entry to log. log.append('[' + curr_param + '][' + curr_value + ']') # Print verbose parameter handling. if verbose: print(" Parameter Diagnostics\n-------------------------") for i in log: print(i) # Exception block. except getopt.GetoptError as e: # output error, and return with an error code print (str(e)) |
You can run the program in Linux or Unix with the following syntax provided that you’ve already set the parameters to 755. That means granting the file owner with read, write, and execute privileges, and group and other with read and execute privileges.
./getopts.py -h -o output.txt -q query.sql -v |
It would return the following:
Program Help +---------------+-------------+-------------------+ | -h --help | | Help switch. | | -o --output | output_file | Output file name. | | -q --query | query_file | Query file name. | | -v --verbose | | Verbose switch. | +---------------+-------------+-------------------+ Parameter Diagnostics ------------------------- [-h][] [-o][output.txt] [-q][query.sql] [-v][] |
If you didn’t notice, I also took the opportunity to write the help display in such a way that a maintenance programmer could add another switch or parameter easily. This way the programmer only needs to add a new row of text and add an elif statement with the new switch or parameter.
I think using Python’s getopt library is the cleanest and simplest way to implement switch and parameter handling, after all it’s the basis for so many C derived libraries. However, if you must write your own, below is an approach that would work:
1 2 3 4 5 6 7 8 9 10 11 12 13 14 15 16 17 18 19 20 21 22 23 24 25 26 27 28 29 30 31 32 33 34 35 36 37 38 39 40 41 42 43 44 45 46 47 48 49 50 51 52 53 54 55 56 57 58 59 60 61 62 63 64 65 66 67 68 69 70 71 72 73 74 75 76 77 78 79 80 81 | #!/usr/bin/python # Import libraries. import sys import mysql.connector from mysql.connector import errorcode # ============================================================ # Set local variables for switch and parameter placeholders. # ============================================================ help = False display = \ """ Program Help +---------------+-------------+-------------------+ | -h --help | | Help switch. | | -o --output | output_file | Output file name. | | -q --query | query_file | Query file name. | | -v --verbose | | Verbose switch. | +---------------+-------------+-------------------+""" log = [] output = '' query = '' verbose = False # ============================================================ # Capture argument list minus the program name. # ============================================================ args = sys.argv[1:] # ============================================================ # If one or more args exists and the first one is an # a string that can cast to an int, convert it to an int, # assign it to a variable, and ignore any other args # in the list. # ============================================================ if len(args) > 1 and args[0].isdigit(): powerIn = int(args[0]) # Check for switches and parameters. if isinstance(args,list) and len(args) >= 1: # Set the limit of switches and parameters. argc = len(args) # Enumerate through switches first and then parameters. for i in range(argc): if args[i][0] == '-': # Evaluate switches and ignore any parameter value. if args[i] in ['-h','--help']: help = True # Append entry to log. log.append('[' + str(args[i]) + ']') elif args[i] in ['-v','--verbose']: verbose = True # Append entry to log. log.append('[' + str(args[i]) + ']') # Evaluate parameters. elif i < argc and not args[i+1][0] == '-': if args[i] in ['-q','--query']: query = args[i+1] elif args[i] in ['-o','--output']: output = args[i+1] # Append entry to log. log.append('[' + str(args[i]) + '][' + args[i+1] + ']') else: continue continue # Print the help display when if help: print(display) # Print the parameter handling collected in the log variable. if verbose: for i in log: print(i) |
As you can see from the example, I didn’t give it too much effort. I think it should prove you should use the approach adopted by the general Python community.
Python Objects
![]()
I promised to give my students a full example of how to write and execute a Python object. There were two motivations for this post. The first was driven by my students trying to understand the basics and the second my somebody else saying Python couldn’t deliver objects. Hopefully, this code is simple enough for both audiences. I gave them this other tutorial on writing and mimicking overloaded Python functions earlier.
This defines a Ball object type and a FilledBall object subtype of Ball. It incorporates the following elements:
- A special __init__ function, which is a C/C++ equivalent to a constructor.
- A special __str__ function represents a class object instance as a string. It is like the getString() equivalent in the Java programming language.
- A bounce instance function, which means it acts on any instance of the Ball object type or FilledBall object subtype.
- A get_direction instance function and it calls the __format local object function, which is intended to mimic a private function call, like other object-oriented programming languages.
- A private name __format function (Private name mangling: When an identifier that textually occurs in a class definition begins with two or more underscore characters and does not end in two or more underscores, it is considered a private name of that class.)
You can test this code by creating the $PYTHONPATH (Unix or Linux) or %PYTHONPATH% (Windows) as follows with all the code inside the present working directory, like this in Unix or Linux:
export set $PYTHONPATH=. |
Then, you create the Ball.py file with this syntax:
1 2 3 4 5 6 7 8 9 10 11 12 13 14 15 16 17 18 19 20 21 22 23 24 25 26 27 28 29 30 31 32 33 34 35 36 37 38 39 40 41 42 43 44 45 46 47 48 49 50 51 52 53 54 55 56 57 58 59 60 61 62 63 64 65 66 67 68 69 70 71 72 73 74 75 76 77 | # Creates a Ball object type and FilledBall object subtype. class Ball: # User-defined constructor with required parameters. def __init__(self, color = None, radius = None, direction = None): # Assign a default color value when the parameter is null. if color is None: self.color = "Blue" else: self.color = color.lower() # Assign a default radius value when the parameter is null. if radius is None: self.radius = 1 else: self.radius = radius # Assign a default direction value when the parameter is null. if direction is None: self.direction = "down" else: self.direction = direction.lower() # Set direction switch values. self.directions = ("down","up") # User-defined standard function when printing an object type. def __str__(self): # Build a default descriptive message of the object. msg = "It's a " + self.color + " " + str(self.radius) + '"' + " ball" # Return the message variable. return msg # Define a bounce function. def bounce(self, direction = None): # Set direction on bounce. if not direction is None: self.direction = direction else: # Switch directions. if self.directions[0] == self.direction: self.direction = self.directions[1] elif self.directions[1] == self.direction: self.direction = self.directions[0] # Define a bounce function. def getDirection(self): # Return current direction of ball. return self.__format(self.direction) # User-defined pseudo-private function, which is available # to instances of the Ball object and any of its subtypes. def __format(self, msg): return "[" + msg + "]" # This is the object subtype, which takes the parent class as an # argument. class FilledBall(Ball): def __init__(self, filler = None): # Instantiate the parent class and then any incremental # parameter values. Ball.__init__(self,"Red",2) # Add a default value or the constructor filler value. if filler is None: self.filler = "Air".lower() else: self.filler = filler # User-defined standard function when printing an object type, which # uses generalized invocation. def __str__(self): # Build a default descriptive message of the object. msg = Ball.__str__(self) + str(" filled with " + self.filler) # Return the message variable. return msg |
Next, let’s test instantiating the Ball object type with the following code:
1 2 3 4 5 6 7 8 9 10 11 12 13 14 15 16 17 18 19 20 21 | #!/usr/bin/python # Import the Ball class into its own namespace. import Ball # Assign an instantiated class to a local variable. myBall = Ball.Ball() # Check whether the local variable holds a valid Ball instance. if not myBall is None: print(myBall, "instance.") else: print("No Ball instance.") # Loop through 10 times changing bounce direction. for i in range(1,10): # Find dirction of ball. print(myBall.getDirection()) # Bounce the ball. myBall.bounce() |
Next, let’s test instantiating the FilledBall object subtype with the following code:
1 2 3 4 5 6 7 8 9 10 11 12 13 14 15 16 17 18 19 20 21 | #!/usr/bin/python # Import the Ball class into its own namespace. import Ball # Assign an instantiated class to a local variable. myBall = Ball.FilledBall() # Check whether the local variable holds a valid FilledBall instance. if not myBall is None: print(myBall, "instance.") else: print("No Ball instance.") # Loop through 10 times changing bounce direction. for i in range(1,10): # Find dirction of ball. print(myBall.getDirection()) # Bounce the ball. myBall.bounce() |
As always, I hope this helps those looking to learn and extend their knowledge.
User/Group Setups
The following are samples of creating, changing, and removing users and groups in Linux. These are the command-line options in the event you don’t have access to the GUI tools.
Managing Users:
Adding a user:
The prototype is:
# useradd [-u uid] [-g initial_group] [-G group[,...]] \ > [-d home_directory] [-s shell] [-c comment] \ > [-m [-k skeleton_directory]] [-f inactive_time] \ > [-e expire_date] -n username |
A sample implementation of the prototype is:
# useradd -u 502 -g dba -G users,root \ > -d /u02/oracle -s /bin/tcsh -c "Oracle Account" \ > -f 7 -e 12/31/03 -n jdoe |
Modifying a user:
The prototype is:
# usermod [-u uid] [-g initial_group] [-G group[,...]] \ > [-d home_directory] [-s shell] [-c comment] \ > [-l new_username ] [-f inactive_time] [-e expire_date] > username |
A sample implementation of the prototype is:
# usermod -u 502 -g dba -G users,root > -d /u02/oracle -s /bin/bash -c "Senior DBA" > -l sdba -f 7 -e 12/31/03 jdoe |
Removing a user:
The prototype is:
# userdel [-r] username |
A sample implementation of the prototype is:
# userdel -r jdoe |
Managing Groups:
Adding a group:
The prototype is:
# groupadd [-g gid] [-rf] groupname |
A sample implementation of the prototype is:
# groupadd -g 500 dba |
Modifying a group:
The prototype is:
# groupmod [-g gid] [-n new_group_name] groupname |
A sample implementation of the prototype is:
# groupmod -g 500 -n dba oinstall |
Deleting a group:
The prototype is:
# groupdel groupname |
A sample implementation of the prototype is:
# groupdel dba |
Installing a GUI Manager for Users and Groups:
If you’re the root user or enjoy sudoer privileges, you can install the following GUI package for these tasks:
yum install -y system-config-users |
You can verify the GUI user management tool is present with the following command:
which system-config-users |
It should return this:
/bin/system-config-users |
You can run the GUI user management tool from the root user account or any sudoer account. The following shows how to launch the GUI User Manager from a sudoer account:
sudo system-config-users |
As always, I hope this helps those trying to figure out the proper syntax.
PostgreSQL on Ubuntu
Fresh install of Ubuntu on my MacBook Pro i7 because Apple said the OS X was no longer upgradable. Time to install and configure MySQL Server. These are the steps to install MySQL on the Ubuntu Desktop.
Installation
- Update the Ubuntu OS by checking for, inspecting, and upgrading any available updates with the following commands:
sudo apt update
sudo apt list
sudo apt upgrade
- Check for available PostgreSQL Server packages with this command:
sudo apt install postgresql postgresql-contrib
- Connect as the postgres user with the following command:
sudo -i -u postgres
Then, you can connect to PostgreSQL with this command:
psql
It displays your connection as the root user. Then, you can use the show data_directory; command to find the data directory:
psql (14.8 (Ubuntu 14.8-0ubuntu0.22.04.1)) Type "help" for help. postgres=# show data_directory; data_directory ----------------------------- /var/lib/postgresql/14/main (1 row)\q
- At this point, you have some operating system (OS) stuff to setup before configuring a PostgreSQL sandboxed videodb database and student user.
- Assume the role of the root superuser on Ubuntu with this command:
sudo sh
As the root user, navigate to /etc/postgresql/14/main directory and edit the pg_hba.conf file. Add lines for the postgres and student users, as shown below:
# TYPE  DATABASE        USER            ADDRESS                 METHOD

# "local" is for Unix domain socket connections only
local   all             all                                     peer
local   all             postgres                                peer
local   all             student                                 peer

# IPv4 local connections:
host    all             all             127.0.0.1/32            scram-sha-256
# IPv6 local connections:
host    all             all             ::1/128                 scram-sha-256
# Allow replication connections from localhost, by a user with the
# replication privilege.
local   replication     all                                     scram-sha-256
host    replication     all             127.0.0.1/32            scram-sha-256
host    replication     all             ::1/128                 scram-sha-256
- As the root user, navigate to the /var/lib/postgresql/14 directory, and make the video_db directory with the following command:
mkdir video_db - Change the video_db ownership and group to the respective postgres user and primary group:
chown postgres:postgres video_db - Change the video_db permissions to read, write, and execute for only the owner with this syntax as the postgres user:
chmod 700 video_db
- Assume the role of the root superuser on Ubuntu with this command:
- Connect to the postgres account and perform the following commands:
- Connect as the postgres user with the following command:
sudo -i -u postgres
- After connecting as the postgres superuser, you can create a video_db tablespace with the following syntax:
CREATE TABLESPACE video_db
  OWNER postgres
  LOCATION '/var/lib/postgresql/14/video_db';
This will return the following:
CREATE TABLESPACE
You can query whether you successfully create the video_db tablespace with the following:
SELECT * FROM pg_tablespace;
It should return the following:
  oid  |  spcname   | spcowner | spcacl | spcoptions
-------+------------+----------+--------+------------
  1663 | pg_default |       10 |        |
  1664 | pg_global  |       10 |        |
 16389 | video_db   |       10 |        |
(3 rows)
-
You need to know the PostgreSQL default collation before you create a new database. You can write the following query to determine the default correlation:
postgres=# SELECT datname, datcollate FROM pg_database WHERE datname = 'postgres';
It should return something like this:
 datname  | datcollate
----------+-------------
 postgres | en_US.UTF-8
(1 row)
The datcollate value of the postgres database needs to the same value for the LC_COLLATE and LC_CTYPE parameters when you create a database. You can create a videodb database with the following syntax provided you’ve made appropriate substitutions for the LC_COLLATE and LC_CTYPE values below:
CREATE DATABASE videodb
  WITH OWNER = postgres
  ENCODING = 'UTF8'
  TABLESPACE = video_db
  LC_COLLATE = 'en_US.UTF-8'
  LC_CTYPE = 'en_US.UTF-8'
  CONNECTION LIMIT = -1;
You can verify the creation of the videodb with the following command:
postgres# \l
It should show you a display like the following:
List of databases Name | Owner | Encoding | Collate | Ctype | ICU Locale | Locale Provider | Access privileges -----------+----------+----------+-------------+-------------+------------+-----------------+----------------------- postgres | postgres | UTF8 | en_US.UTF-8 | en_US.UTF-8 | | libc | template0 | postgres | UTF8 | en_US.UTF-8 | en_US.UTF-8 | | libc | =c/postgres + | | | | | | | postgres=CTc/postgres template1 | postgres | UTF8 | en_US.UTF-8 | en_US.UTF-8 | | libc | =c/postgres + | | | | | | | postgres=CTc/postgres videodb | postgres | UTF8 | en_US.UTF-8 | en_US.UTF-8 | | libc | (4 rows)Then, you can assign comment to the database with the following syntax:
COMMENT ON DATABASE videodb IS 'Video Store Database';
- Create a Role, Grant, and User:
In this section you create a dba role, grant privileges on a videodb database to a role, and create a user with the role that you created previously with the following three statements. There are three steps in this sections.
- The first step creates a dba role:
CREATE ROLE dba WITH SUPERUSER;
- The second step grants all privileges on the videodb database to both the postgres superuser and the dba role:
GRANT TEMPORARY, CONNECT ON DATABASE videodb TO PUBLIC;
GRANT ALL PRIVILEGES ON DATABASE videodb TO postgres;
GRANT ALL PRIVILEGES ON DATABASE videodb TO dba;
Any work in pgAdmin4 requires a grant on the videodb database to the postgres superuser. The grant enables visibility of the videodb database in the pgAdmin4 console as shown in the following image.
- The third step creates a student user:
CREATE USER student
  WITH ROLE dba
       ENCRYPTED PASSWORD 'student';
- The fourth step changes the ownership of the videodb database to the student user:
ALTER DATABASE videodb OWNER TO student;
You can verify the change of ownership for the videodb from the postgres user to student user with the following command:
postgres# \l
It should show you a display like the following:
                                                 List of databases
   Name    |  Owner   | Encoding |   Collate   |    Ctype    | ICU Locale | Locale Provider |   Access privileges
-----------+----------+----------+-------------+-------------+------------+-----------------+-----------------------
 postgres  | postgres | UTF8     | en_US.UTF-8 | en_US.UTF-8 |            | libc            |
 template0 | postgres | UTF8     | en_US.UTF-8 | en_US.UTF-8 |            | libc            | =c/postgres          +
           |          |          |             |             |            |                 | postgres=CTc/postgres
 template1 | postgres | UTF8     | en_US.UTF-8 | en_US.UTF-8 |            | libc            | =c/postgres          +
           |          |          |             |             |            |                 | postgres=CTc/postgres
 videodb   | student  | UTF8     | en_US.UTF-8 | en_US.UTF-8 |            | libc            | =Tc/student          +
           |          |          |             |             |            |                 | student=CTc/student  +
           |          |          |             |             |            |                 | dba=CTc/student
(4 rows)
Installation of PGAdmin4
These are the steps to install pgAdmin4. They include some preconditions.
You need to install the curl utility as a precondition.
sudo apt install curl
Install the public key for the repository (if not done previously):
curl -fsSL https://www.pgadmin.org/static/packages_pgadmin_org.pub | sudo gpg --dearmor -o /etc/apt/trusted.gpg.d/pgadmin.gpg
- The first step creates a dba role:
- Connect as the postgres user with the following command:
Debugging PL/SQL Functions
Teaching student how to debug a PL/SQL function takes about an hour now. I came up with the following example of simple deterministic function that adds three numbers and trying to understand how PL/SQL implicitly casts data types. The lecture follows a standard Harvard Case Study, which requires the students to suggest next steps. The starting code is:
1 2 3 4 5 6 7 8 9 10 | CREATE OR REPLACE FUNCTION adding ( a DOUBLE PRECISION , b INTEGER , c DOUBLE PRECISION ) RETURN INTEGER DETERMINISTIC IS BEGIN RETURN a + b + c; END; / |
Then, we use one test case for two scenarios:
SELECT adding(1.25, 2, 1.24) AS "Test Case 1" , adding(1.25, 2, 1.26) AS "Test Case 2" FROM dual; |
It returns:
Test Case 1 Test Case 2
----------- -----------
4 5 |
Then, I ask why does that work? Somehow many students can’t envision how it works. Occasionally, a student will say it must implicitly cast the INTEGER to a DOUBLE PRECISION data type and add the numbers as DOUBLE PRECISION values before down-casting it to an INTEGER data type.
Whether I have to explain it or a student volunteers it, the next question is: “How would you build a test case to see if the implicit casting?” Then, I ask them to take 5-minutes and try to see how the runtime behaves inside the function.
At this point in the course, they only know how to use dbms_output.put_line to print content from anonymous blocks. So, I provide them with a modified adding function:
1 2 3 4 5 6 7 8 9 10 11 12 13 14 15 16 17 18 19 20 21 22 23 24 25 26 27 28 29 | CREATE OR REPLACE FUNCTION adding ( a DOUBLE PRECISION , b INTEGER , c DOUBLE PRECISION ) RETURN INTEGER DETERMINISTIC IS /* Define a double precision temporary result variable. */ temp_result NUMBER; /* Define an integer return variable. */ temp_return INTEGER; BEGIN /* * Perform the calculation and assign the value to the temporary * result variable. */ temp_result := a + b + c; /* * Assign the temporary result variable to the return variable. */ temp_return := temp_result; /* Return the integer return variable as the function result. */ RETURN temp_return; END; / |
The time limit ensures they spend their time typing the code from the on screen display and limits testing to the dbms_output.put_line attempt. Any more time and one or two of them would start using Google to find an answer.
I introduce the concept of a Black Box as their time expires, and typically use an illustration like the following to explain that by design you can’t see inside runtime operations of functions. Then, I teach them how to do exactly that.

You can test the runtime behaviors and view the variable values of functions by doing these steps:
- Create a debug table, like
CREATE TABLE debug
( msg  VARCHAR2(200));
- Make the function into an autonomous transaction by:
- Adding the PRAGMA (or precompiler) instruction in the declaration block.
- Adding a COMMIT at the end of the execution block.
- Use an INSERT statement to write descriptive text with the variable values into the debug table.
Here’s the refactored test code:
1 2 3 4 5 6 7 8 9 10 11 12 13 14 15 16 17 18 19 20 21 22 23 24 25 26 27 28 29 30 31 32 33 34 35 36 37 38 39 40 41 | CREATE OR REPLACE FUNCTION adding ( a DOUBLE PRECISION , b INTEGER , c DOUBLE PRECISION ) RETURN INTEGER DETERMINISTIC IS /* Define a double precision temporary result variable. */ temp_result NUMBER; /* Define an integer return variable. */ temp_return INTEGER; /* Precompiler Instrunction. */ PRAGMA AUTONOMOUS_TRANSACTION; BEGIN /* * Perform the calculation and assign the value to the temporary * result variable. */ temp_result := a + b + c; /* Insert the temporary result variable into the debug table. */ INSERT INTO debug (msg) VALUES ('Temporary Result Value: ['||temp_result||']'); /* * Assign the temporary result variable to the return variable. */ temp_return := temp_result; /* Insert the temporary result variable into the debug table. */ INSERT INTO debug (msg) VALUES ('Temporary Return Value: ['||temp_return||']'); /* Commit to ensure the write succeeds in a separate process scope. */ COMMIT; /* Return the integer return variable as the function result. */ RETURN temp_return; END; / |
While an experienced PL/SQL developer might ask while not introduce conditional computation, the answer is that’s for another day. Most students need to uptake pieces before assembling pieces and this example is already complex for a newbie.
The same test case works (shown to avoid scrolling up):
SELECT adding(1.25, 2, 1.24) AS "Test Case 1" , adding(1.25, 2, 1.26) AS "Test Case 2" FROM dual; |
It returns:
Test Case 1 Test Case 2
----------- -----------
4 5 |
Now, they can see the internal step-by-step values with this query:
COL msg FORMAT A30 HEADING "Internal Variable Auditing" SELECT msg FROM debug; |
It returns:
Internal Variable Auditing ------------------------------ Temporary Result Value: [4.49] Temporary Return Value: [4] Temporary Result Value: [4.51] Temporary Return Value: [5] 4 rows selected. |
What we learn is that:
- Oracle PL/SQL up-casts the b variable from an integer to a double precision data type before adding the three input variables.
- Oracle PL/SQL down-casts the sum of the three input variables from a double precision data type to an integer by applying traditionally rounding.
I hope this helps those trying to understand implicit casting and discovering how to unhide an opaque function’s operations for debugging purposes.
PL/SQL Overloading
So, I wrote an updated example of my grandma and tweetie_bird for my students. It demonstrates overloading with the smallest parameter lists possible across a transaction of two tables. It also shows how one version of the procedure can call another version of the procedure.
The tables are created with the following:
/* Conditionally drop grandma table and grandma_s sequence. */ BEGIN FOR i IN (SELECT object_name , object_type FROM user_objects WHERE object_name IN ('GRANDMA','GRANDMA_SEQ')) LOOP IF i.object_type = 'TABLE' THEN /* Use the cascade constraints to drop the dependent constraint. */ EXECUTE IMMEDIATE 'DROP TABLE '||i.object_name||' CASCADE CONSTRAINTS'; ELSE EXECUTE IMMEDIATE 'DROP SEQUENCE '||i.object_name; END IF; END LOOP; END; / /* Create the table. */ CREATE TABLE GRANDMA ( grandma_id NUMBER CONSTRAINT grandma_nn1 NOT NULL , grandma_house VARCHAR2(30) CONSTRAINT grandma_nn2 NOT NULL , created_by NUMBER CONSTRAINT grandma_nn3 NOT NULL , CONSTRAINT grandma_pk PRIMARY KEY (grandma_id) ); /* Create the sequence. */ CREATE SEQUENCE grandma_seq; /* Conditionally drop a table and sequence. */ BEGIN FOR i IN (SELECT object_name , object_type FROM user_objects WHERE object_name IN ('TWEETIE_BIRD','TWEETIE_BIRD_SEQ')) LOOP IF i.object_type = 'TABLE' THEN EXECUTE IMMEDIATE 'DROP TABLE '||i.object_name||' CASCADE CONSTRAINTS'; ELSE EXECUTE IMMEDIATE 'DROP SEQUENCE '||i.object_name; END IF; END LOOP; END; / /* Create the table with primary and foreign key out-of-line constraints. */ CREATE TABLE TWEETIE_BIRD ( tweetie_bird_id NUMBER CONSTRAINT tweetie_bird_nn1 NOT NULL , tweetie_bird_house VARCHAR2(30) CONSTRAINT tweetie_bird_nn2 NOT NULL , grandma_id NUMBER CONSTRAINT tweetie_bird_nn3 NOT NULL , created_by NUMBER CONSTRAINT tweetie_bird_nn4 NOT NULL , CONSTRAINT tweetie_bird_pk PRIMARY KEY (tweetie_bird_id) , CONSTRAINT tweetie_bird_fk FOREIGN KEY (grandma_id) REFERENCES GRANDMA (GRANDMA_ID) ); /* Create sequence. */ CREATE SEQUENCE tweetie_bird_seq; |
The sylvester package specification holds the two overloaded procedures, like:
CREATE OR REPLACE PACKAGE sylvester IS /* Three variable length strings. */ PROCEDURE warner_brother ( pv_grandma_house VARCHAR2 , pv_tweetie_bird_house VARCHAR2 , pv_system_user_name VARCHAR2 ); /* Two variable length strings and a number. */ PROCEDURE warner_brother ( pv_grandma_house VARCHAR2 , pv_tweetie_bird_house VARCHAR2 , pv_system_user_id NUMBER ); END sylvester; / |
The sylvester package implements two warner_brother procedures. One takes the system user’s ID and the other takes the system user’s name. The procedure that accepts the system user name queries the system_user table with the system_user_name to get the system_user_id column and then calls the other version of itself. This demonstrates how you only write logic once when overloading and let one version call the other with the added information.
Here’s the sylvester package body code:
CREATE OR REPLACE PACKAGE BODY sylvester IS /* Procedure warner_brother with user name. */ PROCEDURE warner_brother ( pv_grandma_house VARCHAR2 , pv_tweetie_bird_house VARCHAR2 , pv_system_user_id NUMBER ) IS /* Declare a local variable for an existing grandma_id. */ lv_grandma_id NUMBER; FUNCTION get_grandma_id ( pv_grandma_house VARCHAR2 ) RETURN NUMBER IS /* Initialized local return variable. */ lv_retval NUMBER := 0; -- Default value is 0. /* A cursor that lookups up a grandma's ID by their name. */ CURSOR find_grandma_id ( cv_grandma_house VARCHAR2 ) IS SELECT grandma_id FROM grandma WHERE grandma_house = cv_grandma_house; BEGIN /* Assign a grandma_id as the return value when a row exists. */ FOR i IN find_grandma_id(pv_grandma_house) LOOP lv_retval := i.grandma_id; END LOOP; /* Return 0 when no row found and the grandma_id when a row is found. */ RETURN lv_retval; END get_grandma_id; BEGIN /* Set the savepoint. */ SAVEPOINT starting; /* * Identify whether a member account exists and assign it's value * to a local variable. */ lv_grandma_id := get_grandma_id(pv_grandma_house); /* * Conditionally insert a new member account into the member table * only when a member account does not exist. */ IF lv_grandma_id = 0 THEN /* Insert grandma. */ INSERT INTO grandma ( grandma_id , grandma_house , created_by ) VALUES ( grandma_seq.NEXTVAL , pv_grandma_house , pv_system_user_id ); /* Assign grandma_seq.currval to local variable. */ lv_grandma_id := grandma_seq.CURRVAL; END IF; /* Insert tweetie bird. */ INSERT INTO tweetie_bird ( tweetie_bird_id , tweetie_bird_house , grandma_id , created_by ) VALUES ( tweetie_bird_seq.NEXTVAL , pv_tweetie_bird_house , lv_grandma_id , pv_system_user_id ); /* If the program gets here, both insert statements work. Commit it. */ COMMIT; EXCEPTION /* When anything is broken do this. */ WHEN OTHERS THEN /* Until any partial results. */ ROLLBACK TO starting; END; PROCEDURE warner_brother ( pv_grandma_house VARCHAR2 , pv_tweetie_bird_house VARCHAR2 , pv_system_user_name VARCHAR2 ) IS /* Define a local variable. */ lv_system_user_id NUMBER := 0; FUNCTION get_system_user_id ( pv_system_user_name VARCHAR2 ) RETURN NUMBER IS /* Initialized local return variable. */ lv_retval NUMBER := 0; -- Default value is 0. /* A cursor that lookups up a grandma's ID by their name. */ CURSOR find_system_user_id ( cv_system_user_id VARCHAR2 ) IS SELECT system_user_id FROM system_user WHERE system_user_name = pv_system_user_name; BEGIN /* Assign a grandma_id as the return value when a row exists. */ FOR i IN find_system_user_id(pv_system_user_name) LOOP lv_retval := i.system_user_id; END LOOP; /* Return 0 when no row found and the grandma_id when a row is found. */ RETURN lv_retval; END get_system_user_id; BEGIN /* Convert a system_user_name to system_user_id. */ lv_system_user_id := get_system_user_id(pv_system_user_name); /* Call the warner_brother procedure. */ warner_brother ( pv_grandma_house => pv_grandma_house , pv_tweetie_bird_house => pv_tweetie_bird_house , pv_system_user_id => lv_system_user_id ); EXCEPTION /* When anything is broken do this. */ WHEN OTHERS THEN /* Until any partial results. */ ROLLBACK TO starting; END; END sylvester; / |
The following anonymous block test case works with the code:
BEGIN sylvester.warner_brother( pv_grandma_house => 'Blue House' , pv_tweetie_bird_house => 'Cage' , pv_system_user_name => 'DBA 3' ); sylvester.warner_brother( pv_grandma_house => 'Blue House' , pv_tweetie_bird_house => 'Tree House' , pv_system_user_id => 4 ); END; / |
You can now query the results with this SQL*PLus formatting and query:
/* Query results from warner_brother procedure. */ COL grandma_id FORMAT 9999999 HEADING "Grandma|ID #" COL grandma_house FORMAT A14 HEADING "Grandma House" COL created_by FORMAT 9999999 HEADING "Created|By" COL tweetie_bird_id FORMAT 9999999 HEADING "Tweetie|Bird ID" COL tweetie_bird_house FORMAT A18 HEADING "Tweetie Bird House" SELECT * FROM grandma g INNER JOIN tweetie_bird tb ON g.grandma_id = tb.grandma_id; |
You should see the following data:
 Grandma                 Created  Tweetie                     Grandma  Created
    ID # Grandma House        By  Bird ID Tweetie Bird House     ID #       By
-------- -------------- -------- -------- ------------------ -------- --------
       1 Blue House            3        1 Cage                      1        3
       1 Blue House            3        2 Tree House                1        4
As always, I hope complete code samples help solve real problems.
PostgreSQL Trigger 1
This entry covers how to write a statement logging trigger for PostgreSQL. It creates two tables: avenger and avenger_log; one avenger_t1 trigger, and a testing INSERT statement.
It was written to help newbies know how and what to return from a function written for a statement-level trigger. They often get stuck on the following when they try to return true. The term non-composite is another way to describe the tuple inserted.
psql:basics_postgres.sql: 59: ERROR: cannot return non-composite value from function returning composite type CONTEXT: PL/pgSQL function write_avenger_t1() line 15 at RETURN |
The avenger table:
/* Conditionally drop table. */ DROP TABLE IF EXISTS avenger; /* Create table. */ CREATE TABLE avenger ( avenger_id SERIAL , avenger_name VARCHAR(30) , first_name VARCHAR(20) , last_name VARCHAR(20)); |
Seed the avenger table:
/* Seed the avenger table with data. */ INSERT INTO avenger ( first_name, last_name, avenger_name ) VALUES ('Anthony', 'Stark', 'Iron Man') ,('Thor', 'Odinson', 'God of Thunder') ,('Steven', 'Rogers', 'Captain America') ,('Bruce', 'Banner', 'Hulk') ,('Clinton', 'Barton', 'Hawkeye') ,('Natasha', 'Romanoff', 'Black Widow') ,('Peter', 'Parker', 'Spiderman') ,('Steven', 'Strange', 'Dr. Strange') ,('Scott', 'Lange', 'Ant-man'); |
The avenger_log table:
/* Conditionally drop table. */ DROP TABLE IF EXISTS avenger_log; /* Create table. */ CREATE TABLE avenger_log ( avenger_log_id SERIAL , trigger_name VARCHAR(30) , trigger_timing VARCHAR(6) , trigger_event VARCHAR(6) , trigger_type VARCHAR(12)); |
The INSERT statement that tests the trigger:
DROP FUNCTION IF EXISTS avenger_t1_function; CREATE FUNCTION avenger_t1_function() RETURNS TRIGGER AS $$ BEGIN /* Insert a row into the avenger_log table. * Also, see PostrgreSQL 39.9 Trigger Procedures. */ INSERT INTO avenger_log ( trigger_name , trigger_timing , trigger_event , trigger_type ) VALUES ( UPPER(TG_NAME) , TG_WHEN , TG_OP , TG_LEVEL ); /* A statement trigger doesn't use a composite type or tuple, * it should simply return an empty composite type or void. */ RETURN NULL; END; $$ LANGUAGE plpgsql; |
The avenger_t1 statement trigger:
CREATE TRIGGER avenger_t1 BEFORE INSERT ON avenger EXECUTE FUNCTION avenger_t1_function(); |
The INSERT statement:
INSERT INTO avenger ( first_name, last_name, avenger_name ) VALUES ('Hope', 'van Dyne', 'Wasp'); |
The results logged to the avenger_log table from a query:
 avenger_log_id | trigger_name | trigger_timing | trigger_event | trigger_type
----------------+--------------+----------------+---------------+--------------
              1 | AVENGER_T1   | BEFORE         | INSERT        | STATEMENT
(1 row) |
As always, I hope this helps those looking for a solution.
PostgreSQL 14 Install
This post is a step-by-step install guide to PostgreSQL 14 on Windows 10. It sometimes makes me curious that folks want a summary of screen shots from a Microsoftw Software Installer (MSI) because they always appear to me as straightforward.
This walks you through installing PostgreSQL 14, EDS’s version of Apache, supplemental connection libraries, and pgAdmin4. You can find the post-installation steps in my earlier Configure PostgreSQL 14 post.
PostgreSQL Database 14 Installation Steps
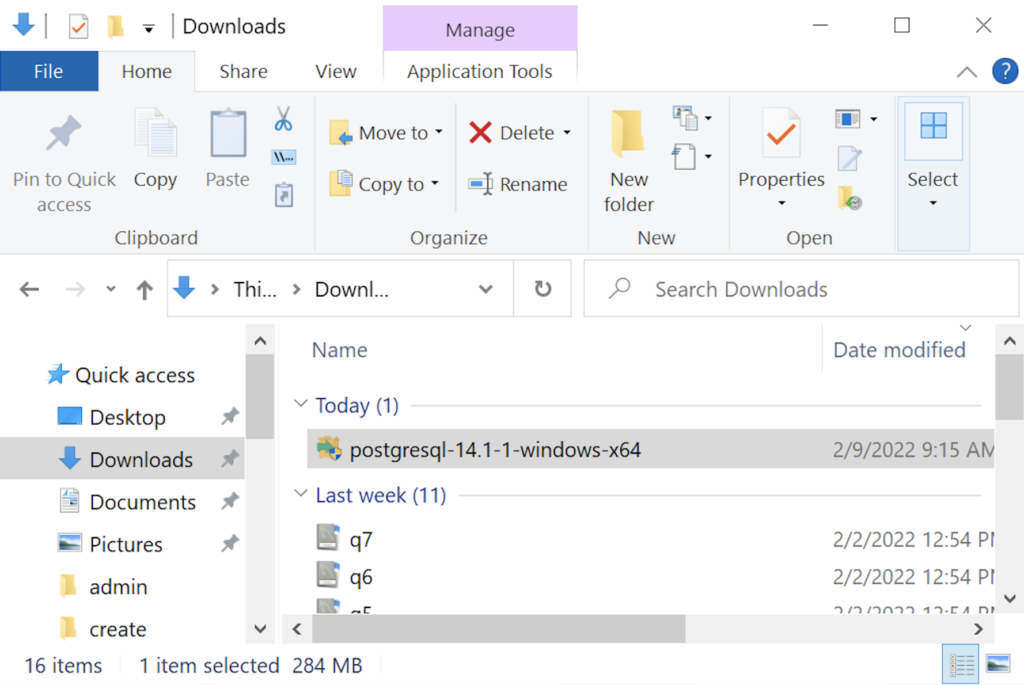
- The first thing you need to do is download the PostgreSQL MSI file, which should be in your C:\Users\username\Downloads directory. You can double-click on the MSI file.
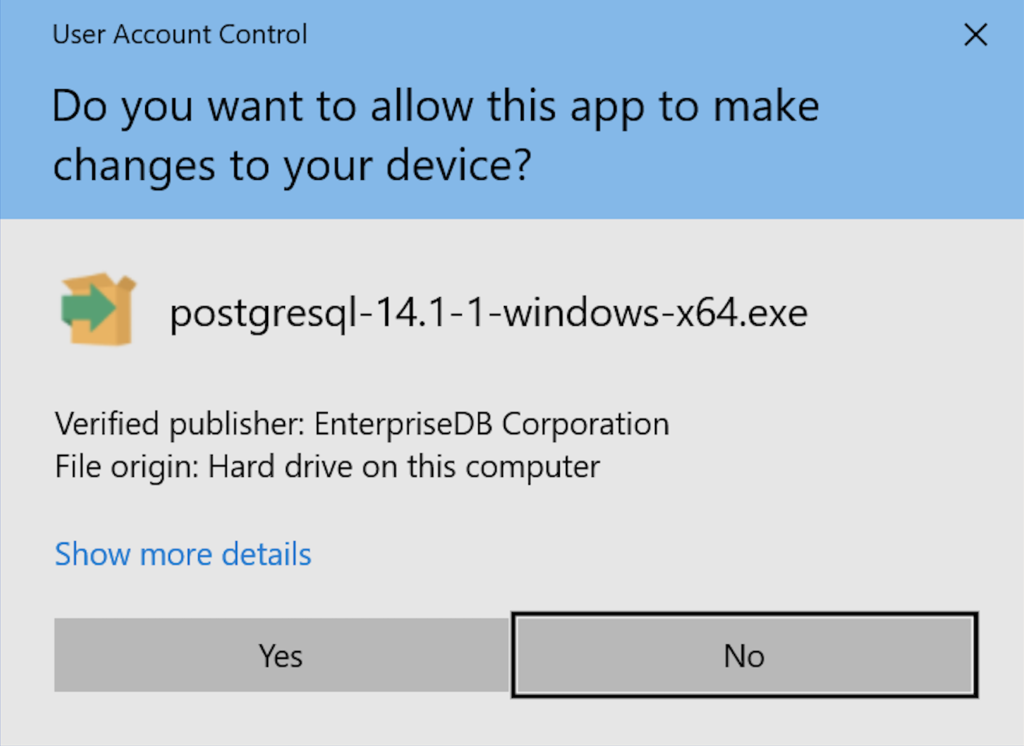
- After double-clicking on the MSI file, you are prompted by User Account Control to allow the PostgreSQL MSI to make changes to your device. Clicking the Yes button is the only way forward.
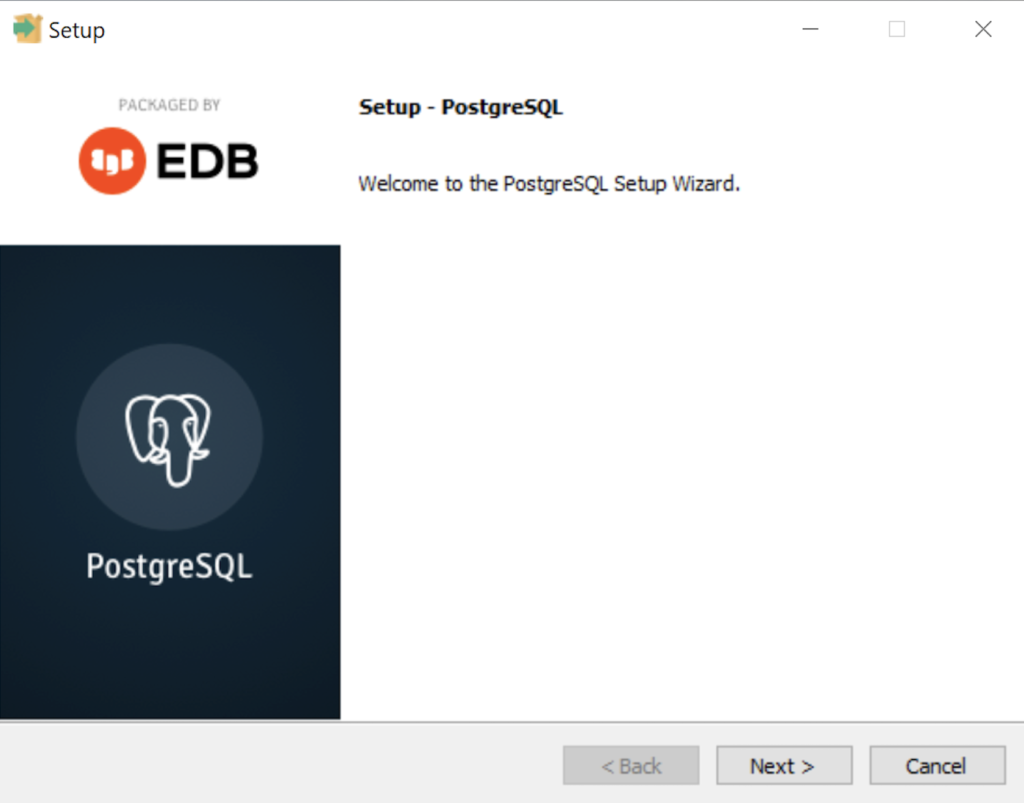
- The Setup – PostgreSQL dialog requires you click the Next button to proceed.
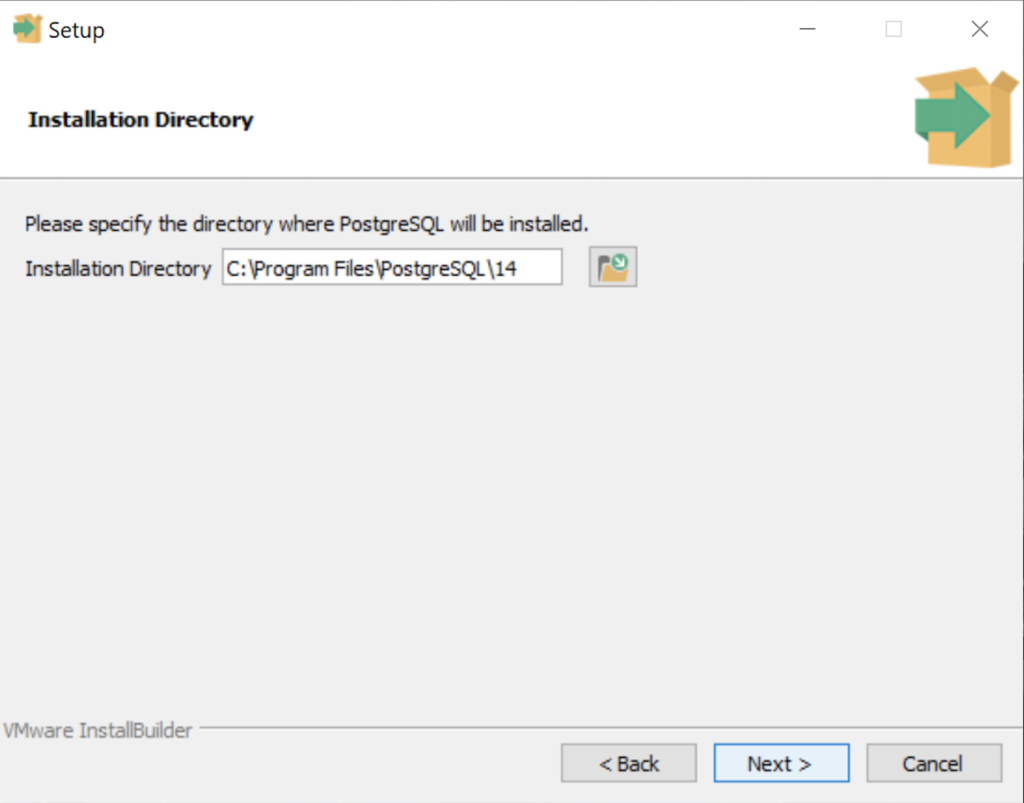
- The Installation Directory dialog prompts you for an installation directory. The default directory is C:\Program Files\PostgreSQL\14 and you should use it. Click the Next button to continue.
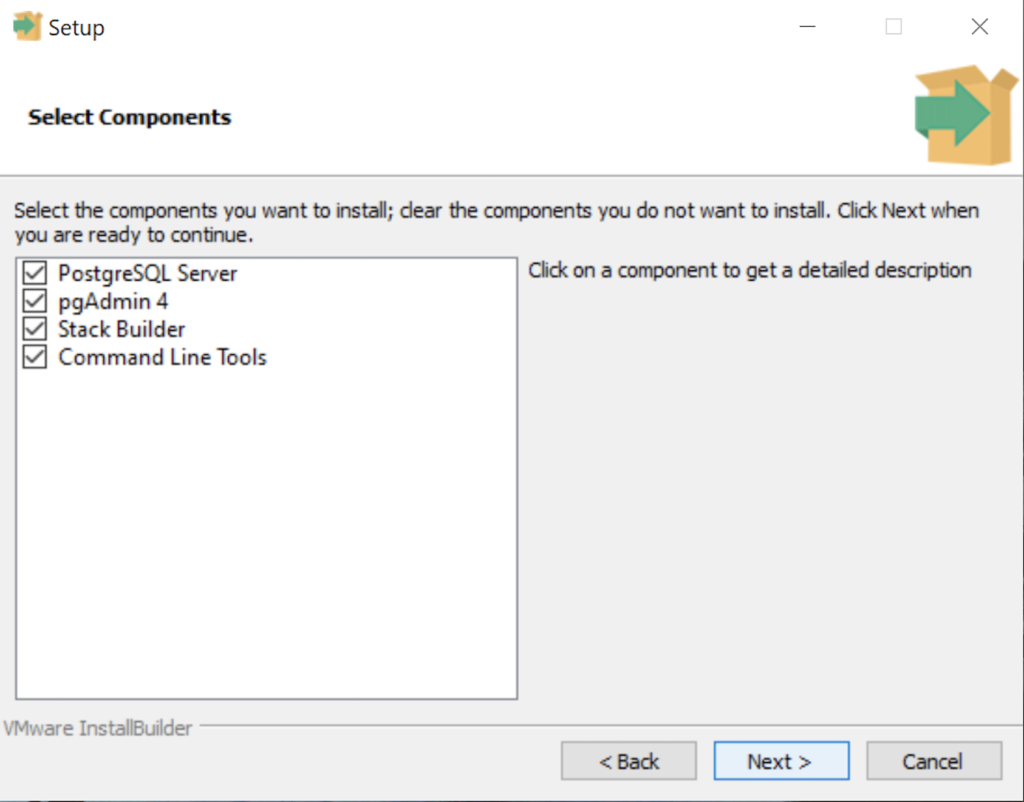
- The Select Components dialog prompts you to choose the products to install. You should choose all four – PostgreSQL Server, pgAdmin 4, Stack Builder, and Command Line Tools. Click the Next button to continue.
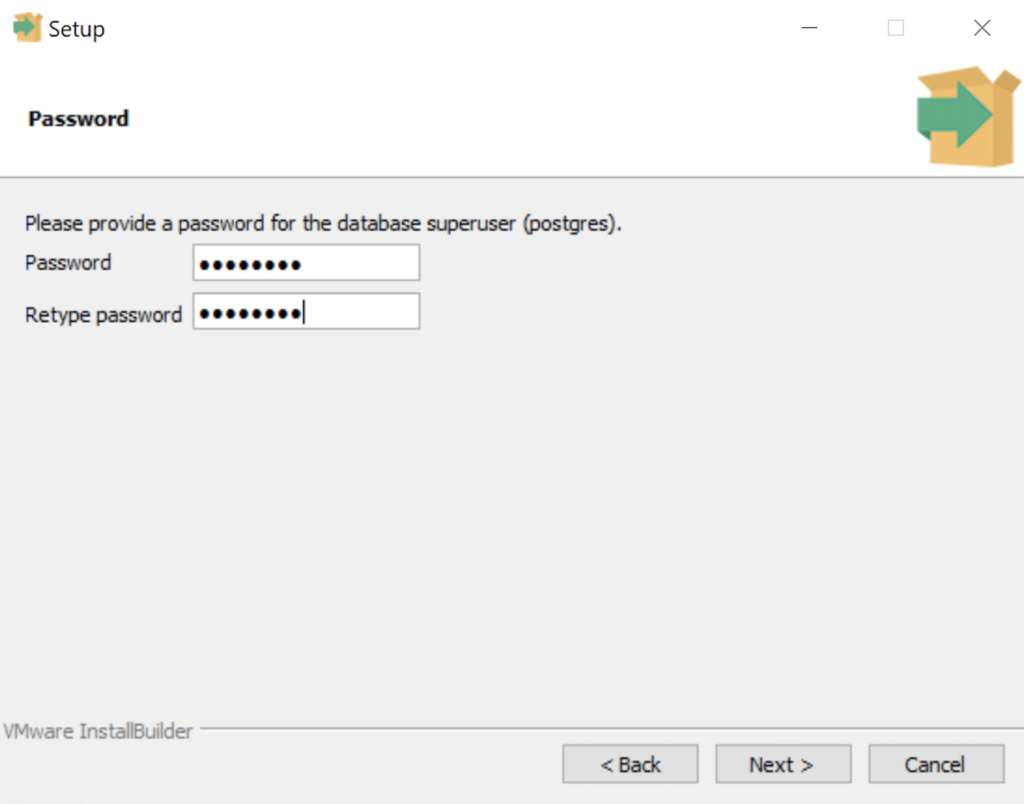
- The Password dialog prompts you for the PostgreSQL superuser password. In a development system for your local computer, you may want to use something straightforward like cangetin. Click the Next button to continue.
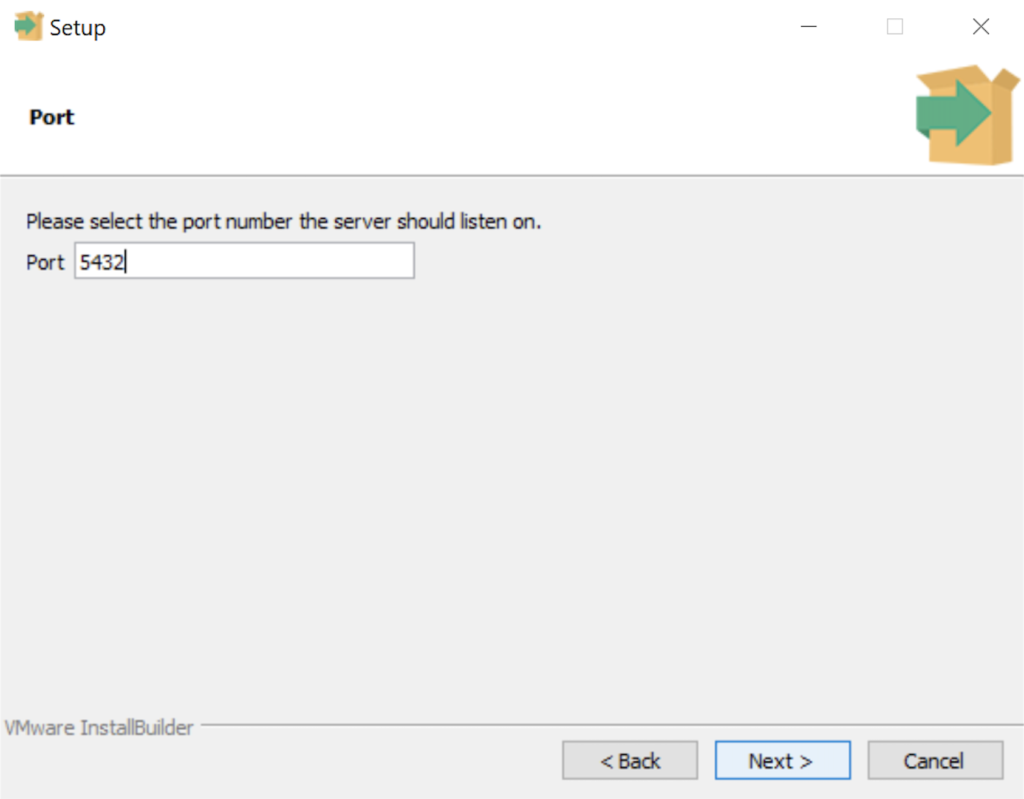
- The Setup dialog lets you select the port number for the PostgreSQL listener. Port 5432 is the standard port for a PostgreSQL database, and ports 5433 and 5434 are used sometimes. Click the Next button to continue.
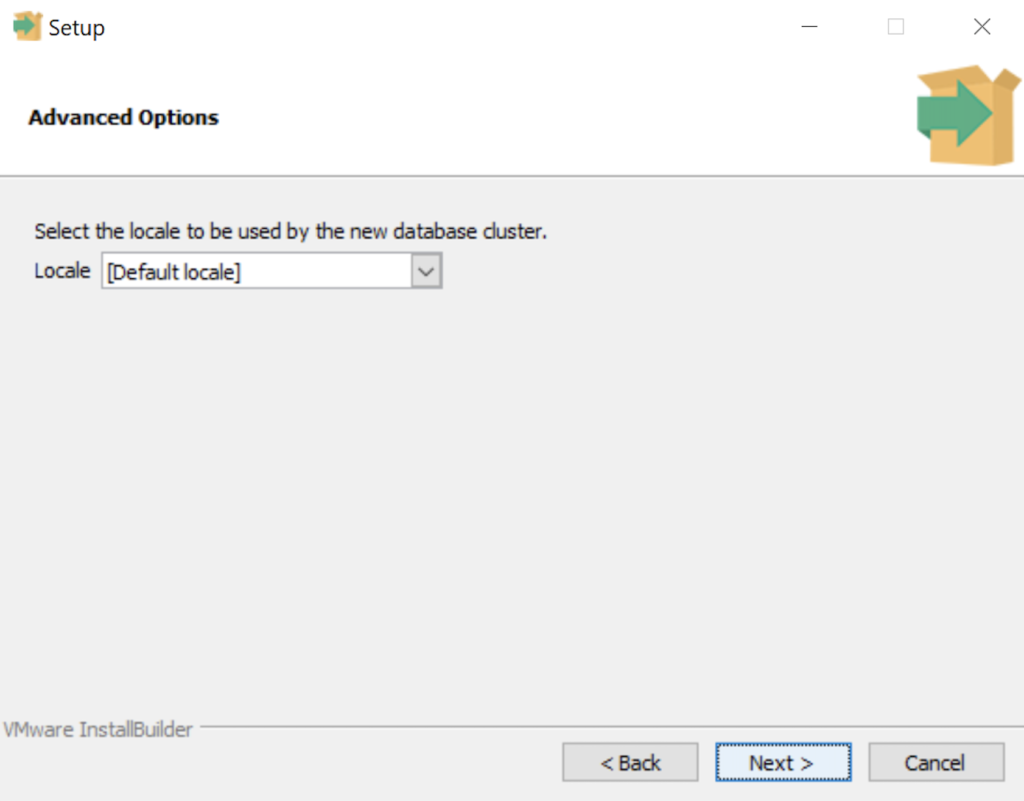
- The Advanced Options dialog lets you select the Locale for the database. As a rule for a development instance you should chose the Default locale. Click the Next button to continue.
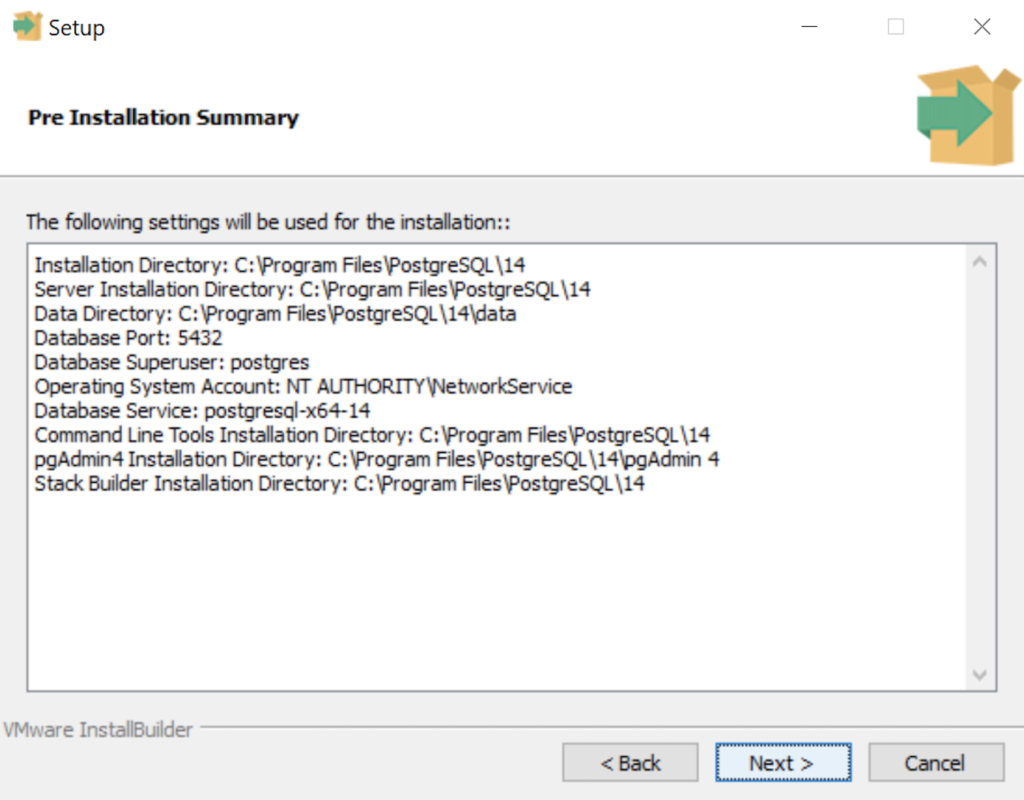
- The Pre Installation Summary dialog tells you what you’ve chosen to install. It gives you a chance to verify what you are installing. Click the Next button to continue.
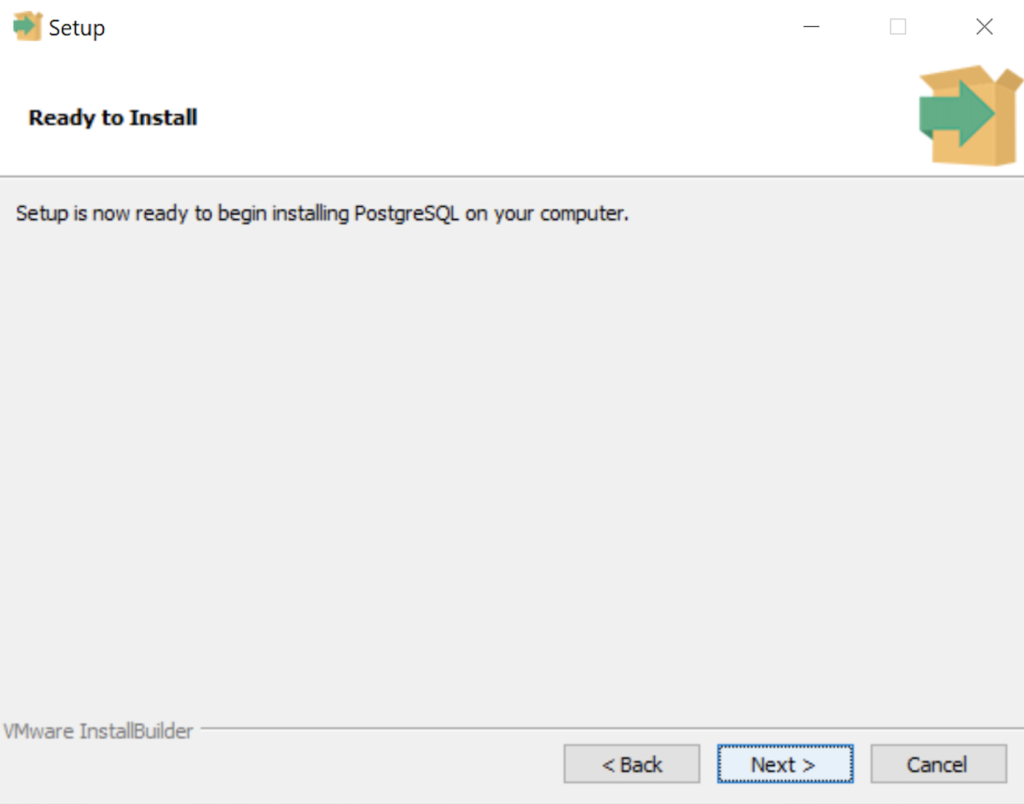
- The Ready to Install dialog lets you pause before you install the software. Click the Next button to continue.
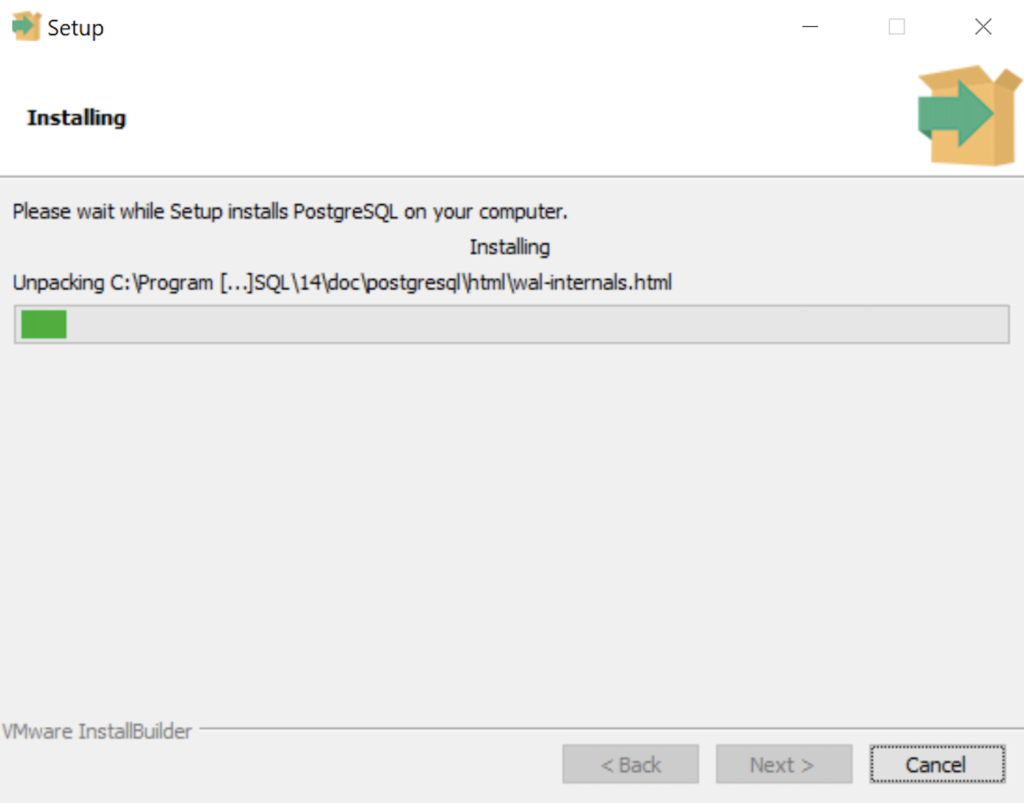
- The Installing dialog is a progress bar that will take several minutes to complete. When the progress bar completes, click the Next button to continue.
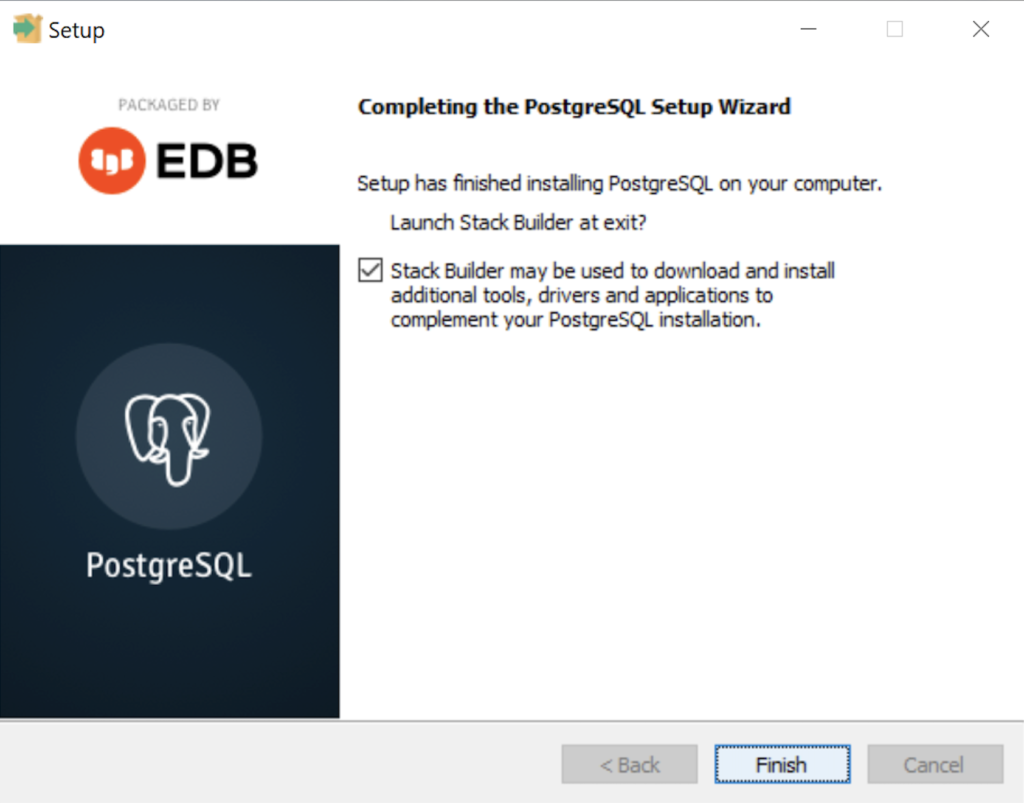
- The Completing the PostgreSQL Setup Wizard dialog tells you that the installation is complete. Click the Finish button to complete the PostgreSQL installation.
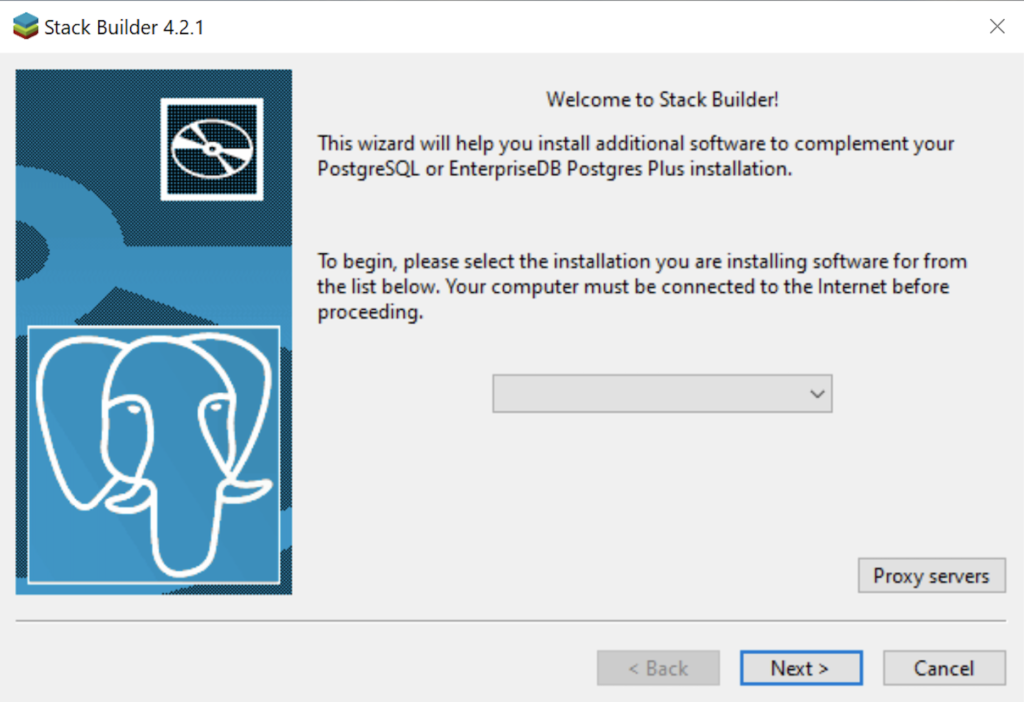
- The Welcome to Stack Builder! dialog lets you choose an installation from those on your computer to build a software stack. Click the drop down box to chose an installation.
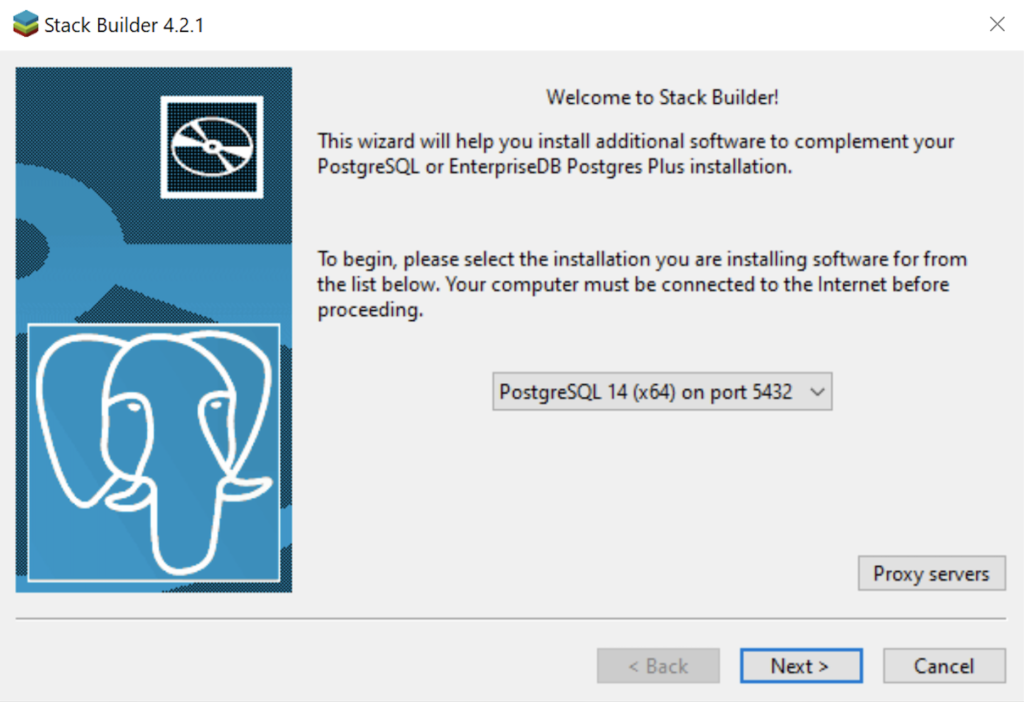
- The second copy of the Welcome to Stack Builder! dialog shows the choice of the PostgreSQL installation you just completed. Click on the Next button to continue.
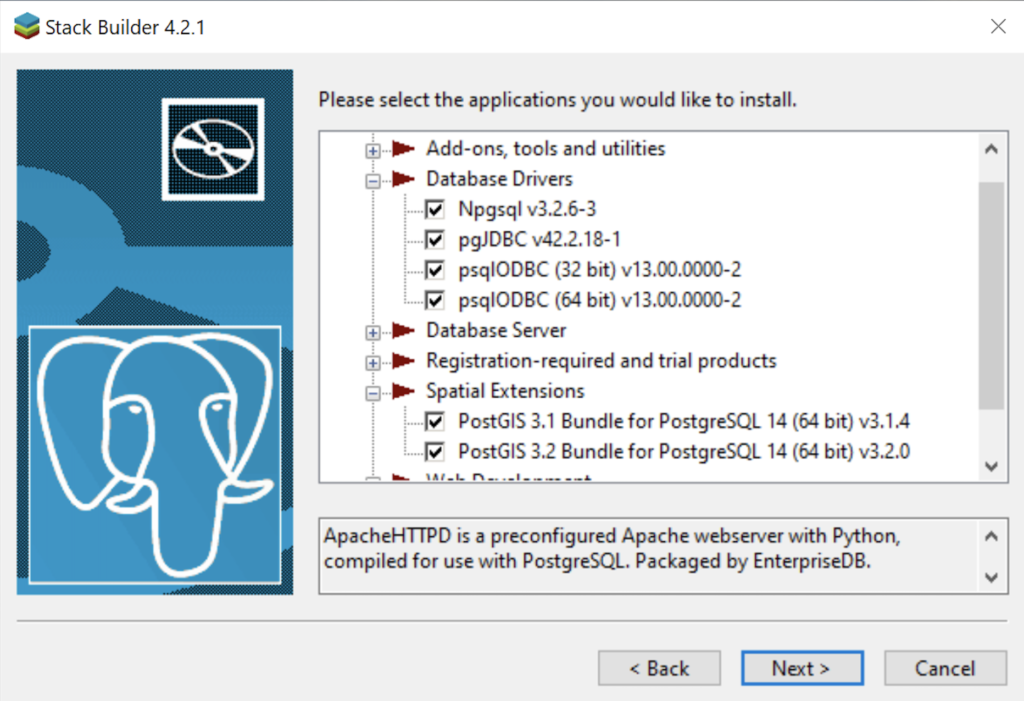
- The Stack Builder dialog prompts you to choose the products to install. You should choose all four database drivers – Npgsql, pgJDBC, psqlODBC, psqlODBC; and the PostGIS 3.1 and PostGIS 3.2 Bundles for PostgreSQL. Then, click the Next button to continue.
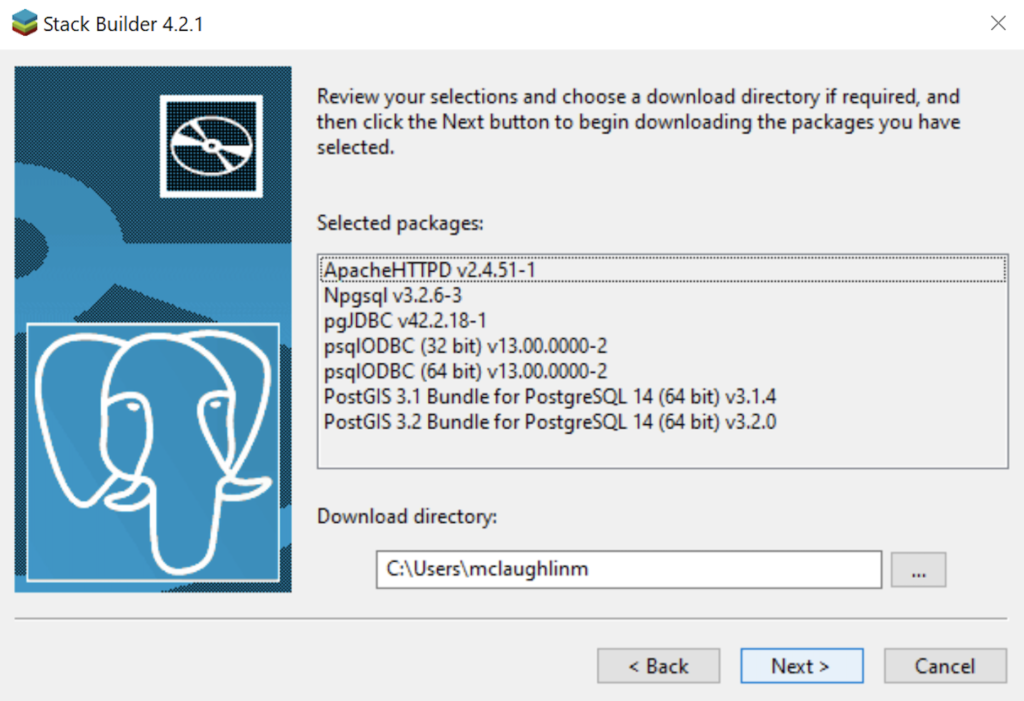
- The Stack Builder dialog shows you the products you will install. You should choose all four database drivers – Npgsql, pgJDBC, psqlODBC, psqlODBC; and the PostGIS 3.1 and PostGIS 3.2 Bundles for PostgreSQL. Click the Next button to continue.
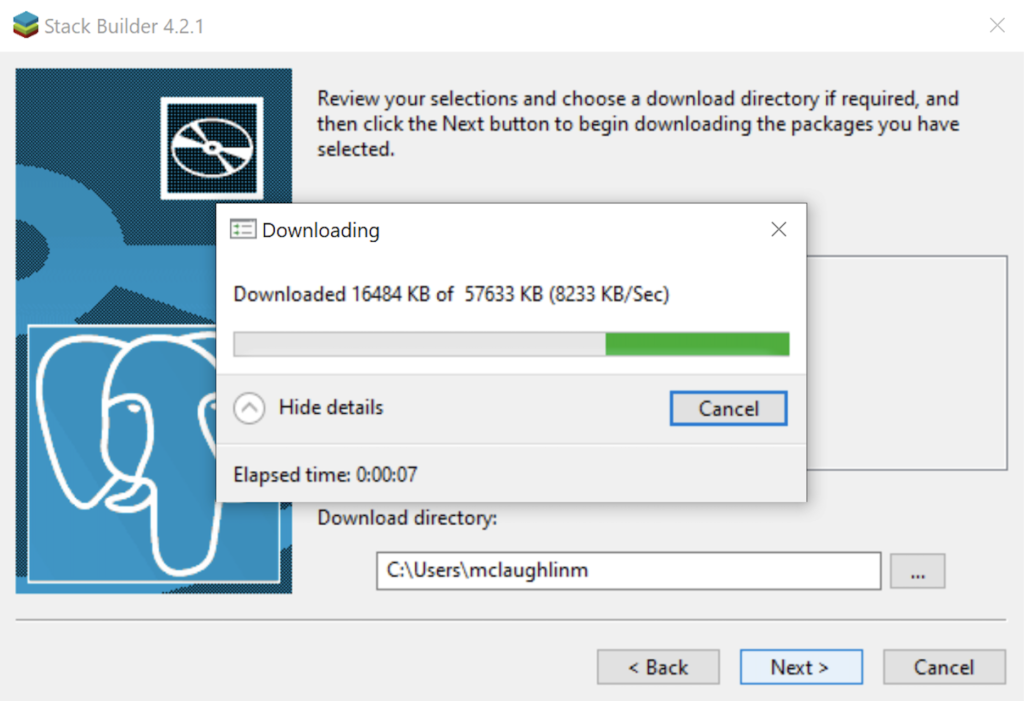
- The Stack Builder dialog shows a download progress bar subdialog, which may take some time to complete. The Stack Builder dialog’s Progress Bar automatically advances to the next dialog box.
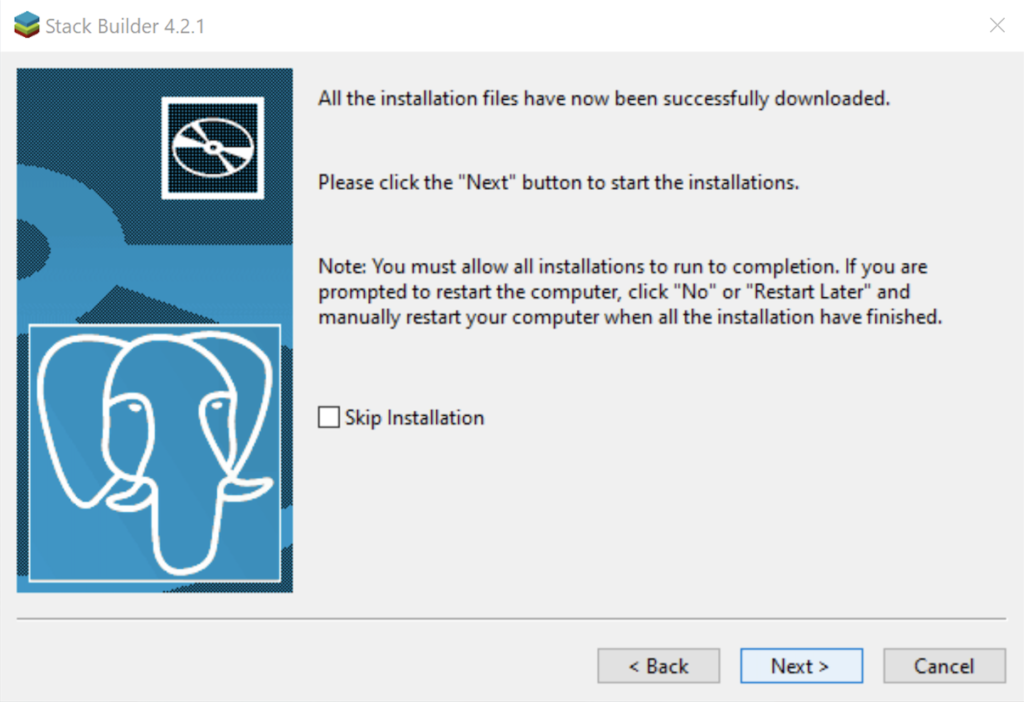
- The Stack Builder dialog tells you the products you downloaded. Click the Next button to continue the developer stack.
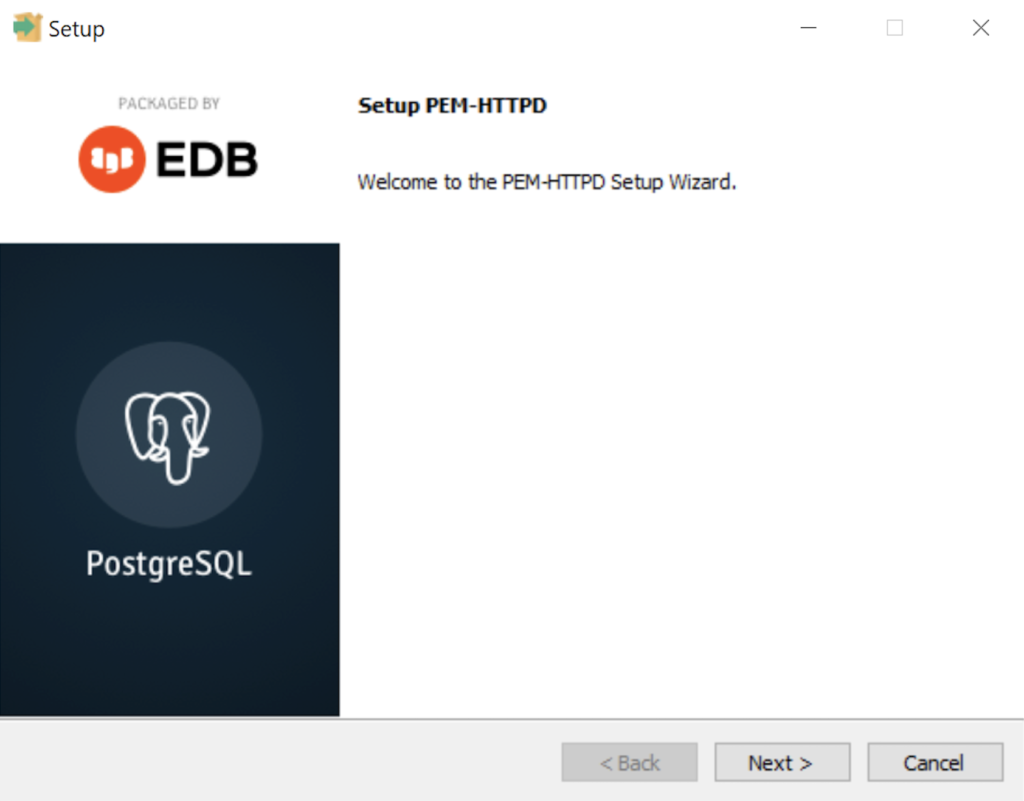
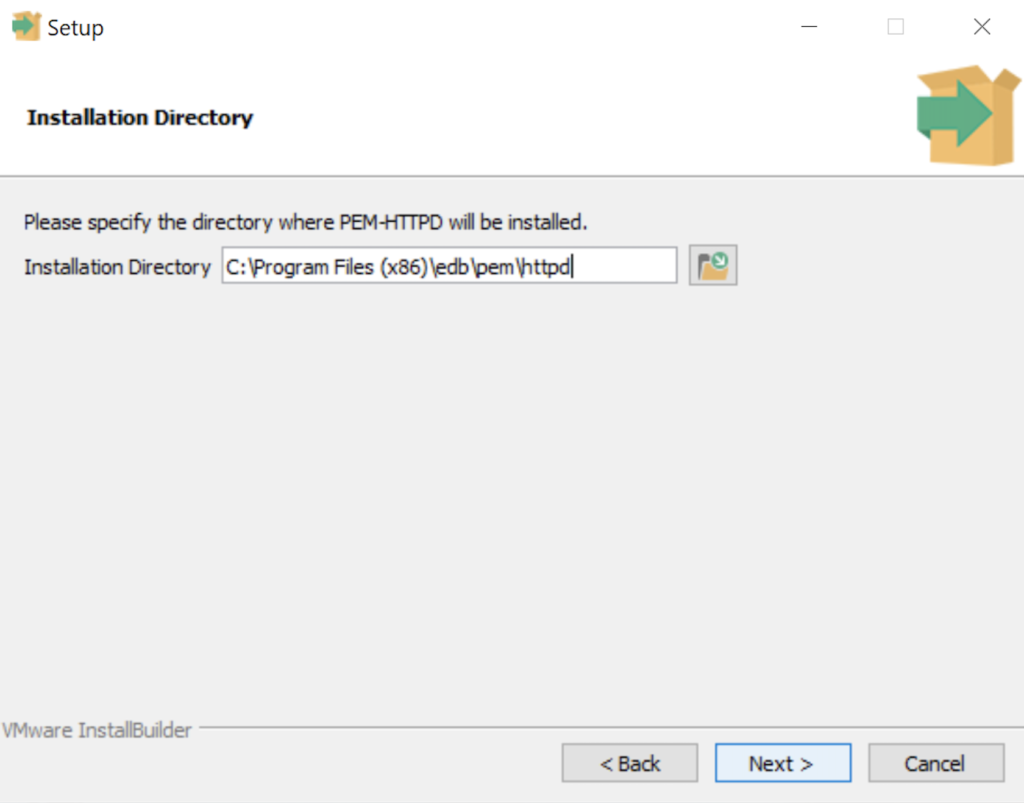
- The Setup dialog advises that you are installing the PEM-HTTPD Setup Wizard. Click the Next button to continue.
- The Installation Directory dialog prompts you for an installation directory. The default directory is C:\Program Files (x86)\edb\pem\httpd and you should use it because that’s where Windows 10 puts 64-bit libraries. Click the Next button to continue.
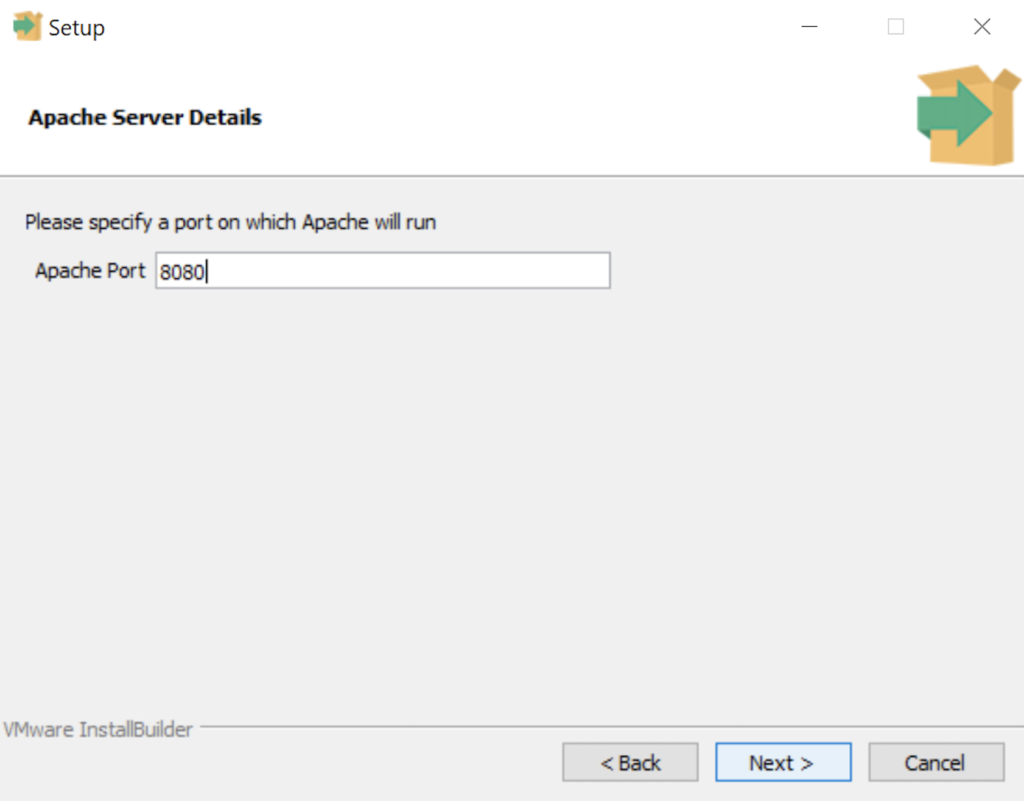
- The Setup dialog lets you select the port number for the HTTP listener. Port 8080 is the standard port for an HTTP listener, and ports 8081, 8082, and so forth are used when you have more than one HTTP listener on a single server or workstation. Click the Next button to continue.
- The Ready to Install dialog lets you pause before you install the software. Click the Next button to continue.
- The Installing dialog is a progress bar that will take several minutes to complete. When the progress bar completes, click the Next button when it becomes available to continue.
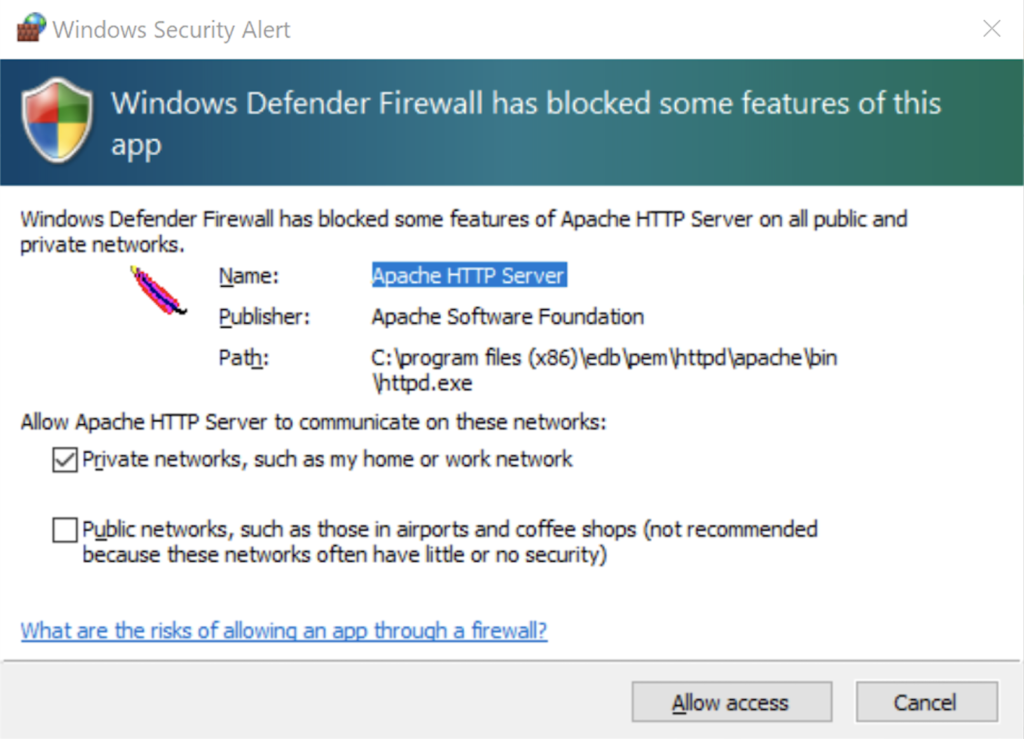
- The Windows Security Alert dialog asks you to allow the Apache HTTP Server to use port 8080. Click the Private networks, such as my home or work network checkbox and then the Allow access button to continue.
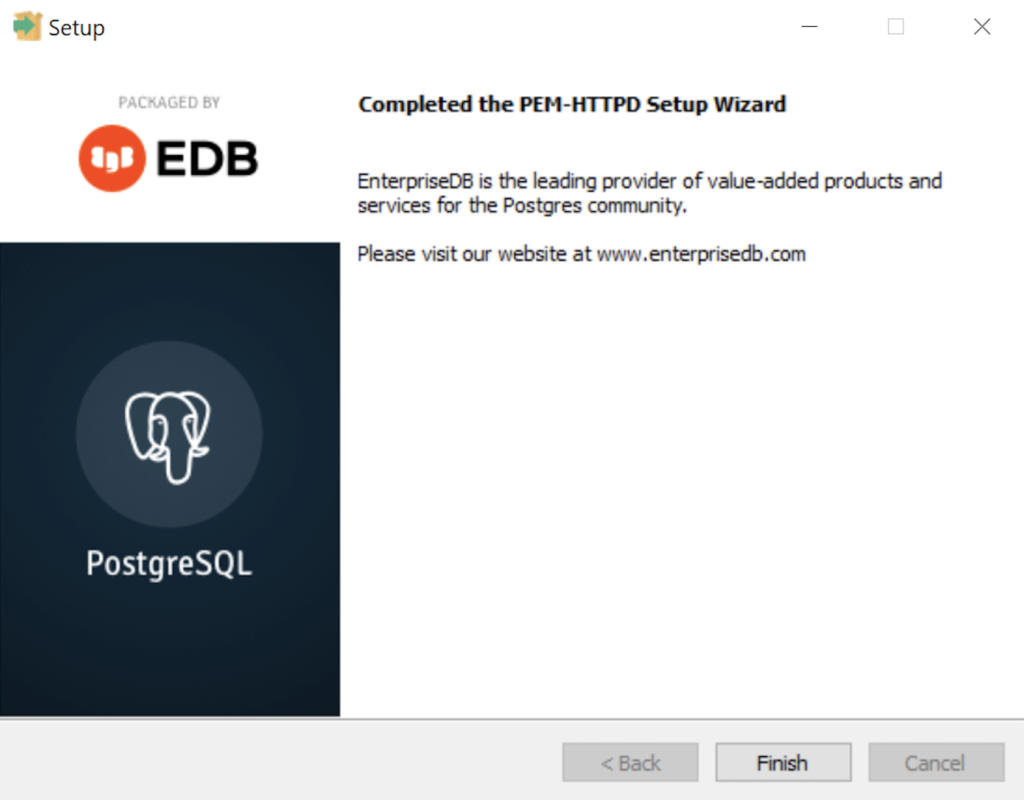
- The Setup dialog advises that you have completed the installation of the PEM-HTTPD Setup Wizard. Click the Finish button to continue.
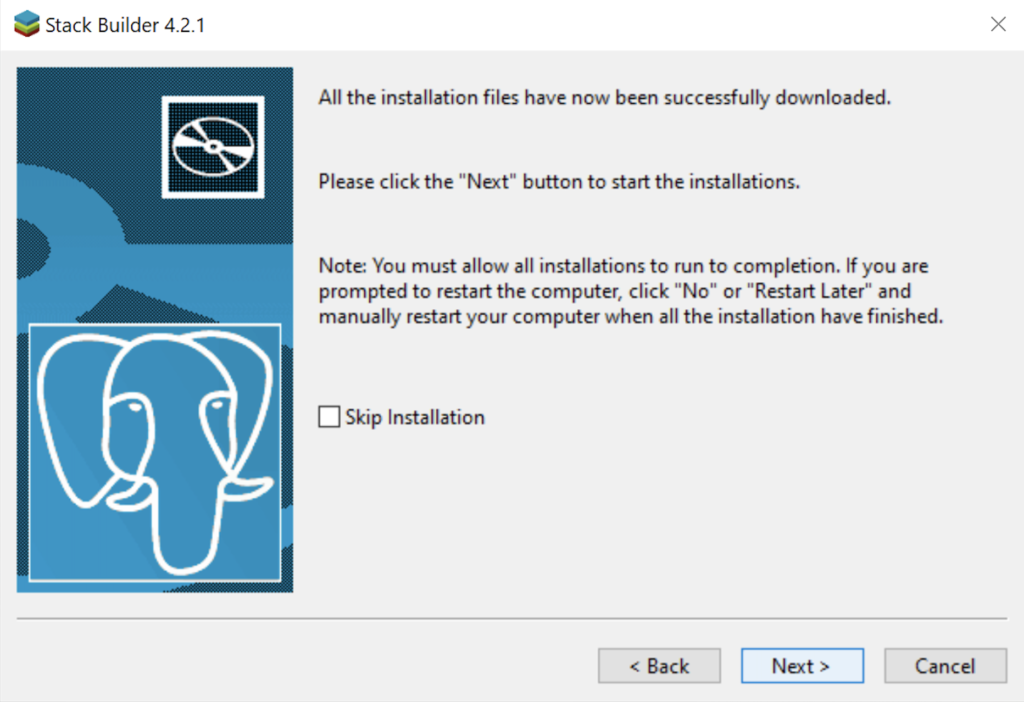
- The Stack Builder dialog advises you that all four database drivers – Npgsql, pgJDBC, psqlODBC, psqlODBC are downloaded and ready to install. Click the Next button to continue.
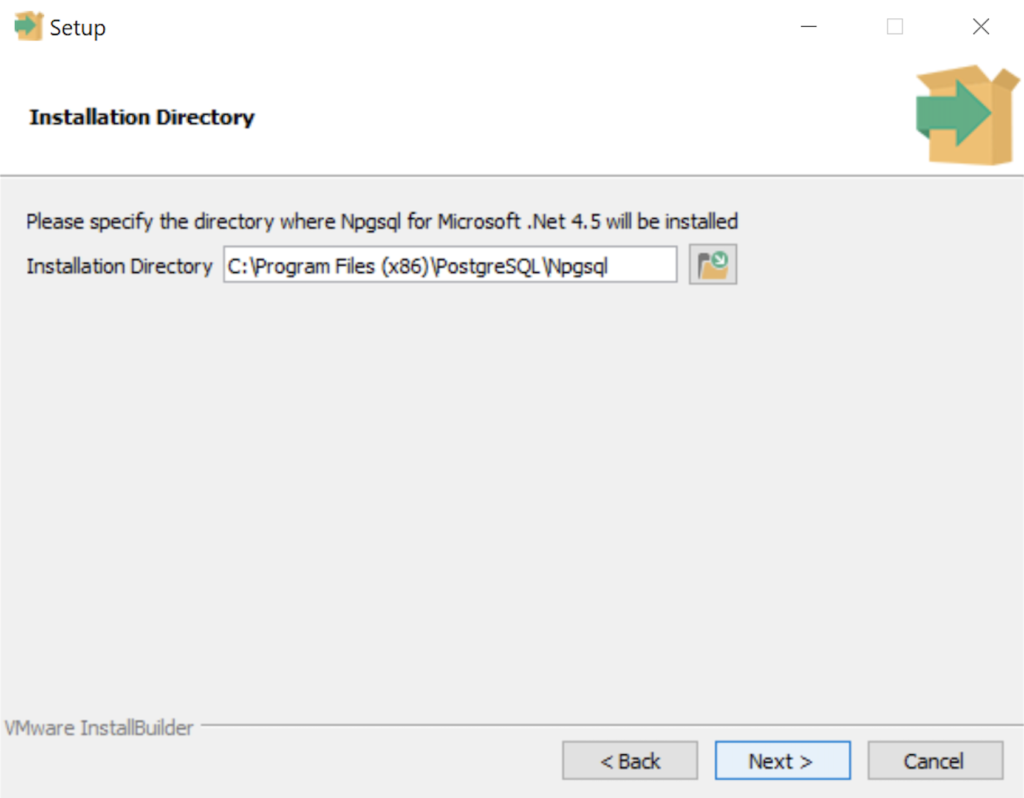
- The Installation Directory dialog prompts you for an installation directory. The default directory is C:\Program Files (x86)\PostgreSQL\Npgsql and you should use it because that’s where Windows 10 puts 64-bit libraries and the subdirectory meets the standard installation convention for Microsoft .Net libraries. Click the Next button to continue.
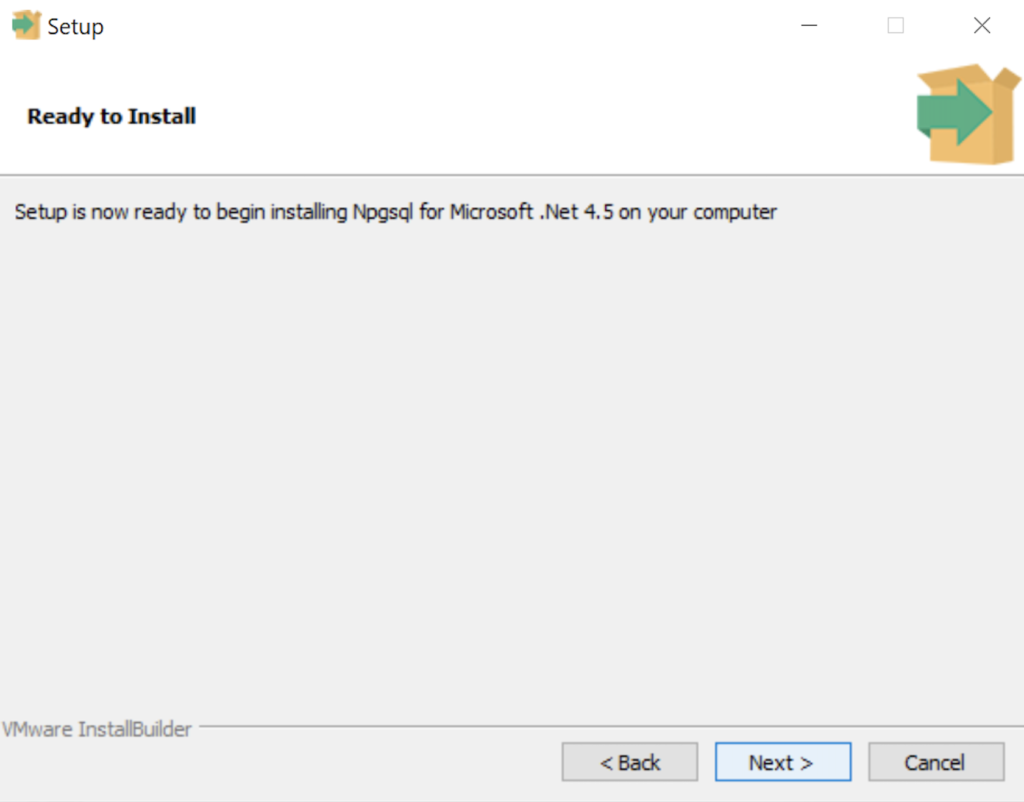
- The Ready to Install dialog lets you pause before you install the Npgsql software for Microsoft .Net. Click the Next button to continue.
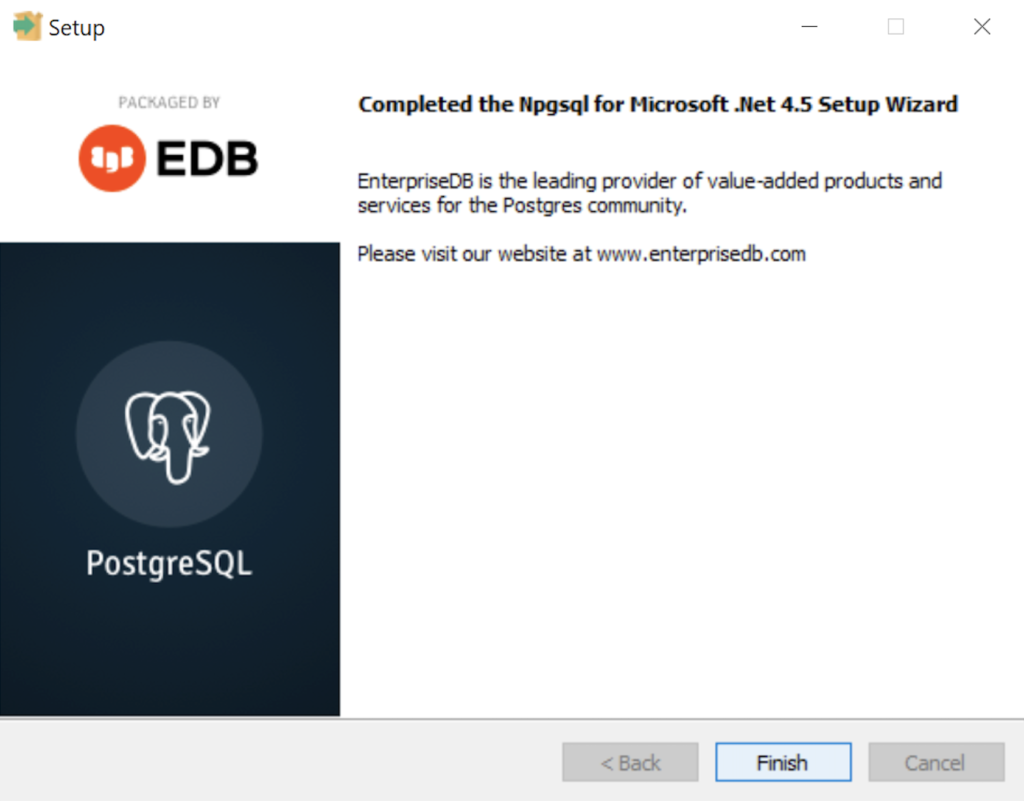
- The Setup dialog advises that you have completed the installation of npgsql driver for Microsoft .Net. Click the Finish button to continue.
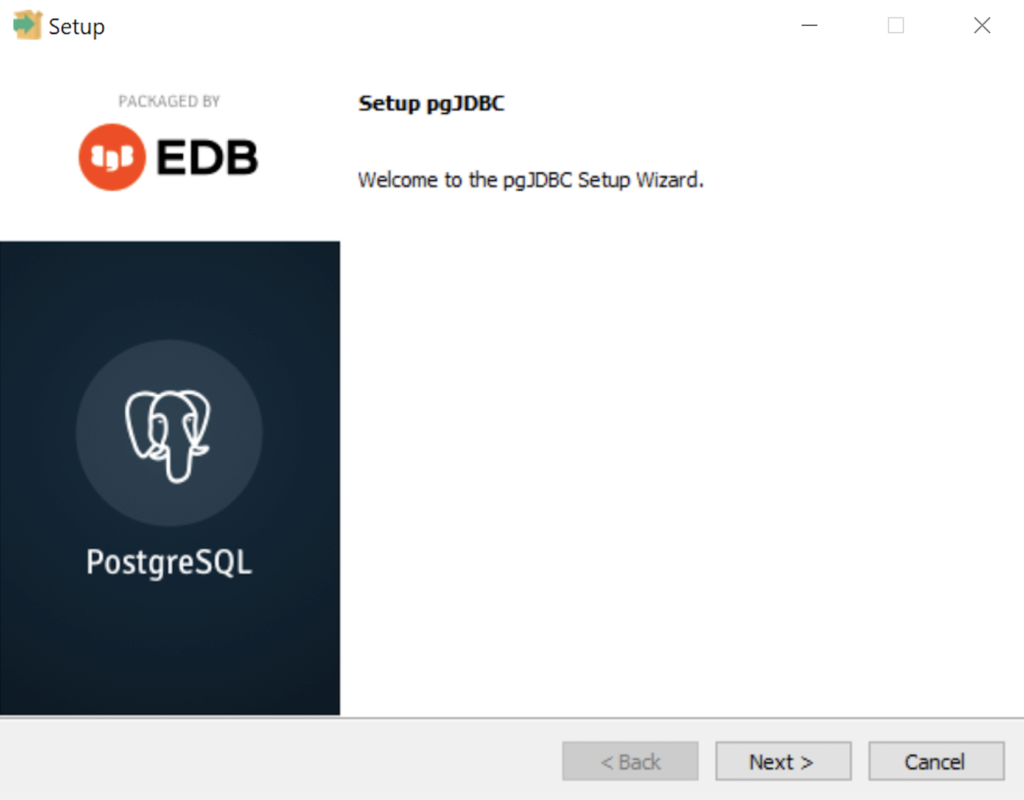
- The Setup dialog advises that you are installing the pgJDBC diver Setup Wizard. Click the Next button to continue.
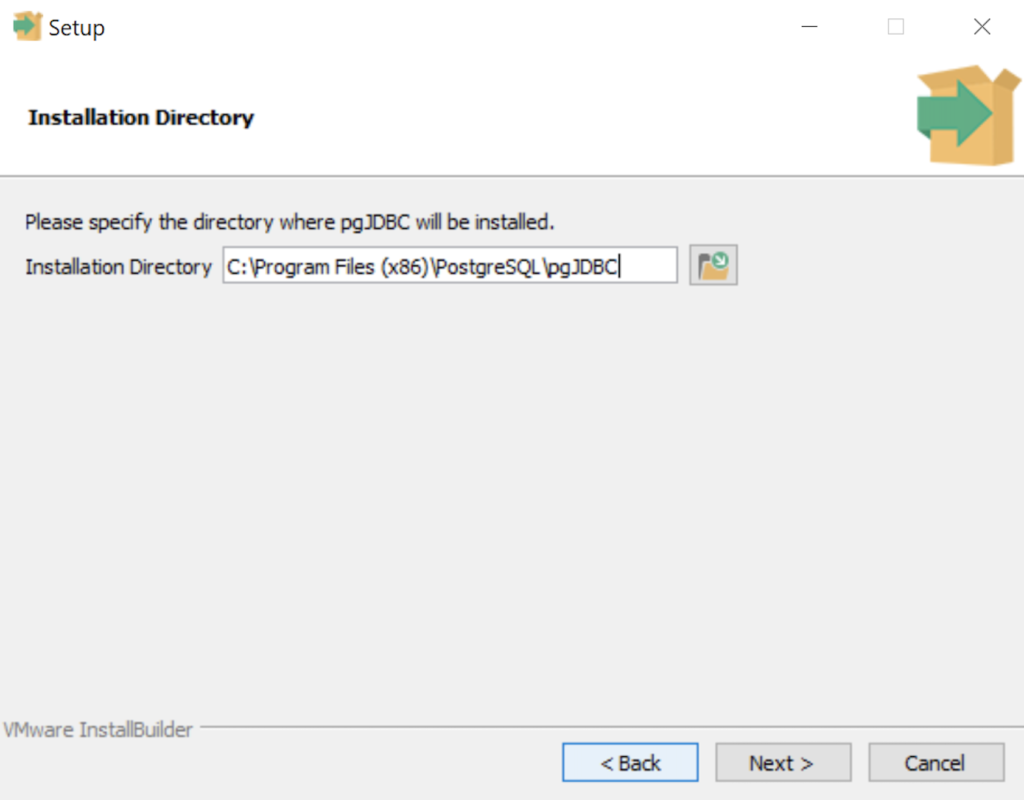
- The Installation Directory dialog prompts you for an installation directory. The default directory is C:\Program Files (x86)\PostgreSQL\pgJDBC and you should use it because that’s where Windows 10 puts 64-bit libraries and the subdirectory meets the standard installation convention for libraries. Click the Next button to continue.
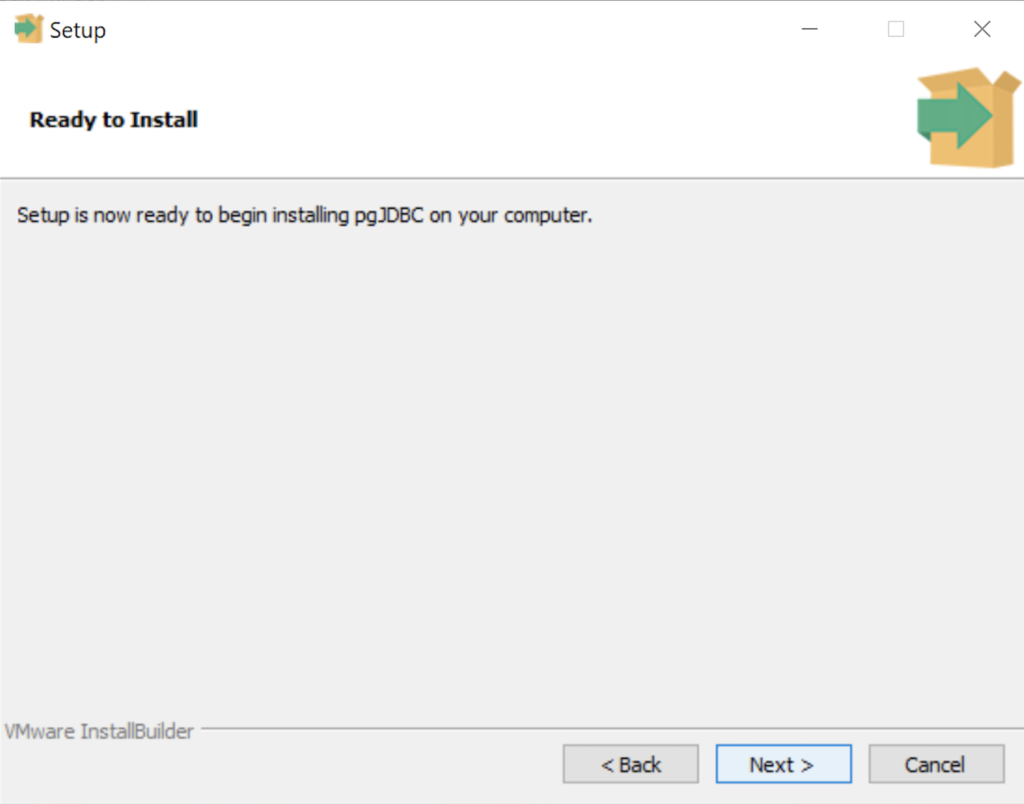
- The Ready to Install dialog lets you pause before you install the pgJDBC software. Click the Next button to continue.
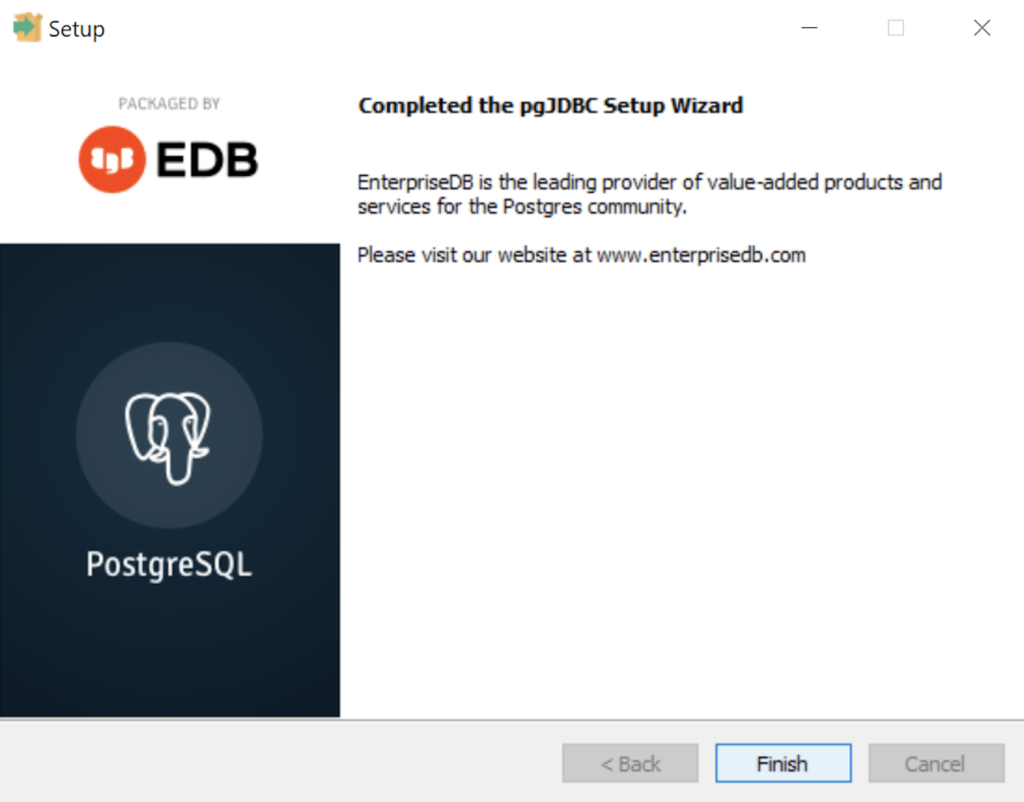
- The Setup dialog advises that you have completed the installation of pgJDBC driver. Click the Finish button to continue.
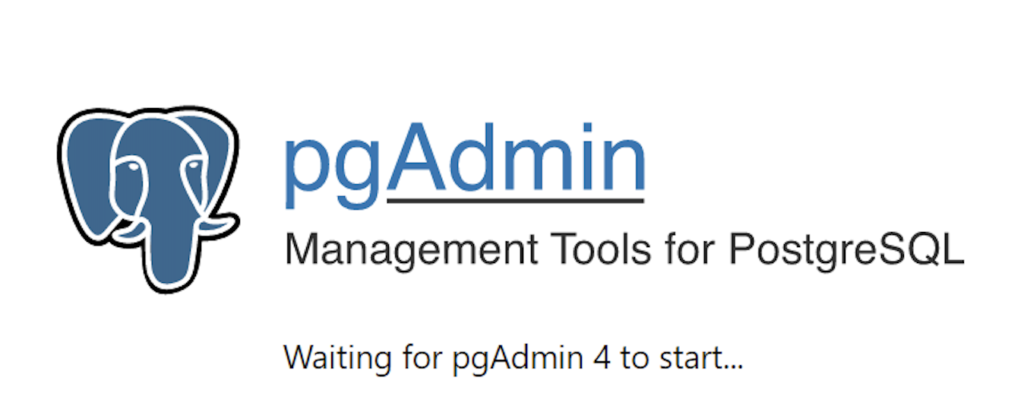
- The Advisory Message pgAdmin is Starting dialog is really telling you to be patient. It can take a couple minutes to launch pgAdmin.
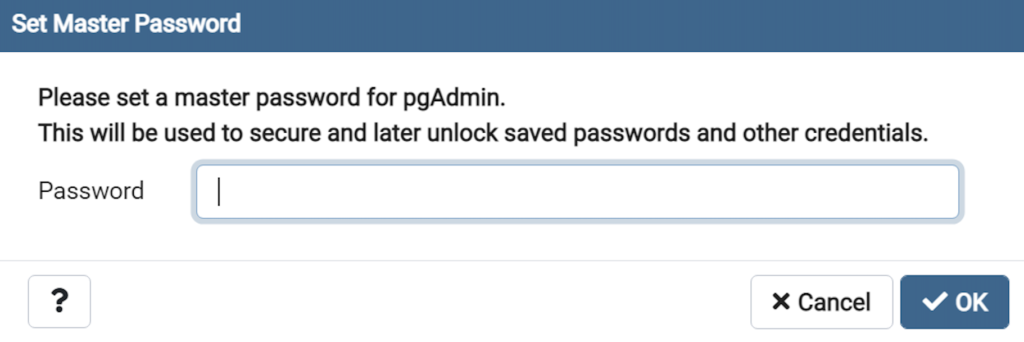
- The Password dialog prompts you for the pgAdmin superuser password. In a development system for your local computer, you may want to use something straightforward like cangetin. Click the Next button to continue.
- Enter your password from the earlier step and click the OK button.
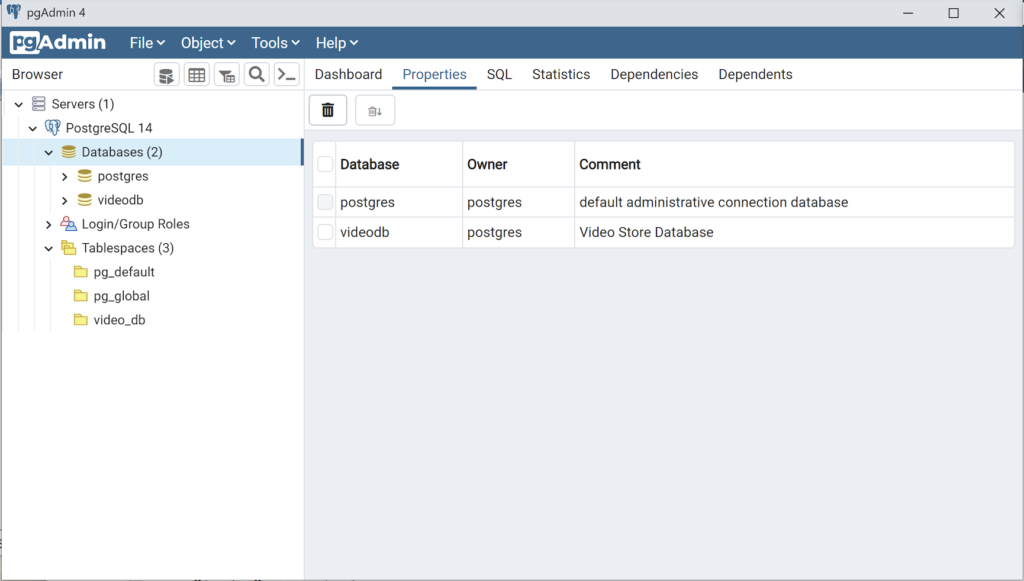
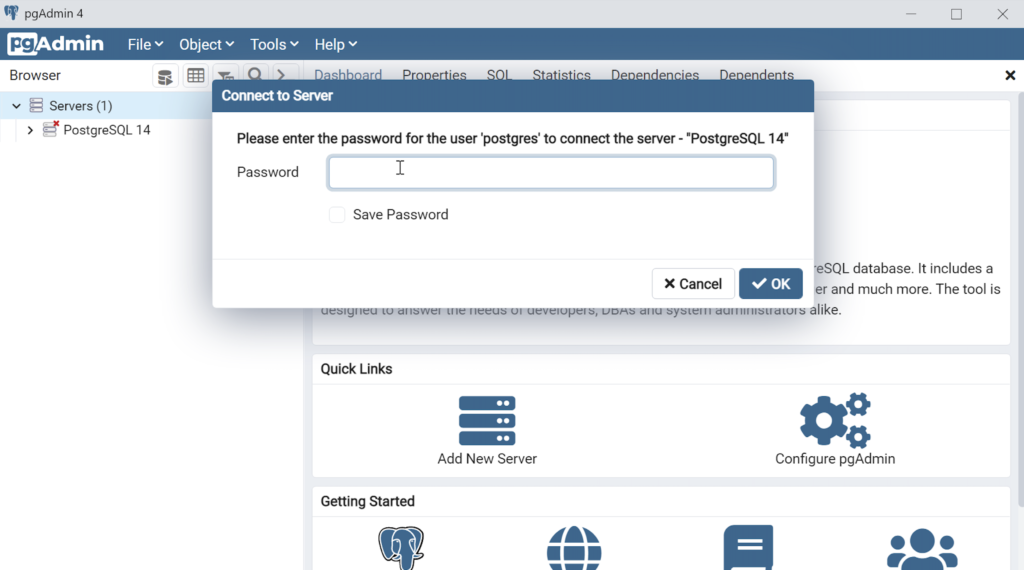
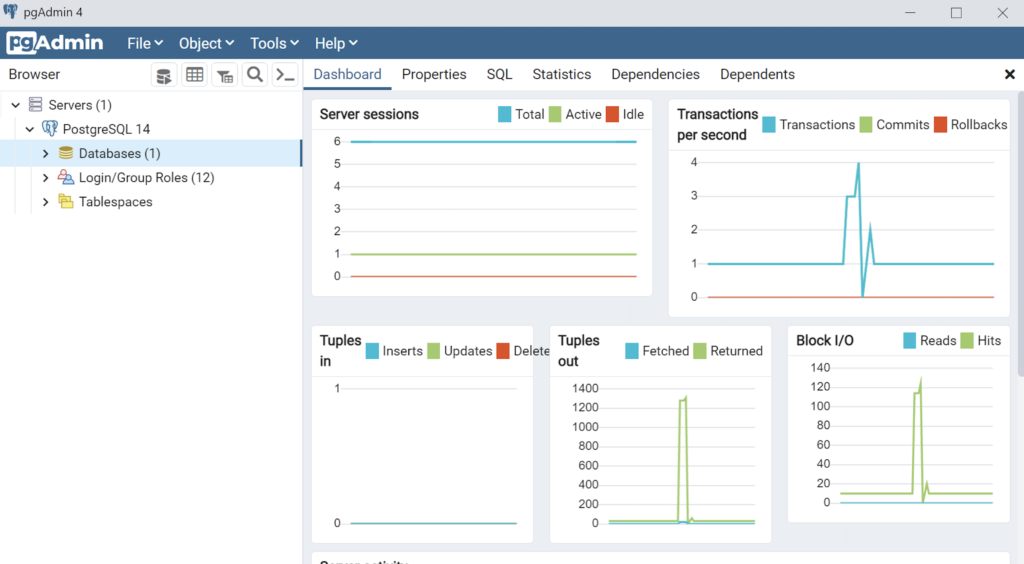
- This is the pgAdmin console. You should see one database and tweleve login/group roles.
The foregoing walked you through the installation of PostgreSQL, the connector libraries and pgAdmin utility. Next, you have to make it real with configuration, which sets up the tablespace, database, and connectivity. I hope it helps those who would like to see the installation steps.
Oracle Container User
After you create and provision the Oracle Database 21c Express Edition (XE), you can create a c##student container user with the following two step process.
- Create a c##student Oracle user account with the following command:
CREATE USER c##student IDENTIFIED BY student
DEFAULT TABLESPACE users QUOTA 200M ON users
TEMPORARY TABLESPACE temp;
- Grant necessary privileges to the newly created c##student user:
GRANT CREATE CLUSTER, CREATE INDEXTYPE, CREATE OPERATOR
,     CREATE PROCEDURE, CREATE SEQUENCE, CREATE SESSION
,     CREATE TABLE, CREATE TRIGGER, CREATE TYPE
,     CREATE VIEW TO c##student;
As always, I hope this helps those looking for how to do something that’s less than clear because everybody uses tools.
Put MySQL in PATH
After downloading and installing MySQL 8.0.24 yesterday, I opened a command shell. In the command shell, I could access the MySQL Shell (mysqlsh.exe) but not the MySQL Client (mysql.exe). Typing in the following:
C:\WINDOWS\system32>mysql |
It returned:
'mysql' is not recognized as an internal or external command, operable program or batch file. |
The MySQL Client (mysql.exe) was installed because MySQL Workbench relies on it. However, the MySQL Microsoft Software Installer (MSI) does not put the mysql.exe file’s directory in the common Windows %PATH% environment variable. You can find the required %PATH% directory variable by opening the File Manager and searching for the mysql.exe file.
You should return several directories and programs but the directory you want is:
C:\Program Files\MySQL\MySQL Server 8.0\bin |
You can test it by using the SET command in the Microsoft Operating System, like this:
SET PATH=C:\Program Files\MySQL\MySQL Server 8.0\bin;%PATH% |
You can now call the mysql.exe program in your current shell session with the following syntax:
mysql -uroot -p |
You will be prompted for the password and then connected to the database as follows:
Welcome to the MySQL monitor. Commands end with ; or \g. Your MySQL connection id is 19 Server version: 8.0.24 MySQL Community Server - GPL Copyright (c) 2000, 2021, Oracle and/or its affiliates. Oracle is a registered trademark of Oracle Corporation and/or its affiliates. Other names may be trademarks of their respective owners. Type 'help;' or '\h' for help. Type '\c' to clear the current input statement. mysql> |
Unfortunately, the SET command only sets the %PATH% environment variable in the current session. You can set the system %PATH% environment variable globally by following these steps:
- In Search, search for and then select: System (Control Panel)
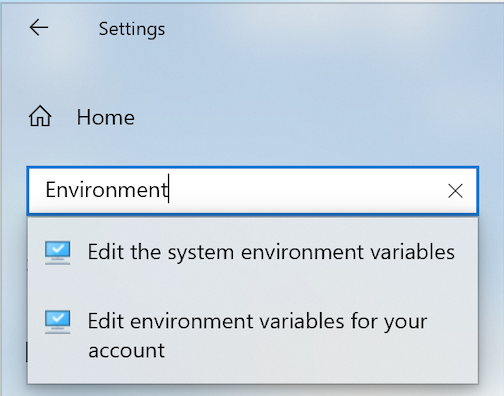
- In Settings dialog enter “Environment” in the search box and it will display:
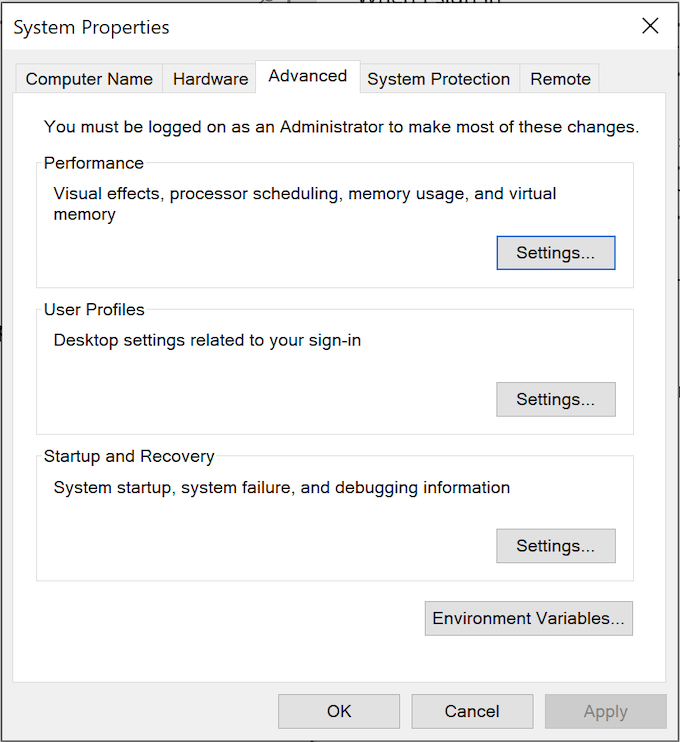
- Chose “Edit the system environment variables” option. You will see the following “System Properties” dialog:
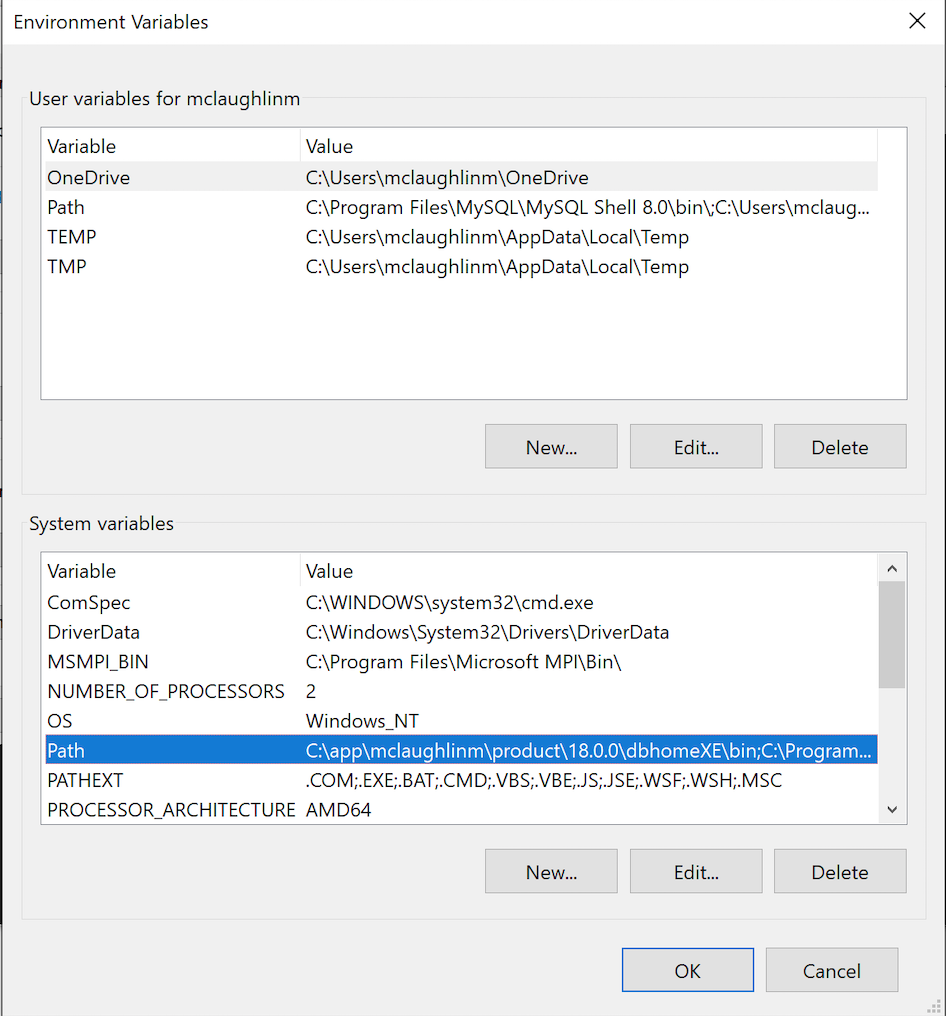
- Click the “Environment Variable” button to display the “Environment Variables” dialog. Click on the Path system variable before clicking the Edit button beneath.
- Click the “New” button and enter “
C:\Program Files\MySQL\MySQL Server 8.0\bin, and click the “OK” button. The next time you query the computer system’s%PATH%environment variable, it will show you the list of path locations that the operating system looks at for command files. It’s actually stored as a semicolon-delimited list in Windows 10 (and, as a colon-delimited list in Linux or Unix).
The next time you open a command shell, the %PATH% environment variable will find the mysql.exe program. As always, I hope these instructions help the reader.
